DIY Passport Photo: A Step-by-Step Guide to Creating Your Own Passport Photos
Creating diy passport photo at home can be a convenient and cost-effective solution for those needing to renew their passports or apply for new ones. With the rise of digital photography and easy-to-access editing tools, DIY passport photos have become a popular option for many individuals.
This step-by-step guide will walk you through the process of creating your own passport photos, ensuring they meet the required standards set by your country's passport agency. By following these instructions, you can save both time and money while still obtaining high-quality passport photos from the comfort of your own home.
Part 1. How to DIY Passport Photo
Creating passport photo diy offers a level of convenience that is unparalleled. Not only does it save valuable time and money, but it also puts you in control of the entire process. With careful attention to detail and adherence to specific guidelines, you can confidently produce passport photos that meet the stringent requirements for official documentation.
This comprehensive guide is designed to be your trusted companion, providing a detailed roadmap for each step of the DIY passport photo creation process. By following our expert advice and leveraging the power of modern technology, you'll be able to produce professional-quality images effortlessly, all from the comfort of your own home.
1.Choosing the right location and lighting:
Begin by selecting an area with ample natural light, preferably near a window. Natural light provides even illumination, minimizing shadows and ensuring clarity in your photos. If natural light isn't available, opt for a well-lit room with soft, diffuse lighting to avoid harsh shadows. Avoid using flash as it can create unwanted glare or harsh shadows.
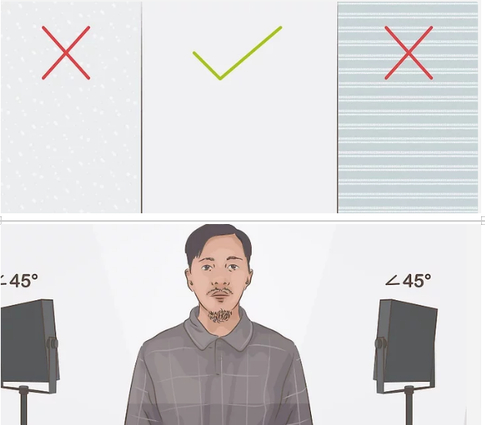
2.Setting up the camera or smartphone:
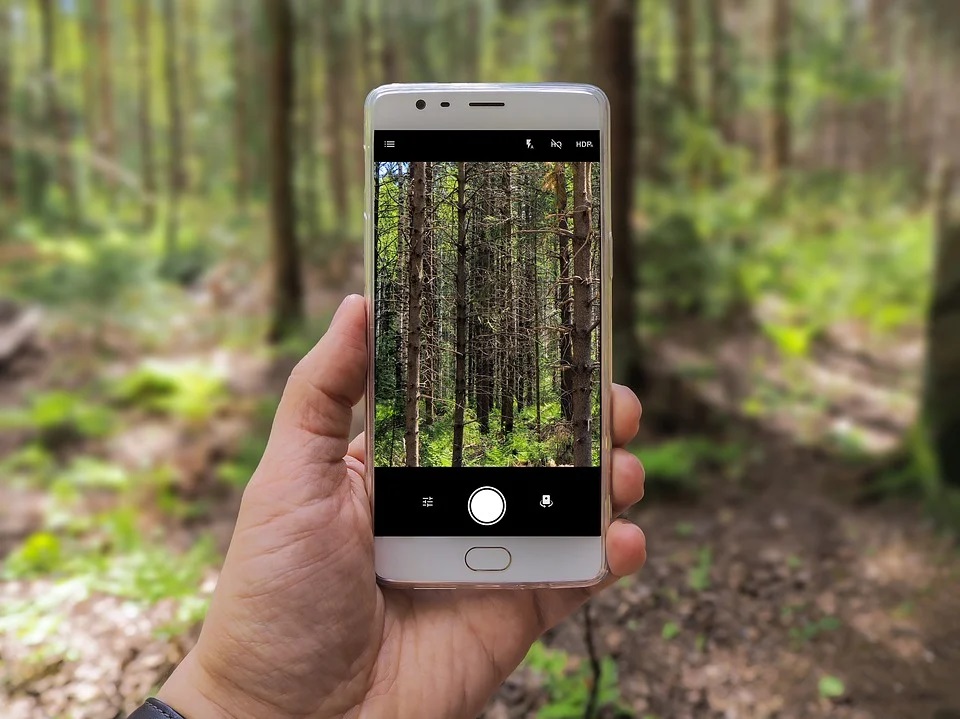
Utilize a digital camera or smartphone with a high-resolution camera. Ensure that your device has enough storage space to capture multiple shots. Mount your camera on a stable surface such as a tripod to prevent blurriness caused by camera shake. If using a smartphone, prop it up securely to maintain stability.
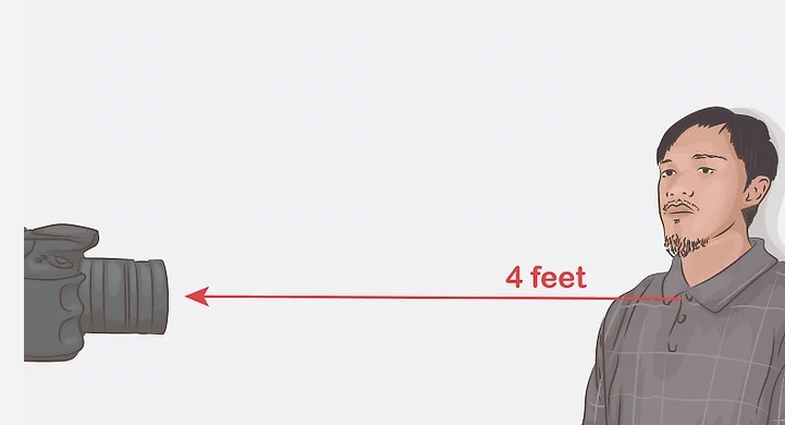
3.Positioning and framing the subject:
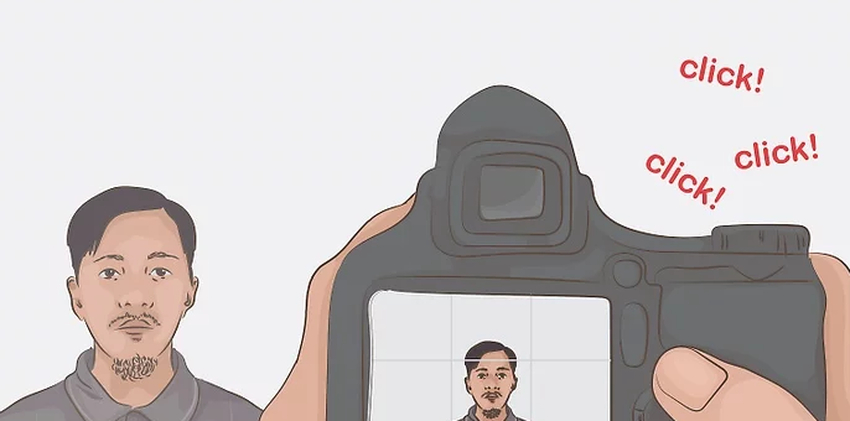
Set up your camera at eye level and position your subject against a plain, light-colored background. This ensures that the focus remains on the subject without any distracting elements. Frame the shot so that the head and shoulders are centered and fill the frame adequately, leaving some space around the edges as per diy passport photo guidelines.
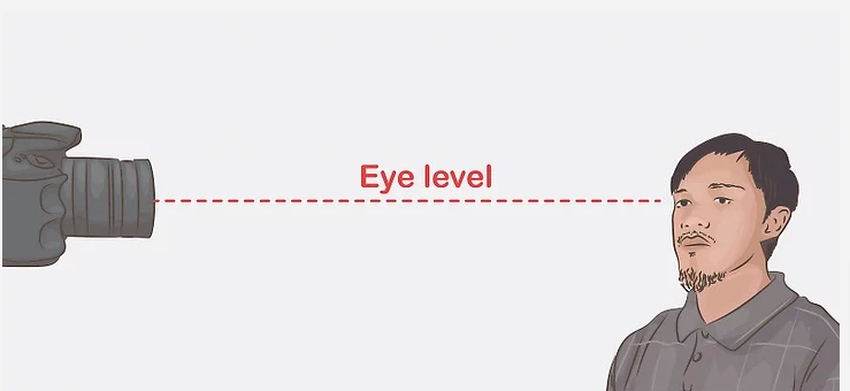
4.Ensuring proper facial expression and posture:
If possible, guide the subject to maintain a neutral facial expression, with a relaxed mouth and closed eyes. Ensure that the head is straight and facing directly towards the camera, with both eyes open and clearly visible. Avoid any tilting or turning of the head, as this can lead to rejection of the photo during the application process.
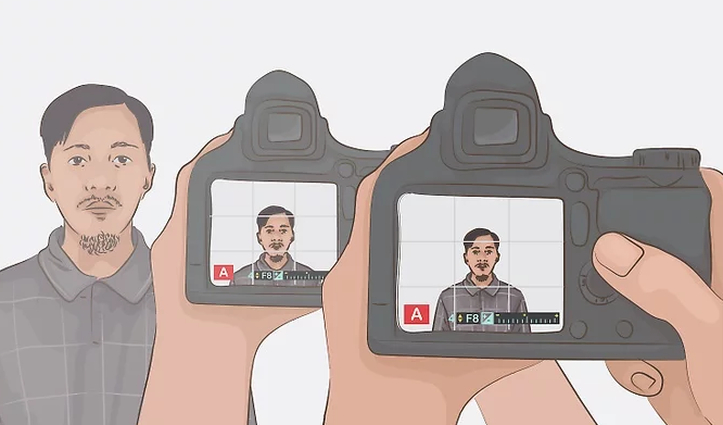
5.Capturing and reviewing the photos:
Take multiple shots to ensure that you have plenty of options to choose from. Review each photo carefully to ensure that it meets all the specific requirements for passport photos in your country, including dimensions, background color, and facial expression. Make any necessary adjustments or retakes before proceeding to print the final photos.
By following these detailed steps, you can confidently produce passport photo diy freethat meet all official requirements, saving you time and hassle in the passport application process.
Part 2. How to Make Passport Photo DIY with HitPaw FotorPea
Introducing HitPaw FotorPea: your ultimate companion for effortlessly creating flawless passport-size images. This cutting-edge tool combines intuitive design with state-of-the-art AI technology, making the entire process a breeze. Simply import your images, sit back, and let HitPaw FotorPea do the heavy lifting.
Gone are the days of struggling with complex editing software or spending hours on manual adjustments. With HitPaw FotorPea, generating perfectly sized passport photos has never been easier. Its advanced algorithms ensure that your images meet all requirements, from dimensions to lighting, with precision.
But HitPaw FotorPea doesn't stop there. It also offers a range of editing features to fine-tune your photos to perfection. Adjust lighting, enhance colors, and apply various other enhancements with just a few clicks. Whether you're a seasoned photographer or a complete novice, HitPaw FotorPea empowers you to achieve professional-quality results effortlessly.
Features
- Generate passport photos instantly with one click.
- Maintain original image quality during passport size image creation.
- Create multiple passport size images simultaneously.
- Enhance image quality and resolution instantly with a single click.
- Effortlessly reduce blurriness and eliminate noise from photos.
- Enlarge and upscale photos without loss of quality, preserving clarity and detail.
Video Guide for You to to Take Passport Photo at Home Using Your Phone
To generate passport photos through HitPaw FotorPea, follow these steps:
Step 1:
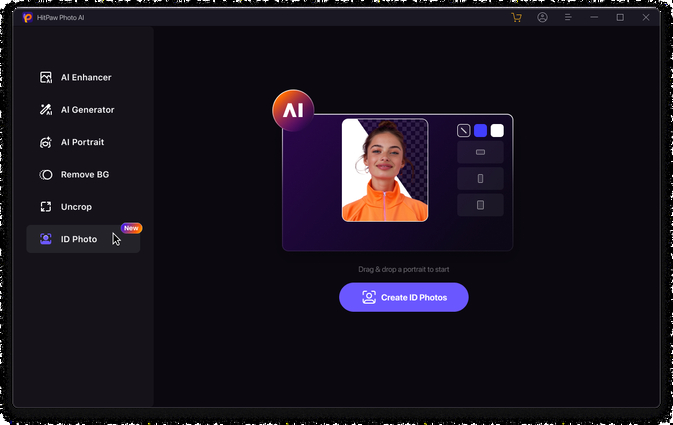
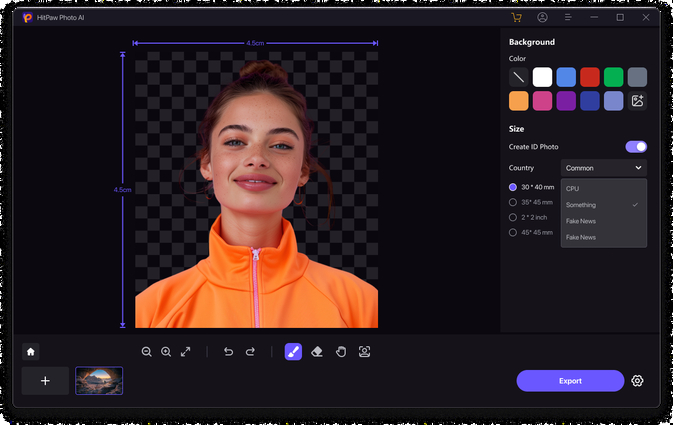
Install HitPaw FotorPea and launch the program. Click the "ID Photo" button and then select the "Create ID Photos" icon to import your preferred photo for passport size conversion.
Step 2:
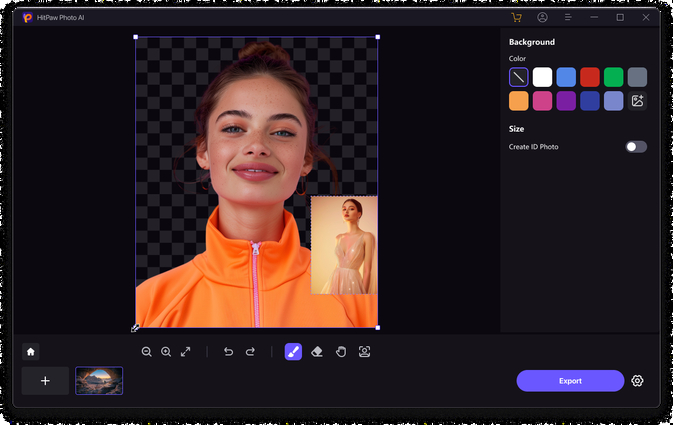
Once the photos are uploaded, use the "Brush" tool to select the area of the photo you wish to retain for the passport photo.
Step 3
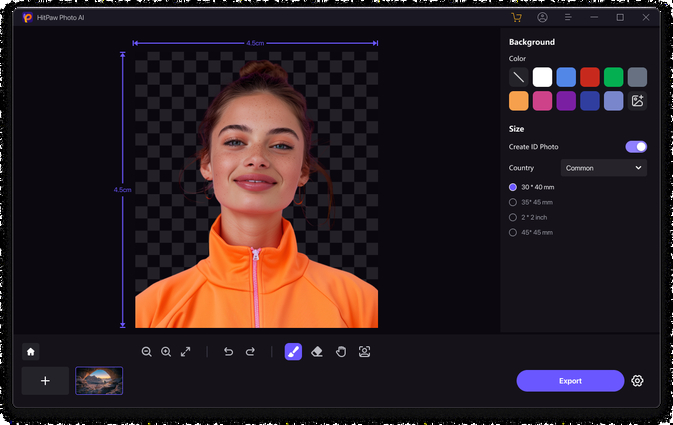
Choose the desired dimensions for the images to ensure they match passport size requirements.
Step 4:
Preview the images to confirm they meet your specifications. Click on the "Export" button to download the passport photos to your computer.
Part 3. FAQs of DIY Passport Photo
Q1. What are the specific requirements for DIY passport photos?
A1.
When taking passport photos diy free, it's crucial to adhere to specific requirements to ensure their acceptance by passport agencies. Typically, passport photos must be of a certain size, often 2 inches by 2 inches, with the subject's head centered and facing directly towards the camera. The background should be plain and light-colored, free from shadows or patterns. Subjects are usually required to maintain a neutral facial expression, with both eyes open and visible.
While glasses may be permitted, they shouldn't cause glare, and sunglasses are generally prohibited. Additionally, any head coverings should not obscure facial features. It's essential to verify these requirements, as they can vary between countries and agencies, to avoid delays or rejections in the passport application process.
Q2. Can I wear glasses or accessories in my passport photo?
A2.
In passport photos diy,, the permissibility of wearing glasses or accessories varies depending on the guidelines set by the passport agency in your country. Generally, glasses are often allowed, but strict criteria regarding glare and visibility of the eyes apply.
It's crucial to ensure there are no reflections on the lenses, and your eyes are clearly visible without obstruction. Sunglasses and heavily tinted glasses are typically prohibited. As for accessories like hats, headbands, scarves, or large jewelry, it's advisable to avoid them as they may obscure facial features.
Bottom Line
We have provided a comprehensive step-by-step guide to empower you to create your diy passport photo confidently. By following these instructions, you'll have the necessary knowledge to produce reliable and stunning passport photos that meet all requirements. For the most efficient and reliable results, we highly recommend using HitPaw FotorPea.
This intuitive software simplifies the entire process by allowing you to import images while retaining their original quality, all within a simple user interface. With HitPaw FotorPea, you can effortlessly generate passport photos that adhere to standards and ensure a seamless


 HitPaw Video Object Remover
 HitPaw Photo Object Remover
 HitPaw VikPea (Video Enhancer)

Share this article:
Select the product rating:
Joshua Hill
Editor-in-Chief
I have been working as a freelancer for more than five years. It always impresses me when I find new things and the latest knowledge. I think life is boundless but I know no bounds.
View all ArticlesLeave a Comment
Create your review for HitPaw articles