[Tips!] Full Guide on How to Take Passport Photo at Home
How can I take a passport photo at home? Taking passport photos at home has become increasingly popular, especially with the convenience of digital photography and online submission options. Whether renewing your passport or applying for a new one, learning how to take passport photos at home can save time and money.
In this comprehensive guide, we'll provide step-by-step instructions, tips, and tricks to ensure you know how to take passport photo at home. Say goodbye to long waits at photo studios and embrace the convenience of DIY passport photography. Let's dive in!
Part 1. How to Take Passport Photo at Home
Getting a regulation-compliant passport photo is remarkably simple, provided you adhere to the US passport photo requirements. Here, we outline three straightforward steps to ensure you obtain a qualified digital passport picture with ease. Take the hassle out of passport photography by following these simple guidelines to know how to take passport photos at home.
Step 1: Preparation for Digital Passport Photos
Before capturing your digital passport photo, it's crucial to make preparations to ensure a successful outcome. Follow these steps to set the stage for a qualified and satisfactory passport picture:
- 1. Equip yourself with a camera or smartphone capable of capturing high-resolution images. For optimal results, consider using professional photography equipment, and if available, utilize a camera tripod to stabilize your device during the photo shoot.
- 2. Select an appropriate shooting background. Opt for a clean or white background, per the passport photo requirement. Ensure no other objects or visible textures are in the background to maintain compliance with regulations.
- 3. Ensure adequate lighting conditions. Good lighting is essential for flattering photos; the same applies to passport photography. Position yourself before a window to utilize natural light, or invest in professional passport photo lighting equipment to minimize shadows and glares on your face.
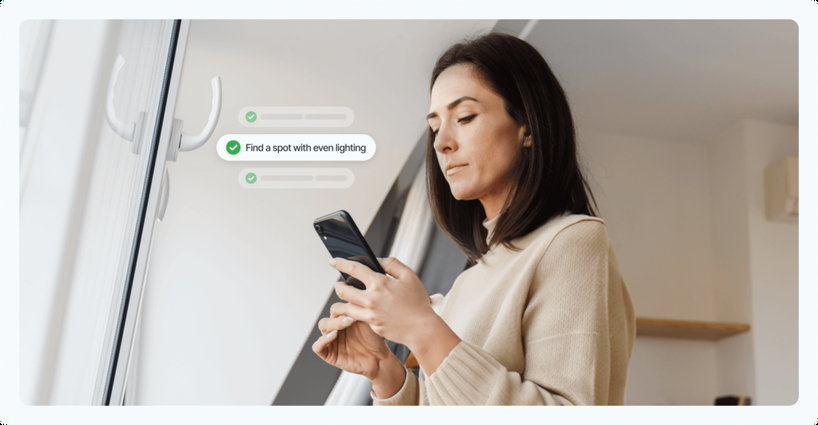
Step 2: Capturing Passport Photos
Now that you've completed the necessary preparations, it's time to capture your passport photos at home. Whether using an iPhone or a camera, follow these guidelines to ensure a successful outcome:
- 1. Maintain a natural and relaxed pose in front of the camera. Sit or stand still and look directly into the camera lens to capture a clear, focused image.
- 2. Take multiple shots to ensure you achieve the best possible result. Experiment with different poses and expressions until you're satisfied with the outcome.
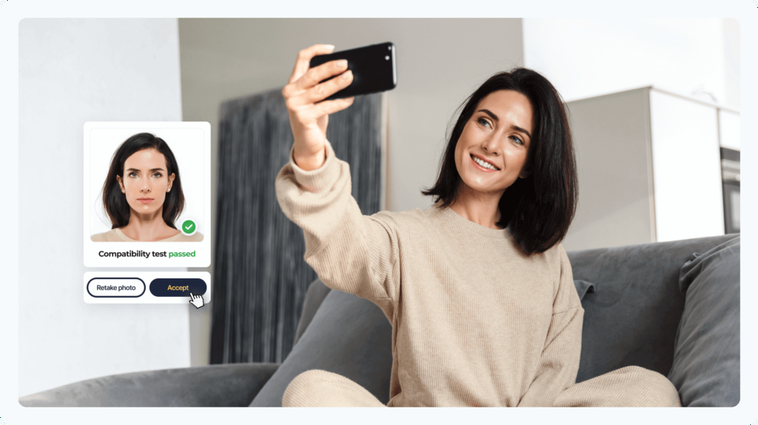
Step 3: Processing the Passport Photo
Once you've captured a suitable passport photo, it's time to process the image to meet the stringent requirements for passport pictures. Follow these steps to ensure your photo meets all necessary criteria:
- Familiarize yourself with the rules and regulations governing passport photos, including specifications for size, color, background, and other essential elements.
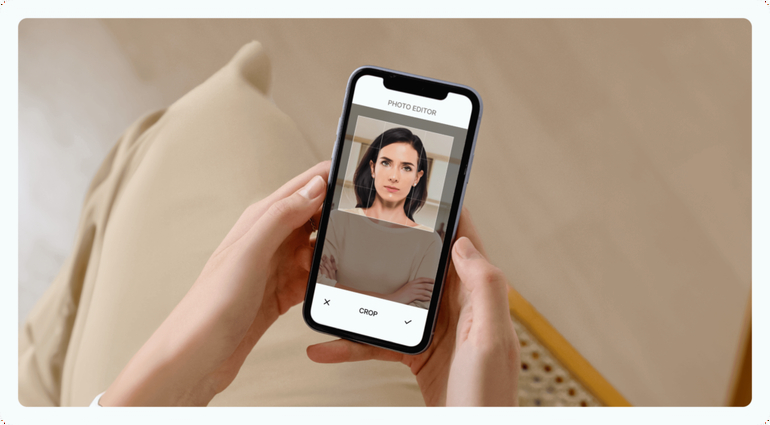
- Use photo editing software or online tools to adjust the photo according to the established guidelines. Ensure the final image complies with all requirements to increase the likelihood of acceptance.
That's all you've had to do to take passport photo at home.
Extra Tips: Some MUST and MUST NOT Tips for Taking a Passport Photo at Home
MUST
- Ensure the photo is in color and taken within the last 6 months, featuring a clear image of the face.
- Utilize a white or off-white background free from shadows, texture, or lines.
- Maintain the head's position between 1–1 3/8 inches from the bottom of the chin to the top of the head.
- Print the photo on matte or glossy photo quality paper for optimal clarity.
- Maintain a neutral facial expression with both eyes open and mouth closed.
- Wear attire that is typically worn daily.
MUST NOT
- Apply filters commonly used on social media platforms to alter the appearance of the photo.
- Wear glasses, except for medical reasons, accompanied by a signed statement.
- Wear hats or head coverings, unless for religious or medical purposes, supported by a signed statement.
- Sport a uniform, clothing resembling a uniform, or camouflage attire.
- Allow shadows or coverings to obscure any part of the face in the photo.
- Please submit a blurry, grainy, or pixelated photo, which may be rejected.
Part 2. How to Take a Passport Photo at Home with HitPaw FotorPea
HitPaw FotorPea emerges as the pinnacle solution for effortlessly crafting passport-sized images. Its user-friendly interface and state-of-the-art AI technology revolutionize the process. Simply import your images, and HitPaw FotorPea seamlessly handles the rest.
This groundbreaking tool effortlessly transforms your pictures into perfectly sized passport photos, ensuring compliance with all necessary standards. The passport photo generator also offers advanced editing capabilities, enabling you to fine-tune lighting, enrich colors, and execute various enhancements effortlessly.
Features
- One-click passport photo generation
- Maintains image quality during passport size image creation
- Simultaneously produces multiple passport size images
- Instantly enhances image quality and resolution with a single click
- Effortlessly reduces blurriness and eliminates noise from pictures
- Enlarges and upscales photos without quality loss, preserving clarity and detail impeccably
Video Guide for You to to Take Passport Photo at Home Using Your Phone
Steps to upload one of your images and make it into a passport photo.
Step 1:
Install HitPaw FotorPea and launch the program. Click on the "ID Photo" button and then select the "Create ID Photos" icon to import your desired photo for passport size conversion.
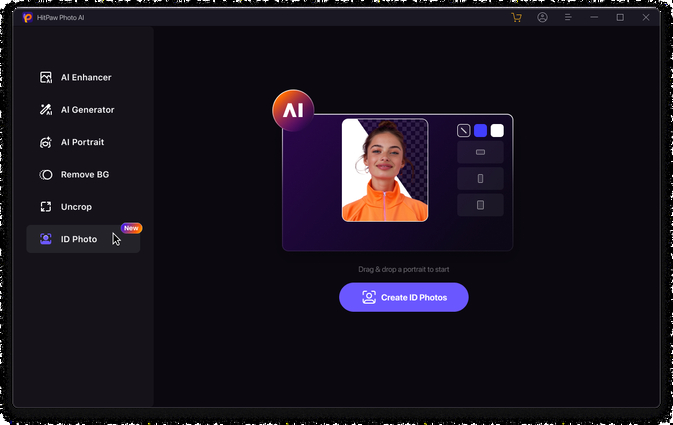
Step 2:
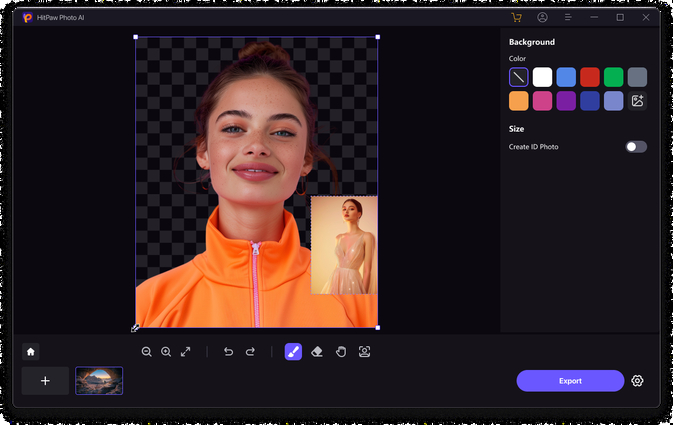
Once the photo is uploaded, use the Brush tool to select the area of the photo you wish to retain.
Step 3:
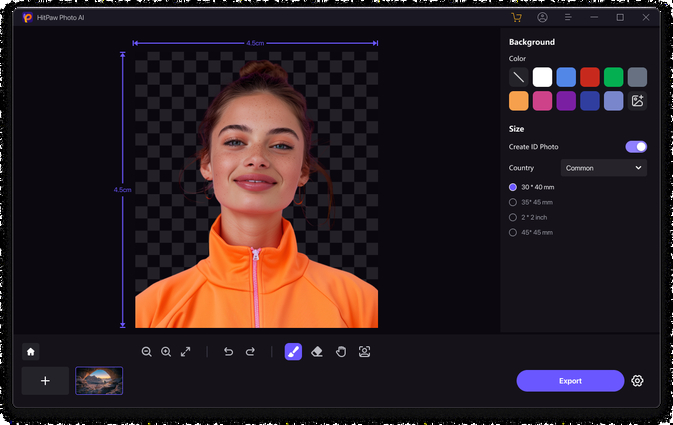
Choose the dimensions for the images to match the required passport size.
Step 4:
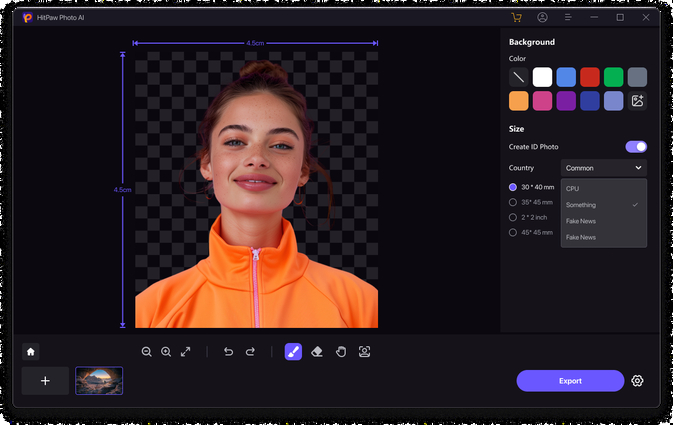
Preview the images and click the Export button to download them onto your computer.
Part 3. FAQs of Taking Passport Photos at Home
Q1. How to Take Passport Photo at Home with iPhone?
A1. To take a passport photo at home with an iPhone, first, set up a plain white background and ensure good lighting. Position your iPhone on a stable surface and use the rear-facing camera. Follow passport photo guidelines, keeping a neutral expression and both eyes open. Use the camera timer for hands-free shooting and capture multiple shots. Edit and crop the photo using built-in tools, then print it on high-quality paper. Finally, double-check the requirements before submitting. With these simple steps, you can efficiently take a passport photo at home using your iPhone.
Q2. Are there any specific clothing or accessory restrictions for passport photos?
A2. Yes, there are specific clothing and accessory restrictions for passport photos to maintain consistency and clarity in identification. Generally, avoid headwear, glasses, uniforms, and facial coverings unless for religious or medical reasons with appropriate documentation. Minimal jewelry and natural facial features are recommended to ensure accurate representation. Adhering to these restrictions is crucial to meeting passport photo requirements and avoiding processing delays.
Conclusion
We have provided a comprehensive step-by-step guide to help you know how to take passport photo at home. Following these instructions, you can efficiently capture passport-compliant photos using your equipment and surroundings.
Furthermore, we highly recommend utilizing HitPaw FotorPea for creating passport-sized images after uploading your photos. With its exceptional image resolution, intuitive user interface, and support for batch processing, HitPaw FotorPea stands out as the ideal solution. Its incorporation of AI-powered technology ensures superior results, making the process effortless and efficient. Experience the convenience and excellence of HitPaw FotorPea for all your passport photo needs and embark on your next adventure with confidence.


 HitPaw Photo Object Remover
 HitPaw Video Object Remover
 HitPaw VikPea (Video Enhancer)
![[Detailed Guide] How to Fix Overexposed Photos](https://images.hitpaw.com/topics/photo-ai/how-to-fix-overexposed-photos-cover.jpg)

Share this article:
Select the product rating:
Daniel Walker
Editor-in-Chief
This post was written by Editor Daniel Walker whose passion lies in bridging the gap between cutting-edge technology and everyday creativity. The content he created inspires audience to embrace digital tools confidently.
View all ArticlesLeave a Comment
Create your review for HitPaw articles