How to Register HitPaw Product(s)?


After you have purchased a HitPaw product, you will receive an email enclosed with the order and registration information. (If you did not receive such email after purchasing, please check your SPAM folder.)
This guide will instruct how to find the Register option in HitPaw product. You'll know how to activate HitPaw product on Windows and Mac after purchase. For any further question, you can always contact our support team.
Contents:
Create HitPaw ID
Windows Steps
Mac Steps
Online Steps
Reset Password
Register on Multi-Computers
Create HitPaw ID
HitPaw ID is the email address you used to log into HitPaw products. And it can be used to log into all HitPaw products.
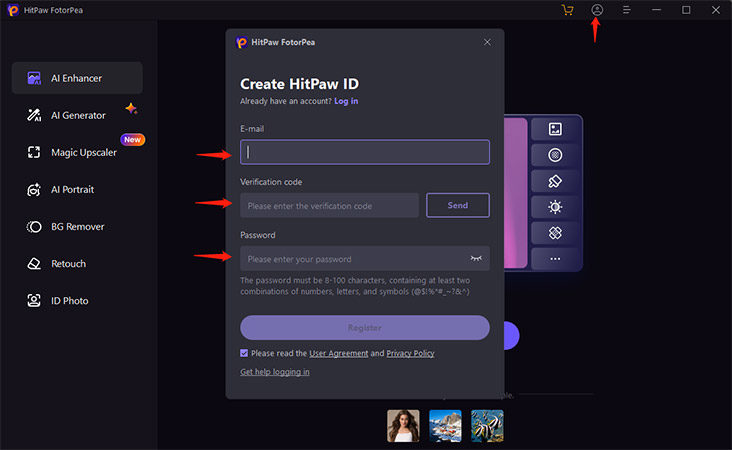
1. If you are using the HitPaw products for the first time, you need to create an account first. Please click the Avatar icon on the upper right of the program you downloaded, and input your email address.
2. Click "Send" to receive & enter the verification code.
3. Set a password and remember it, click "Register". Now start your HitPaw journey!
Windows Steps
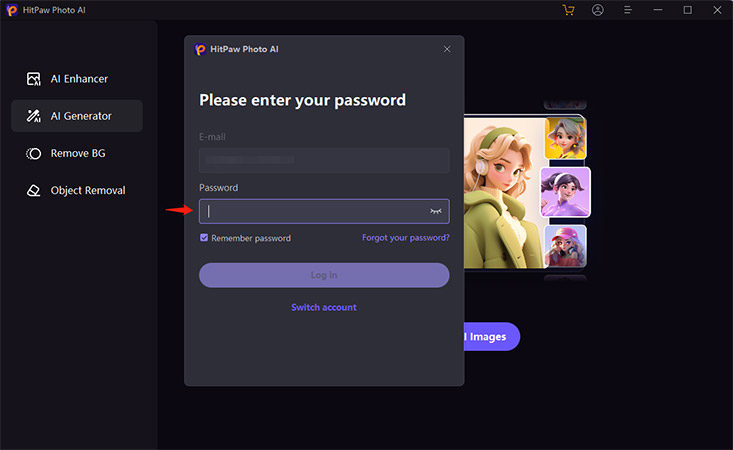
1. Launch the program and click on the Avatar icon in the upper right corner.

2. Enter the HitPaw ID email and password, click Log in. (If you are logging on HitPaw ID for the first time, please enter the initial password received along with the purchasing email) You could also choose to sign in with Google.
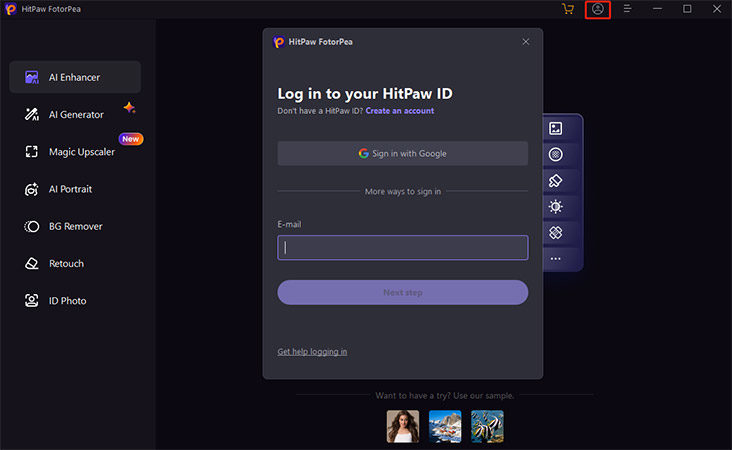
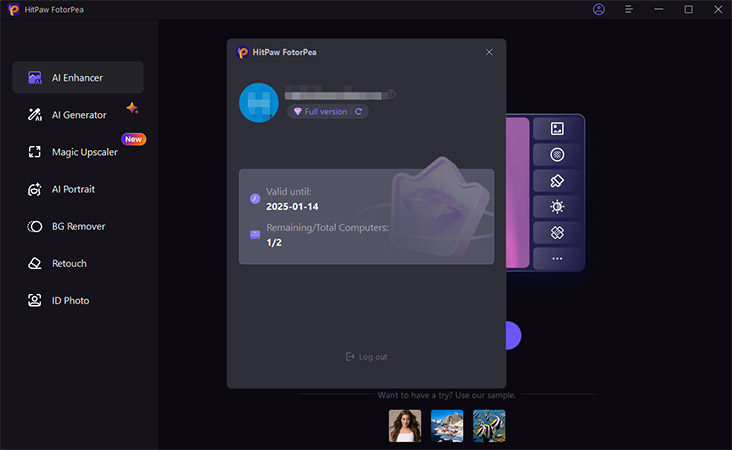
3. After logging in, refresh your license permission. And close this account window to start enjoying your product.
Mac Steps
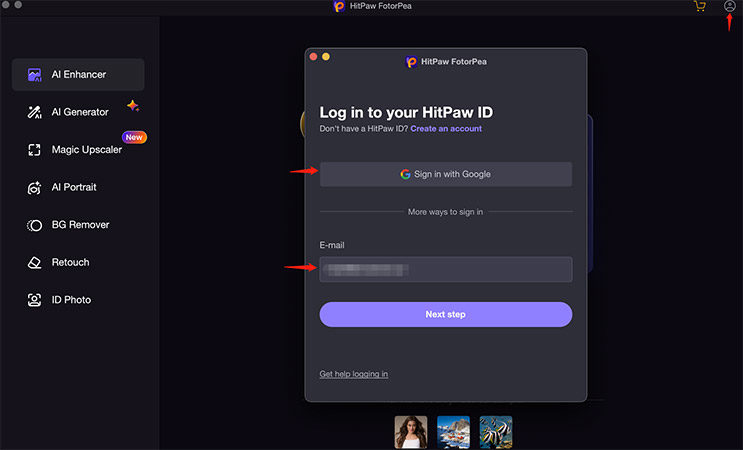
1. Launch the program and click on the Avatar icon in the upper right corner.

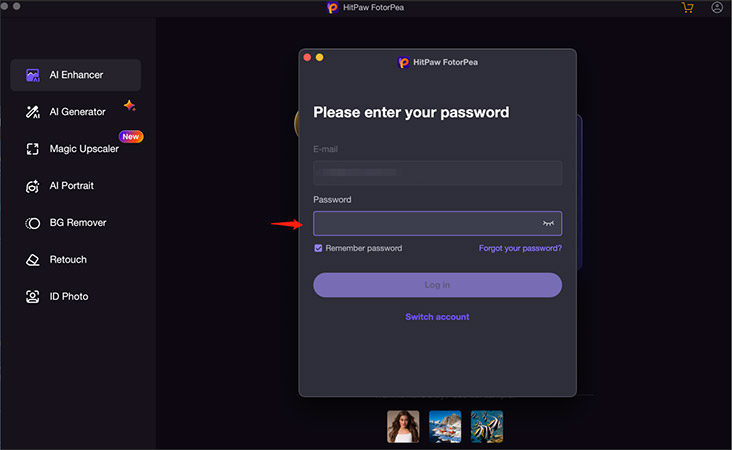
2. Enter the HitPaw ID email and password, click Log in. (If you are logging on HitPaw ID for the first time, please enter the initial password received along with the purchasing email) You could also choose to sign in with Google.
3. After logging in, refresh your license permission. And close this account window to start enjoying your product.
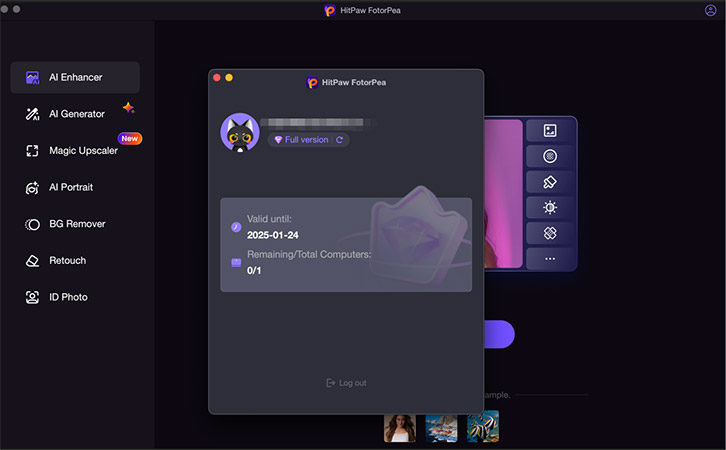
Online Steps
1. Find the Login button on the Online page.

2. Input the required email address and password, click Login. Or choose to sign in with Google.
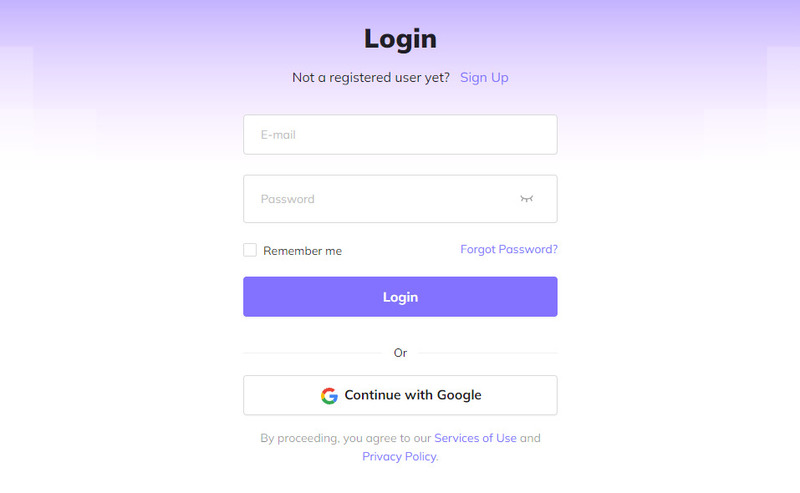
Reset Password
Notes: The new password must be 8~100 characters, with at least 2 password combinations of numbers/letters/English special characters: @$! %*#_~? &^
1. Click the account icon in the menu bar at the top right of the software, and then click the “Next step” button in the pop-up window.
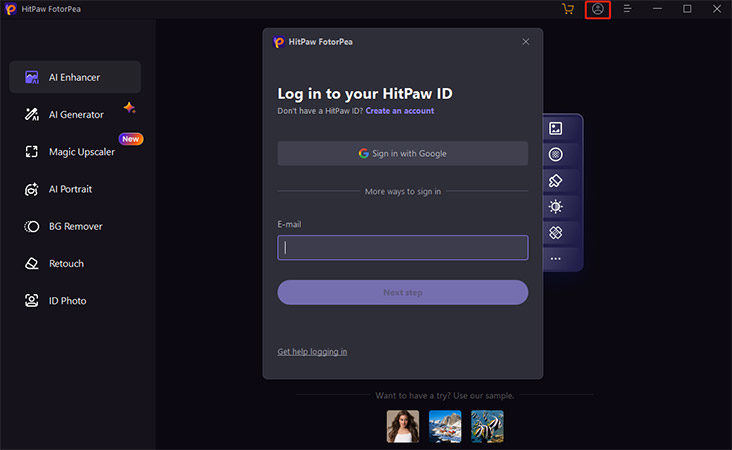
2. Click the “Forget your password?”
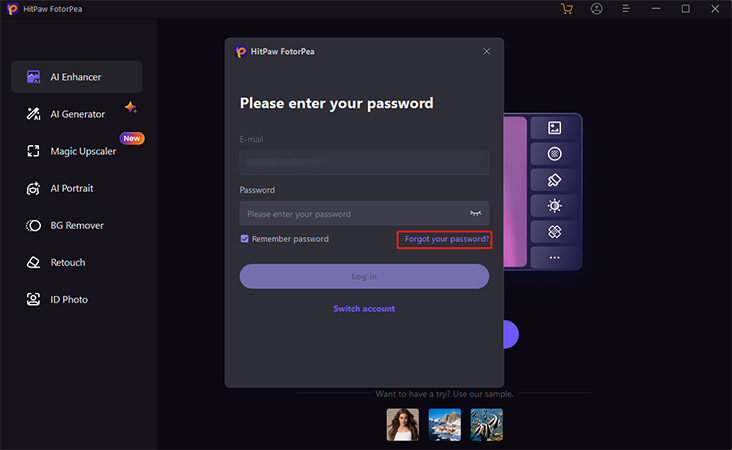
3. Enter your email address and click the "Send" button. We will send you a verification code to your email address. Please enter the verification code you received at the bar of the verification code, and enter your new password at the same time.
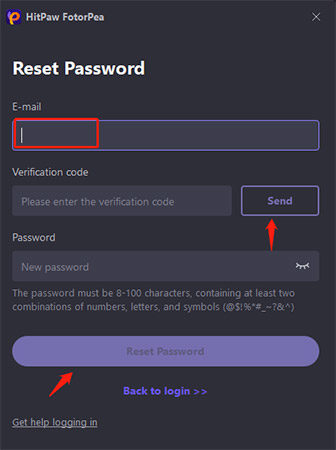
Notes: If you do not receive the verification code, please try to find it in the spam letter.
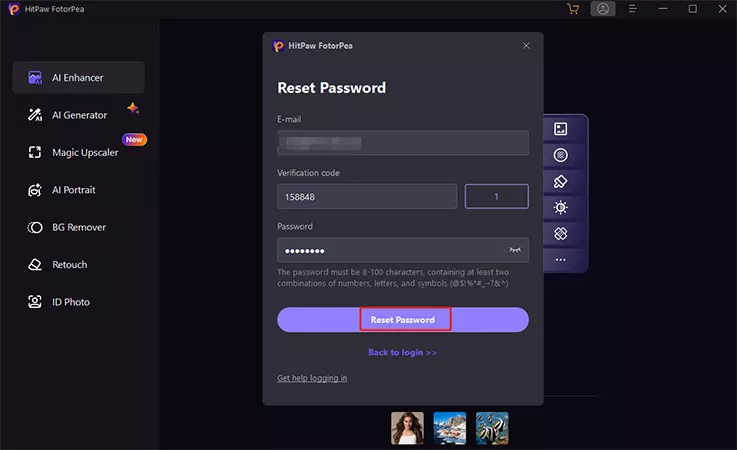
4. Click on the "Reset Password" button after everything is ready. After a successful reset, you can log in with your new password.
Register on Multi-Computers
Usually, the license you purchased can only be used on one PC at a time.
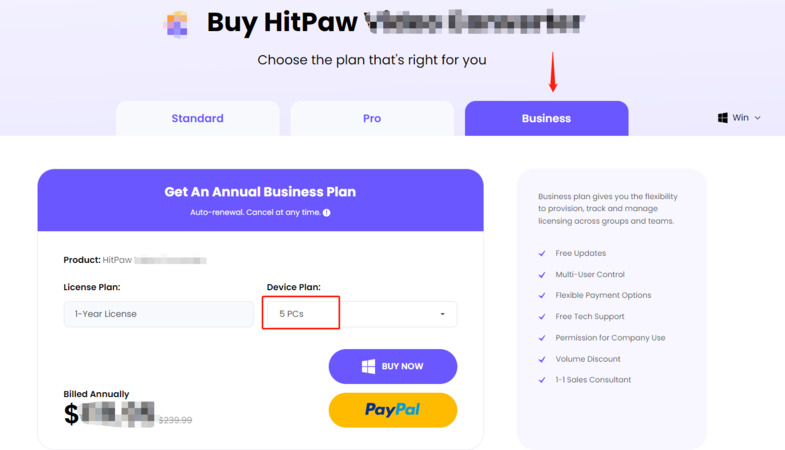
If you would like to register the purchased product on several different computers, consider purchasing a Business license. You can find Business License on all HitPaw products' purchase pages.
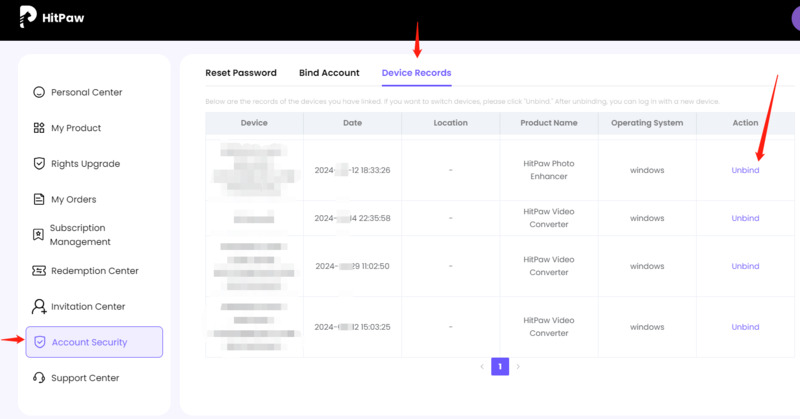
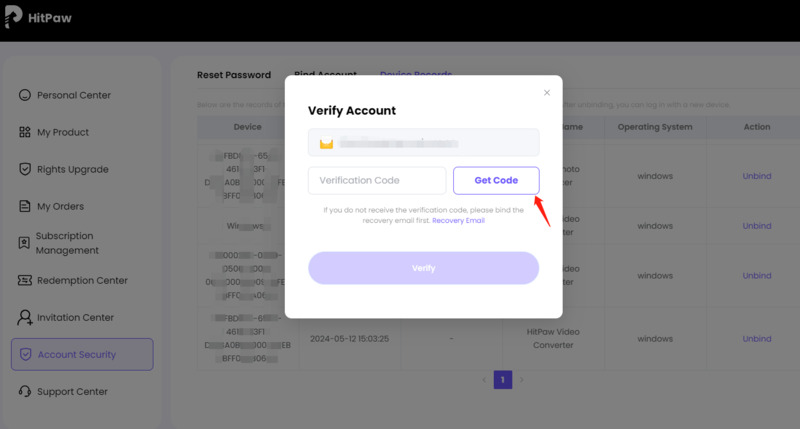
However, if you wish to use the program on another computer, please visit our official website and log in to your HitPaw account in the Account Center. Go to 'Account Security - Device Records,' locate the product and device you want to unbind, click 'Unbind,' and complete the verification step by entering the verification code. After this, you can log in and use the software on the new computer.
