Improve Instagram Photo Quality with the Right Tools
You've taken a great photo, but once it's up on Instagram, it doesn't look the same. Maybe it appears blurry, too dark, or loses its sharpness. This is a common problem, and you're not alone. Many users struggle with how Instagram compresses and displays photos. But the good news is, there are simple ways to correct this. With the proper tools and with following easy tips, you can upload clean, crisp, and eye-catching photos that actually are good on instagram photo quality.
Part 1: Signs Your Instagram Photo Quality Isn't Good
Let's consider how you can recognize when photo quality has fallen before we can correct it:
Photos Look Pixelated After Upload
This occurs whenever Instagram over-compresses the photo. You will be able to see jagged edges or fuzzy details, particularly around objects.
Noise and Grain in Darker Images
When you took your image in a dark environment, you are likely to notice specks or grain, particularly in the shadows. Instagram photo quality exacerbates this during compression.
Blurry or Dull Visuals on the Feed
At other times, your picture appears good on your phone's gallery but becomes fuzzy or loses color upon uploading. This is yet another indicator of compression or incorrect photo settings.
Side-by-Side Comparison with Original Photo
The simplest way to notice quality loss is by comparing the uploaded version with the original. Check for sharpness, depth of color, and lighting. If there's an apparent drop, your upload settings may be the culprit.
Part 2: Quick Fixes You Can Do Before Upload
Sometimes, altering minor things ahead of time will go a long way.
Resize to Recommended Dimensions
Instagram performs at best with given dimensions. Resize your image ahead of time to one of these before uploading:
- Portrait: 1080 × 1350 pixels
- Square: 1080 × 1080 pixels
- Landscape: 1080 × 566 pixels
Instagram will reduce size if your pic is too large, and then lower the image quality.
Save Photos in JPG at Highest Quality
Save as a JPG at the high quality instagram pictures setting. PNG is sharper and larger, and Instagram photo quality will compress it more. JPG strikes the right balance of quality and space.
Use Instagram's In-App Camera Wisely
The in-app camera isn't always the best. But if you do, make sure:
- Your lens is clean.
- You have good lighting.
- You don't over-zoom.
Part 3: 5 AI Tools to Improve Instagram Photo Quality in 2025
Smart editing software is now simpler to use and more powerful than ever. Such software employs AI to tidy up photo quality instagram, eliminate noise, enhance fuzzy details, and automatically adjust lighting. Below are five of the best tools you can utilize in 2025, beginning with our number one choice.
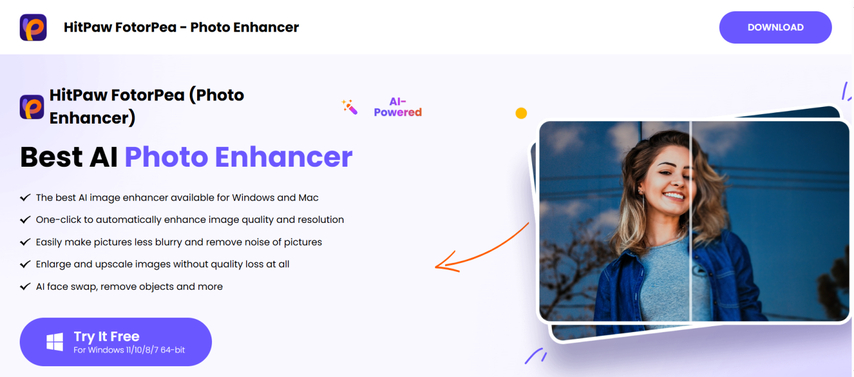
1. HitPaw FotorPea
HitPaw FotorPea is among the top software for enhancing photo quality using AI. It specializes in eliminating noise and sharpening your photos without making them appear artificial. The "Realistic Denoise Model" assists in cleaning up low-light or phone camera photos that typically introduce grain. This is ideal for night photography, portraits, and travel photography. You don't have to manually tweak settings-simply upload your picture and let the AI get to work.
Pros:
- Removes noise without obscuring small details
- A good tool for correcting grainy or low-light photos
- Undemanding one-click method
- No watermark in paid version
Cons:
- Fewer features in the free version
- Processing speed will vary depending on your device
Boost Instagram Photo Quality with HitPaw FotorPea
Step 1: Download and Install HitPaw FotorPea
Install HitPaw FotorPea from the official website to start improving the quality of your Instagram photos.
Step 2: Upload the Original Photo
Import your photo by clicking "Choose File" or dragging it into the software.

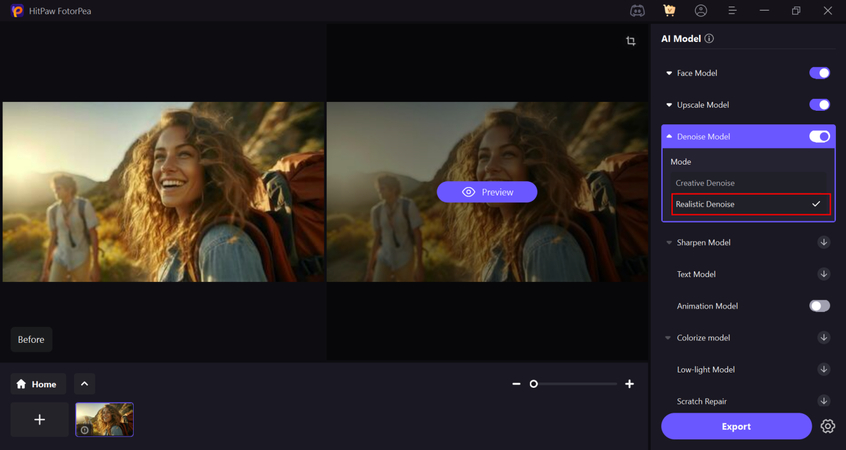
Step 3: Select AI Model
Select the "Realistic Denoise" model to enhance the photo's quality by reducing noise and sharpening details.
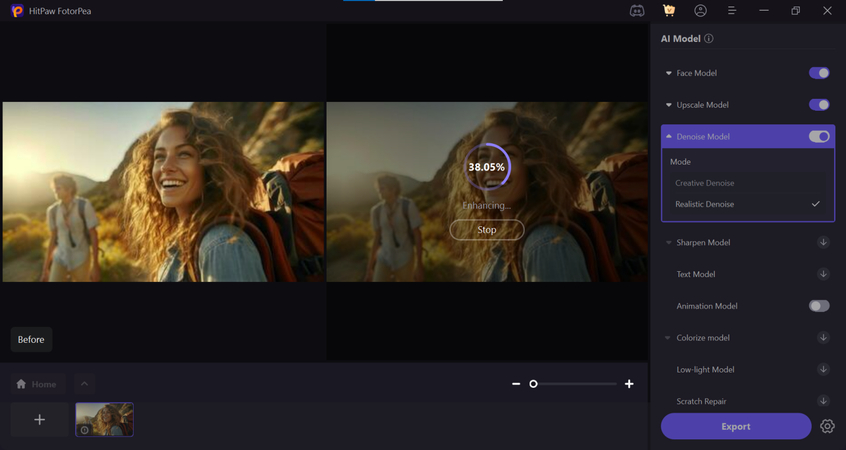
Step 4: Preview the Effect
Click "Preview" to check the enhanced quality, then hit "Export" to save the improved photo.
2. Let's Enhance
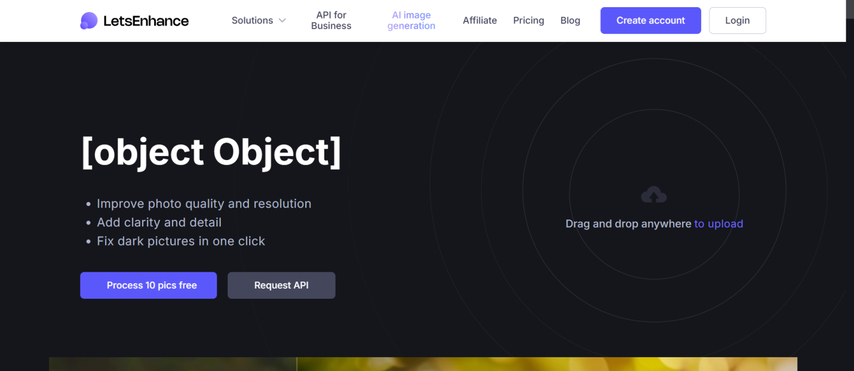
Let's Enhance is an online AI tool that improves photo resolution and sharpness. It's especially useful for people who have older, blurry, or small-size images they want to make clearer. This tool automatically high quality images on instagram without making them look stretched or pixelated. It's great if you're posting something from an old phone or reusing older photos. The platform supports batch editing, which is helpful if you're working with multiple images.
Pros:
- Upscales images up to 4x without losing detail
- Preserves edges and text as sharp
- Supports batch processing of images
- Web-based, no download required
Cons:
- Needs an account to use
- Free credits are limited; advanced features require a paid subscription
3. Remini
Remini is a widely used mobile app that employs AI to enhance image clarity, particularly for faces. If your selfie is blurry or not detailed enough, Remini can make it clearer within seconds. It smoothes out skin, enhances facial features, and even corrects slightly out-of-focus images. It's extremely easy to use-just select a photo and click a button.
Pros:
- Ideal for selfies and portraits
- Easy and quick-perfect for speedy uploads
- Android and iOS availability
- Ideal for correcting out-of-focus images
Cons:
- Ad-supported in the free version
- Can overdo the editing if not handled with care
4. Adobe Photoshop Express
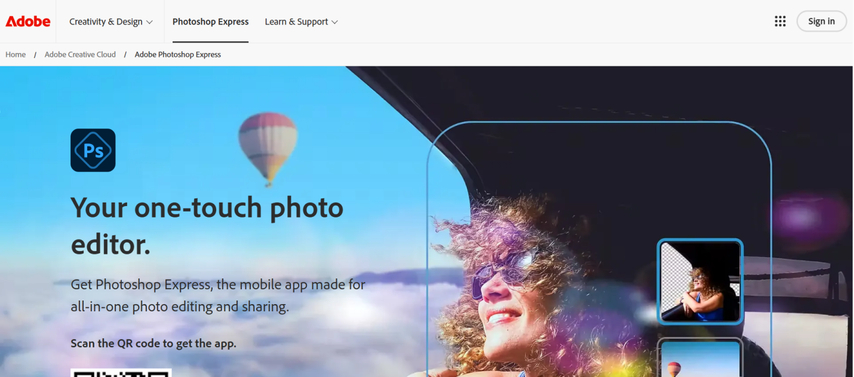
Adobe Photoshop Express condenses the power of Adobe's editing capabilities into a reduced mobile version. The application provides more than just filters-it allows you to adjust exposure, sharpness, white balance, and so on. It doesn't solely depend on AI but provides you with powerful manual control with smart AI recommendations. It's suitable for individuals who desire more control over their edits but want to keep them fast.
Pros:
- Excellent balance of manual and AI editing features
- Very broad set of features beyond sharpening
- Syncs with Adobe Creative Cloud
Cons:
- Features locked behind subscription
- More than basic users might require
5. VanceAI Image Enhancer
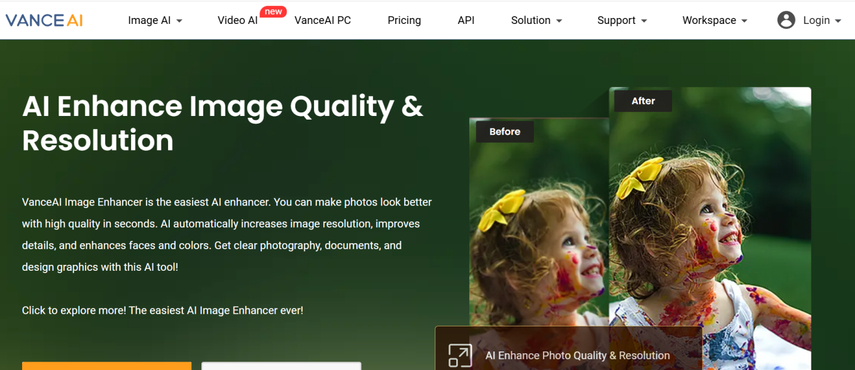
VanceAI is a web application that specializes in sharpening and improving image quality automatically. It's designed for people who need to get results quickly without having to make numerous changes. Simply upload your image, select the kind of improvement you desire, and let the AI do its thing. It's particularly good at rescuing soft or marginally blurred images. No software installation is required-it all happens in your browser.
Pros:
- Clean and simple interface
- No installation of software required
- Suitable for light sharpening and clarity
- Enhancement options available (sharpness, denoise, etc.)
Cons:
- Only a few free uses available per month
- Processing might be slow during peak hours
Part 4: Posting Habits That Affect Image Quality
Some habits get your Instagram photo quality to look bad. Try to avoid the following:
Uploading from Screenshots or Screen Recordings
If you upload a screenshot of a picture, the photo is already compressed once. Instagram then compresses it again to make it blurry.
Editing in Multiple Apps Before Posting
Every time you edit and save a picture in another application, it could lose some quality. Attempt to do most of the edits in one location, or save high quality every time.
Using Filters That Add Too Much Contrast or Saturation
Some Instagram photo quality filters may look nice but damage quality. Too much contrast or color can hide details and make photos appear over-edited.
Part 5: Best Practices for Sharp, High-Quality Instagram Feeds
To keep your whole feed looking good, follow these habits:
Stick to a Consistent Resolution Style
Don't mix very high-res and very low-res photos. Keeping a similar quality across your posts helps your feed look clean and well-balanced.
Avoid Compression-Heavy Apps for Uploading
Third-party apps compress images prior to sending them to Instagram. It is always best to upload directly from your camera roll or picture gallery.
Preview Before You Post on Multiple Devices
What appears great on your phone might not appear great on a desktop or tablet. Preview your image across various screens if you are concerned about how others view it.
FAQs
Q1. Why do my Instagram pictures appear good in gallery but poor online?
A1. Because Instagram photo quality compresses images during upload. It shrinks file size to conserve space, which decreases image quality.
Q2. Does image quality degrade when applying Instagram filters?
A2. Yes, occasionally. Filters enhance contrast and saturation, which can diminish detail and introduce noise.
Q3. Do I use PNG or JPG for uploading pictures to Instagram?
A3. Use JPG with the highest quality. PNGs are bigger and tend to get compressed further during uploading.
Conclusion
Poor Instagram photo quality typically originates from a combination of incorrect file size, bad editing practices, and compression on upload. However, using the proper equipment and a couple of adjustments to posting can have your feed looking a lot better. For optimal performance, use HitPaw FotorPea along with the Realistic Denoise Model. It removes noise and makes your pictures sharper while maintaining a natural look. It is a smart and easy solution for keeping your pictures looking sharp even after being posted on Instagram.


 HitPaw Univd (Video Converter)
 HitPaw VoicePea
  HitPaw VikPea (Video Enhancer)

Share this article:
Select the product rating:
Daniel Walker
Editor-in-Chief
This post was written by Editor Daniel Walker whose passion lies in bridging the gap between cutting-edge technology and everyday creativity. The content he created inspires the audience to embrace digital tools confidently.
View all ArticlesLeave a Comment
Create your review for HitPaw articles