The Complete Guide to Using the Photoshop Sticker Filter
Photoshop is filled with filters that could completely change the look and feel of the images, but only a few features are as eye-catching and playful as the Sticker Filter. This effect remains perfect for transforming ordinary images into sticker-like artworks. It works brilliantly by reducing the details, boosting the contrast, and emphasizing the strong edges, producing a graphic style that is both fun and modern.
Regardless of whether you're aiming to design the stickers for social media, adding the bold look to the personal images, or just experimenting with the creature tools of Photoshop, the Sticker Filters are easier to use prior to delivering the striking results. You can tune in to the post to learn everything about the Photoshop sticker filter, and we'll also help you know how to apply the sticker filter in Adobe Photoshop.
Part 1. What Is the Photoshop Sticker Filter?
The sticker filter remains a part of Photoshop's artistic filter collection.
Unlike the traditional photo edits that could enhance the realism, this filter tends to take a graphic design approach.
It tends to simplify the colors and eliminates the fine details before emphasizing outlines to give your photo a posterized and flat style. The result is quite similar to the vinyl stickers or cut-out graphics you may see in comic books, digital sticker packs, or street art.
How does it differ from other artistic filters?
Although Adobe Photoshop might come up with the creative filter, the Sticker Filter remains standout courtesy of the balance between boldness and simplicity.
- A cutout filter will reduce the color in the large flat areas, but will often lose the edge details.
- The poster edges filter will add the sketchy outlines, but will keep some textures.
- Oil paint or watercolor filters may focus on the brush-like textures and strokes.
- Sticker Filter could strip away the textures, sharpen edges, and enhance the contrast before creating the bold sticker-like effects.
Use Cases of the Sticker Filter
You may be wondering about the use cases where the sticker will be helpful.
1. Memes and social Media Posts
You could easily turn a photo into the sticker-style artwork that may grab the attention on Instagram, Twitter, or TikTok.
2. Digital Sticker Packs
You've got the leverage to make the fun stickers I'd yourself, your friends, or your pets to use in chat apps or design projects.
3. Graphic Poster
You may also combine the sticker effect with the bold text in posted designs, albums, covers, or event flyers.
4. Personal Branding
You may produce a unique profile picture that may look playful, modern, and artistic.
Part 2. How to Apply the Sticker Filter in Photoshop
Applying the Photoshop sticker filter is fairly simple, as you'll only need to act upon a few simple steps to use the Photoshop sticker filter. You can look at the detailed guide to apply the Photoshop sticker filter without having to put in any extra effort.
Step 1: Start Adobe Photoshop and then import the photo you wish to edit. Then you're required to select the photo with a clear subject like an object, pet, or portrait, as the filter works brilliantly when the main subject stands out.
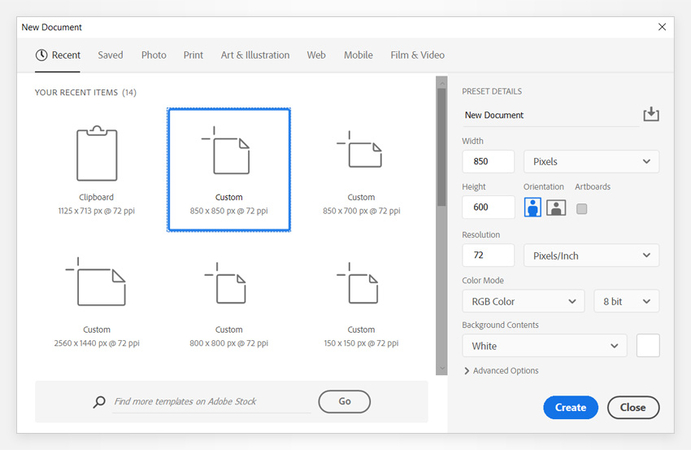
Step 2: Right-click the image layer in the Layers Panel and choose the Convert to Smart Object icon. Doing so will ensure that the filter is applied nondestructively, meaning you'll be able to tweak or remove it later without even altering the photo.
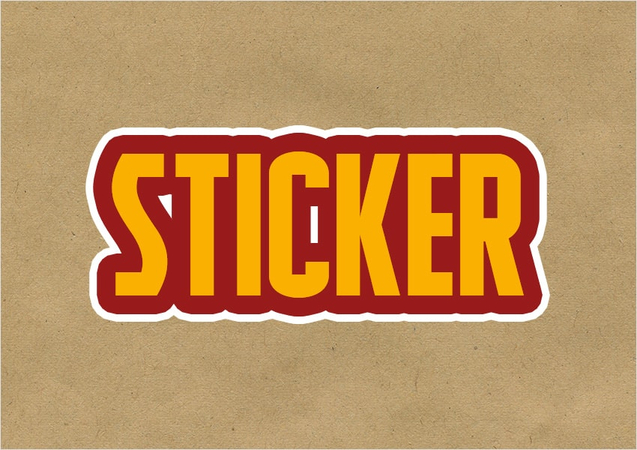
Step 3: From the top menu, you'll need to navigate to the Filter and Filter Gallery. Doing so will open a preview window where you can easily browse all the artistic filters and Photoshop effects.
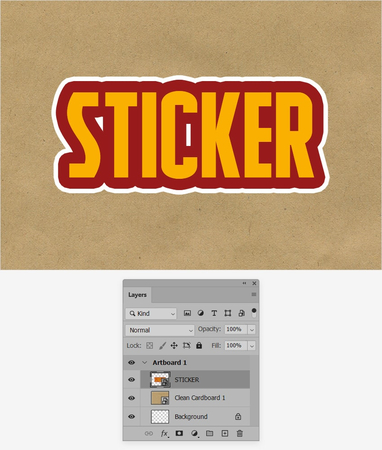
Step 4: In the Filter Gallery, you'll need to start the Artistic Folder and then choose the Sticker
icon from the list. You can then use the available sliders to fine-tune the look. Edge thickness tends to control the boldness and width of the outlines that may appear.
Edge intensity will indeed adjust how strong the contrast between edges and colors might look.
Posterization will indeed help you to control how simplified the colors are, reducing or increasing the number of tones in the image. You're advised to keep experimenting with these settings until you see the perfect balance for the photo.
Once you're happy with the effects, you can press the OK icon to apply the filter. You could also enhance the sticker look by adding a stroke outline and boosting the colors. Then, you'll be able to export the video.
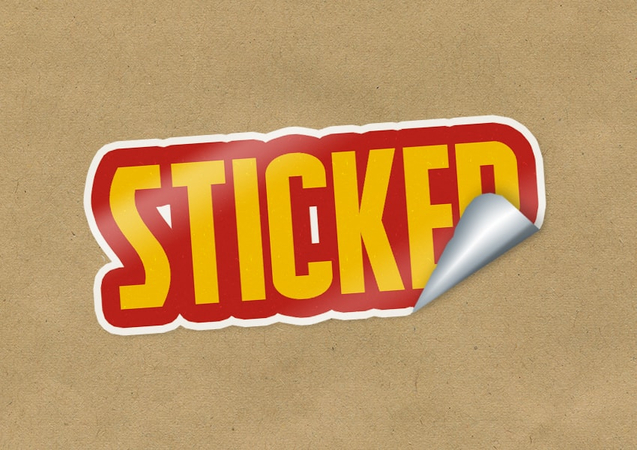
Part 3. The Best Alternative to Make Stickers with HitPaw FotorPea
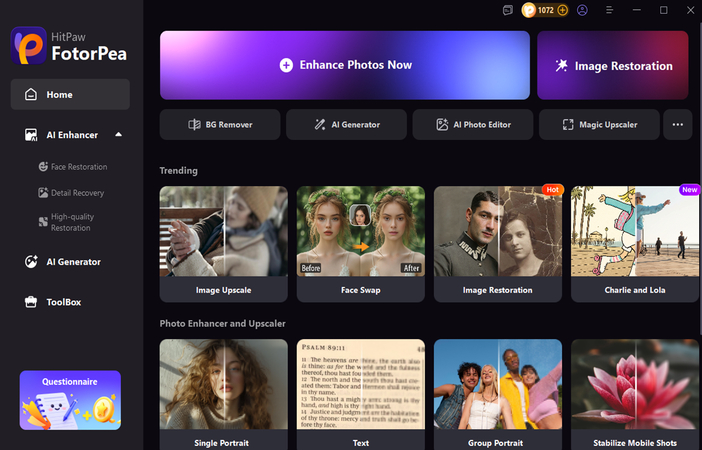
If adding the Photoshop sticker filter to the images is difficult for you, try out HitPaw FotorPea as the best alternative to Adobe Photoshop to create the sticker filter. It ensures that the sticker filters you create come in outstanding image quality, and it also supports creating multiple sticker filters simultaneously.
Apart from generating the sticker filters, HitPaw FotorPea also enables you to apply several outstanding image editing techniques to elevate the quality of the generated images.
Features
- Allows you to create the sticker filters quickly
- Works on Mac and Windows
- Provides a simple user interface
- Select from plenty of exciting image styles
- Create highly realistic images of the sticker filter
- No watermark in the generated sticker filter
- Create multiple sticker filters simultaneously
- Enhance the generated sticker filters
- Customize the background of the sticker filters
How to create the stickers with HitPaw FotorPea?
-
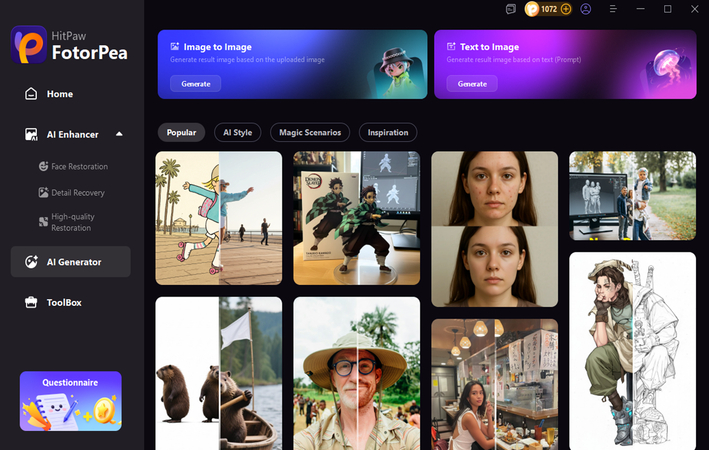
Install HitPaw FotorPea on the computer and then tap on the AI Generator icon while starting the software.

-
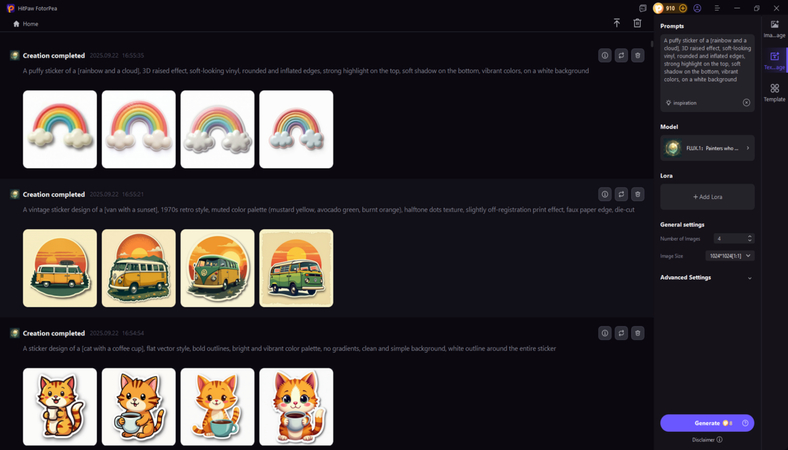
After selecting the Text to Image icon, you can input the text description of the type of images you wish to create. If you want to apply the written text description to the uploaded photos, you can also select the Photo to Photo icon.

-
Tap on the Generate icon after selecting the image resolution, style, and various other parameters to start creating the sticker filters. After reviewing the sticker filters, you can then select the Download button to export the sticker filters to your computer.

Part 4. FAQs of Photoshop Sticker Filter
Yes, the Sticker Filter works absolutely best on the photos with a clear subject and strong contrasts. Objects, pets, portraits, and simple backgrounds might look good because the filter tends to emphasize the outlines and bold colors. Cluttered or busy images can sometimes lose clarity, so it is always a good idea to crop or clean up the image first for the best effects.
Most effects in Adobe Photoshop are surely found under the filter menu at the top of the workspace. From there, you could easily access the Filter Gallery, which includes the Sticker Filter along with many other artistic effects. You could explore later styles and adjustment layers to add the extra creative touches like strokes, color changes, or Shadows.
Final Words
The Photoshop Sticker Filter remains a versatile and fun way that helps anyone, from beginner to advanced users, to produce sticker-style, graphic, and bold images in a few moments. By simplifying the details, enhancing outlines, and boosting contrast, it transforms the original photos into playful artworks that could stand out on social media, digital sticker packs, or posters.
HitPaw FotorPea remains the best alternative to Adobe Photoshop for creating sticker filters. It allows you to create multiple sticker filters simultaneously, and you can explore several image-enhancing techniques.
Leave a Comment
Create your review for HitPaw articles


