8 Proven iPhone Photography Tips and Tricks for Breathtaking Photos
Gone are the days when capturing professional-quality photos required costly DSLR cameras and technical know-how. With the new iPhone 17, photography is now truly at your fingertips. Its cutting-edge camera system lets you turn everyday moments into stunning visuals. Whether you’re documenting life’s highlights or exploring your creative side, mastering iPhone 17 photography tips can transform ordinary snaps into unforgettable visual stories.
The shift from traditional cameras to smartphones has made photography for everyone. But having a great camera doesn’t mean you’ll take great photos. That’s where these 8 iphone photography tips come in. From composition basics to advanced shooting techniques, these workable tips will help you get the most out of your iPhone and take photos that truly pop.
Part 1. Mastering Composition: The Key to Great Photography
Tips for Photography with iPhone: The Rule of Thirds
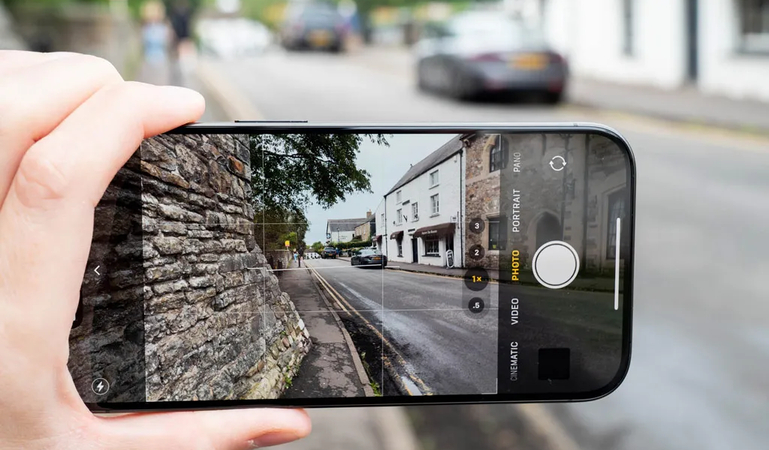
A perfect layout of the photographs rests on the Rule of thirds. It is the primary concept, and it diminishes your frame a million times into nine even divisions, with a couple of horizontals and a couple of verticals that create openings that, of course, attract the gaze of the observer. These tips for photography with iphone focus on strategic placement rather than centering your subject.
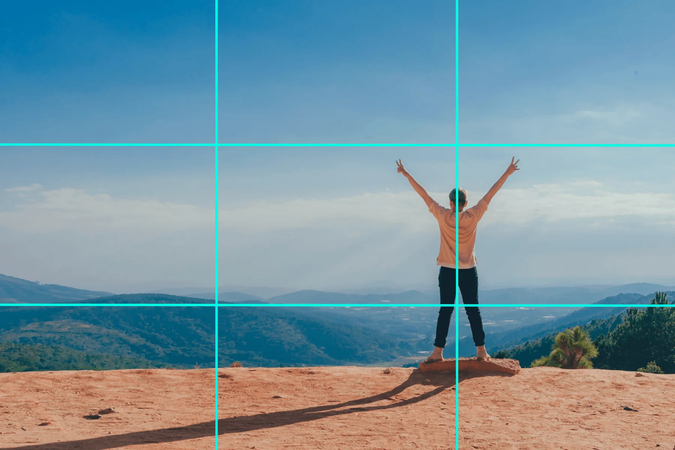
On your iPhone you can enable the grid by going to the settings application and tapping into the camera section and turning on the grid. These graphics make it easier to use the rule of third. Moreover, you can put your subject on one of these lines or the crossroads. In the case with the portraits, the person should have his eyes horizontally aligned with the upper plane. In the case of the sky or the foreground, the landscape capture will be made in a manner that the top or bottom of the picture are at the same level with the horizon of the picture.
The reasoning of the thoughts of how to capture pictures with the iphone capabilities is that of course it is where we want our eyes to be and this makes more exciting and interesting pictures than the ones in the middle of the image.
Use Leading Lines and Symmetry
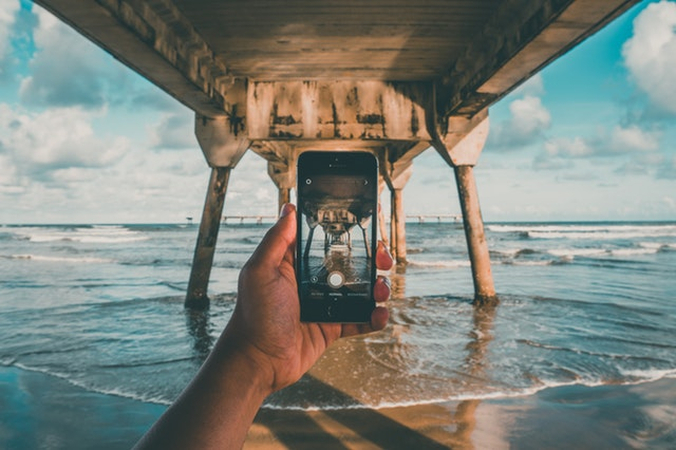
The strongly dominant compositional techniques are leading lines, which show the flow of the eye in your photograph, which is deeply explained and flowing. Find natural lines around you, stairs, posts of a fence, beach, and even shadows will be good sources of leading lines. These elements must attract attention to whatever you are discussing and this provides a line of sight to the eye.
Another interesting compositional technique is symmetry. Mirror images in the water, the building or the inherent beauty of flowers and faces can make the images very impressive. It is important to identify such patterns in your daily life and place your iPhone to take pictures of them.
Part 2. Lighting Techniques for Stunning Shots
Harness the Power of Natural Light
Natural lighting is the best source of light to use in photography because it is flattering and can be used in various ways. These simple iphone photo tips advise that you should not work against the light but use the available light. The golden hour (the time immediately after the sun sets or just before its appearance) is when light is warm and soft and it adds glow to just about anything.
Noon sun casts hard shadows and unfavorable lighting effects. Rather, find an open shade or until the light is naturally diffused by clouds. John can also use window light to give beautiful and soft effects in their portraits and still life photography. Note that the orientation and quality of light can make or break the mood and appearance of your photos.
Capturing Magic with iPhone Night Photography Tips
The advanced iPhones have a sophisticated Night Mode that automatically switches on during the low-light scenarios. These are iphone photography tips that allow you to take the most out of this technology. Night Mode is a photo effect that requires several shots and then blends them; therefore, stability is essential to capture a sharp photograph.
It is always recommended that one uses a tripod or a stable surface and does not move the camera when taking a photograph. The use of artificial light sources is also among these iphone night photography tips: street lights, neon signs, and light buildings can be used to provide dramatic effect to a picture taken at night. And have no fear experimenting with figures in the city lights or in the soft glow of inside lighting coming out into the darkness.
Part 3. Essential iPhone Photography Tips and Tricks
Shooting with Burst Mode and Live Photos
Burst Mode is best at capturing action or unpredictable shots in motion. To use this feature, hold the shutter button that takes several shots in rapid succession. The method is indispensable when capturing children, pets, sports or any situation where time is of the essence. You can later go and choose the best frame in the sequence.
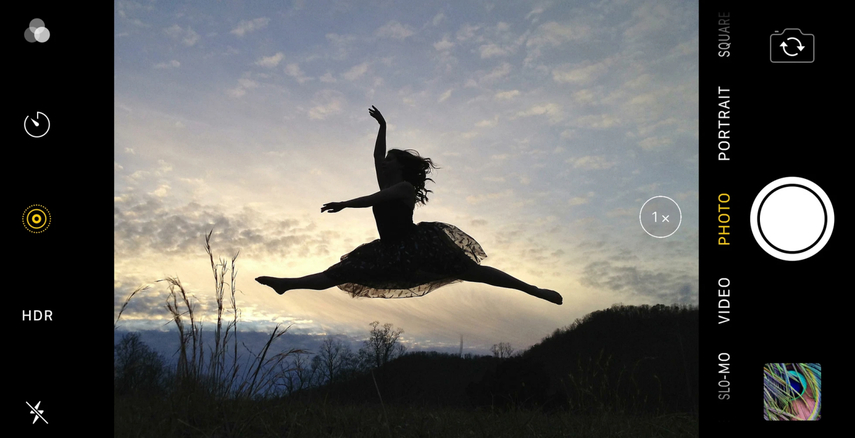
The Live Photos are an additional feature that can enhance your photography by capturing 1.5 seconds of videos before and after you take the shot. These basic iphone photography tips produce mini-movies that lack emotion and motion in the traditional still photographs. Live Photos can be taken apart frame by frame, and, maybe, you can capture something even better than the initial picture.
Focusing and Exposure Control
Manual control takes the subject matter of focus and exposure to a new level. To focus anywhere on the iPhone, touch the screen. To do this, press and hold until you see the AE / AF Lock- this locks the exposure and focus until you press a different part or take another photo.
These are the best iphone photography tips and they also entail the knowledge on the exposures compensation. When you have a focus, you can adjust the brightness of your image by clicking on the sun icon up and down. The control also helps you to make well exposed photographs in harsh lighting conditions.
The Art of Specialization: Landscape and Food
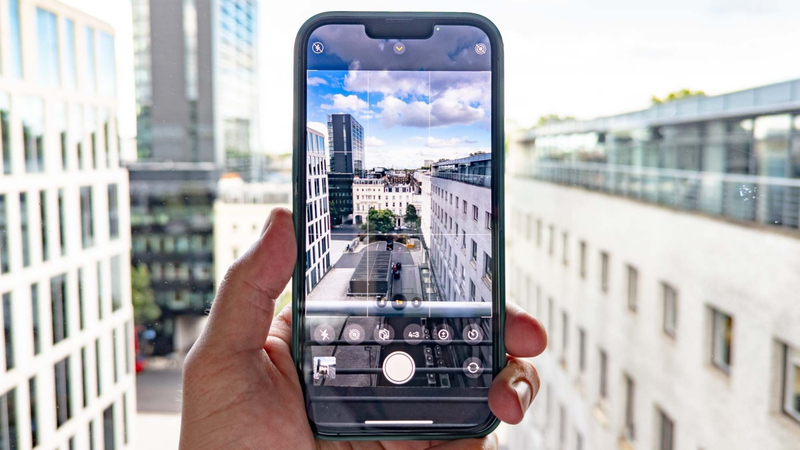
iPhone landscape photography tips center on using Panorama mode effectively and finding compelling foreground elements. Panoramas are most effective with inanimate objects and low movements. Add some interesting foreground objects, such as rocks, flowers, or architectural features to create depth and to make the viewer focus their eye into the picture.
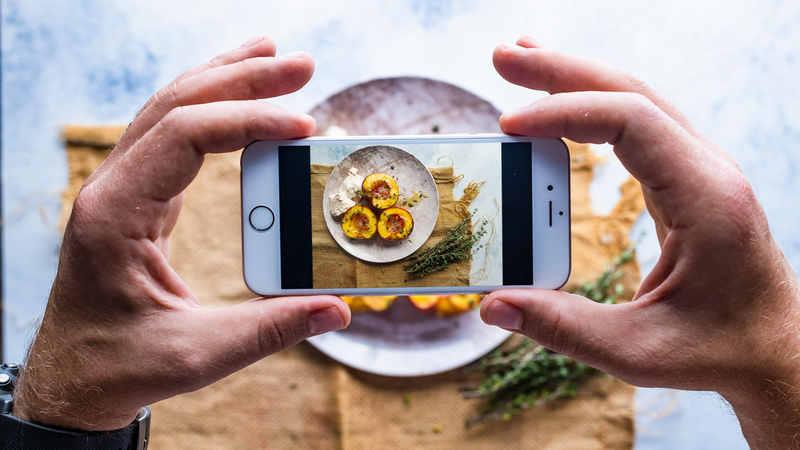
Food photography tips iphone enthusiasts should focus on natural lighting and creative angles. Position the shoot close to the windows to have soft and even light, use overhead shots, 45-degree shots, and close-ups to emphasize textures and details. It also counts with styling, clean dishes, and clever placement to make food look more appealing and photogenic.
Part 4. Post-Processing—Elevate Your Photos with an AI-Powered Tool
Why Post-Editing is a Crucial Step
- Enhance Any Photo – Even the most perfectly composed and brightly lit shots can benefit from post-processing to reach their full potential.
- Technical Corrections – Adjust color, exposure, and other technical aspects to transform good photos into excellent ones.
- Limitations of iPhone’s Built-in Editing – While iPhone offers basic editing tools, advanced features like noise removal, deblurring, and resolution enhancement are limited.
- The Role of Post-Processing – Professional photography relies on both capturing the image and refining it afterward to achieve the desired creative vision.
Recommended Tool—HitPaw FotorPea Photo Enhancer
HitPaw FotorPea is an exceptional example of an AI-based software that is created with the specific purpose of resolving issues that plague photography. It is a smart app that will automatically process your photos and provide the necessary improvements, eliminating the need for any editing skills to achieve a high-quality picture.

- AI Denoise Model – Perfect for cleaning up grainy or low-light shots taken with your iPhone 17, making night photography look crisp and clear.
- Face Model – Enhance portraits by unblurring faces and bringing out fine details, ideal for selfies and close-up shots.
- Upscaling Option – Enlarge your iPhone photos up to 16K resolution without losing quality, great for printing or professional projects.
- Photo Restoration – Revive old or damaged photos and combine them with your iPhone edits to create polished, shareable memories.

These iphone camera photography tips are even smarter with intelligent post-processing software that knows your photography purpose and improves on it.

Conclusion: From Snapshots to Masterpieces
Mastering iPhone photography takes practice, from composition basics like the rule of thirds to advanced features like night mode and manual exposure. Combine these skills with powerful editing tools like HitPaw FotorPea to unlock endless creative possibilities.
Remember, the best camera is the one in your pocket—your iPhone 17 is ready to capture life’s moments, adventures, and artistic inspirations. Grab it, start shooting, and turn your shots into stunning memories!
Leave a Comment
Create your review for HitPaw articles


