Edit Pro Tips: How to Improve Your Video Editing Workflow
Are you a content creator who's struggling to stand out online? Everyday you need visually engaging video clips that convey your message effectively. As a result, you need to improve your video editing skills and practice a lot before making your content live online. To make things easier for you, this article discusses the edit pro tips that you can follow.
Part 1. 14 Video Editing Methods to Instantly Upgrade Your Footage
The following are the video editing methods that can give your footage a professional look:
Tip 1. Plan Your Video Before Editing
Create a rough plan before you start editing. When you know what you need next, you will take shots easily. This minimizes confusion and helps you follow a clear plan during editing.
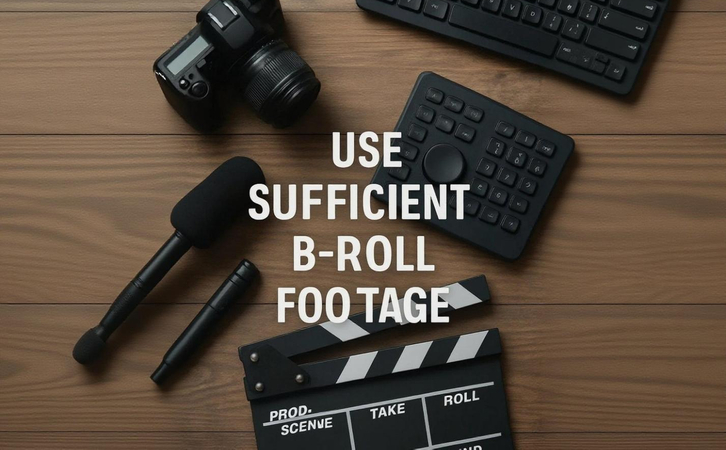
Tip 2. Use Sufficient B‑Roll Footage
This footage supports your main story and makes your clip interesting. Therefore, always shoot more than you think you'll need to cover up for the rough cuts. It will keep your viewers hooked and make the transitions more natural.
Tip 3. Get the Best Software You Can Buy
Having good editing software can make a big difference as you get more tools to edit your craft. Choosing one that aligns with your skill level and editing budget is one of the major video editing tips. When you have better tools, you get more freedom to be creative with your final edit.
Tip 4. Make Tight Cuts to Maintain Flow
Remove unnecessary parts from your clips so the story can move smoothly. Mostly, tight cuts hold the viewer's attention, so avoid long pauses or awkward transitions. Moreover, sharp cuts maintain focus and help your story move at the right pace.
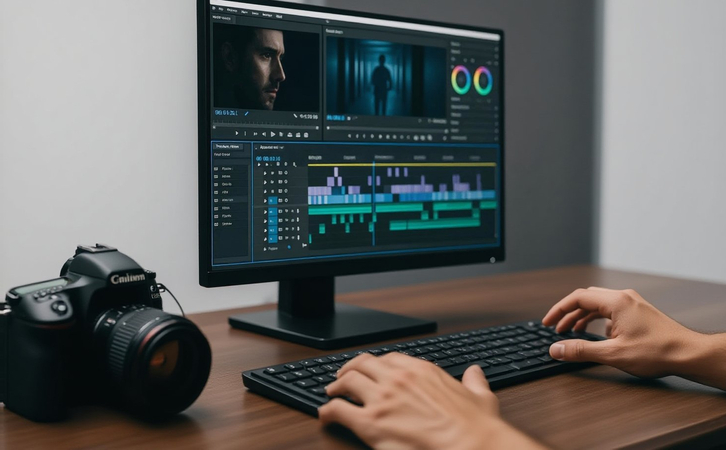
Tip 5. Apply Split‑Edits (L‑Cuts & J‑Cuts)
These edits can help your video flow better. Mostly, with L-cuts, the audio continues while the next clip starts, and with J-cuts, the audio starts before the new clip shows up. These cuts create a more natural feel, especially in the storytelling sequences.
Tip 6. Maintain Appropriate Pacing and Rhythm
Controlling the pacing is important as it decides how fast or slow your video will feel. Remember to keep it according to your story and audience, such as quick cuts to show excitement. It will maintain viewers' interest and make your content enjoyable.
Tip 7. Keep Audio Levels Consistent (~12 dB)
The best video editing methods include keeping audio at a steady volume to avoid distracting viewers. Thus, around -12 dB is a good level, and adjust all clips so nothing sounds too loud or too soft and is comfortable to listen to.
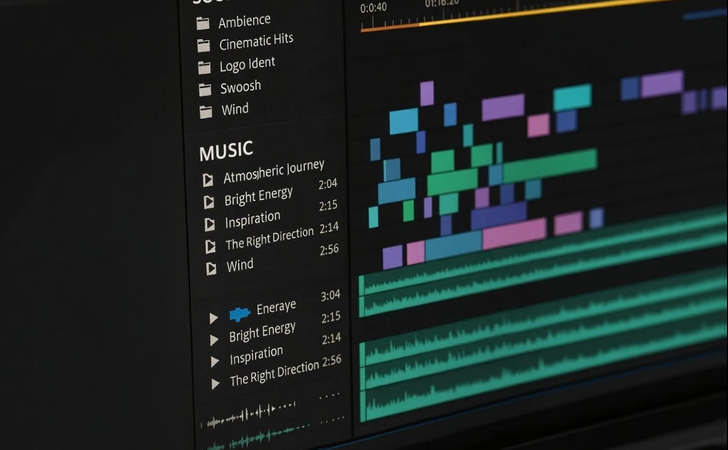
Tip 8. Use Quality Sound Effects and Music
Pick high-quality audio tracks because the background music and effects add feeling and depth. Moreover, ensure to match them with the tone of your video and not overpower the dialogues or distract the audience.
Tip 9. Optimize Visual Continuity (180° Rule, 30° Rule)
Your shots need to look natural, so you must follow simple rules. Don't cross the 180° line or make small angle changes of less than 30° to avoid confusing your audience.
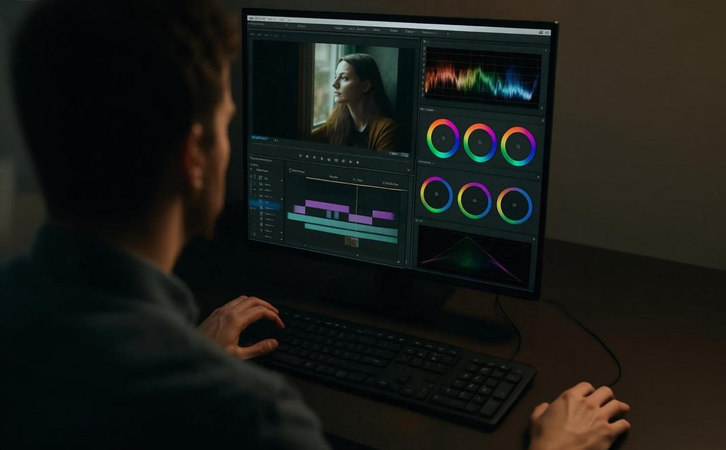
Tip 10. Color Correct and Grade Thoughtfully
Overall, one of the excellent video editing tips for beginners is to fix colors to make your shots look balanced and natural. Additionally, you must do color grading to set the mood, but don't overdo it.
Tip 11. Master Keyboard Shortcuts
Shortcuts are there to save you while editing, so learn the most common ones for your software. It will help you work more quickly and efficiently and make editing less tiring and more productive.
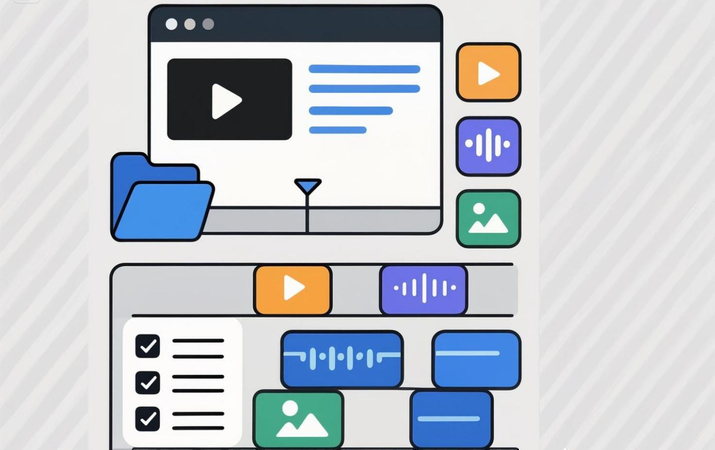
Tip 12. Organize Your Timeline and Assets
Ensure to keep your clips and audio in well-labeled folders. When your timeline is clean, the editing becomes easier as you can access your files anytime. This is particularly helpful in avoiding mistakes in complex projects.
Tip 13. Add Visual Effects Sparingly for Emphasis
If you add too many effects to your video, it will look messy. Therefore, use them only where they are essential, as subtle touches look best. If you do simple effects in the right way, it will highlight important moments in the best way.
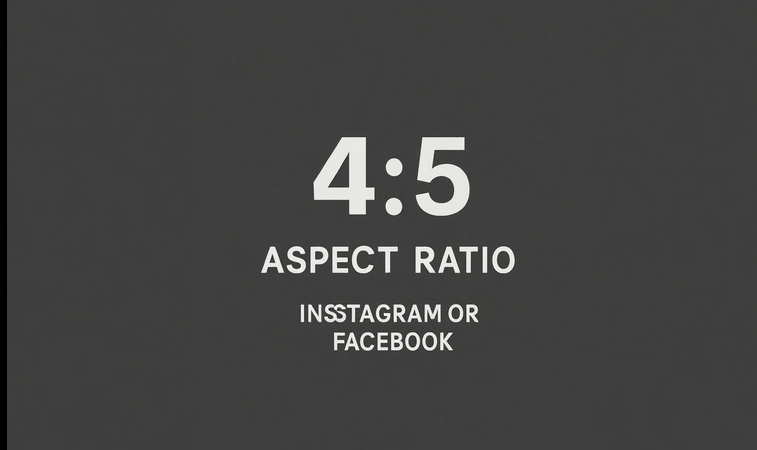
Tip 14. Choose the Best Export Ratio According to the Target Platform
The editing tricks include exporting your video in a format that fits the size of the platform where you’ll upload it. Each of the social media platforms demands a different size, so double-check your export settings to avoid poor quality.
Part 2. Video Editing Tips for Beginners: Do’s and Don’ts
If you’re new to the video editing world, here are the dos and don’ts that you must keep in mind before finalizing your craft:
Dos
- Plan your edit before starting filming so you know which shots to take.
- Take more footage than required so you can have more choices.
- Show three different supporting shots to make your video look natural.
- Start the scene’s audio before it to make the conversation feel real.
Don’ts
- Avoid jump cuts without extra footage because they don’t fit otherwise.
- Too many effects will distract viewers and make your clip look unprofessional.
- Loud audio above -6 dB is harsh, so it must not exceed it.
- The lighting or sound levels must be even, as otherwise, they disturb the viewer's focus.
Part 3. Master AI Video Editing Tricks with HitPaw Univd: Easy & Fast!
Most video editing softwares contains features that are hard to understand for beginners. Although video creation tips help a lot, user-friendly software that offers complete editing is what you need. In such situations, you can rely on HitPaw Univd (formerly HitPaw Video Converter) to enhance your videos easily. From basic video editing to video enhancement, Univd provides a user-friendly interface, which makes editing easier.
Key Features
1. Users can type their brand name in a specific color and add it as a watermark in their clips.
2. With HitPaw Univd, you can change the speed of your video and make it faster, even up to 4x.
3. The tool enables you to keep the volume high at specific points to show hype and low to show emotions.
4. By launching AI face blur in a video, it will automatically detect faces and blur them.
Guide to Edit Video With Perfection Using Univd
Below are the editing tricks that you can utilize for editing your clips with perfection by using HitPaw Univd:
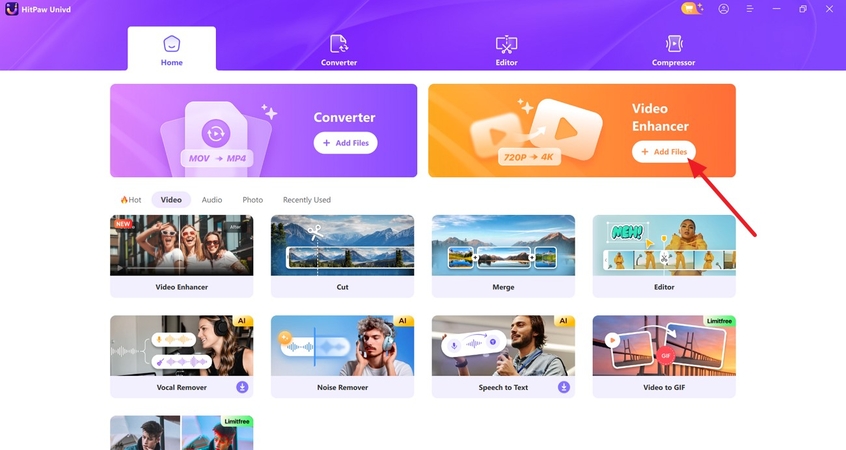
Step 1. Add Files in the Video Enhancer for EditingTo initiate the editing process, hit the “Add Files” button on the video enhancer from the homepage of HitPaw Univd and import your file.
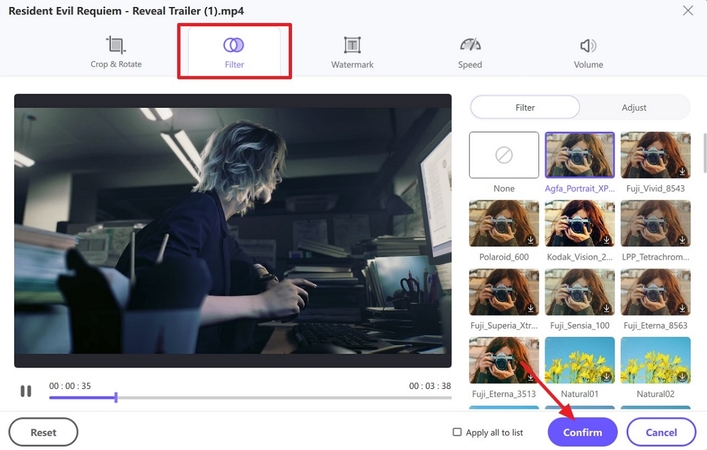
Step 2. Download a Matching Filter and Apply It
Next, use the "Filter" tab to pick a matching filter, download it, and click the "Confirm" button below to apply it to your video.
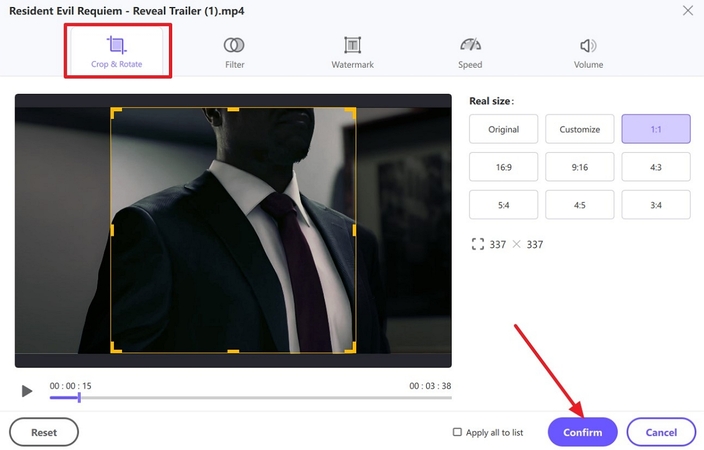
Step 3. Crop According to the Platform’s Aspect Ratio
Use the “Crop & Rotate” option to convert your video to the aspect ratio of the platform you’ll upload it to, and then hit the “Confirm” option.
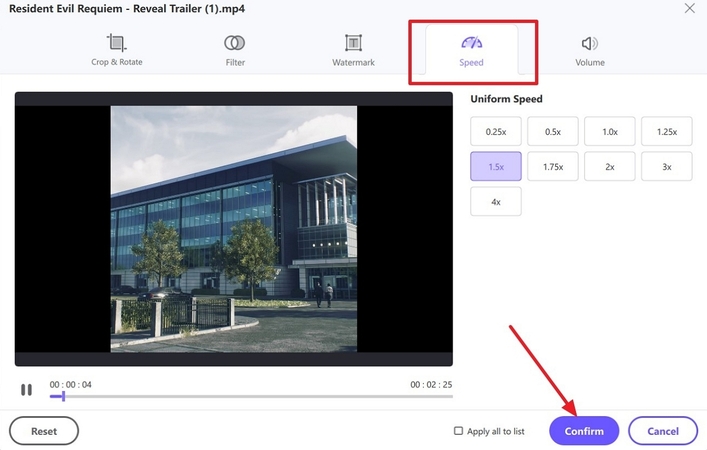
Step 4. Adjust the Speed of Your Video While Editing
With this, you can change the "Speed" of your video at different points and then select the "Confirm" button at the bottom.
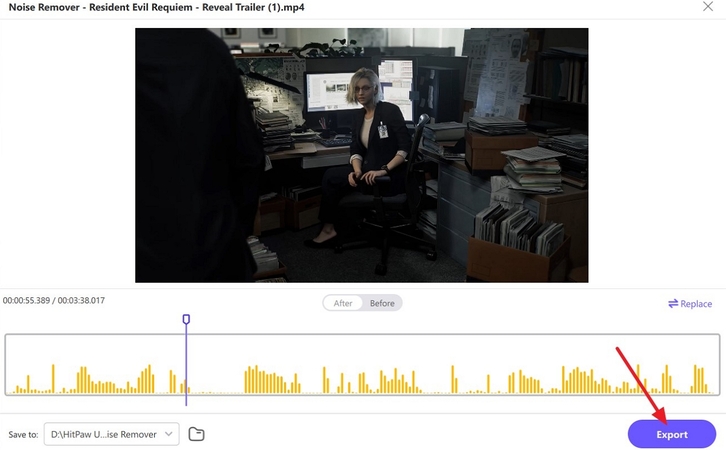
Step 5. Use the Noise Remover to Extract Noise
If you want to remove noise, go to the homepage and access the noise remover from there. Finally, when the tool extracts noise from your clip, use the “Export” button from the below right to save it to your device.
Part 4. FAQs on Video Editing Guidelines
Q1. Can I use CapCut or iMovie for professional edits?
A1. Yes, both tools offer timeline editing, transitions, and audio syncing—ideal for polished social media or YouTube videos. CapCut also includes AI features like auto-captions and filters.
Q2. How important is sound in video editing?
A2. Sound is crucial. Use noise reduction, volume balancing, and background music to enhance clarity and mood. Clean audio keeps viewers engaged and boosts overall video quality.
Q3. What is the 30‑degree rule?
A3. It suggests shifting the camera angle by at least 30° between shots to avoid harsh jump cuts. This makes your edits smoother and more cinematic, especially during interviews or dialogues.
Q4. What are some tips for editing YouTube videos?
A4. Keep intros under 10 seconds, use B-roll to cover cuts, apply zoom-ins for emphasis, and always clean up audio. These boost engagement and viewer retention.
Q5. Can HitPaw Univd handle YouTube video editing?
A5. Yes. HitPaw Univd offers drag-and-drop editing, AI subtitles, noise removal, and BGM tools—perfect for editing intros, trimming clips, or enhancing your YouTube content.
Conclusion
To conclude, this article discussed edit pro tips in detail and why they're important for beginners to learn. It also mentioned a tool, HitPaw Unvid, with which you can remove noise completely. Moreover, users can merge different clips together and add filters to them that match their vibe after downloading.


 HitPaw Edimakor
 HitPaw FotorPea
 HitPaw VikPea (Video Enhancer)


Share this article:
Select the product rating:
Daniel Walker
Editor-in-Chief
This post was written by Editor Daniel Walker whose passion lies in bridging the gap between cutting-edge technology and everyday creativity. The content he created inspires the audience to embrace digital tools confidently.
View all ArticlesLeave a Comment
Create your review for HitPaw articles