Master Light Portrait Photography with Simple Steps
The portrait photo of light is to use appropriate light to maximize the expression of the subject. Whether it's sunlight or indoor lighting, it's about how to handle lighting, and you can show it flat or deep. You don't need a studio or expensive equipment to take good light portraits. However, you should understand the mechanism of light and use it favorably for yourself. This guide introduces how to use light in portrait photography, how to set the camera, position the subject, and how to edit the final photo lighting tips without hassle.
Part 1: Choose the Right Light for Portraits
Light in portrait photography plays an important role in the finish of light portrait photography. Proper light can make the facial features appear natural and clear, and wrong light can create tight shadows and skin colors.
Natural vs Artificial Lighting
Natural light is light from the sun. Free and easy to use. Since light changes during the day, it can give a different atmosphere to the photograph. Artificial light includes lamps, LED panels, and flashes.
- Natural light emits soft light in the morning and late afternoon.
- Artificial light can be formed using soft boxes or diffusers.
- Easy to practice.
Golden Hour Benefits
Golden Hour is the time period immediately after sunrise or just before sunset. The sunlight during this time is soft and warm. Not too bright, you can add a beautiful shine to the subject's face.
- It is difficult to make a tight shadow.
- Warm tone gives life to skin color
- Perfect for beginners and professionals
Plan filming at this time of year to get better results.
Part 2: Posing and Angles for Better Lighting Impact
Even after the writing setting is over, the way people stand and sit affects the final finish. By devising pose and angle, the light evenly hits the face, and natural features can be distinguished. By changing the position of the head and angle of the body a little, you can improve the way the portrait looks.
Turning Toward the Light Source
- The subject is not directly directed to the light source. By doing so, one side of the face is illuminated brighter and shaped up.
- Unless you aim for a silhouette, avoid shining light behind the subject.
- Light from the side is an effective angle of 45 degrees.
- Check how the light hits, and let it move slowly.
Poses That Emphasize Facial Contours
Shadows add depth. When the light hits the cheekbones, nose, and chin lines, the outline of the face becomes clear.
- Ask the subject to tilt the chin slightly down or sideways.
- Unplugging the shoulder.
- Do not press your face against light.
Part 3: 5 Tools for Editing Light Portrait Photos
Taking a good portrait is just the first step. By editing, you can make your photos clearer, more balanced and shared. Some tools are easy to use; others are easier to control for those who want more advanced editing.
1. Lightroom (Mobile/Desktop)
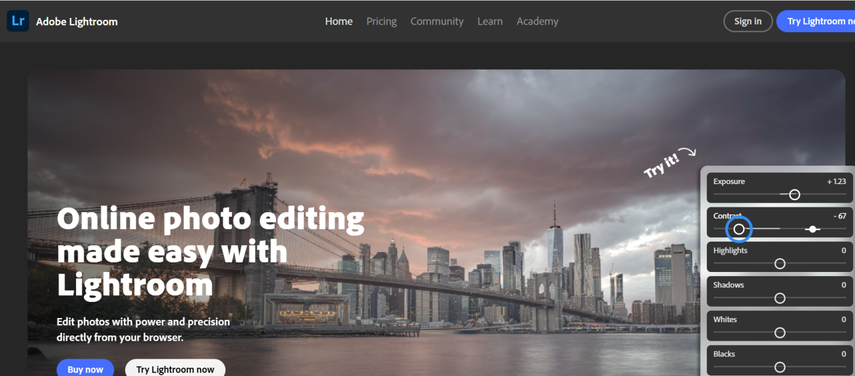
Lightroom is an Adobe photo editing tool available on both mobile and desktop. You can control brightness, contrast, exposure with a simple slider. Many people use it for portrait editing because it has everything from basic tools to advanced tools. It used for professional photography lighting.
Pros:
- Simple slider for easy adjustment of brightness, shadow and contrast.
- You can use presets to apply consistent looks to all portraits.
- You can edit many photos at once by synchronizing settings.
Cons:
- Older phones and low-end devices may slow down the app.
- Especially with the free plan, cloud storage capacity will be filled soon.
- Some useful tools are locked without upgrading to a paid version.
2. Snapseed (free app)
Snapseed is a free photo editing app by Google. There are plenty of tools to fix and adjust some of the photos without using a computer. It can be used to brighten the face, smooth the skin, and change the lighting of certain parts.

Pros:
- You can modify part of the photo without touching other parts by selecting editing.
- Face Enhance tools improve brightness and smooth skin quickly.
- There is no need to pay, no advertising.
Cons:
- Some tools are difficult to understand at first and take time to learn.
- It is difficult to fix mistakes because many steps cannot be undone.
- Since only one photo can be edited at a time, it may take time.
3. Photoshop Express
Photoshop Express is a simple version of Adobe Photoshop that can be used on smartphones and tablets. Designed for quick editing, especially for portraits. Even if you don't have full Photoshop skills, you can brighten your face, erase spots, and modify colors.

Pros:
- The face light tool brightens the subject without changing the background.
- You can erase small marks of skin with one tap.
- The automatic modification option adjusts light and contrast in just one second.
Cons:
- Some tools are not available unless you subscribe to the premium plan.
- Handling large photo files can crash.
- If you are not logged in, photos may be saved with watermark.
4. VSCO
VSCO is a popular photo editing app with clean design and smooth filter. The filter is soft and natural, making it ideal for portraits. Many people use VSCO, especially when adjusting brightness, shadow and color tone.

Pros:
- The filter makes the portrait soft and natural.
- Brightness and contrast controls are simple and easy to use.
- The tone curve allows more control over how light is reflected in the photo.
Cons:
- Most filters are locked behind paid plans, so free options are limited.
- It is not possible to modify the fine parts of the skin or to edit intense.
- It is difficult to check the close-up part because the zoom during editing is restricted.
5. Fotor
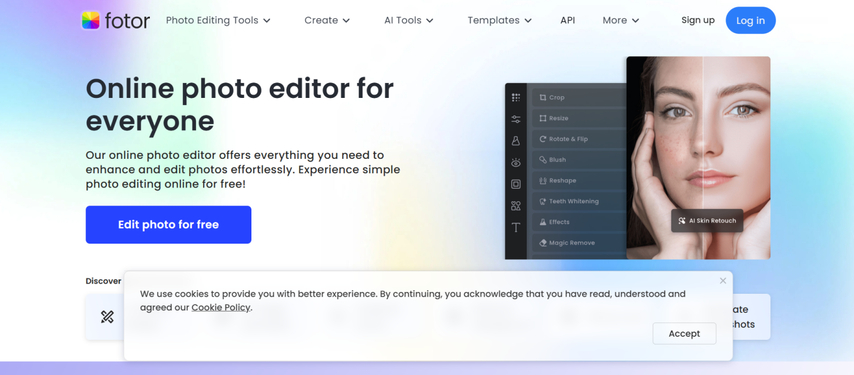
Fotor is an app that can be used on smartphones and web browsers. It is made for those who want to improve portraits with just a few taps. This app includes lighting modifications, skin tools, and automatic corrections that are useful for handling face photos.
Pros:
- One-tap brightness and tone can be modified using the auto tool.
- There is a retouching function that corrects dark spots and smoothens the skin.
- The layout is simple, so even the first user can know how to use it.
Cons:
- There are advertisements on the free version, which may interfere with editing.
- When saving photos, many file formats are not supported.
- Web versions may be ragged on older or lower-performance computers.
Part 4: Bonus Tip - Enhance Your Light Portraits Instantly
HitPaw FotorPea makes it easy to improve light portrait photography. With FotorPea, you can fix common problems such as weak lighting, dull skin color, and not sharp face contours. This tool works with just one click and performs most of the work. Useful for those who have no editing experience or do not want to spend time adjusting settings. You can use this tool to make your photos look clear, clean, and more balanced without excessive editing or artificial display.
Key Features of HitPaw FotorPea for Light Portrait Photography
- Powerful AI photo enhancers for Windows and Mac.
- Instantly boost image quality to 16K with one click.
- Blur parts of your photo and reduce noise easily.
- Enlarge images without losing sharpness or detail.
- DeepSeek's AI tool helps you create stunning visuals with ease.
Steps to Enhance Light Portrait with HitPaw FotorPea
Step 1: Download the Program
Visit HitPaw FotorPea's website and download the tool. Complete the installation process.
Step 2: Import a Photo
Launch the tool and click "Enhance Photos Now." Upload an image in a supported format.

Tip: Try sample images first to get a feel.
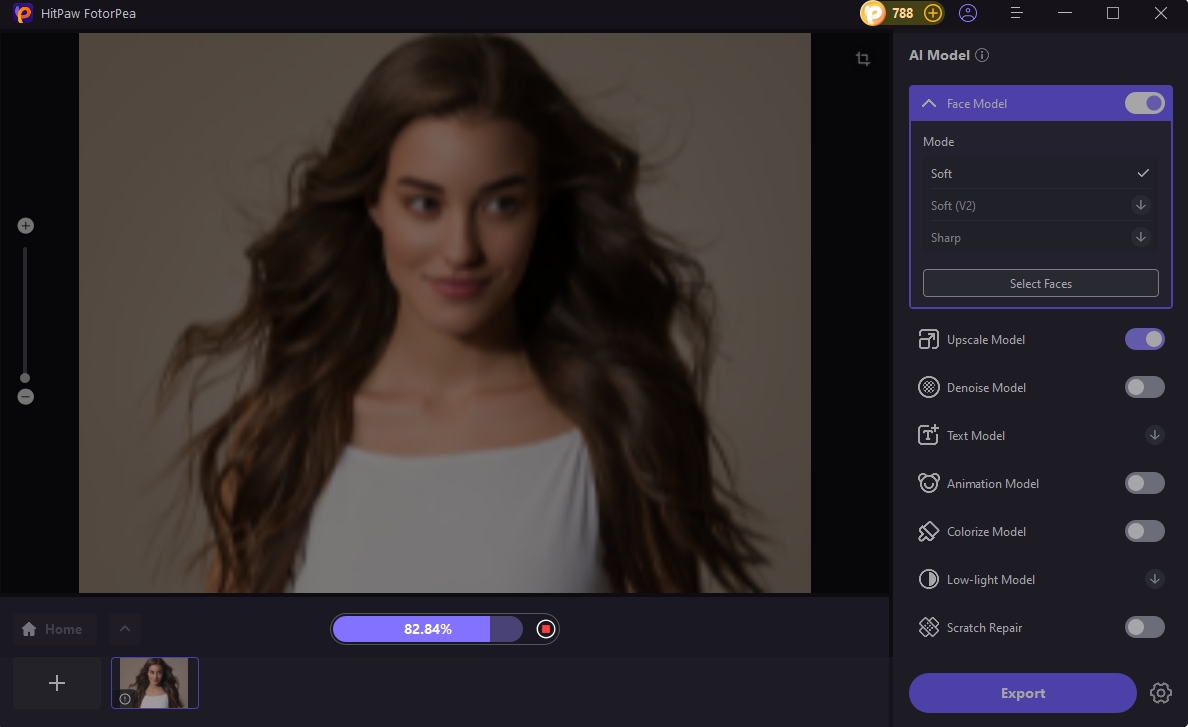
Step 3: Pick the Right AI
Click Preview and select one or more AI models from the 9 available to improve your image.
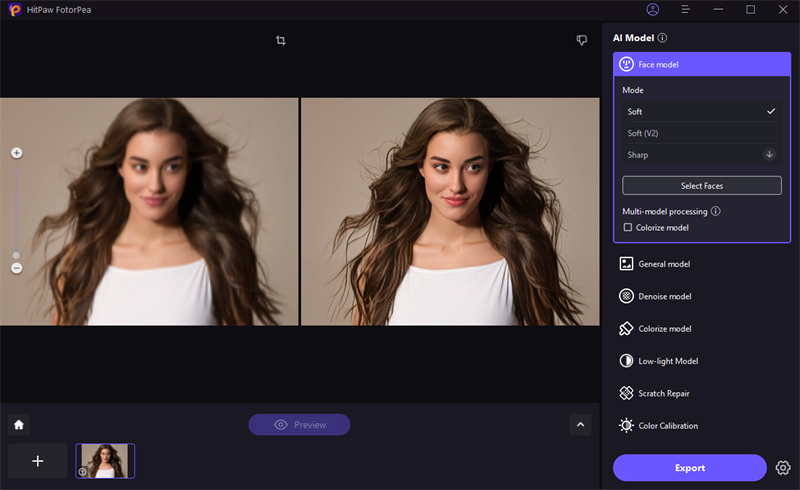
Step 4: Export Image
Once the preview looks good, click Export.
FAQs About Light Portrait Photography
Q1. What is the best time of day to shoot light portraits outdoors?
A1. A golden time of about an hour after sunrise or about an hour before sunset is ideal. The light is soft and warm, so it fits well with the skin color and avoids strong shadows.
Q2. Can I get good results with light portrait photography using a phone?
A2. Yes. Many recent smartphone cameras can handle light portraits well, especially with natural light. Even better with editing apps like Snapseed and Lightroom.
Q3. What editing settings enhance skin tones best in portraits?
A3. Adjust brightness, reduce tight shadows, increase warmth (temperature) a little. Softening highlights and sharpening your eyes can also help make your portraits look better.
Conclusion
Light portrait photography are all about using light wisely. Let's start by choosing the right time zone, avoiding the strong sunlight at midday, and placing the subject in soft light. Use camera settings to balance exposure and add a reflex plate if necessary. Simple pose and correct angle bring out the characteristics of the subject. After taking photos, edit using tools like Lightroom, Snapseed, Fotor, etc. With FP Photo Enhancer, you can fix lighting and facial details in one step. These simple tips allow you to take better portraits without tools or experience.


 HitPaw Univd (Video Converter)
 HitPaw VoicePea
  HitPaw VikPea (Video Enhancer)


Share this article:
Select the product rating:
Daniel Walker
Editor-in-Chief
This post was written by Editor Daniel Walker whose passion lies in bridging the gap between cutting-edge technology and everyday creativity. The content he created inspires the audience to embrace digital tools confidently.
View all ArticlesLeave a Comment
Create your review for HitPaw articles