The Ultimate Guide to Forest Photography: Tips, Gear & Creative Ideas
Forests remain to be enchanting places full of texture, mystery, and ever changing light. From enabling you to tower the trees and soft moss to sunbeams through the canopy, forest photography comes up with the rich visual experience for the photographers and nature lovers.
Regardless of whether you're shooting for a professional portfolio or just looking to explore with the camera, knowing how to capture the natural magic of the forest could easily turn ordinary walks into photographic adventures
Tune into this post to learn everything about forest photography and along with the outstanding tips to take the perfect forest photography images.
Part 1. How to Take Perfect Forest Photography
1. Choosing the Right Time and Conditions
Best Times of Day
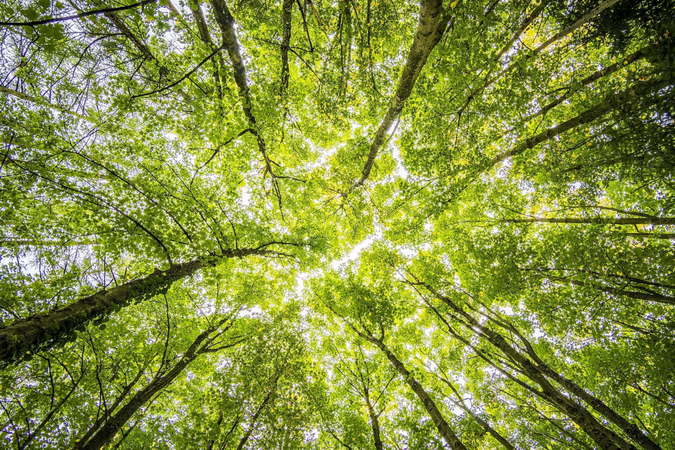
Golden hour, which is shortly after sunrise or before sunset, tends to bathe the forest in warm, glowing light, perfect for atmospheric shots. Midday is the best time of day to capture the shafts of light slicing through the trees, so foggy mornings are ideal for the ethereal, magical atmosphere.
Ideal Seasons
- Fresh leaves, wildflowers, and vivid greens emerge in the spring.
- Autumn brings in the rich palette of red, yellows, and oranges
- Winter could also create peaceful and stark compositions with the bare branches and snow.
Weather Conditions that create mood
Some of the most magical Forest photos happen in the imperfect weather. For instance, fog and mist are bound to produce the mystery and softness, with the rain adding the depth and gloss to bark and leaves.
2. Camera Settings and Techniques
Suggested settings for different lighting conditions
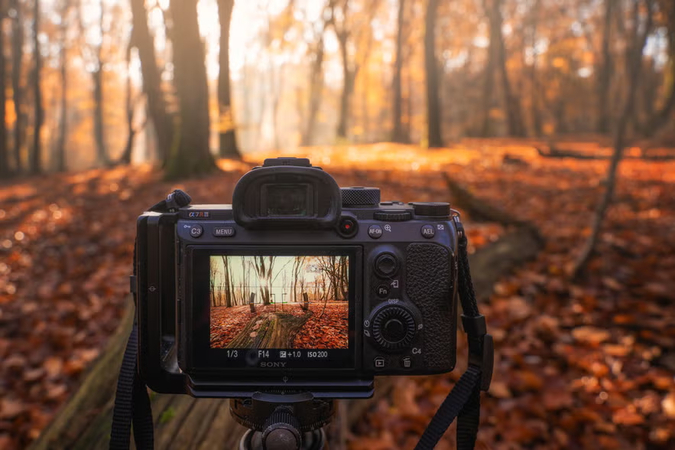
In bright light ISO (100-200), narrow aperture (f/8-f/11), and faster shutter speed is most recommended. If you're facing the foggy light or dim light, you must raise ISO to 400-800, wider aperture (f/2.8-f/5.6), slower shutter speed, or tripod use.
Managing exposure in the high contrast environment
Forests might come up with deep shadows and bright light patches, so you must use the HDR or exposure bracketing to capture the full range. To prevent blown highlights and clipped shadows, you might also look at the histogram.
Using Manual Focus and depth of Field Creatively
You're supposed to switch to the manual focus for the precise control, especially with the close textures or leaves. Additionally, you can modify the depth of field by adjusting the aperture. Going for the wide (f/2.8) for dreamy bokeh and the Narrow (f/11) for sharp landscapes from front to back is advised.
Part 2. 4 Creative Forest Landscape Photography Ideas
1. Abstracts and close-ups of textures, bark, leaves
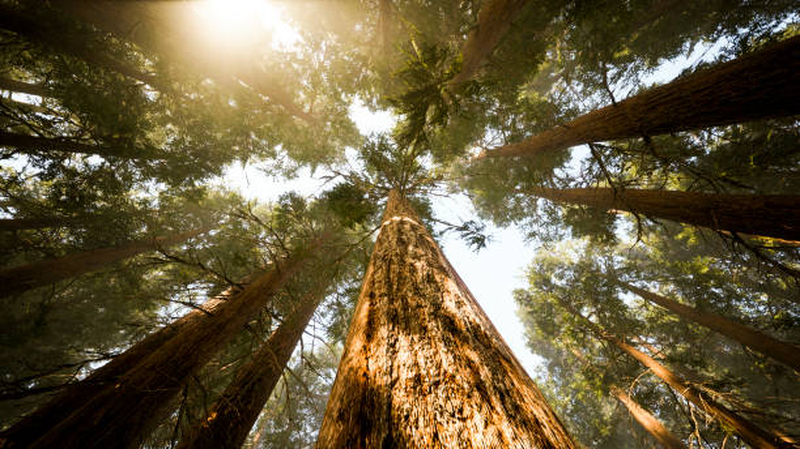
The little things can sometimes reveal a forest's magnificence. Thus, you must look closely and doing so will help you to find the fascinating patterns in bark, veins in leaves, water droplets clinging to branches, and moss growing on rocks.
Tips:
- You must use the macro lens or zoom lens at its closest focus range.
- Shoot at the wide aperture (f/2.8-f/5.6) for shallow depth of field and creamy background blur.
- You are advised to focus on the texture that standout including the fungi, symmetrical leaves, and rough bark.
2. Human element in forest portraits
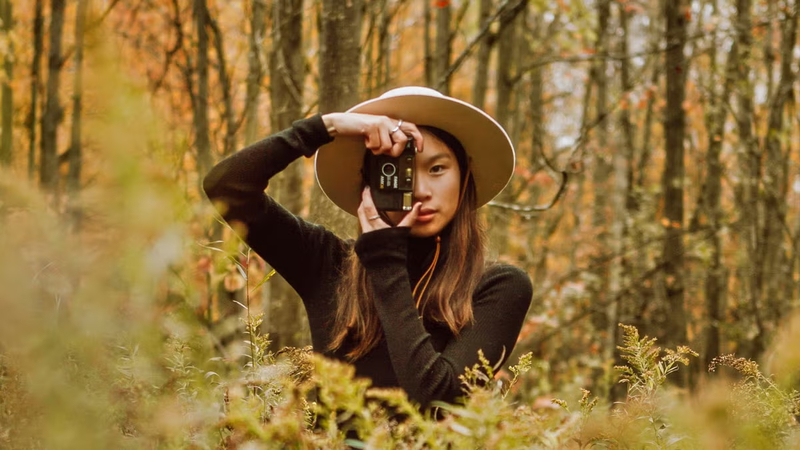
Adding a person into the forest shots might bring the story, emotion, and scale. It could be as simple as someone walking a trail or standing beneath towering trees.
Tips:
- You're required to use wide angles (24mm-35mm) to show the size of the forest
- Place the subject at the trail's vanishing points or in the beams of natural light.
- You've also got the leverage to capture the candid moments like someone exploring, interacting with nature, or looking up
3. Long exposure for misty or dreamy atmosphere
Long exposure techniques might also turn the water streams into silly flows or amplify foggy conditions into dreamlike scenes.
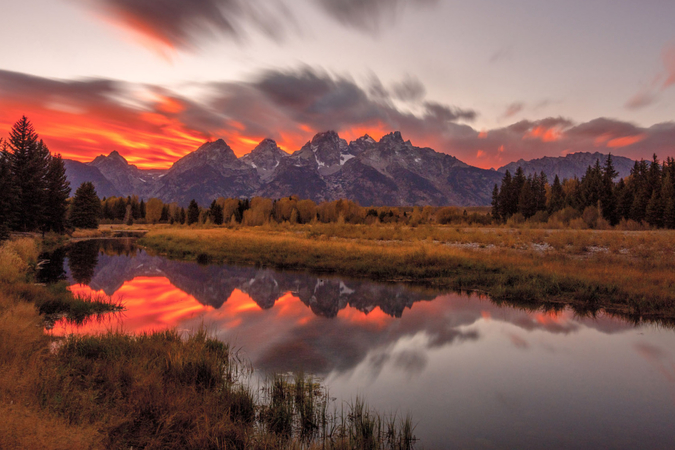
Tips:
- Keep the camera steady by using a tripod.
- You might also use a slow shutter speed, as you might require an ND filter in the brighter conditions.
- It is ideal for scenes with movement, including the wind-swayed branches, drifting fog, and flowing rivers.
4. Using fog, light beams, and silhouettes
Forest light is magical when filtered through branches or mist. You could also use the natural frame to your advantage.
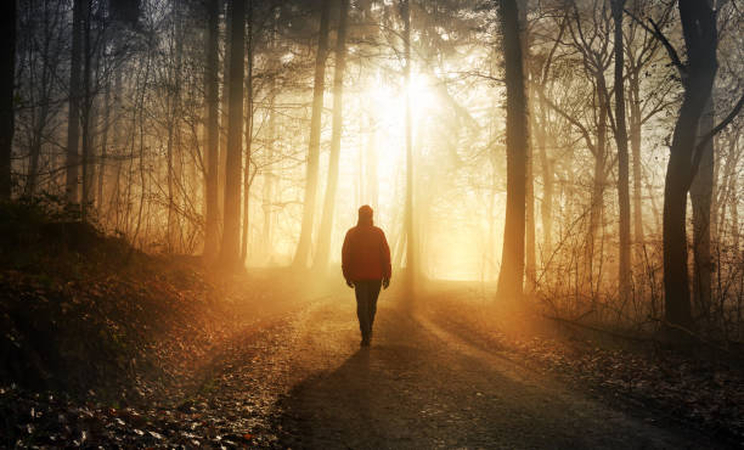
Tips:
- Head out early morning or after rain for fog
- You're advised to position yourself so the sun is behind trees to catch beams of light
- Silhouette the subjects, including the animals, people, and trees against 5te brighter background for dramatic contrast.
Part 3. Best Tool to Enhance&Generate Forest Photography with HitPaw FotorPea
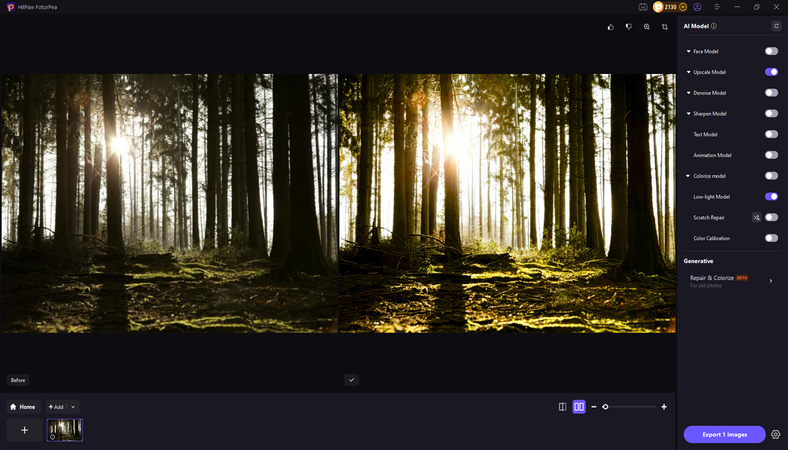
If you've clicked the images and aren't happy with the appearance of the images, try out HitPaw FotorPea. It allows you to enhance the credentials of the images as HitPaw FotorPea is accompanied by the 9 AI models, followed by the ability to adjust the resolution of images.
HitPaw FotorPea also enables you to generate forest photography images, as this tool allows you to create imaginative images of forest photography in original image quality.
Features
- Allows you to enhance the images
- Works on Mac and Windows
- Retains the image quality
- Create the forest photography images quickly
- Enhance the multiple images of the Forest phototherapy simultaneously
- No watermark in the enhanced or generated forest photography images
How to generate and enhance images with HitPaw FotorPea?
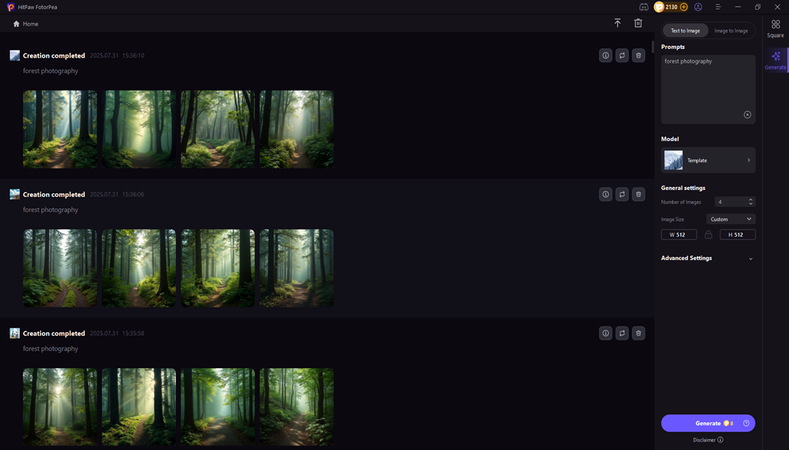
Step 1: After installing the HitPaw FotorPea, select the AI generator and don't waste any time choosing the Text to Image.

Step 2: Enter the text description of what type of forest photography images you wish to generate. By selecting the Generate icon, you'll be able to create the wonderful images of forest photography.
Step 3: If you want to enhance the generated forest photography images, you'll need to select the appropriate AI model.
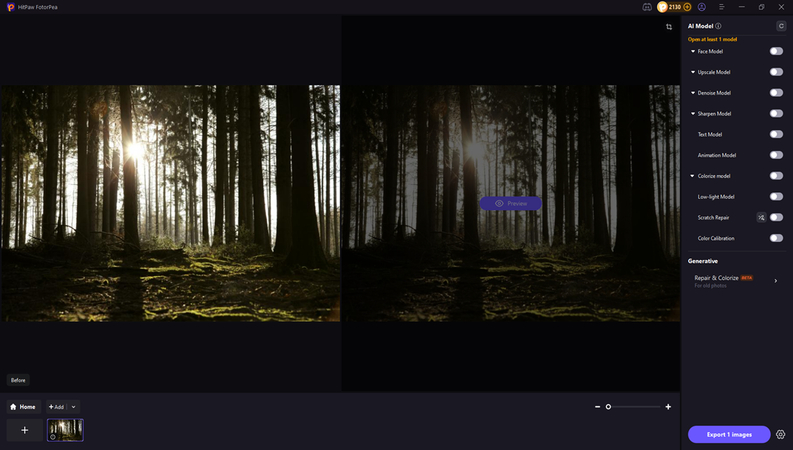
Step 4: Clicking on the Preview icon will help you apply the selected AI model, and then you can click on the Export icon to download the images.
Part 4. FAQs of Forest Photography
Q1. How do I deal with low light in dense forests?
A1. Forests could be quite dim, especially under thick canopies. To manage the low light, you must use a tripod to avoid the blue from slower shutter speeds. You are also advised to increase the ISO slightly to brighten the image without too much noise. You also widen the aperture to let in more light, as you could shoot in raw, as you could easily adjust exposure in editing.
Q2. What editing tips help enhance forest images?
A2.
Post-processing could bring out the full magic of the forest photos.
Final Words
Forest photography tends to invite you into a world full of texture, mystery, and stunning natural light. With the thoughtful editing, creative techniques, and right timing, you could easily capture the images that could truly reflect the serene beauty of the woods.
Regardless of whether you're photographing foggy mornings or vivid autumn leaves, these tips will help bring the forest vision to life. With HitPaw FotorPea you've got the chance to enhance the forest photos courtesy of the 9 AI models. This tool also allows you to generate the forest photography images in the most realistic quality, and it also helps you choose from several gigantic image styles.


 HitPaw VoicePea
  HitPaw VikPea (Video Enhancer)
 HitPaw Univd (Video Converter)


Share this article:
Select the product rating:
Daniel Walker
Editor-in-Chief
This post was written by Editor Daniel Walker whose passion lies in bridging the gap between cutting-edge technology and everyday creativity. The content he created inspires the audience to embrace digital tools confidently.
View all ArticlesLeave a Comment
Create your review for HitPaw articles