Ultimate Guide to Fix Camera Shake and Enhance Video Quality
Camera shake can turn a potentially great video into a blurry mess, frustrating both hobbyists and professionals. Whether you're shooting action-packed vlogs, family memories, or cinematic short films, unwanted movement can ruin the viewer's experience. Learning how to fix camera shake is essential for anyone striving for polished, professional-looking footage. In this guide, we'll explore a powerful tool for video enhancement and camera shake reduction, plus five easy tips to prevent shake right at the source. Dive in to uncover practical solutions that help you produce stable, high-quality videos every time.
Part 1: Best Way to Fix Camera Shake Video and Improve Quality
When it comes to post-production solutions, HitPaw VikPea is a standout for fixing camera shake and enhancing video quality. Utilizing advanced AI algorithms, this video enhancer tackles jitter, micro-shaking, and overall instability, converting shaky footage into smooth, professional content. Rather than re-shooting scenes or investing in expensive hardware, you can rely on HitPaw VikPea to deliver fast, reliable camera shake reduction without compromising on clarity. Whether you're dealing with handheld smartphone clips or DSLR footage, this software empowers creators to fix camera shake seamlessly and elevate their final output.
- Uses intelligent algorithms to smooth out micro movements and jitters effectively.
- Allows users to stabilize and enhance several clips simultaneously for efficiency.
- Preserves authentic motion and color in videos that capture everyday scenes.
- Specializes in stabilizing videos with minimal artifacts with Stabilization model.
- Focuses on enhancing video clarity while reducing hand-held shake in close-ups.
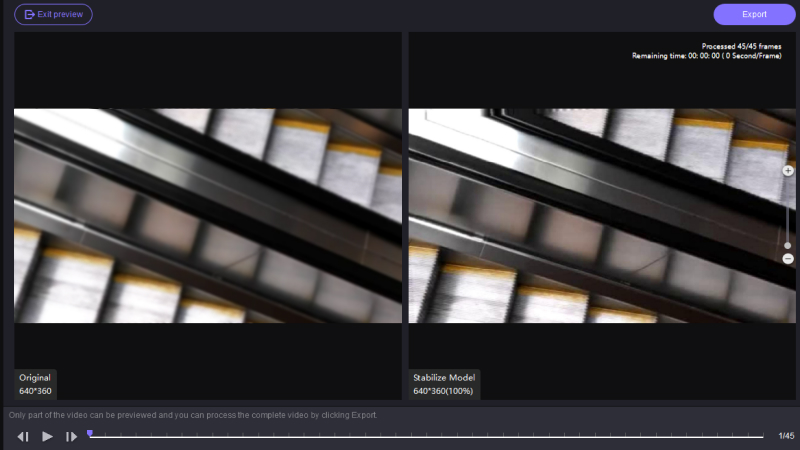
Step 1:Download and launch HitPaw VikPea on your computer. This software offers multiple AI models. The Stabilization model can automatically detect and correct shaking in video, providing more stable and clear video output.

Step 2:Import your video by clicking on "Import". The drag-and-drop method also works for importing video to the software menu.
Step 3:You can preview the video before finalizing it. Click on "Preview" to see your enhanced video. If satisfied, press the "Export" option to save your video, now free from unwanted camera shake.

Part 2: 5 Easy Ways To Prevent Camera Shake
Preventing camera shake at the source is often easier than fixing it in post-production. By adopting simple techniques during your shoot, you can avoid shaky footage altogether and spend less time on post-editing. Below are five practical strategies to minimize camera shake, ensuring that your footage remains crisp, clear, and professional-looking right out of the camera.
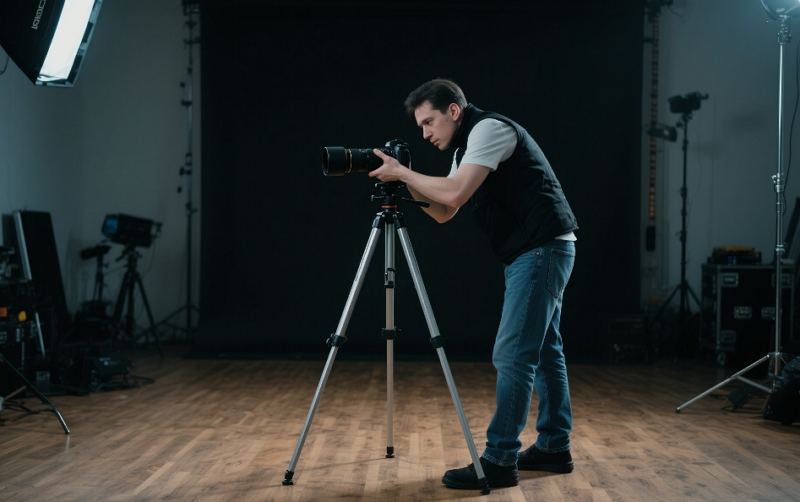
1. Utilizing a Tripod for Stability
A tripod is the most straightforward way to eliminate camera shake, especially in low-light situations or when using telephoto lenses. By mounting your camera on a sturdy tripod, you create a steady platform that virtually removes hand-induced movements. This is invaluable for long-exposure shots, time-lapses, and any scenario where you need absolute stillness. Investing in a quality lightweight tripod can significantly improve your overall camera shake reduction efforts.
2. Using In-Camera/Lens-Based Stabilization Features
Many modern cameras incorporate in-body image stabilization (IBIS) to combat camera shake. This feature shifts internal sensor elements to counteract small movements, reducing jitter across all lenses. If your camera body lacks in-built stabilization, consider lenses with optical stabilization (OIS).
- In-Body Stabilization: Many cameras offer in-body stabilization that reduces shake across all lenses, enhancing video clarity.
- Lens-Based Stabilization: Some lenses have their own stabilization systems that help reduce shake during handheld shooting.
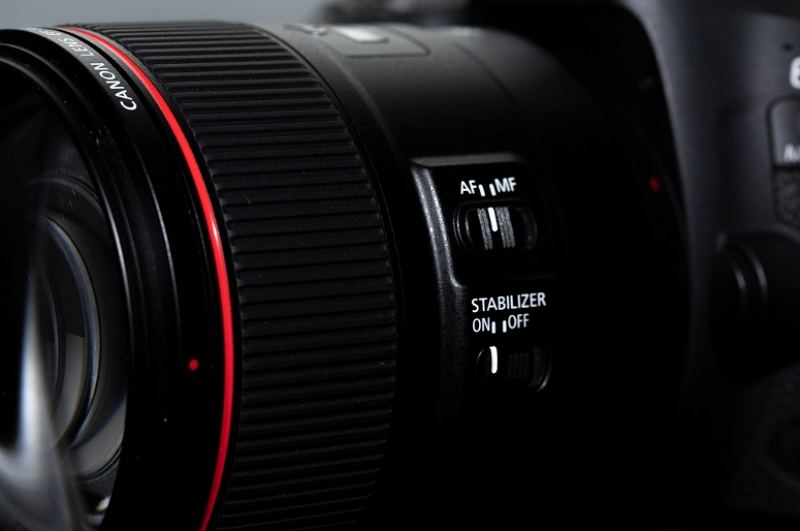
By enabling these features, you can optimize camera shake reduction without adding extra weight or gear to your setup.
3. Raise the ISO Sensitivity
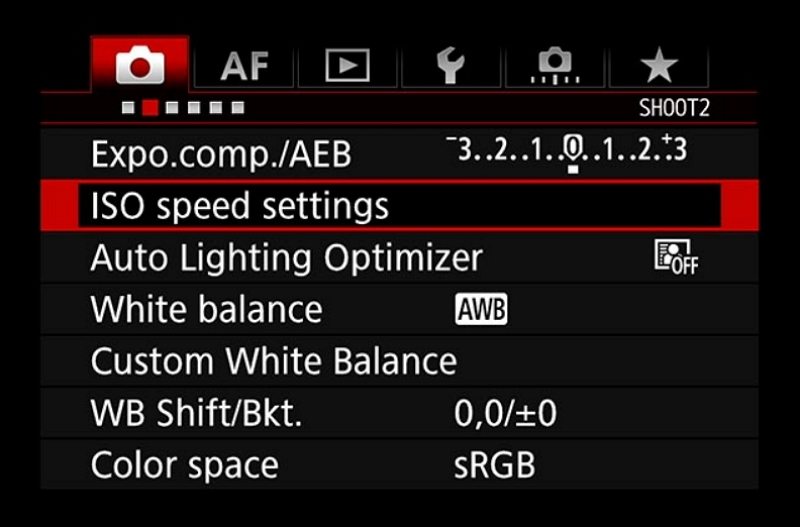
One way of eliminating camera shake is to ensure that the shutter speed you're using is fast enough for accidental camera movement not to register. Increasing ISO sensitivity allows you to use faster shutter speeds without underexposing your footage. While a higher ISO can introduce more noise, modern cameras and post-processing tools make it a viable trade-off to achieve crisp, shake-free shots. Balancing ISO and aperture is key to preventing camera shake while maintaining image quality.
4. Maintaining Proper Posture and Grip
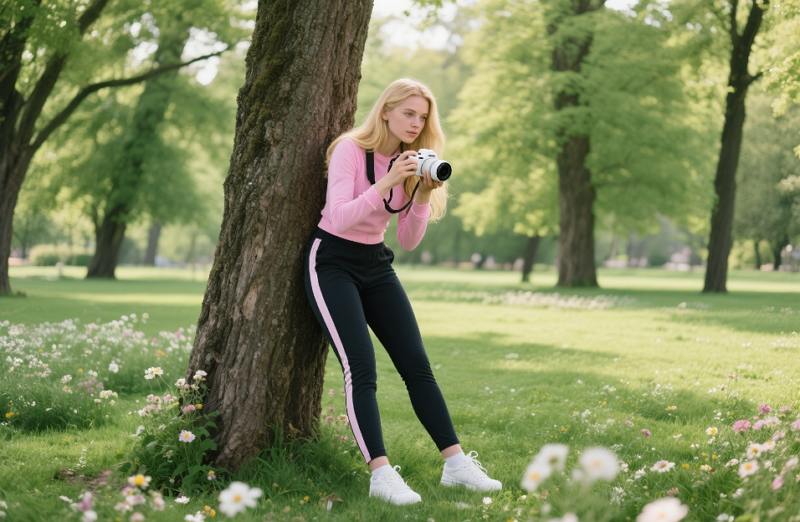
The way you hold and carry your camera greatly impacts camera shake. Stand with feet shoulder-width apart, tuck your elbows into your body, and use both hands: one on the grip and the other supporting the lens. If possible, lean against a stable surface like a wall or railing. Adopting these techniques provides a solid foundation, minimizing unwanted movement. Proper posture and grip can enhance overall camera shake reduction, especially during extended handheld shoots.
5. Using a Gimbal or External Stabilizer
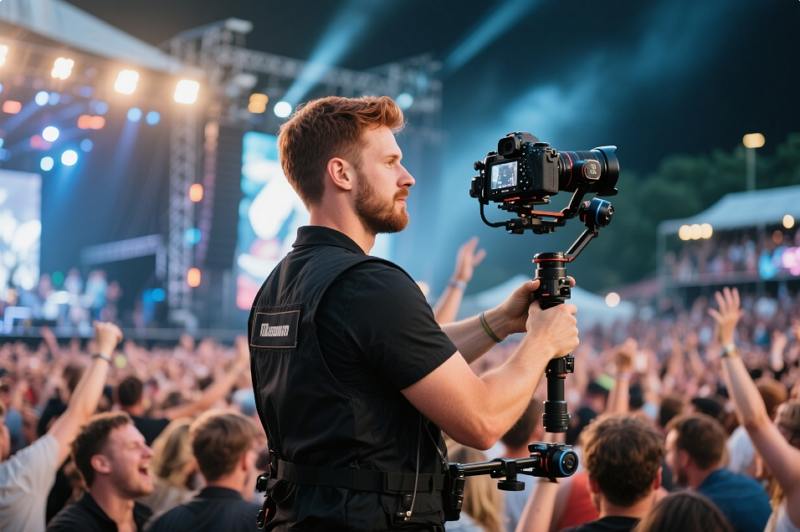
A gimbal or external stabilizer offers professional-grade stabilization for dynamic shoots. By employing motorized or mechanical balancing systems, gimbals actively counteract hand movements, tilt, and roll. This is particularly beneficial for action sequences, walk-and-talk interviews, and event coverage. Though gimbals add cost and extra equipment, they deliver near-perfect camera shake reduction in challenging conditions, turning handheld footage into smooth, cinematic results.
Part 3: Frequently Asked Questions on Fixing Camera Shake
Q1. What is the best way of removing the micro-shaking in video?
A1. The best way to remove micro-shaking is to use AI-powered post-production software like HitPaw VikPea. Its advanced algorithms analyze each frame and apply stabilization, smoothing out subtle jitters without affecting video clarity.
Q2. How does increasing ISO help reduce camera shake?
A2. Increasing ISO allows for faster shutter speeds, which shortens the exposure time and prevents small movements from blurring the image. Although higher ISO can introduce noise, balancing it with aperture and stabilization features can yield sharp, steady footage.
Q3. Can camera shake be reduced during handheld shooting without extra equipment?
A3. Yes. By adopting proper posture, using both hands to grip the camera, leaning against a stable surface, and engaging in-camera stabilization features, you can significantly reduce camera shake without additional equipment.
Conclusion
Camera shake can undermine the impact of your footage, but with the right methods, you can eliminate unwanted movement and produce crisp, professional videos. Whether you choose to fix camera shake in post-production with HitPaw VikPea or prevent it during shooting with tripods, stabilization features, and proper techniques, integrating these strategies will elevate your content quality. Embrace these tips for effective camera shake reduction today and your viewers will appreciate the difference.




 HitPaw Univd (Video Converter)
 HitPaw VoicePea
  HitPaw FotorPea


Share this article:
Select the product rating:
Daniel Walker
Editor-in-Chief
This post was written by Editor Daniel Walker whose passion lies in bridging the gap between cutting-edge technology and everyday creativity. The content he created inspires the audience to embrace digital tools confidently.
View all ArticlesLeave a Comment
Create your review for HitPaw articles