Essential Tips on Taking Night Sky Photos
Looking up and seeing the Milky Way extending like a cosmic river or stars strewn throughout the night sky is a fantastic experience. The feeling is enhanced when those moments are captured on camera. It provides us with an enduring sense of the cosmos' immensity. However, taking night sky photos is not as simple as it seems since it requires a proper setup and professional skills.
Therefore, this guide will provide you with some professional advice to help you capture the best photos. By the end of this article, we'll also show you how to use an AI enhancer to improve your photos without paying an editor.
Video Tutorial to Enhance an photo with FotorPea:
Part 1. The Allure of Night Sky Photography and Its Timeless Appeal
Let's first discuss what star photography is before moving on to our primary topic. First of all, star photography aims to capture the splendor of the night sky. The photographer concentrates on stars, constellations, and other celestial objects while doing this. All things considered, it's an intriguing art form that combines imagination with the wonders of the universe.
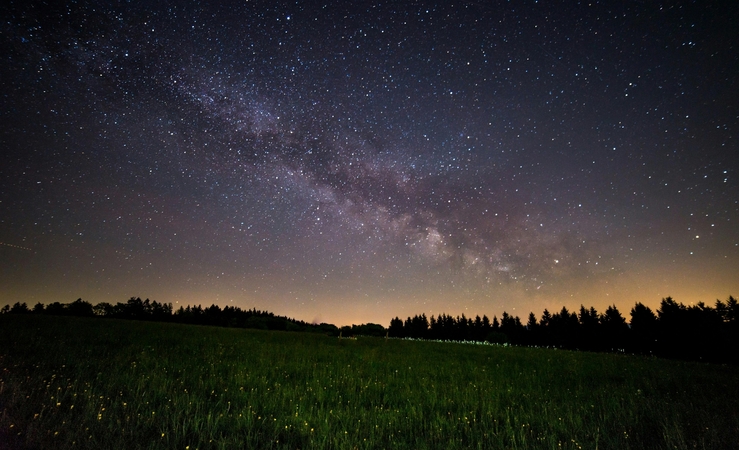
Part 2. Essential Equipment for Capturing Beautiful Night Sky Photos
Let's see what essentials you need for sky photography to have perfect shots.
1. Camera, Lens, and Tripod
With a DSLR or mirrorless camera that has manual settings, you can alter the exposure, ISO, and aperture. In order to prevent camera shaking during long exposure photography, use a tripod and wide angle lens with a 14–24 mm range and a big aperture.
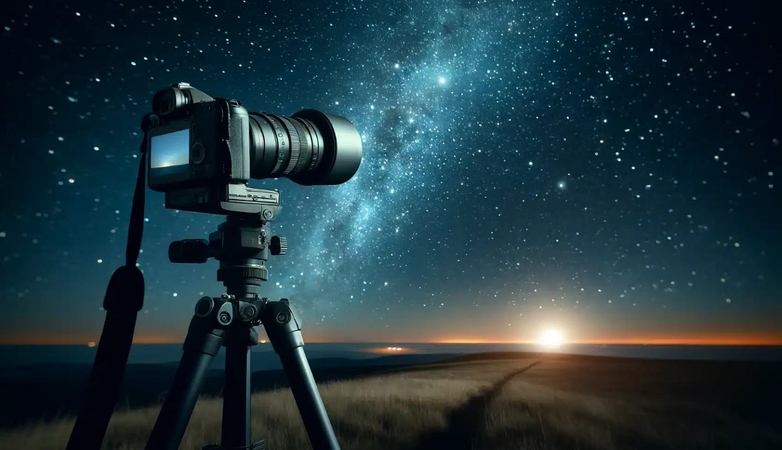
2. Remote Shutter Release or Intervalometer
If you don't want to have blurry images, a remote shutter release and an Intervalometer will help you remotely capture the night sky photos.
3. Extra Batteries and Memory Cards
Sometimes, you have to spend hours to capture a perfect moment. For that, your camera needs to be charged. Thus, purchase high-end batteries so that you can have an extra power source. Not only that, storing RAW photos can take up a lot of space, which raises the need to purchase a memory card.
4. Headlamp With Red Light
A headlamp with a red light will protect your night vision while adjusting your camera settings.
Part 3. Optimal Camera Settings for Night Sky Photography
When taking night sky photos, make sure you try the given camera settings for ideal shots:
1. Mode: During photography, to have complete control over all settings, set your camera settings to manual mode.
2. Aperture: For capturing sharper details of the sky and stars, consider using an aperture between f/2.8 and f/4.
3. ISO: Set your ISO between 1600 and 3200 to balance light sensitivity with noise reduction.
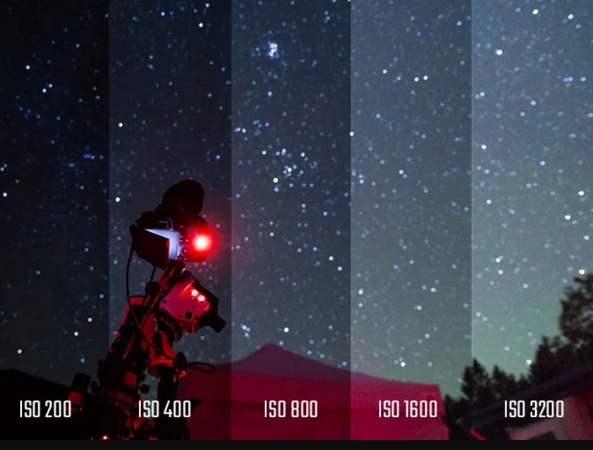
4. Shutter Speed: While using the 500 rule, it's best if you keep your shutter speed between 15 to 25 seconds to avoid star trails.
5. Focus: For capturing sharp and well-defined celestial objects, switch to manual focus and set it to infinity.
Part 4. Tips for Capturing the Best Night Sky Photos
Here are some experts’ recommendations that can help you in taking a night sky picture ideally:
1. Scout Locations: Make sure you find a dark-sky location away from city lights to minimize light pollution.
2. Plan Ahead: Now that you have a perfect place, apps like PhotoPills to track celestial events, moon phases, and the best times to shoot.
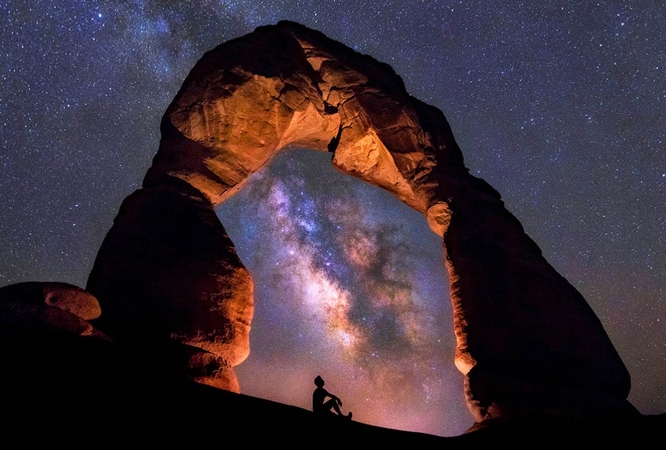
3. Include Foreground Elements: To add depth to the photo, ensure your place has foreground elements like trees, mountains, or buildings.
4. Shoot in RAW: To maintain maximum detail and flexibility for adjustments, capturing images in RAW form is better.
5. Experiment with Composition: Last but not least, it is advised to try various angles and perspectives to find unique compositions that highlight the night sky in creative ways.
Part 5. How to Reduce Noise in Taking Night Sky Photos with HitPaw FotorPea?
You know what, during night sky photography, images can often be marred by noise when you shoot at higher ISOs. This issue is particularly noticeable in low-light conditions, where the camera’s sensitivity to light increases. Hence, this issue creates unwanted digital noise that can only be resolved with reliable editors like HitPaw FotorPea. The tool uses AI models to remove noise from images without affecting the quality.
Key Features of HitPaw FotorPea
1. Upscale Model is ideal for enlarging and enhancing blurred night sky pictures.
2. The Denoise Model removes noise from low-quality sky images.
3. Use the Blur Repair model to fix the lens and motion blur from night sky pictures.
4. Supports batch processing to save the manual hassle of enhancing night sky images.
5. Users can preview the enhanced night sky photographs before saving them.
How to Remove Noise After Taking Night Sky Photos Using FotorPea
Here is how you can eliminate noise from your best sky photos in just a few taps:
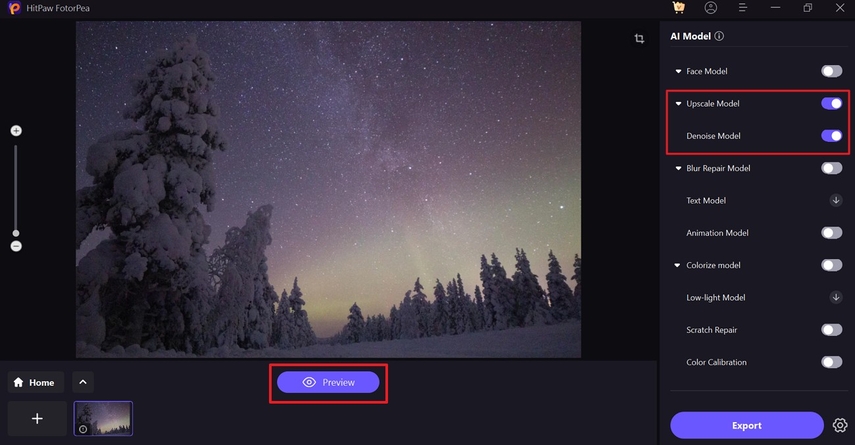
Step 1. Download FotorPea to the Device and Pick the Image Enhancing ToolAccess the tool on your device and pick the “Enhance Photos Now” option from the top of the main screen. After that, select the “+” in the following interface and import the night sky image to enhance it.

Step 2. Import the Image and Toggle the Models from the AI Model Section
As the image is there, head to the “AI Model” section and toggle “Upscale Model” and “Denoise Model” from the list. Upon doing so, hit the “Preview” button displayed at the bottom to let the tool upscale the image.
Step 3. Preview the Final Results and Export Them to Your Device
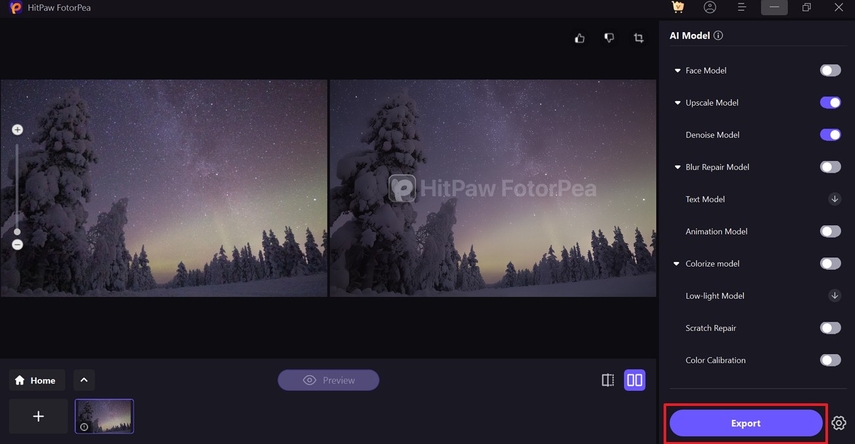
Check the before and after results of the final image. If they are satisfactory, save them to the device by clicking the "Export" button in the bottom left corner.
Part 6. FAQs on Taking Night Sky Photos
Q1. What is time-lapse photography of the night sky, and how is it done?
A1. In this, the photographer captures a series of night sky images and stitches them together to show the movement of stars and celestial objects.
Q2. How does long exposure photography of stars work?
A2. This type of photography uses slow shutter speeds to gather more light and makes stars appear brighter. To make them look exceptionally good, it is advised to use AI enhancer like FotorPea for getting quick results.
Q3. Can I capture night sky photos with a smartphone?
A3. Yes, many modern smartphones can capture impressive night sky photos with the correct settings or a specialized app.
Q4. What is the best time of year to photograph the Milky Way?
A4. It is best photographed between April and September when its core is most visible during the night. However, you should also select a location that helps get the right shot, which should be in a clear sky zone or near mountains.
Q5. How can I reduce light pollution in my night sky photos?
A5. To reduce light pollution, shoot in dark-sky areas away from cities and use light pollution filters if necessary. Furthermore, to sharpen your results, you should use tools like FotorPea after capturing the shots.
Conclusion
Summing up, if you want to have beautiful night sky photos, you must know some basics about it. Therefore, this guide has provided you with detailed information on night sky photography and what essentials you need. Once you have images, most of them have different defects that you can remove using an ideal solution, HitPaw FotorPea.


 HitPaw Edimakor
 HitPaw VikPea (Video Enhancer)
 HitPaw Univd (Video Converter)



Share this article:
Select the product rating:
Daniel Walker
Editor-in-Chief
This post was written by Editor Daniel Walker whose passion lies in bridging the gap between cutting-edge technology and everyday creativity. The content he created inspires the audience to embrace digital tools confidently.
View all ArticlesLeave a Comment
Create your review for HitPaw articles