Master Inside Photoshoot Ideas to Craft Breathtaking Interior Shots
Why wait for the perfect moment when you can create one with an inside photoshoot? No unpredictable weather, no distractions, just an unfiltered real moment frozen in time. It lets you imagine the soft glow of morning light in the living room as your child takes their first step or in an intimate maternity shoot. Overall, it's an ultimate storytelling experience that will be learned through tips and tutorials discussed in the article below.
Part 1. Camera Technical Tips for a Perfect Inside Photoshoot
Once you’ve styled your space and gathered inspiration, the next approach is to make sure your camera settings are working accordingly. With family indoor photoshoot ideas in your mind and defined essential tips, you’ll get balanced shots every time:
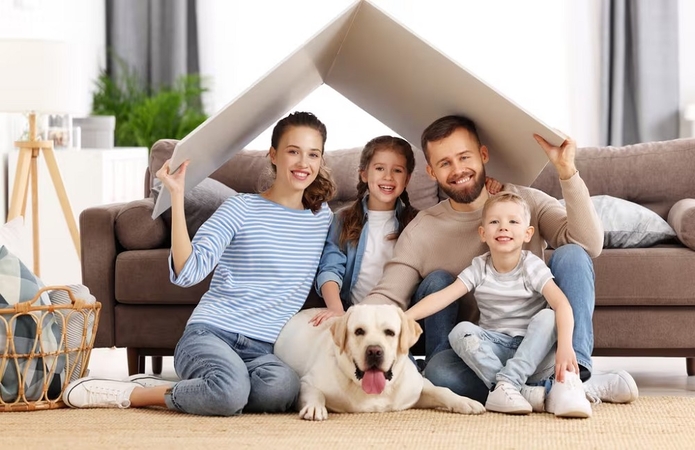
1. Adjust ISO, Aperture, and Shutter Speed to Suit Low-Light Conditions
- ISO: Start with ISO 800. If the room is especially dim, increase it to 1600 or even 3200 on modern cameras that handle noise well. Do not go for anything beyond 3200, or the image may become grainy.
- Aperture: Opt for a wide aperture to let in more light. Recommended one is between f/1.8 and f/2.8 when shooting portraits or still life. It lets you have a softly blurred background (bokeh), almost perfect for indoors. For group shots where more depth is needed, f/4.0–f/5.6 is favored.
- Shutter Speed: For sharp handheld photography, the shutter speed shouldn't exceed 1/60s. When your hands are steady, 1/40s can work for a still target. For moving subjects, increase it to 1/125s or higher. Opting for a tripod lets you lower the shutter speed safely to 1/15s when struggling with exposure.
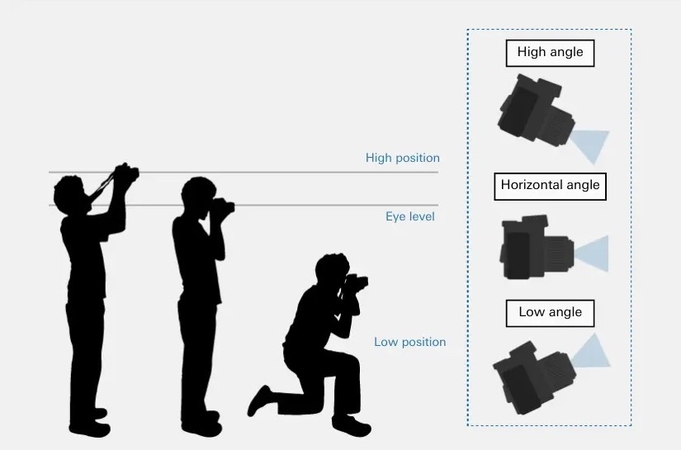
2. Use a Tripod or Stabilizer to Avoid Motion Blur Indoors
When shooting indoors in low light, longer exposure times are key to getting enough light. Yet even the slightest hand movement can lead to motion blur. That’s where a tripod or stabilizer becomes essential. Most indoor photography uses a tripod with adjustable height and stable legs. Opting for it lets you lower your shutter speed to 1/15s or even 1/4s with no risk of camera shake.
For handheld shooting, a gimbal or camera stabilizer can aid a lot when a tripod is missing from the equation. Alternatively, raise the shutter speed to at least 1/125s and use the 2-second timer or a remote shutter.
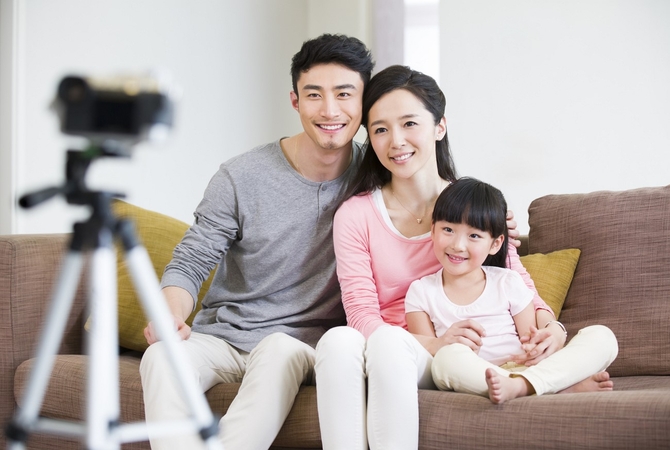
3. Choose the Right White Balance and Experiment with Manual Focus
Indoor lighting can be tricky, ranging from warm yellow bulbs to cool fluorescent tones. So getting the white balance right is crucial for accurate colors. At the same time, using manual focus gives you better control when your camera struggles with low light or busy backgrounds.
White Balance Settings
1. Switch to the “Tungsten/Incandescent” white balance preset to reduce the orange-yellow cast caused by shooting under incandescent bulbs.
2. Under a mix of light sources, set the white balance to Custom (Kelvin). Start with around 3200K for warm lights and adjust toward 5000K–5500K for cooler, daylight lighting.
3. Shooting in RAW also lets you adjust white balance during editing, which aids a lot for indoor environments where lighting often changes.
Manual Focus Tips
1. Focus on the subject’s eyes in portraits.
2. Use focus peaking if your camera supports it to highlight sharp edges to let you visually confirm focus.
3. When shooting at wide apertures (like f/1.8), precision is key since the depth of the field is very shallow.
Part 2. Indoor Photo Ideas: Get Your Perfect Shot
With some minor touches, even the most ordinary space can turn into a breathtaking set. Go through the creative indoor photography ideas discussed below to get more inspiration and capture some scroll-stopping shots:
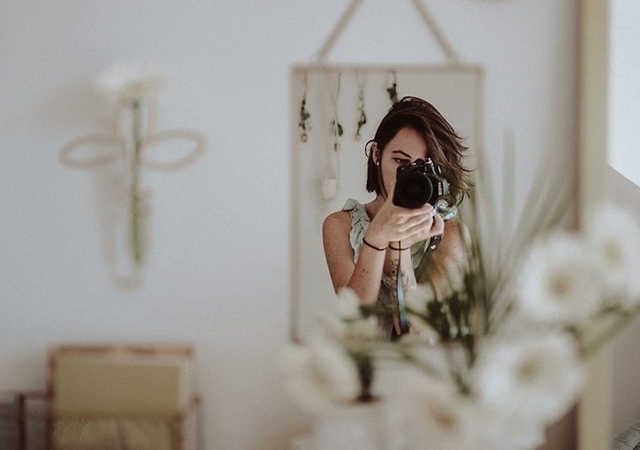
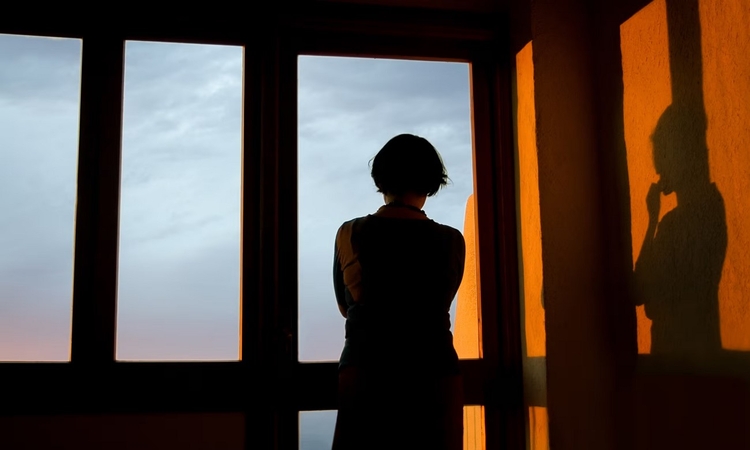
1. Window Silhouette Portraits at Sunset
Set your subject between the camera and a brightly lit window during golden hour (around 5–6 PM). Turn off interior lights to darken the foreground and expose for the background. Use ISO 400, f/2.8, 1/200s for sharp results.
2. Overhead Flat Lay on a Fabric Surface
Place textured fabric on the floor or table and arrange items from books to coffee mugs with a strong color contrast. Shoot directly from above with a wide-angle lens (24mm–35mm). Use f/4.0–f/5.6 for sharp detail across the frame.
3. Reflections Using a Clean Baking Tray or Mirror
Lay a mirror or shiny tray flat and place your subject just above it. Use a soft light from one side to add depth, like a desk lamp diffused with tissue. Shoot at f/2.2, ISO 800, 1/80s for dreamy results with clean reflections.
4. Hallway Leading Line Portrait
Position your subject at the far end of a hallway, centered in the frame. Use the walls as natural leading lines to draw attention to them. Try ISO 1600, f/1.8, 1/100s with a 50mm lens for rich indoor depth.
Part 3. At-Home Photoshoot Ideas: Best Photography Locations
Now that your camera is ready and your enthusiasm is at its peak, let's look for the perfect spot at home. Explore this section for indoor photography ideas and imagine every space of your home in a brand-new light:
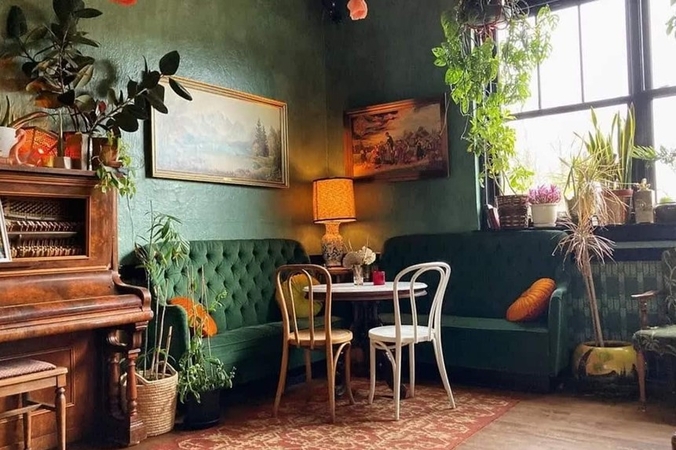
1. Setting up the Living Room: Try to position your subject near a large window in your living room to take advantage of natural light.
2. Bedroom Shoots with Intimate Vibe: A shoot in a bedroom offers a relaxed, personal setting that’s perfect for intimate moments like couple shoots or candid family captures.
3. Kitchen, Hallway, and Balcony: Think outside the box with photography in the kitchen, hallways, and balcony to tell stories of connection and routine.
Part 4. How to Enhance Indoor Photos Using HitPaw FotorPea
Even with careful setup and shooting techniques, indoor photos can still suffer from noise, poor lighting, or lack of sharpness. Fixing these manually takes pro-level editing skills. This is where HitPaw FotorPea steps in with its integrated AI technology. These automatically remove grain, correct lighting imbalances, and sharpen details in seconds with no technical know-how needed.
Key Features of FotorPea
1. You can improve the overall quality and resolution of the indoor shoot up to 8K.
2. The Blur Repair model fixes the lens blur, motion blur, or other forms of blur within the indoor photoshoot.
3. The Noise Reduction model helps reduce noise from high-ISO and low-light indoor photoshoots.
4. Batch transforms multiple low-quality indoor shoot images into stunning content.
5. After enhancing with AI models, make further edits to your indoor pictures, like cropping, adding filters, and more.
Steps on How to Enhance Indoor Photos With FotorPea
With this software, you can turn any blurry inside photoshoot into professional pictures through the following steps:
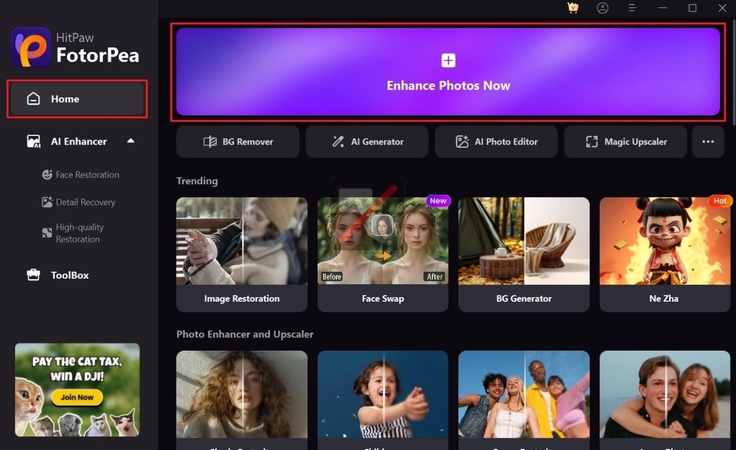
Step 1. Launch HitPaw FotorPea and Access AI EnhancerInstall and launch the photo enhancer software’s main interface on your device. From the “Home” tab, click the “Enhance Photos Now” button.
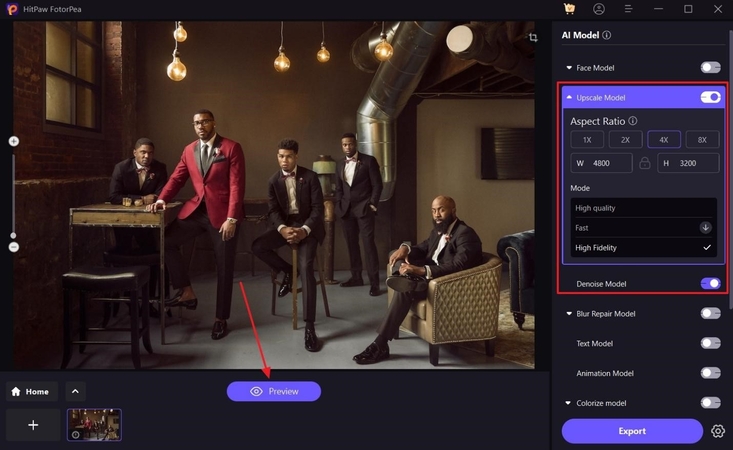
Step 2. Import Images and Select AI Models for Enhancement
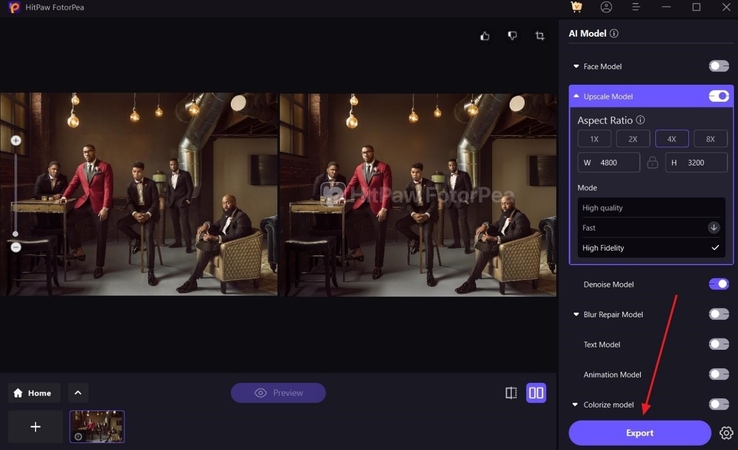
In the new window, upload the indoor photo, toggle the “Upscale Model” and “Denoise Model” options, and press “Preview.”
Step 3. Preview Indoor Image and Export
When the process is complete, preview the enhanced image and hit the "Export" button to save it.
Part 5. FAQs on Indoor Photoshoots
Q1. What are some creative indoor couple maternity photoshoot ideas?
A1.
If you are on the lookout for some indoor photo ideas, consider the following for your next photoshoot:
Q2. How can I capture natural moments during a family indoor photoshoot?
A2.
For capturing natural moments of your family in an indoor gathering, try these poses:
Q3. What are the best setups for an indoor wedding photoshoot at home?
A3.
Ideas for the best indoor wedding photoshoot concepts are discussed below:
Q4. Any fun and simple indoor birthday photoshoot ideas for adults?
A4.
Photographers can use the following fun and simple birthday ideas to capture the perfect moment:
Conclusion
In essence, it's clear that making memories or holding up unforgettable photos doesn’t need an exotic location. All this can be achieved through an inside photoshoot right in the heart of your home. The freedom to style your space, control lighting, and focus on emotions can turn even the simplest room into a scene worth remembering. If your picture doesn't meet perfection, consider HitPaw FotorPea for an enhancement function with AI models.


 HitPaw Edimakor
 HitPaw VikPea (Video Enhancer)
 HitPaw Univd (Video Converter)



Share this article:
Select the product rating:
Daniel Walker
Editor-in-Chief
This post was written by Editor Daniel Walker whose passion lies in bridging the gap between cutting-edge technology and everyday creativity. The content he created inspires the audience to embrace digital tools confidently.
View all ArticlesLeave a Comment
Create your review for HitPaw articles