How to Master Low-Light Photography in 2026?
There is some charm in pictures shot in low-light photography, especially when capturing the soft glow of lamps or rainy days. Lowlight photography is capturing photos in situations without enough light to capture well-exposed pictures.
However, it comes with challenges, like motion blur and dull colors, which can turn a beautiful picture into absolute disappointment. This article will explore the latest camera settings and skills to become proficient in low-light photography.
Part 1. Camera Settings for Low-light Night Photography
To get professional low-exposure photographs, start by mastering the camera settings for low-light. In this section, take a look at the best camera settings:
A. ISO Setting for Low Light
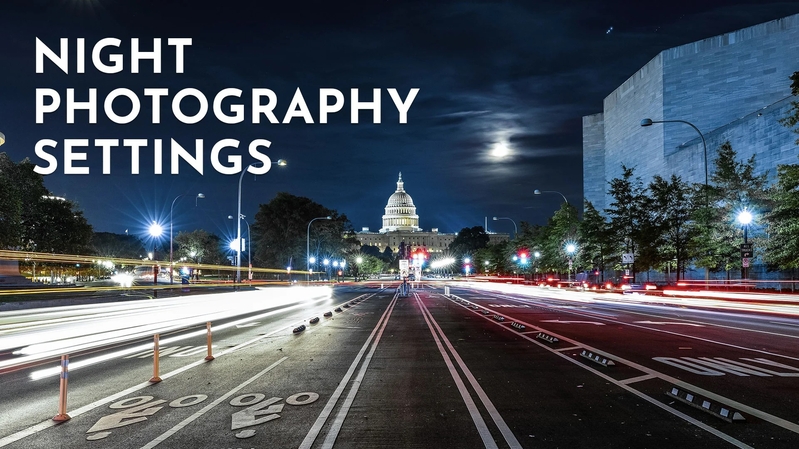
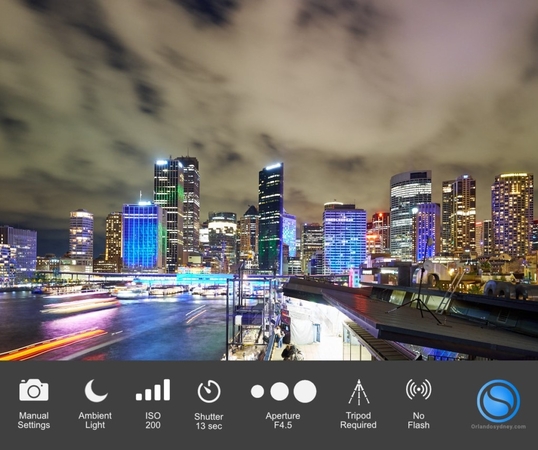
1. Higher ISO helps brighten up your photo even in dim light situations without having extra lighting, but in older cameras, higher ISO over 800 creates noise in the pictures.
2. Modern-day cameras with full-frame sensors can easily use higher ISOs (1600-6400) without making extra noise, but getting ISO this high will still make pictures grainy.
B. Shutter Speed
1. In low-exposure photography, using a slow shutter speed will brighten your picture by allowing more light to reach the camera. To reduce the blur created by fast shutter speed, use a tripod while shooting.
2. Use a shutter speed of 1/60 or above for handheld photography to reduce hand movement. However, use a slightly lower shutter speed if your camera has stabilizers, like IS/VR/IBIS.
C. Aperture Settings for Night Photography
1. To get a well-balanced picture without higher ISO, use a wide aperture such as f/1.2-f/2.8 in low-exposure photography.
2. Use lenses having an aperture like 35mm or 50mm, which will generate shadows and depth of field in your low-light photography
D. White Balance
1. Nowadays, new generation cameras have automatic white balance, but they create issues, especially in tungsten and neon lights, by making them yellowish or orange.
2. Balance it using custom white balance, adding grey and white objects in pictures. Also, you can modify the Kelvin settings to match lightings like 2800k- 3200k to nullify warm tones in low-light photos.
Part 2. Practical Skills for Low-light Photography
After getting insights into camera settings for low-light photography, if you want to enhance your photography skills, the following practical skills you should follow are:
1. Lighting Strategy
- Use creative lighting for composition, like streetlights and candlelight, to add depth, as these objects will not only enhance your main element but also help in storytelling.
- When external lightning is not enough, use extra lights like flash (TTL mode) to give balanced light, or an LED light to provide continuous and natural lightning.
- Reflectors reflect light on the main object to brighten it up and get more details in the picture, which is perfect for portrait photography.

2. Composition and Theme Expression
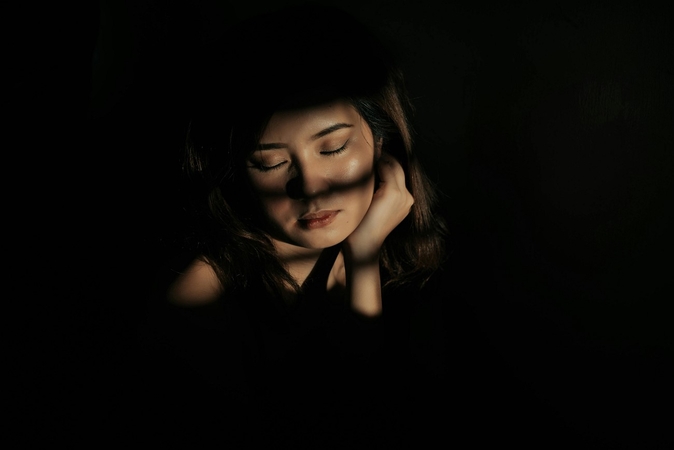
- Using dark backgrounds will instantly brighten up the primary object and create focus, like outlining the people in a dark scene.
- Long exposure effects can convert a simple scene into an extraordinary scene, such as taking pictures of star skies or shooting water flow, creating a smooth scene.
- Throwing light on the main lead from the back will enhance the texture and contour of low-light pictures, like sunsets and sunrise pictures.
3. Focus Skills
- Since autofocus faces challenges in low-light photography, one should convert the camera settings to manual focus for easy and better control over focus. One can use focus assist lights or manually zoom in on the main object to get every precise detail.
Part 3. Gear Tips for Better Low-Light Photography
Now that you have learned the best camera settings and skills to use, have a look at the best cameras for low-light photography tips:
1. Camera Body
To help you choose the right camera, here is a breakdown of ideal cameras with their advantages:
| Camera Models | Advantages |
|---|---|
| Sony A75 series | Best low-light performance with high ISO and makes less noise |
| Canon EOS R5 | Great focus and balanced performance between resolution and sensitivity |
| Nikon Z6 | Ideal for low-light photo coverage and double processors to reduce noise. |
2. Lens combination
1. A large aperture 35mm f/1.4 gives excellent results for night-time street portraits, whereas a 50mm f/1.8 lens is best for natural photography.
2. A wide-angle zoom lens (14-24mm f/2.8) shoots scenes like city skylines and astrological, as its broad view can brighten up dim pictures.
3. Assistive Tools
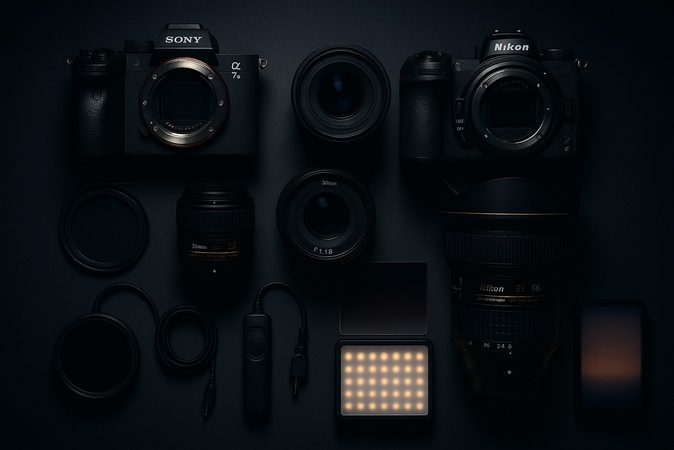
Other than the gears mentioned above, all the assistive tools you need are listed below:
| Tools | Details | Usage |
|---|---|---|
| Shutter Cable/Remote control | Made of rubber, plastic, or a combination of both. | Safe from camera shaking by eliminating the need for hand usage. |
| Filter | ND Filter and Gradient Filter | ND filters are used for long exposure, whereas the Gradient filter balances high-contrast scenes. |
| Portable Fill Light Equipment | Small LED light sticks and portable flash | Use lightning creatively when there are insufficient lights. |
Part 4. Top Post-Processing Tips to Fix Low-Light Photo Issues
Suppose you shot a low-light photo with proper techniques and correct gear usage, but didn't get satisfactory results. There is a chance pictures got blurry and shaky for uncertain reasons, like camera setting errors or poor equipment precision, and you can't even reshoot them. The only solution is an upscaling tool like HitPaw FotorPea, which uses AI technology to upscale your videos without ruining their vibe.
Key Features
1. Use the Low-light Model to brighten up your photos in a dark environment, making it visually appealing.
2. One can utilize the Denoise Model to remove any uncertain noise from their low-light picture and restore its original texture.
3. To fix motion blur and lens blur, consider the Sharpen Model, making your low-light picture more transparent.
4. The Upscale Model can be used to enlarge your low-light photo and sharpen every minor detail of your picture.
5. Utilize the Face Model for sharpening and repairing blurred faces by using one of its modes.
Steps to Improve Low-Light Images Using FotorPea
As we have discussed the tool, now let's dive into a tutorial on HitPaw FotorPea to upscale your low-light photography portrait:
Step 1. Log In to the Platform and Access Enhance NowEnter the HitPaw FotorPea app to select the “Enhance Photos Now” button to get the desired photo imported from your gallery.

Step 2. Activate the Lowlight Model and Start Previewing
As the photo is imported, enable the “Low-light Model” and “Upscale Model” , then select the “Preview” button to start picture editing.
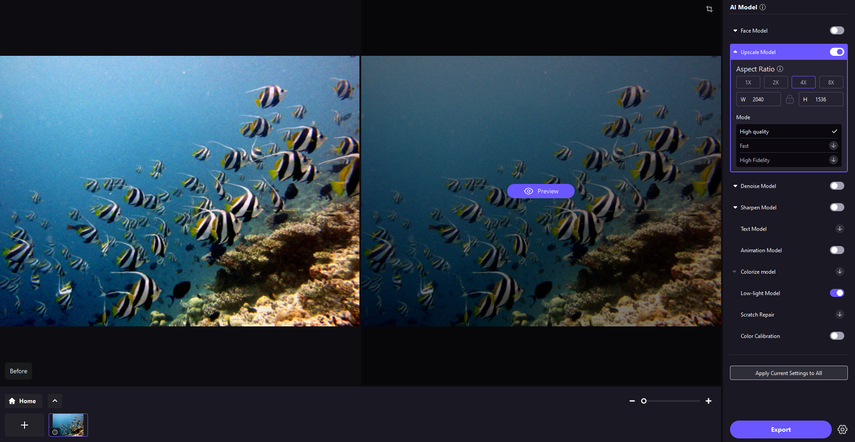
Step 3. Render Your Output to Your Device
At the end, when you have previewed the before and after photograph, access the “Export” button to get your video in memory.
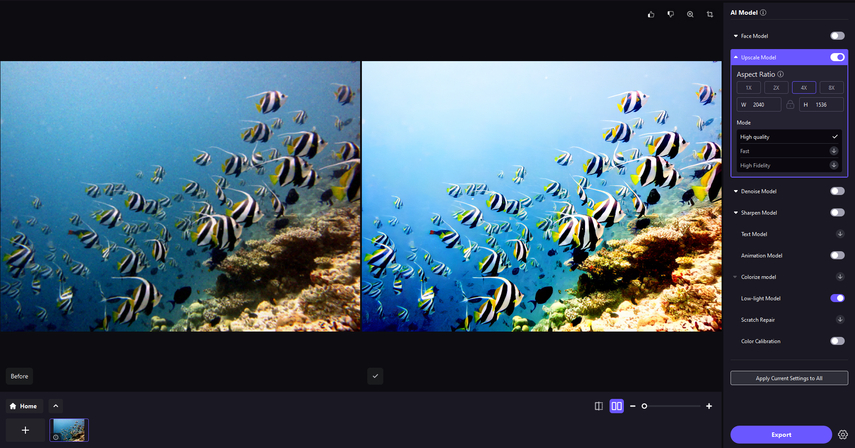
Part 5. FAQs on Low-Light Night Photography
Q1. What is the difference between low-key and low-light photography?
A1. Low-key photography is used to stylize and add dark lights and shadows to highlight the main object as a key element. Meanwhile, low-light photography is used as a term when there is naturally less light available to shoot your pictures.
Q2. Which is the best camera for low-light photography?
A2. Camera selection for low-light photography relies on camera features, price ranges, and numerous worldwide options. One of the famous cameras is the Fujifilm X-T4, which has special features for low-light photography.
Q3. How do you take portrait photos in low light?
A3. One should take a low-light portrait by increasing the ISO and a fast shutter speed, using soft lights like LED lights. Additionally, use stabilizers to stabilize cameras and remove noise during post-production work.
Q4. How to master low-light photography on iPhone?
A4. Users can master low-light photography by setting the light trial mode on and adjusting the light sensitivity to 1/16th. Also, the shutter speed should be set to bulb, and the ISO 100 should be manually selected to gain the aesthetic low-light photos.
Conclusion
In conclusion, mastering low-exposure photography isn't as easy as it seems; you must follow specific steps. This article covered you with all the techniques and the right gear, but still, if you dont get the desired results. To cover this issue, we have introduced you to an upscaling tool like VikPea FotorPea to convert your basic photos to outstanding ones.


 HitPaw Edimakor
 HitPaw VikPea (Video Enhancer)
 HitPaw Univd (Video Converter)



Share this article:
Select the product rating:
Daniel Walker
Editor-in-Chief
This post was written by Editor Daniel Walker whose passion lies in bridging the gap between cutting-edge technology and everyday creativity. The content he created inspires the audience to embrace digital tools confidently.
View all ArticlesLeave a Comment
Create your review for HitPaw articles