How to Master Low-Key Portrait Photography: Pro Tips
In the photography industry, low-key portrait and photographic styles include an emphasis on dark tones and shadows to create mystery. Unlike high-key pictures, low-key images bring out drama and moodiness and benefit photographers in obtaining fine art photography. This article will provide a guide on how you can master low-key photography.
Part 1. Camera Settings for Low-Key Photography Portraits
The following are the best camera settings to get amazing low-key photography portraits for your portfolio:
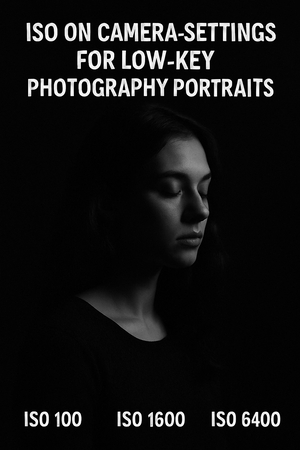
1. ISO: You need to set ISO to the lowest value, ideally 100, to minimize digital noise and preserve image clarity. It ensures deeper blacks and helps maintain a moody atmosphere.
2. Aperture: Users should use a wide aperture to achieve a depth of field, separating the subject from the background. To get low-key family portraits, create a pleasing background blur to draw attention.
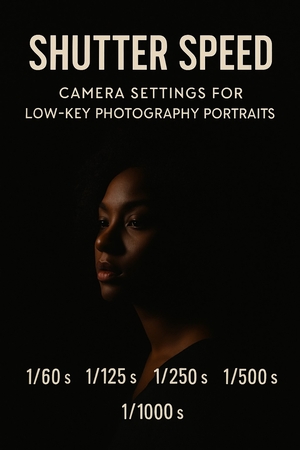
3. Shutter Speed: It’s advised to adjust the shutter speed according to lighting and ensure the speed to prevent motion blur. The typical speed should be 1/160s or faster to match the camera’s flash.
4. Spot Metering: When users employ spot metering, it's usually to measure light from specific parts of a model, like the eyes or the mouth. Also, ensure the important parts are exposed to enhance the dramatic effect.
5. Exposure: Photographers can get low-light portraits by setting exposure to 1 to 2 stops to deepen shadows. If you want more control, try adjusting the aperture, ISO, and shutter speed of the camera manually.
6. Focus: Try selecting single-point autofocus to get precise pictures of a critical area. Also, better focus ensures sharpness and great emotional emphasis on the photographic object.
Part 2. Mastering Low-Key Portrait Lighting Techniques
If you want to master low-key portrait lighting, follow the given techniques to achieve professional and compelling pictures:
1. Rembrandt Lighting
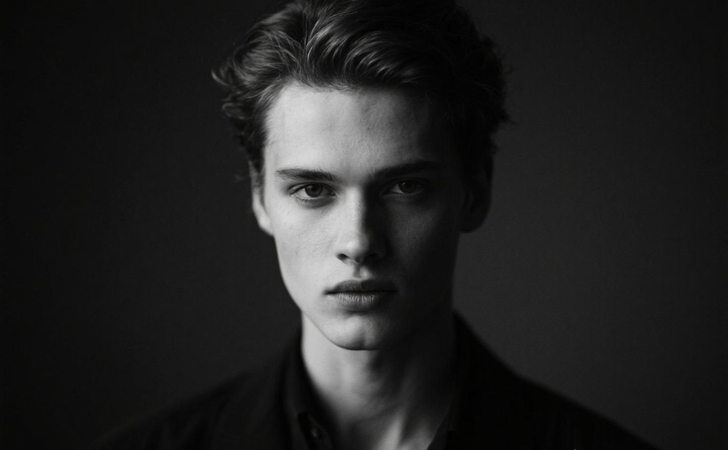
Photographers should try positioning the main light at a 45-degree angle to the subject so that the subject is right above the face. The angle will create a small triangle of light on the cheek, giving you a dramatic yet classical feel. With Rembrandt lighting, achieve expressive portrait shots with dimensional depth.
2. Split Lighting
For modeling photography, use split lighting as it leaves half the face with light and the other half in shadow. Also, for a high-key lighting portrait, it’s an ideal position for creating contrast and intensity. If you want dramatic and steady pictures, use this technique.
3. Loop Lighting
Users can try creating loop-shaped shadows by positioning the light slightly above and to the side of the photographic subject. It occurs around the nose and on the cheek to give it a natural yet stylish look. This works well for portraits where you want only moody, dramatic shadows.
4. Light Modifiers
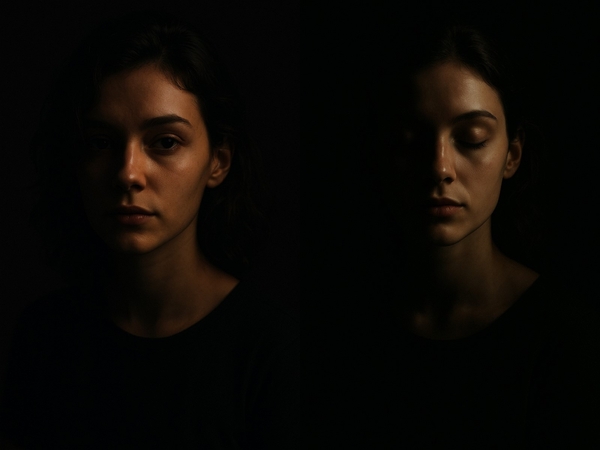
There are a number of modifiers that can easily create a low-key portrait and have the exact light to keep the mood dark. Softboxes offer better control over shadows, whereas snoots focus light on a small area. Also, use grids to see how far the light spreads by keeping the background edgy and dark.
5. Choose the Correct Side or Backlight
To achieve a strong contrast in images, using different front and back lights is very useful. The side light outlines the face, giving it a 3-D effect. On the other hand, using the backlight can make a glowing rim around the subject, making it stand out.
6. Controlled Light Sources
Professionals can use only one main light to keep things simple and moody for different photography. In case of a stronger light, use weak reflectors to brighten the subject's face gently. Also, it doesn't lose facial details, thus the dark and dramatic style of it.
7. Shading Tools
Some of the famous low-key portrait photographers use shading tools, like black flags or board blocks. With these tools, direct them and stop them on the subject to get intricate pictures. When you’re invested in the same area, keep the shadows on the subject at all times.
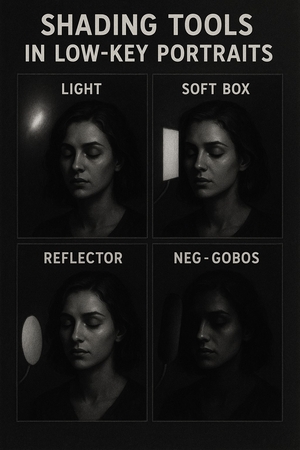
8. Use of Reflectors
They are used to bounce light back into the shadows to keep some of the light on the model. This technique ensures that the portrait doesn't look too dark or too bright for portrait photography. Also, the essential facial parts are highlighted gently with lights.
Part 3. Pro Tips: Styling and Composition For Low-Key Portraits Photography
Users can follow these tips and learn to create compelling, low-key portraits that evoke emotion and depth:
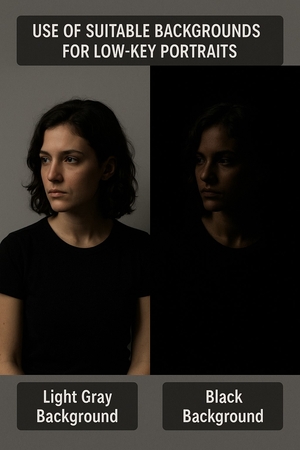
1. Background
You can utilize matte black or dark gray backdrops to absorb light and prevent unwanted reflections. The added background confirms the subject remains the focal point and that other objects don't cause any distractions. Also, to get more dramatic and even shots, position the subject away from the background to allow shadows to envelop the space.
2. Contrast
To obtain low-key photography portraits, ensure the illuminated areas are bright enough to define key features. If you follow the contrast camera settings, be sure that the shadows remain deep and rich. This high contrast adds depth, emotion, and visual power to the portrait.
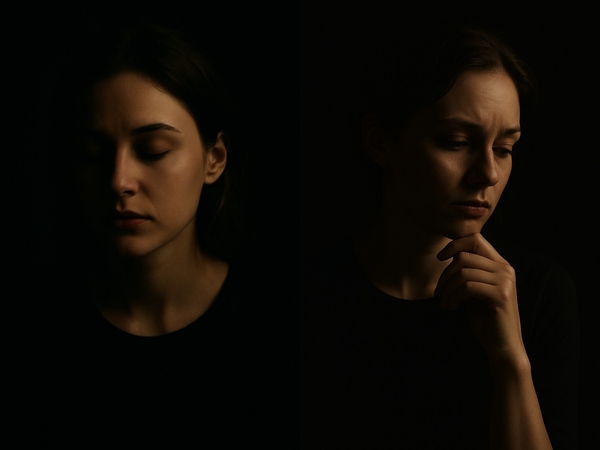
3. Pose and Expression
Photographers can try a thoughtful look or a calm profile with their subject to enhance the mysterious or dramatic factor. Moreover, trying new angles and poses helps emphasize the facial shadows of the model. With such visual representation, you can get expressive shots.
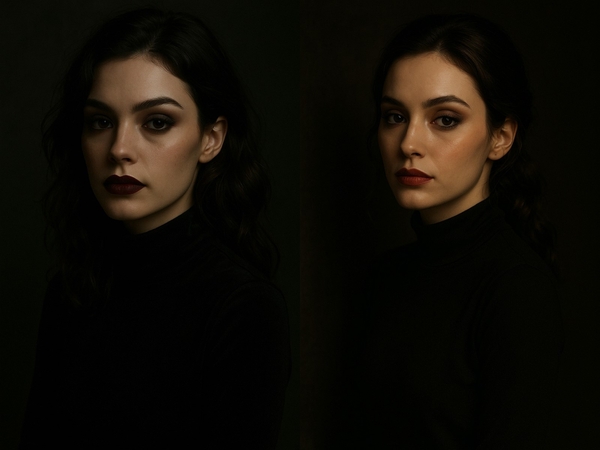
4. Clothing and Makeup Coordination
In a studio, opt for dark, solid-colored clothing to harmonize with the background and emphasize low-key portraits. Furthermore, avoid bright colors and busy patterns that can distract you from the subject's features. For makeup, use it to accentuate facial contours, focus on the eyes, and keep lip colors subdued.
5. Composition Techniques
Apply the rule of thirds by placing key facial features along the upper horizontal lines or intersection points of the frame. Utilize environmental lines (such as doorframes or wall edges) as leading lines to guide the viewer’s gaze toward the subject. Maintain a simple composition to avoid cluttering the frame with excessive elements.
Part 4. Ultimate Post-Processing for Low-Key Portrait Photo with FotorPea
After delving into the intricacies of Low Key portrait photography—mastering lighting, background selection, wardrobe coordination, and composition—it's evident that meticulous attention to detail is paramount. Yet, even with careful planning, final images may exhibit imperfections such as noise, soft edges, or color imbalances. In such cases, leveraging advanced AI-powered photo editing tools can significantly enhance the quality and mood of your portraits.
HitPaw FotorPea emerges as a robust AI-driven photo enhancement solution, designed to elevate image quality effortlessly. Its suite of AI models intelligently identifies and rectifies various image issues, enabling photographers to achieve professional-grade results in post-production.
Key Features
1. From the use of the Low-Light Model, brighten up photos to improve the overall clarity and preserve the original resolution without washing the mood off.
2. Utilize Color Correction model to adjust uneven colors in your image, which enhances the tone and visual harmony of the portraits for a polished finish.
3. Go for the Sharpen Model to increase the edge contrast around the facial features of Low-Key portraits, and gain well-defined details against the backdrops.
4. The AI Face Enhancer helps remove facial blemishes and improves every blurry part of the portraits to deliver a professional-looking model with refined facial features.
5. With the help of the Denoise Model, you get the ability to remove unwanted noise from low-key portrait images to achieve a smooth, high-quality result.
Step-by-Step Guide on How to Upscale Low-Key Photography Portraits Using FotorPea
After that, you can follow the given steps and learn how to improve the low-key images into high-quality portraits using the AI Photo Enhancer software:
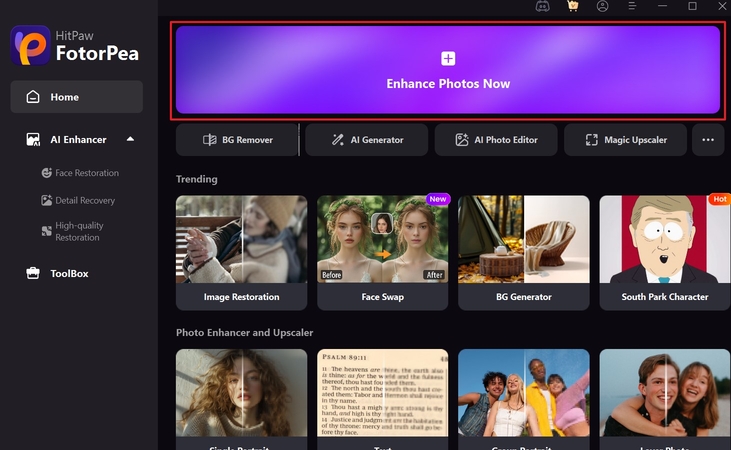
Step 1. Access the Enhancer Feature and Import PortraitLaunch the software, click the “Enhance Photos Now” button, and import the portrait from your device.
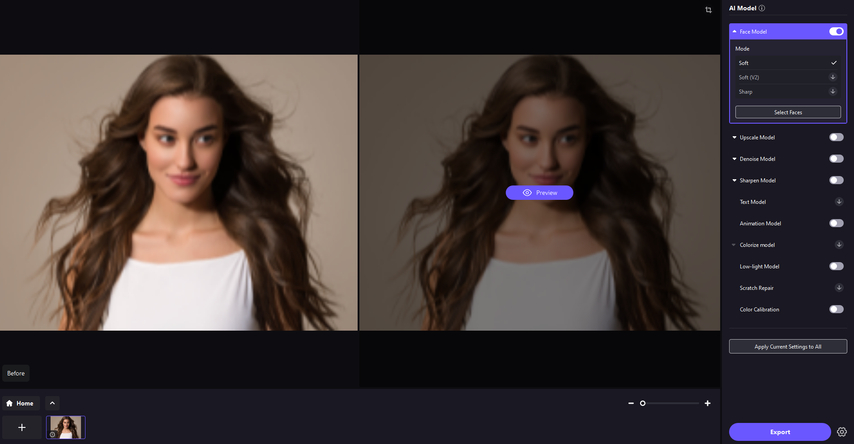
Step 2. Choose the Low-Key Model & Start the Process
Now, toggle on the “Face Model” option from the right panel, select other suitable models, and press “Preview.”
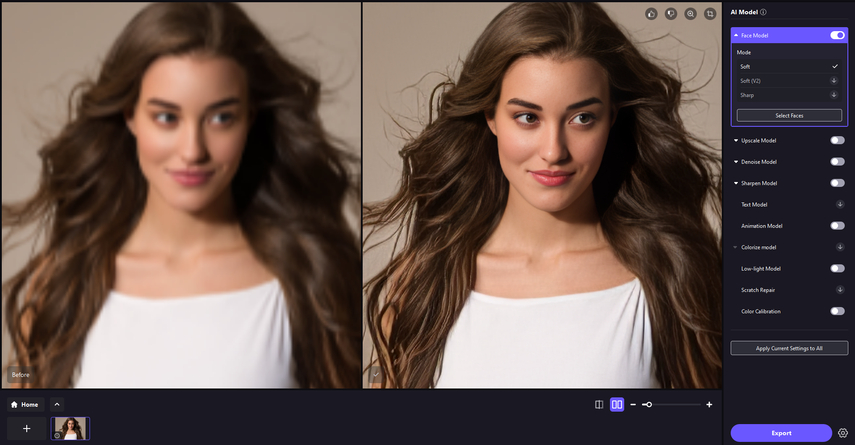
Step 3. Preview the Result and Export Image
When results appear, hit the "Export" button and save the high-key portrait on your device.
Conclusion
In summary, understanding the importance of low-key portraits, their importance, and their challenges, users can deduce useful information from this article. It provided the best camera settings, top lighting techniques, and various tips to achieve stunning low-key portraits. In the end, to get rid of image graininess and blurriness, use HitPaw FotorPea and its various AI-driven image enhancer models.


 HitPaw Edimakor
 HitPaw VikPea (Video Enhancer)
 HitPaw Univd (Video Converter)

Share this article:
Select the product rating:
Daniel Walker
Editor-in-Chief
This post was written by Editor Daniel Walker whose passion lies in bridging the gap between cutting-edge technology and everyday creativity. The content he created inspires the audience to embrace digital tools confidently.
View all ArticlesLeave a Comment
Create your review for HitPaw articles