Catalog
Object Removal utilizes generative AI technology to eliminate unwanted elements from images. By analyzing the surrounding environment, it doesn't just delete objects—it intelligently generates replacement backgrounds that seamlessly blend with the rest of the image.
Follow the 5 easy steps below and begin to remove objects from photo.
Step 1: Import Photo
Click "Object Remover" to add photos that you need to remove objects with. Or you can simply drag the photo into the edit box.

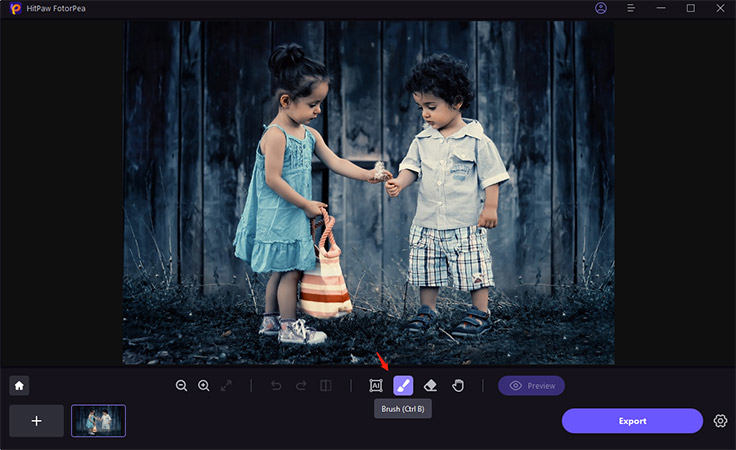
Step 2: Find the Brush or Box Selection Tool
Find the Brush or Box Selection tool in the bottom of the program.
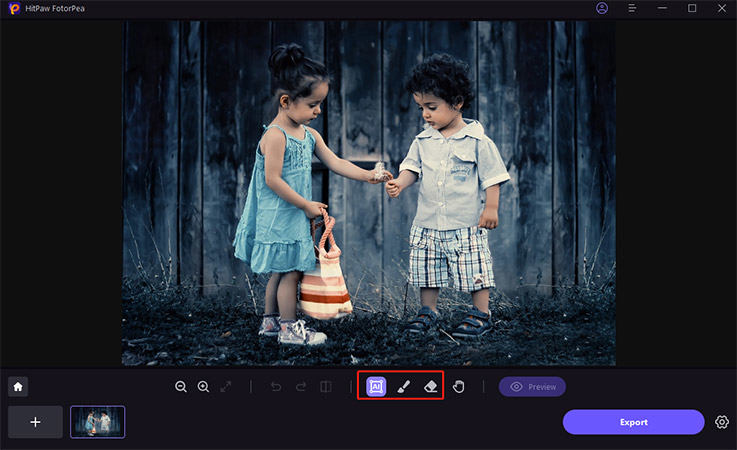
Step 3: Paint Out or Frame the Object
Paint out or Frame the Object that needs to be removed from your photo.
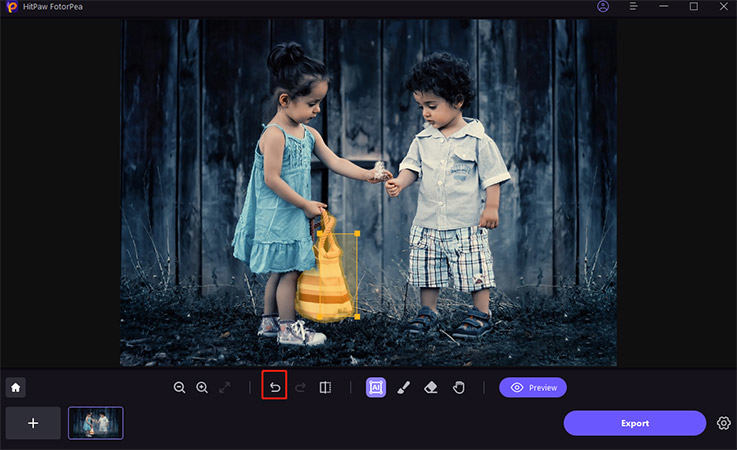
Step 4: Adjust Selection
After the frame selection, the selected area will be highlighted. You can adjust the remove area, add or reduce selection as you need. If you are not satisfied with the current selection zoom, you can reselect the object by clicking "Undo" button.
Step 5: Preview and Export the Photo
Click "Preview" to remove object from the photo. Then you can browse the path for saving, and click "Export" and save the final photo(s) to your computer.
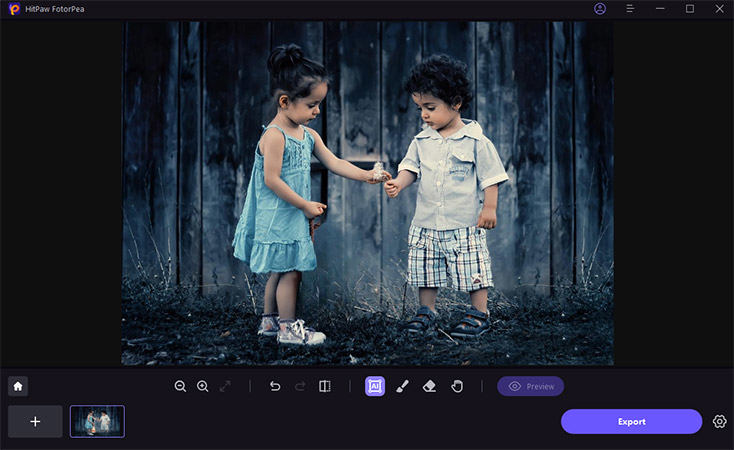
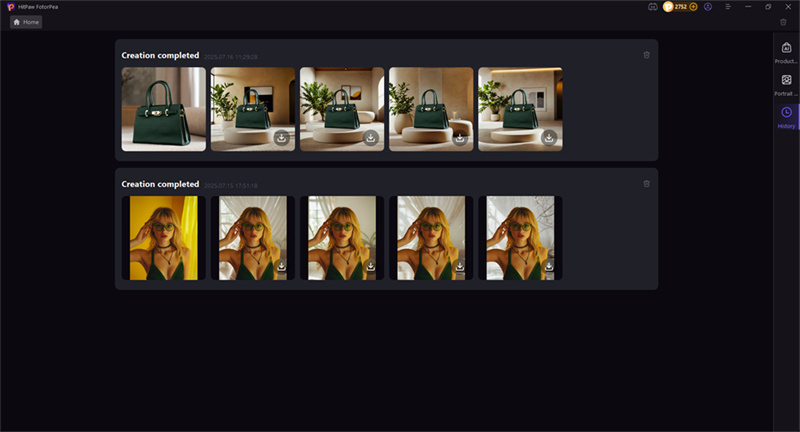
Extra Tips of Removing Objects: Seamless Background Generation (Portrait & Product Use)
Step 1: After removing unwanted objects from the image, you can choose enter 'Portrait Background' or 'AI Product Image' depending on the needs of your photo(s).

Step 2: After removing the corresponding background and objects, you can select the corresponding background generation style on the right.
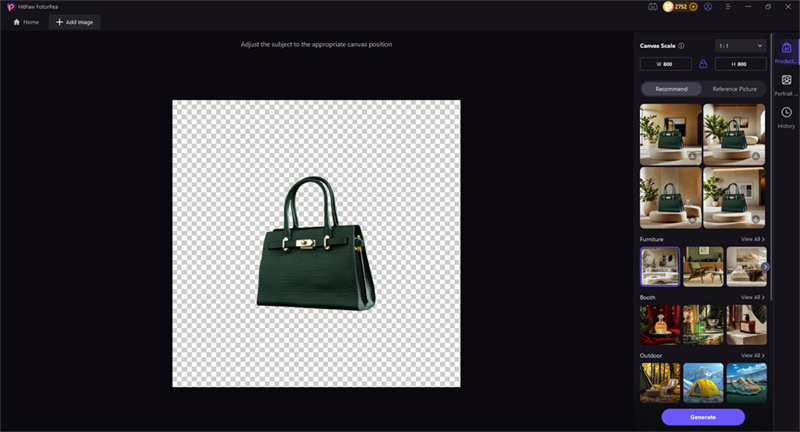
Step 3: The AI will fill in the gaps using background textures that match the rest of the image, whether it's a portrait or a product photo.
