Why Old Videos Turn Red? Causes & Restoration Tips
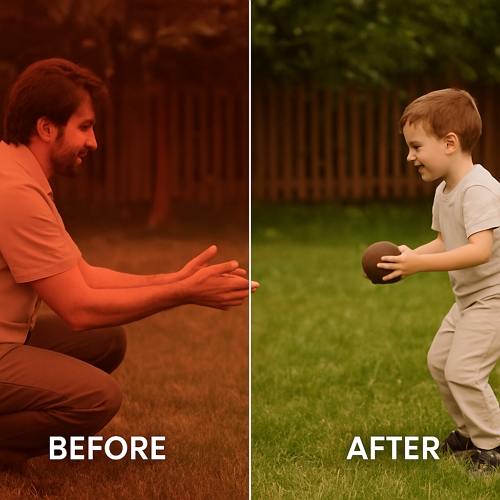
Have you ever dusted off an old VHS tape or digitized a vintage family video, only to notice that the footage has turned red or orange-tinted? This is a common problem with aging videos, particularly those stored for decades without restoration. Whether it's a cherished wedding film or a nostalgic home video, color degradation can strip away the emotional depth these memories once held.
In this article, we'll explore the science behind why old videos turn red and provide practical, modern solutions to restore their original vibrance and clarity.
Part 1: Why Old Videos Turn Red - The Science Behind It
1. Chemical Film Decay
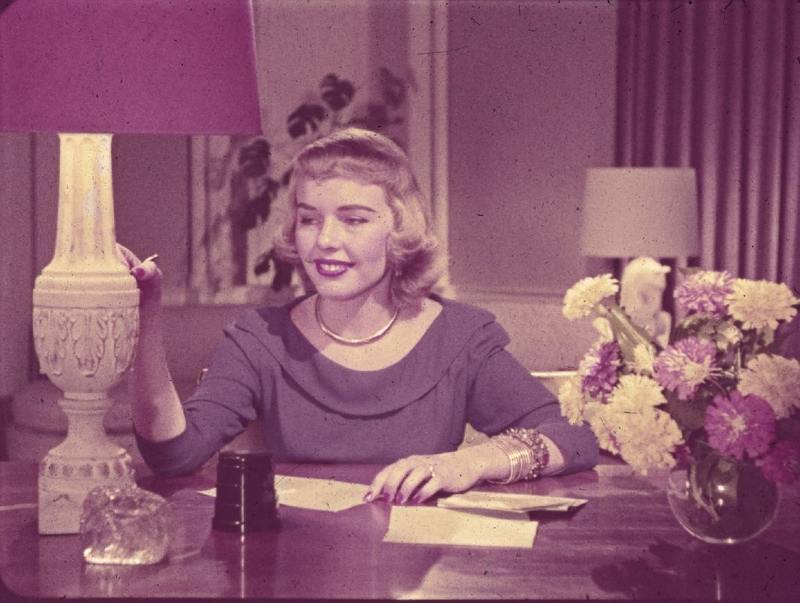
Before digital formats, video was captured on film stock that relied heavily on color dyes-cyan, magenta, and yellow. Over time, the cyan and yellow dyes tend to degrade more rapidly, while the magenta dye (which contributes to red tones) remains relatively stable. This imbalance results in a reddish hue dominating the video.
Kodachrome and early Eastman color films, for example, are notorious for this kind of decay. Heat, humidity, and improper storage accelerate the process, making it even harder to preserve the original colors.
2. Magnetic Tape Color Shift (VHS & Betamax)
Magnetic tape formats like VHS and Betamax are especially prone to color distortion. As the magnetic particles on the tape degrade, color synchronization is lost-often causing color bleeding, particularly in the red channel. Furthermore, prolonged exposure to electromagnetic fields or moisture can cause permanent shifts in hue.
3. Digital Aging & Compression Artifacts
Digital videos are not immune to color degradation. Over time, poorly compressed files can suffer from bit loss or corrupted color channels, especially if they were encoded with early or lossy codecs. A red color cast may also result from poor color balance during early digitization processes.
Part 2. Common Signs of Aged or Damaged Video
How do you know if your old video suffers from color degradation? Here are a few telltale signs:
- Red or orange color tint across the frame
- Loss of detail and clarity, especially in skin tones
- Noise or graininess due to tape degradation
- Faded colors and washed-out contrast
- Color bleeding or separation at the edges of objects
These signs often appear gradually, but become more apparent once you compare the footage to its original quality or to restored versions.
Part 3: How to Restore Red-Tinted Videos Easily
Thanks to advanced AI technologies, restoring discolored or red-tinted videos is no longer a task for professional studios only. With intuitive tools like HitPaw VikPea, anyone can repair old videos with just a few clicks-whether it's correcting reddish tones, enhancing color vibrancy, or recovering lost detail.
HitPaw VikPea is a powerful AI video enhancer designed to restore and upgrade aged, low-quality, or color-shifted videos. Specifically built for video restoration and enhancement, it includes specialized AI models that target common issues such as red tint, low-light footage, and dull color palettes.
Highlight Features of HitPaw VikPea
- AI Color Correction Engine: Detects and corrects color imbalance, including red bias, yellowing, or faded tones.
- Multiple AI ColorModels: SDR to HDR Model, Colorize Model, Color Enhancement Model and Low-light Enhancement Model.
- Real-time Before & After Preview: See results instantly before exporting.
- Wide Format Support: Compatible with MP4, MOV, AVI, and legacy video formats.
- Up to 4K Export: Restore and export in high resolution for modern displays.
Whether you're fixing VHS home videos, old digital clips, or even historical footage, HitPaw VikPea delivers professional-grade results with beginner-level ease.
Step-by-Step Guide: Fix Red Tint in Old Videos Using HitPaw VikPea
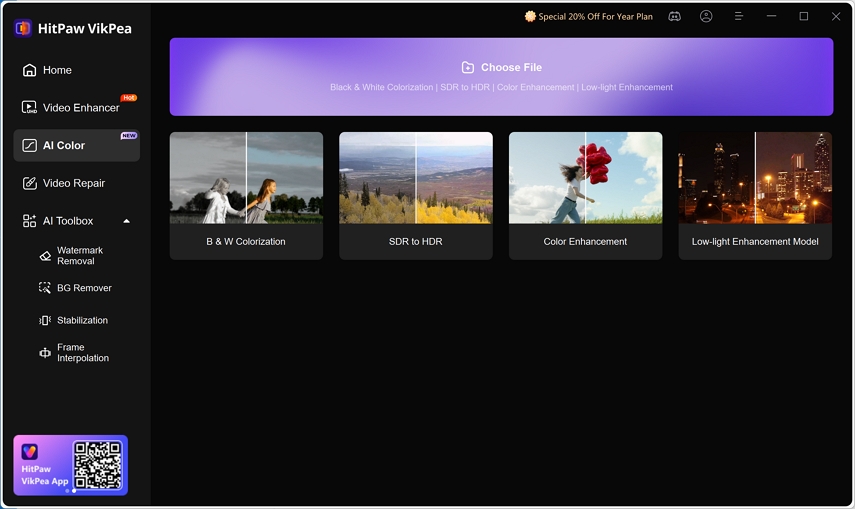
Step 1. Download and open HitPaw VikPea on your Windows or Mac device. Choose AI Color from the side bar. Click the "Choose File" button and import your discolored or reddish video.
Step 2. Once the video loads, you'll be presented with several AI enhancement models. Choose based on your specific need:
- For correcting red/pink color cast ➜ Color Enhancement Model
- For dull or low-saturation footage ➜ SDR to HDR Model
- For faded or black-and-white footage ➜ Colorize Model
- For dark or underexposed video ➜ Low-light Enhancement Model
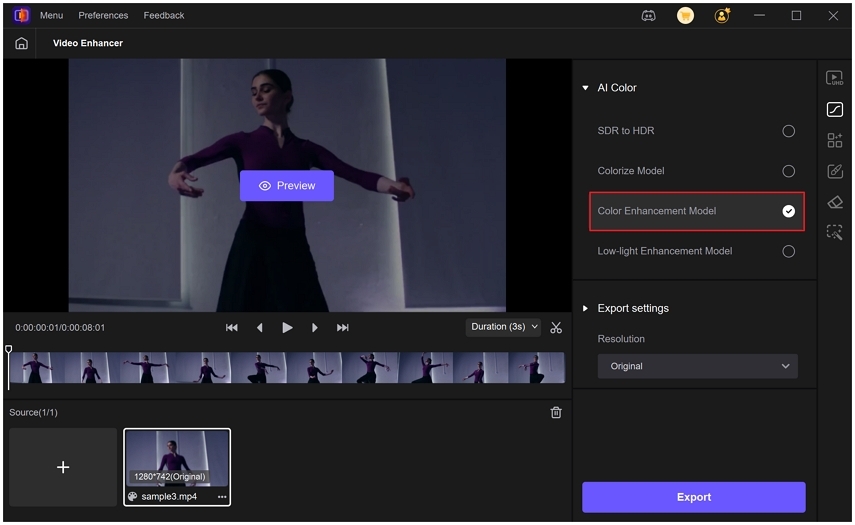
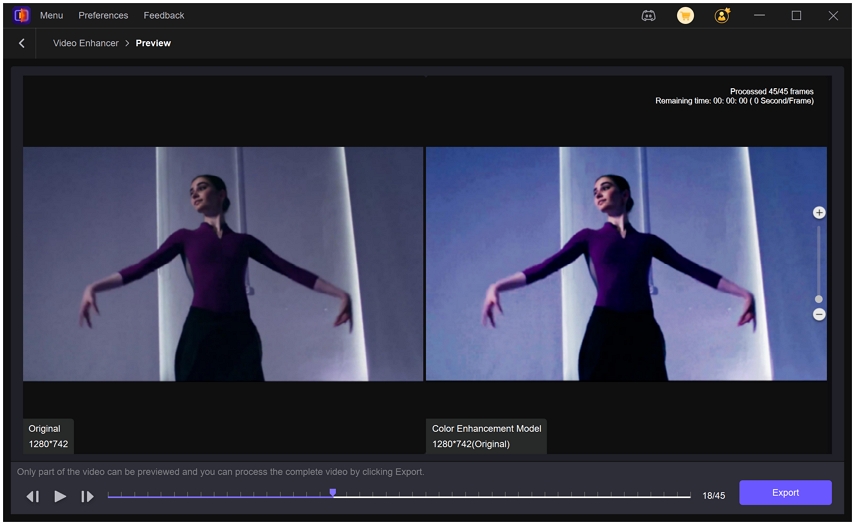
Step 3. Click "Preview" to generate a real-time side-by-side comparison. You can pause, scrub, and compare before & after frames for quality assurance.
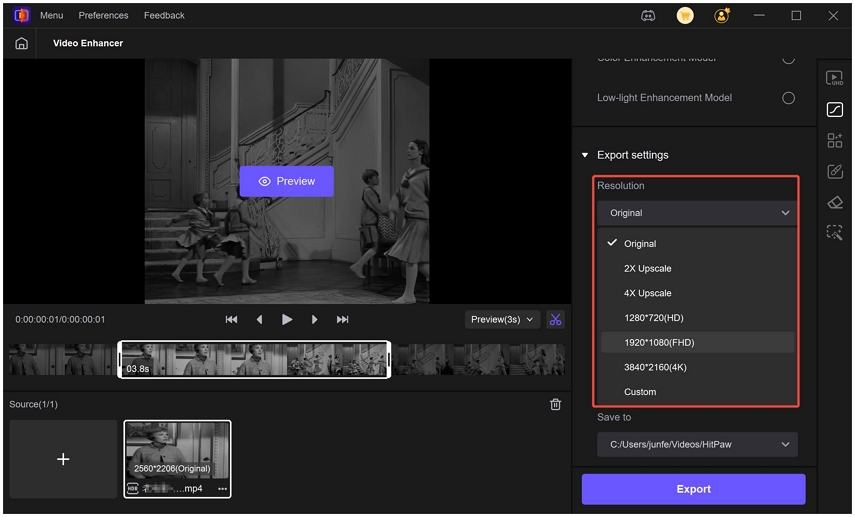
Step 4. In the Export Settings, you can define the resolution, crop settings, bit rate, and output format.
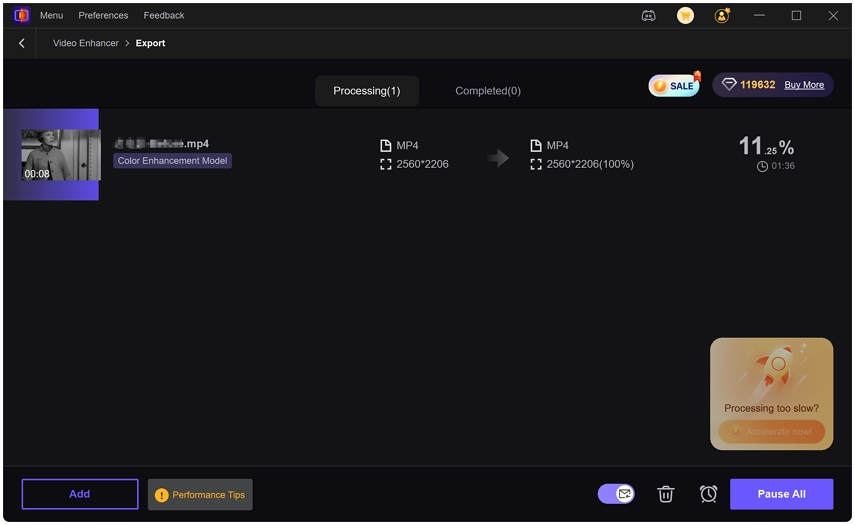
Step 5. Once you're satisfied with the preview, click "Export" button to start processing the entire video.
Part 4: Additional Tips to Prevent Future Color Decay
While restoration is possible, prevention is always better. Here's how to protect your remaining analog or early digital footage:
- Store tapes and films in cool, dry environments
- Avoid exposure to sunlight or electromagnetic sources
- Digitize analog media using high-quality capture devices
- Use archival-grade storage formats like ProRes or high-bitrate MP4
- Create multiple backups, ideally with cloud and physical drives
Conclusion
Old videos turning red is not a mysterious phenomenon-it's a natural consequence of dye decay, magnetic tape degradation, or digital file aging. Fortunately, with today's AI-powered video enhancers like HitPaw VikPea, you can recover the lost vibrancy and bring life back to your most treasured memories.


 HitPaw Univd (Video Converter)
 HitPaw VoicePea
  HitPaw FotorPea


Share this article:
Select the product rating:
Daniel Walker
Editor-in-Chief
This post was written by Editor Daniel Walker whose passion lies in bridging the gap between cutting-edge technology and everyday creativity. The content he created inspires the audience to embrace digital tools confidently.
View all ArticlesLeave a Comment
Create your review for HitPaw articles