How to Use DeOldify for Realistic Video Colorization
In the era of AI, breathing new life into black-and-white videos has never been easier. Whether you're restoring vintage family footage or enhancing old documentaries, AI video colorization tools can add rich, realistic colors to monochrome memories. One of the most well-known tools for this task is DeOldify, an open-source project praised for its deep learning-driven colorization.
In this article, we'll guide you through how to use DeOldify to colorize videos, explain its pros and limitations, and introduce an easier, faster, and high-quality alternative for video colorization.
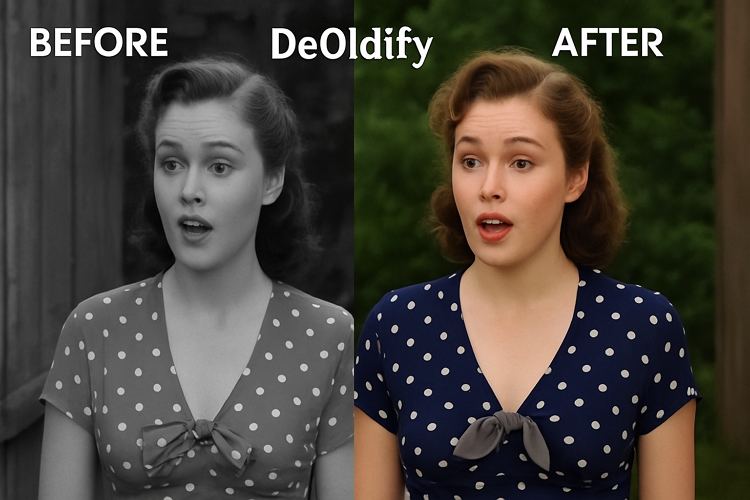
Part 1. What is DeOldify?
DeOldify is a deep learning-based project built using Generative Adversarial Networks (GANs). It was initially designed to colorize old photos but has since been adapted for videos. The model uses AI to analyze grayscale frames and predict realistic colors based on context and learned data patterns.
Its strengths lie in natural-looking color tones and impressive detail preservation. As an open-source project, it's free and customizable, making it a favorite among developers and digital artists. But for general users, the setup and execution process can be overwhelming.
Part 2. How to Use DeOldify to Colorize Videos
Option 1: Use DeOldify on Google Colab
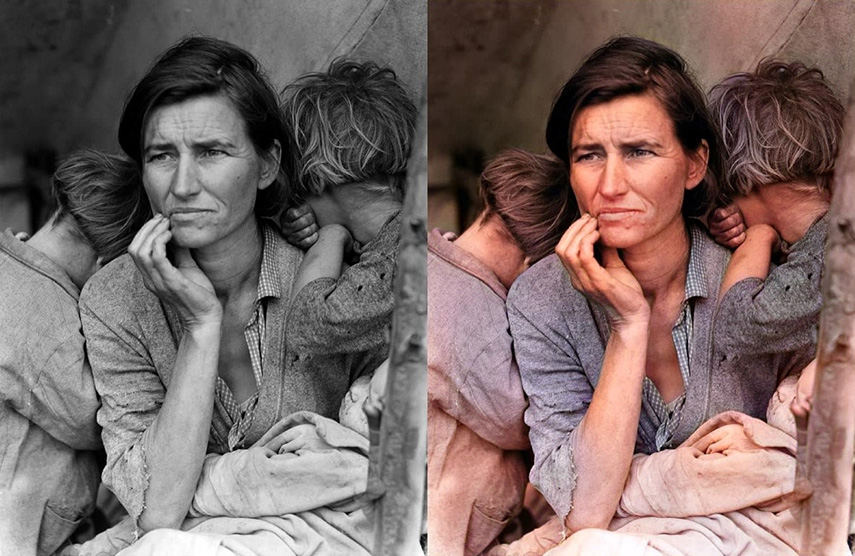
The simplest way to try DeOldify without installing anything is by using Google Colab notebooks shared by the community.
Steps:
- Visit a trusted DeOldify Colab notebook(e.g., from GitHub).
- Upload your black-and-white video or paste a YouTube link.
- Run the notebook cells in sequence.
- Wait for the video to process and download the result.
Pros:
- No installation required.
- Works on any device with internet access.
Cons:
- Slower processing (especially for longer videos).
- Limited video resolution (often capped at 480p or 720p).
- Can fail or timeout without warning.
Option 2: Install DeOldify Locally
For advanced users with capable hardware (especially NVIDIA GPUs), DeOldify can be installed and run locally.
Steps:
- Clone the DeOldify repository from GitHub.
- Install dependencies: Python, PyTorch, Jupyter Notebook.
- Load your video and run the processing script.
- Manually save and compile frames into a new video file.
Pros:
- More control over processing and settings.
- No file size limits.
Cons:
- Requires strong technical skills.
- Setup can take hours.
- High GPU memory usage
Part 3. DeOldify Limitations You Should Know
While DeOldify is groundbreaking, it's not without drawbacks:
- Complexity: It's not beginner-friendly and often requires technical troubleshooting.
- Hardware Intensive: A good GPU is essential for smooth performance.
- Output Resolution: By default, outputs are low-to-medium quality.
- Speed: Video rendering can take hours depending on length and quality.
- Stability: Occasionally crashes or fails due to external dependencies (e.g., Colab updates).
Part 4. A Smarter Alternative: HitPaw VikPea for AI Video Colorization
If you're looking for a faster, easier, and more powerful solution for video colorization, HitPaw VikPea is a strong alternative. Designed for creators, historians, and casual users alike, it eliminates the technical complexity while delivering high-quality, AI-enhanced results.
Why Choose VikPea over DeOldify?
Feature
DeOldify
VikPea
Usability
Complex setup
User-friendly interface
Resolution Support
Up to 720p
Up to 4K
GPU Requirement
Required
Optional (supports cloud AI)
AI Models
One general model
Multiple scene-specific models
Real-Time Preview
Not available
Available
Speed
Slow
Fast with cloud acceleration
Key Features of VikPea
- AI ColorModels: Tailored for general content, faces, and animation scenes.
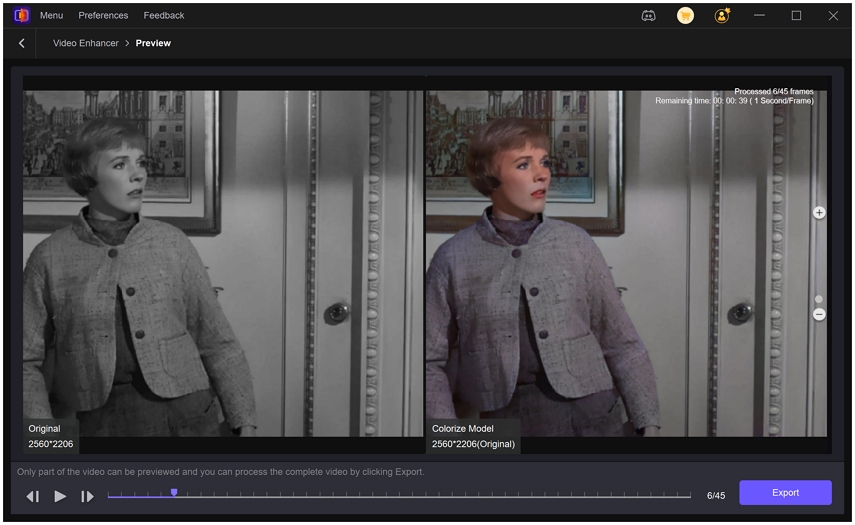
- Real-Time Preview: Instantly see before/after results.
- High-Resolution Export: Export up to 4K without quality loss.
- Cloud Acceleration: No need for a GPU-buy cloud points for fast rendering.
- No Coding Needed: Drag and drop interface for easy access.
How to Colorize Videos with VikPea
Step 1:Download and install the software according to your computer system. It works on both Windows and Mac.
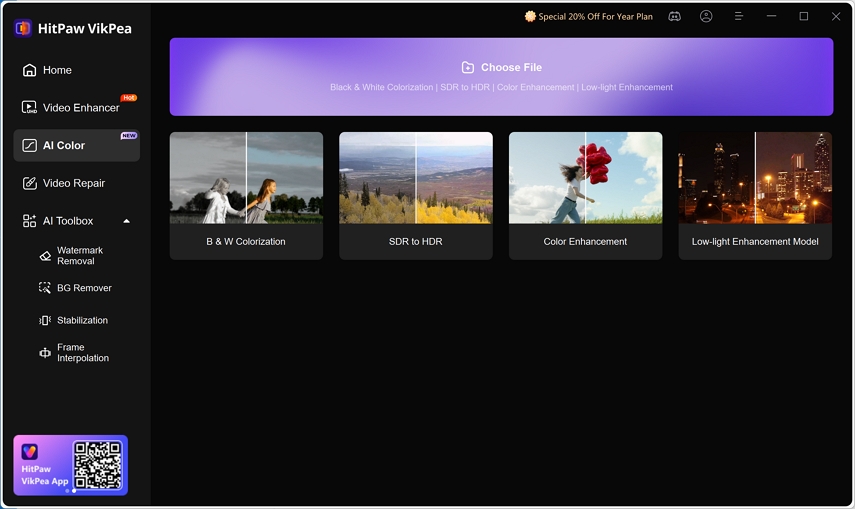
Step 2:Launch the program, and choose AI Color feature from the side bar. There are four specific enhancement models under this module. You can click Choose File to import your black-and-white video.

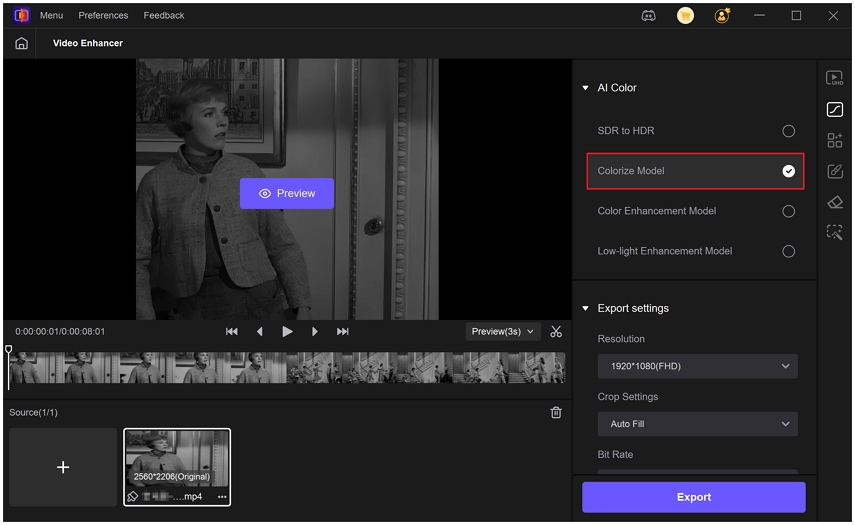
Step 3:Select the AI Colorize Model under AI Color module. This model will colorize black and white video.

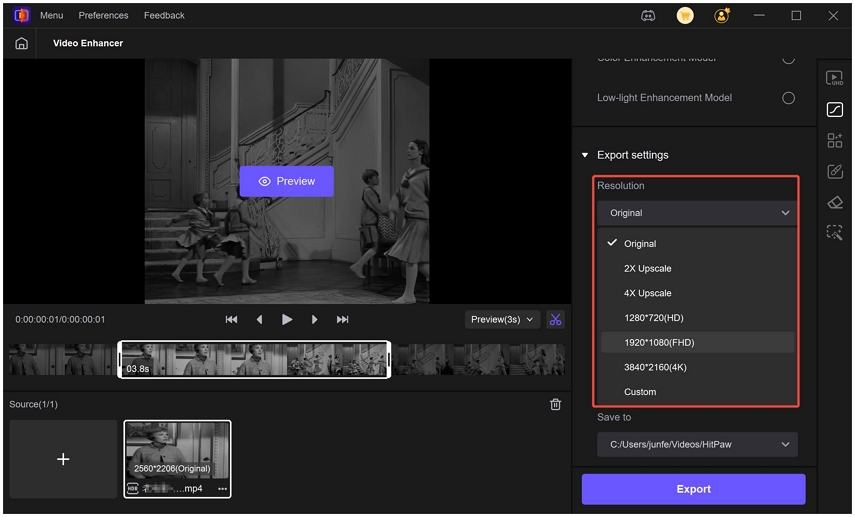
Step 4.In the Export Settings, you can customize the resolution, frame rate, and format.

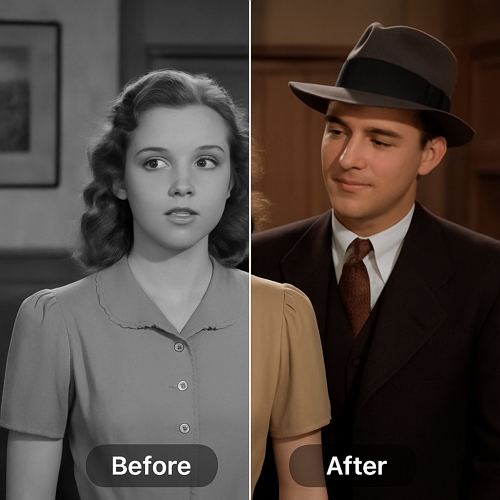
Step 5.Click the Preview button to see a side-by-side before and after comparison results.

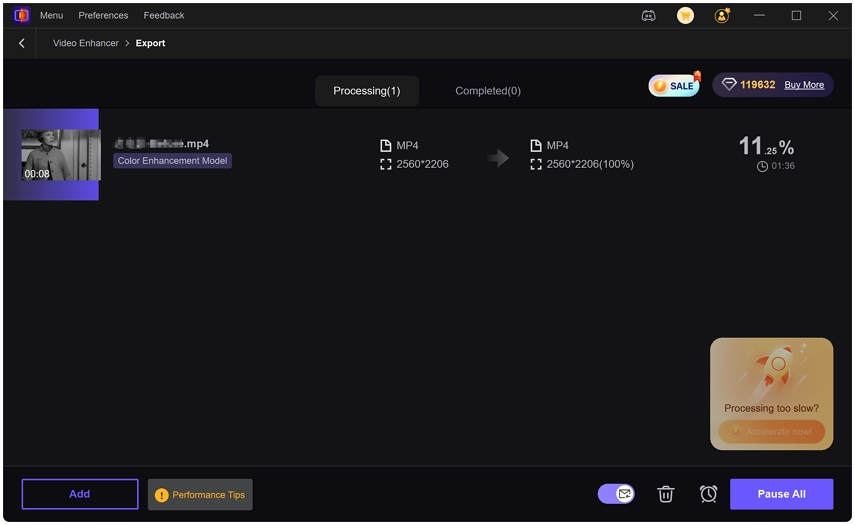
Step 6.Finally, click Export button to export your video in 1080p or 4K resolution.

Conclusion
DeOldify is a powerful and innovative tool for AI-based video colorization, especially for those who enjoy technical control and open-source flexibility. However, its limitations-especially in ease of use, performance, and output quality-can be a barrier for many.
For users who want a faster, high-quality, and user-friendly colorization experience, HitPaw VikPea offers a robust alternative. With multiple AI models, real-time previews, and support for 4K exports, it brings professional results within reach for everyone.



 HitPaw Univd (Video Converter)
 HitPaw VoicePea
  HitPaw FotorPea

Share this article:
Select the product rating:
Daniel Walker
Editor-in-Chief
This post was written by Editor Daniel Walker whose passion lies in bridging the gap between cutting-edge technology and everyday creativity. The content he created inspires the audience to embrace digital tools confidently.
View all ArticlesLeave a Comment
Create your review for HitPaw articles