Noise vs Gaussian Noise: Understanding the Differences
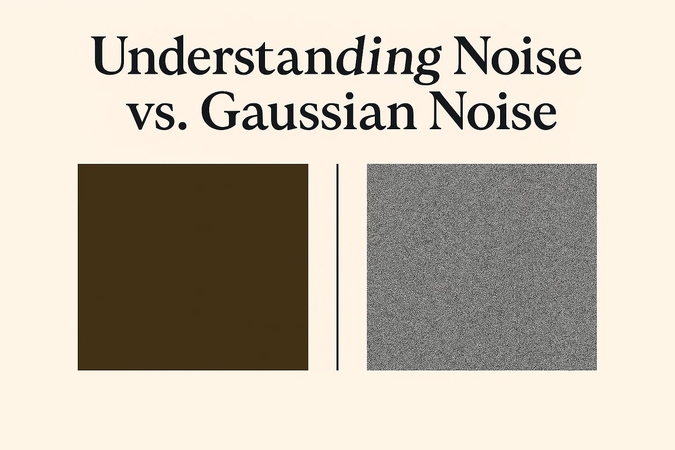
Noise in an image can include discoloration or graininess and reduce the visual clarity, making the analysis difficult. With noise in a picture, its aesthetic appeal automatically minimizes, and you can’t use that image professionally. Thus, you must remove noise and make your image visually appealing, but first, understanding the differences between noise vs Gaussian noise is necessary. To help you understand, our article discusses how noise and Gaussian noise differ.
Part 1. Understanding Noise in Image Processing and Its Various Types
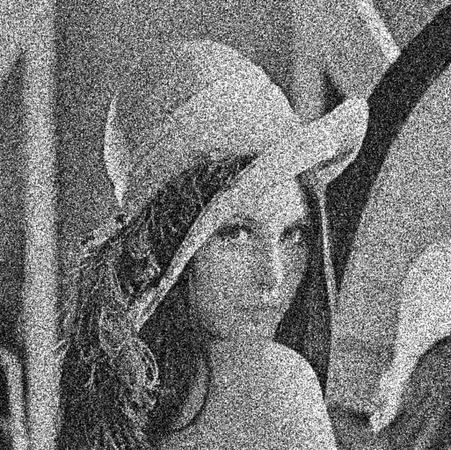
Taking a picture can sometimes create random tiny spots on it, and we call these spots image noise. These random variations in the color of the pixels occur due to the disturbance in the technical limits of image collection sensors. Let’s start understanding Gaussian noise and other noise types:
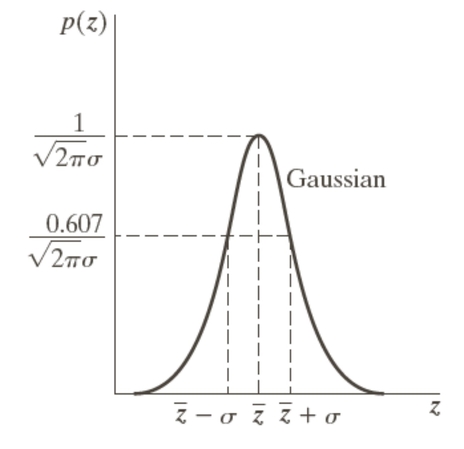
1. Gaussian Noise: Gaussian noise is the invisible mist that spreads across your image when you take a photo in low light. It is random, but the disturbance in pixels follows a bell-shaped curve.
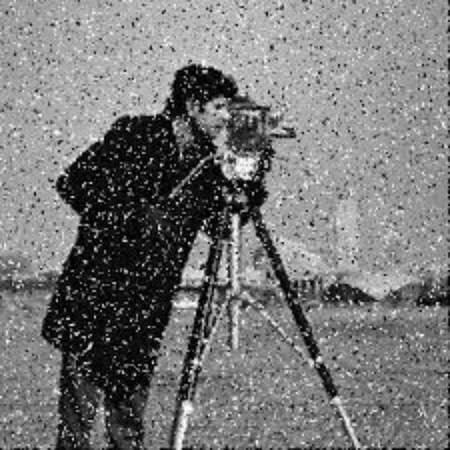
2. Salt and Pepper Noise: This is the most common type of noise that looks like black and white dots scattered over your picture due to sudden capturing errors.
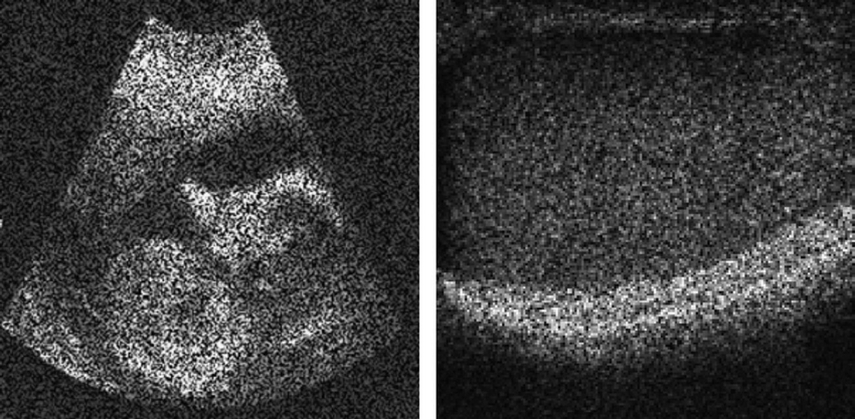
3. Speckle Noise: Speckle noise has a grainy appearance and multiplies the existing pixel values by random amounts, making your image surface look rough.
4. Poisson Noise: This noise depends on how the random nature of light (photons) arrives at your camera sensor and is more noticeable in an image’s darker areas.
Part 2. Exploring Gaussian Noise: Characteristics and Implications
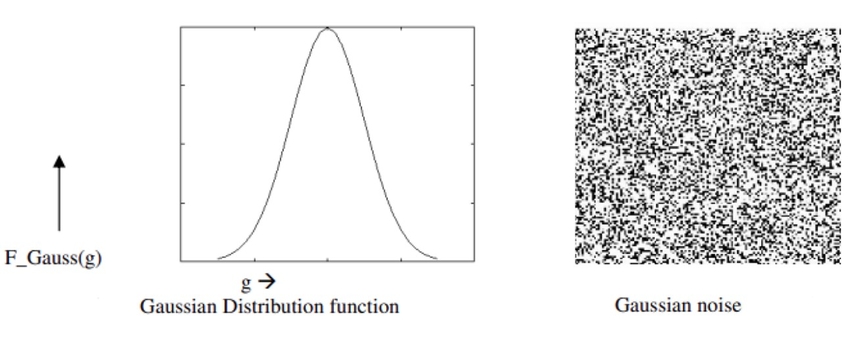
Gaussian noise got its name because it follows a Gaussian distribution and introduces random fluctuations in the intensity values of your image’s pixels. Although its impact depends on the Gaussian distribution, a noisy image does not compress well, and you’ll have a larger file for the same picture content. Having discussed how Gaussian noise differs from speckle noise, let’s explore its characteristics and implications:
Characteristics of Gaussian Noise
1. As the probability of each noise follows a Gaussian distribution, the mean values are closer to the average, mostly zero.
2. The variance determines the intensity of the noise, and a larger variance means more significant noise corruption.
3. Gaussian noise messes up all parts of your picture, including both smooth and sharp details of your image.
Implications of Gaussian Noise
1. Gaussian noise reduces visual clarity in your images and blurs the fine details, making it difficult to detect an image’s features.
2. If we talk about the effect on brightness, Gaussian noise introduces shifts in the saturation of pixels and destroys the original colors.
3. While you use different images with Gaussian noise to make a video, it adds a shimmering effect and reduces the overall viewing experience.
Part 3. Comparative Analysis: Noise vs Gaussian Noise in Image Processing
The following table compares noise and its type to help you understand noise vs Gaussian noise in image processing:
| Factors | Noise | Gaussian Noise |
|---|---|---|
| Source | Noise comes from camera sensors, poor lighting, and even sending images to another device can add noise. | Gaussian noise starts due to your camera’s electronics, and weak light causes random signal changes. |
| Statistical Distributions | It can follow different patterns and spread evenly or like one of the noise types, such as salt and pepper. | This type of noise follows a specific bell-shaped mathematical rule. Most changes are small but easily noticeable, and big changes are rare. |
| Visual Appearance | Noise appearance varies, and it can appear as random dots or grainy patterns. Sometimes, sudden black and white spots appear on your image, which is also noise. | Gaussian noise appears like a random grain spread over your whole picture. It's minor, but it makes your image less clear. |
| Mathematical Representation | You can't set a specific formula for noise since there are over four types, and each of them follows a different mathematical rule. | We often describe Gaussian noise by adding random numbers to the actual image’s brightness. How much the curve spreads tells us how strong the noise is. |
| Impact on Image Quality | Considering the effect of noise vs Gaussian noise on image quality, noise always makes it worse by making colors look wrong. Notably, the amount of damage depends on how much noise is in your image. | With Gaussian noise, your image looks less sharp and hides the fine details in it, making its brightness levels less smooth. It also blurs an image’s fine textures and reduces the overall clarity. |
| Noise Removal Techniques | We use different kinds of tools to remove each type of noise. Therefore, a tool that works for one kind of noise might not work for another. | You reduce Gaussian noise with smoothing tools like Gaussian or median filters. Advanced methods include using its statistical properties to clean your image. |
| Frequency Domain Behavior | Different noises affect the various parts of your image’s frequencies. For instance, some mess up its high details while others affect the smoother areas. | Gaussian noise affects all frequencies, which means it impacts both the sharp details and smooth areas of your image. |
Part 4. Effective Techniques for Removing Gaussian Noise from Images
After understanding the differences between general image noise and Gaussian noise above, here are the effective techniques to remove Gaussian noise from your images:
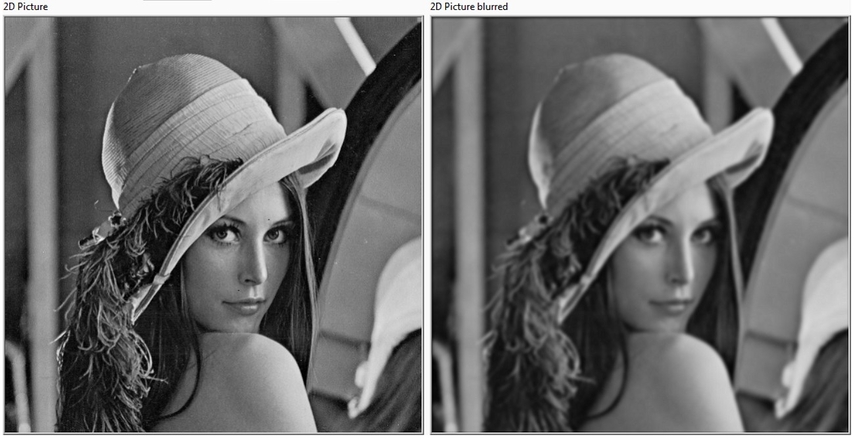
1. Gaussian Filtering: Gaussian filtering is a smoothing technique that helps to reduce noise by averaging the pixel values in a region. The center pixel gets more importance while the surrounding ones have less influence. Although it can remove noise like Gaussian, it can slightly blur your image around the edges.
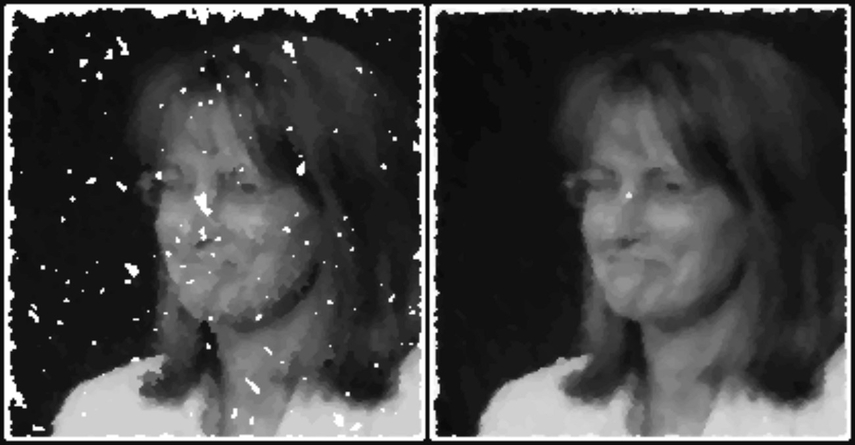
2. Median Filtering: This is an effective technique to replace each pixel with the median (middle value) of the surrounding pixels. Median filtering removes strong noise like salt and pepper, but also reduces low levels of Gaussian noise without making your image blurry.
3. Non-Local Means Denoising: It compares small patches of the image and averages similar-looking areas to reduce noise. Non-local means denoising effectively removes Gaussian noise while keeping textures and edges clear and provides better results than basic filters.
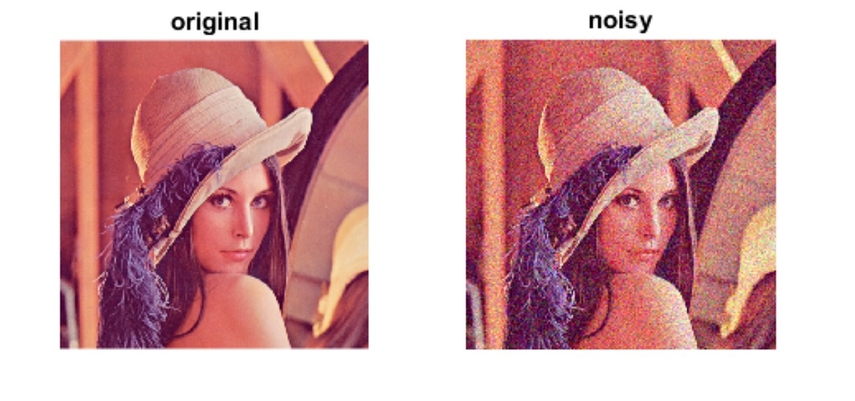
4. Wavelet Denoising: In noise vs Gaussian noise, wavelet denoising breaks down your image into different layers of detail, such as small details and tiny changes. Afterward, it identifies and removes noise from high-frequency components while keeping important details in low-frequency areas.
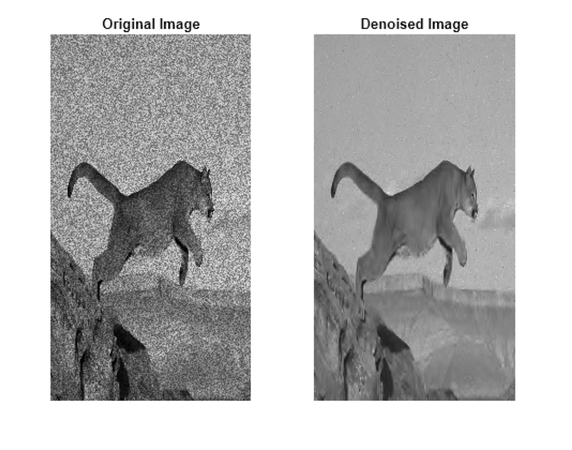
Part 5. Remove Noise From Your Images to Enhance Quality: HitPaw FotorPea
If you want to remove noise from your images to maximize their quality, then HitPaw FotorPea is the best option. The tool is perfect for beginners with no editing skills since it uses its AI models to identify and remove different kinds of noise from an image. Users can import several images simultaneously or drag and drop them to start fixing them.
The AI-influenced tool contains two models that work specifically to enhance image quality and remove noise from it. One is the basic denoise model, which removes only simple noise and blur, and the other is the one that removes all kinds of noise, including Gaussian noise. To implement these models on your images, you only need to turn the toggle on, and AI will automatically fix the noise in your image.
Key Features
1. With FotorPea, you can attach several images and remove Noise vs Gaussian noise in image processing simultaneously.
2. Apart from adding your photos through the “+” icon, you can also drag and drop files.
3. To understand how your image after removing Gaussian noise differs from the captured one, you can turn on the preview option.
Detailed Guide to Effectively Remove Noise From Your Image
Here’s a detailed guide to understand how to effectively remove noise from your image step-by-step:
Step 1. Click Enhance Photos Now to Upload an Image With NoiseStart by clicking “Enhance Photos Now” from FotorPea’s homepage and import an image containing noise to start fixing it.

Step 2. Remove the Noise by Turning on Denoise and Denoise Model
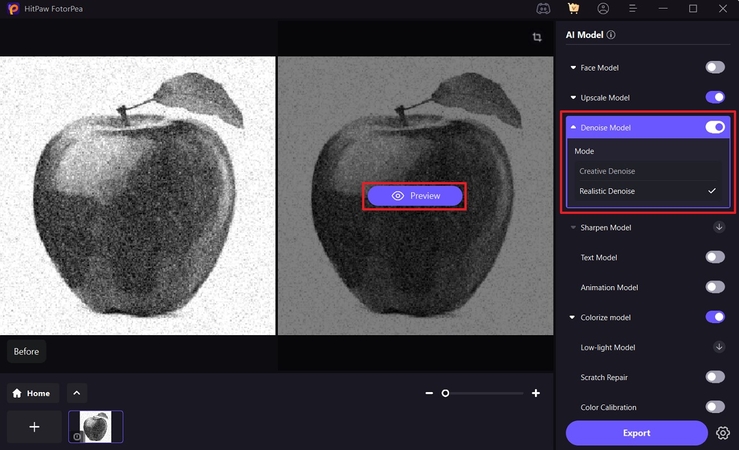
Next, turn the toggle on for the “Denoise Model” from the right side and select “Realistic Denoise” to remove blur from your images. Then, hit the “Preview” button to initiate FotorPea to remove the Gaussian Noise from the pictures.
Step 3. Preview Your Enhanced Image and Export
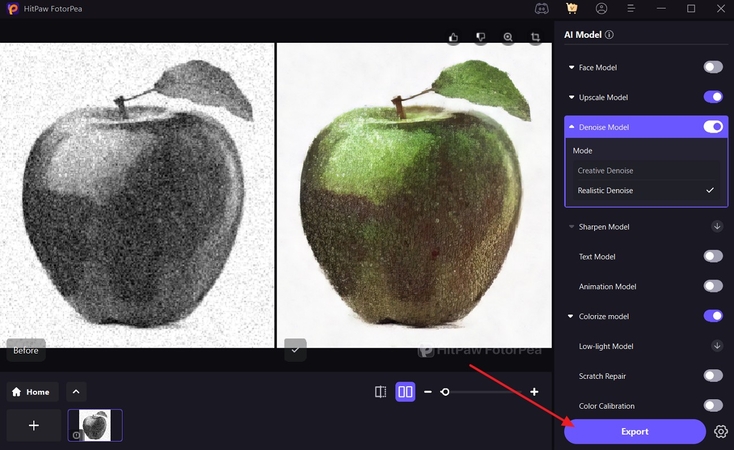
Finally, you can save your enhanced images for future use through the “Export” button.
Conclusion
To conclude, this article discussed noise vs Gaussian noise and the ways to remove it effectively from your images. One such tool that helps you achieve that is HitPaw FotorPea, which contains several AI models that upscale your image’s quality. Through its dedicated Denoise model, you can improve the texture detail of an image, while specifically dealing with issues of Gaussian noise.


 HitPaw Edimakor
 HitPaw VikPea (Video Enhancer)
 HitPaw Univd (Video Converter)


Share this article:
Select the product rating:
Daniel Walker
Editor-in-Chief
This post was written by Editor Daniel Walker whose passion lies in bridging the gap between cutting-edge technology and everyday creativity. The content he created inspires the audience to embrace digital tools confidently.
View all ArticlesLeave a Comment
Create your review for HitPaw articles