Indoor Mobile Photography Noise: Practical Tips and Pro Tools to Reduce Grain
In the modern world of social media and competition, everyone is a photographer. While many mobile phones offer high-quality photography options, they lack advanced features. This limitation ends you up with noisy and grainy images which are not social media-worthy. To help you get the best outcomes, this article shares the tips to reduce the indoor mobile photography noise from pictures.
Part 1. What Is Indoor Mobile Photography Noise and Why Does It Happen?
Unlike film grain, digital noise refers to the unwanted grains in a picture captured by a mobile phone. Due to the lack of enough features for light detection, these images have visible artifacts when captured in low-light conditions. The following section is a detailed overview of this noise and why it happens:
1. Basics of Indoor Mobile Photography Noise
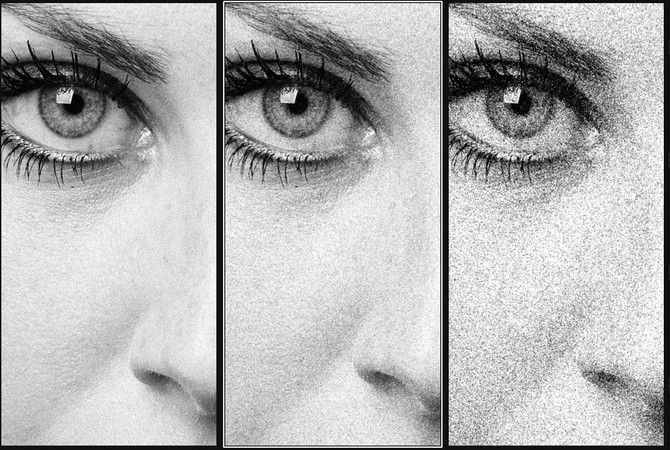
This artifact manifests as colored dots or blotchy textures that reduce image clarity and detail. Due to their compact sensors and dependence on software processing, smartphones face challenges while making noise-free images in low-light conditions.
2. Factors Contributing to the Noise and Their Mechanism
The following list features the main factors that result in indoor mobile noise in photos:
1. Low-Light Conditions: In dark surroundings, the camera sensor struggles to gather enough light and amplifies the signal, causing noise in pictures.
2. High ISO Settings: Increasing the sensor’s sensitivity to light in the camera introduces noise in darker areas of an image. In poor light conditions, the camera introduces noise by automatically increasing the ISO and slowing the shutter speed.
3. Small Sensor Size: Mobile phone sensors have limited surface area to capture light, resulting in a lower signal-to-noise ratio and more visible noise. Due to this, the software has to fill in the gaps in the form of fuzzy or overly smooth and grainy textures.
4. Digital Zoom: Unlike optical zoom, digital zoom enlarges pixels through software, reducing image quality by introducing mobile photo noise indoors.
Part 2. Effective Mobile Camera Settings to Reduce Indoor Noise
Instead of fixing the noise afterward, it is better to address this issue beforehand. The following camera settings will allow you to prevent these artifacts for professional outcomes:
1. Lower ISO Ensures Better Quality
Setting the camera's ISO to low minimizes the noise by reducing the camera sensor’s sensitivity to light. Manually setting a lower ISO forces the phone to rely more on proper exposure techniques rather than artificial signal amplification.

2. Aperture and White Balance Adjustments
A wide aperture reduces the need for higher ISO, hence reducing indoor photo noise. Though mobile phones have fixed apertures, some camera apps and modes simulate wider apertures through software to enhance light capture. White balance settings control the color temperature of your photo, preventing unnatural color tones that can introduce noise.
3. A Balance in the Shutter Speed
Adjusting shutter speed along with ISO and aperture gives you control over noise without sacrificing sharpness. A slower shutter speed keeps ISO lower but causes motion blur if the camera is not held steady. The right balance lies in the slowest shutter speed to avoid blur while still gathering enough light for a clean exposure.
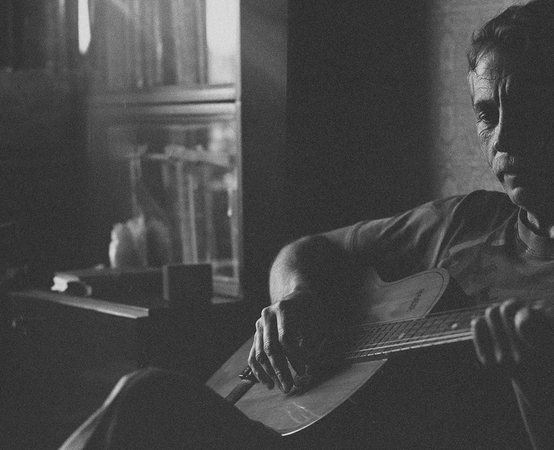
4. Using Night Mode or Pro Mode
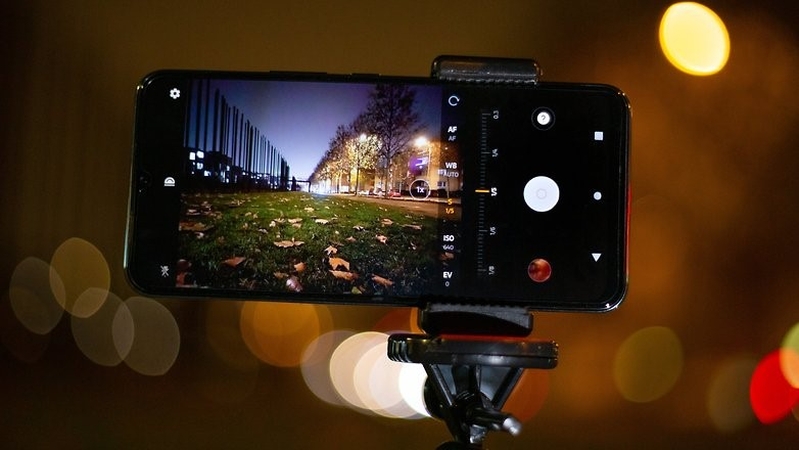
Enabling the Night Mode in the dark combines multiple images and results in a single bright image. If you want complete control over the camera settings, you can use the Pro Mode and set the camera settings to fix mobile indoor noise.
5. Adding a Manual Effort
Auto Mode often overcompensates for low light by boosting ISO too high, which results in grain. Therefore, it is ideal to put some manual effort into the denoise process to ensure the best results.
Part 3. Smart Lighting Techniques for Indoor Mobile Photography
If you are looking to prevent noisy images through light, follow the tips below:
1. Using External Light Sources
Adding external lighting can significantly improve photo quality by increasing the overall light in a scene. More light allows you to use lower ISO and faster shutter speeds, which helps reduce digital noise and motion blur.

2. Positioning Subjects Aligned with the Light
Placing your subject near the light source illuminates the object more evenly and minimizes the need for artificial brightening. It lowers the chance of phone indoor grain in the darker areas of the image to get a refined image.
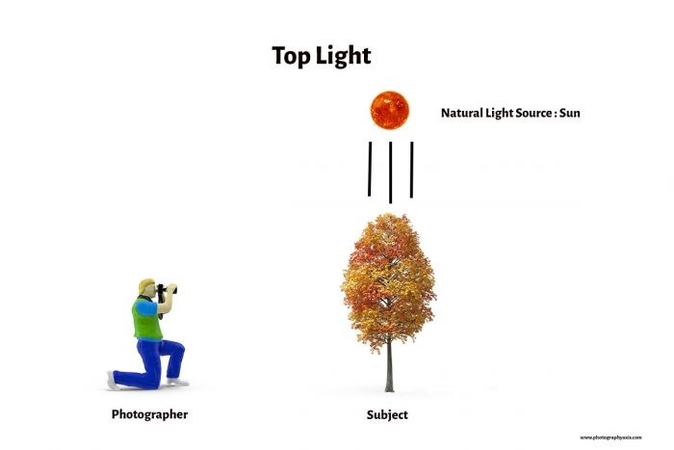
3. Avoid Direct Harsh Light
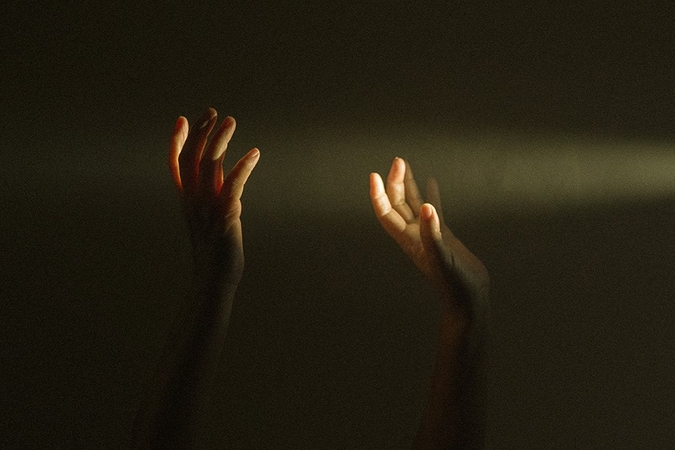
Direct lighting creates shadows and bright highlights, leading to contrast issues and noise in underexposed areas. If you want a noise-free result, using softer light will result in a smoother transition between light and dark areas.
4. Use Soft Light Sources for a Balanced Exposure
Soft lighting maintains even exposure across the image and reduces the harsh contrasts that can enhance noise. Using soft light also brings out skin tones and textures more naturally in portraits to give a clean outcome.
Part 4. Quick Fixes to Minimize Noise Without Editing Apps
If you are not into using picture editing apps for noise reduction, follow the useful strategies below:
1. Stabilize the Footage: Keeping your phone steady prevents motion blur when using slower shutter speeds in low light. Less movement means the phone does not need to raise the ISO, which helps reduce image noise.
2. Use Burst Shots to Choose the Perfect Frame: An effective way to avoid mobile low-light noise is by picking from multiple pictures. Reviewing and selecting the clearest photo helps you avoid using a noisy or blurry one.
3. Do not Zoom In: Instead of using a digital zoom, try moving physically closer to the object to get a noise-free outcome. Zooming in crops the image and enlarges pixels to reduce quality and introduce noise significantly.
4. Clean Your Lens Before You Capture: A simple technique of ensuring a noise-free image is by cleaning the camera lens before capturing the moment. A dirty lens can scatter incoming light and cause artifacts that enhance image noise.
Part 5. Utilize AI to Denoise Indoor Mobile Photos With Ease: HitPaw FotorPea
Suppose you spent hours working on an artistic mobile photoshoot, only to find out that it has grains. The disappointment increases when you realize that it has no fix other than switching to a better camera or starting the shoot from scratch. In such times of frustration, you come across HitPaw FotorPea (formerly HitPaw Photo Enhancer), an advanced image enhancer for Windows and Mac.
Using this tool, you can benefit from various AI models to reduce the noise from mobile photos. Let the AI detect your image’s artifact and suggest a relevant model if you don’t know which model to use. To speed up the enhancement process, HitPaw FotorPea offers a helpful batch process feature. Once you have removed the smartphone's indoor noise, your results can be exported in the quality and image format of your choice.
Key Features
1. Low-Light Model: Using the Low-Light model, users can brighten up their dark images to create a visual captivation.
2. Realistic Denoise Model: The newly introduced Realistic Denoise model allows you to clean extensive noise from pictures to get a life-like look.
3. AI Face Model: When you have a face in the noisy image, use the Face Model to clean the grains while preserving the original facial details.
A Quick Guide to Using HitPaw FotorPea to Enhance a Noisy Mobile Image
The above section provided some information on the capabilities of this platform for image denoising. Let's dig deeper and explore how you can use HitPaw FotorPea to clear indoor mobile pics to get a noise-free result:
Step 1. Start and Enhance Photos NowUpon launching the main interface of HitPaw FotorPea, use the “Enhance Photos Now” button to enter the next screen.

Step 2. Import the Image that You Need to Denoise
Using the next interface, select the “+” button to import the images that have noise.
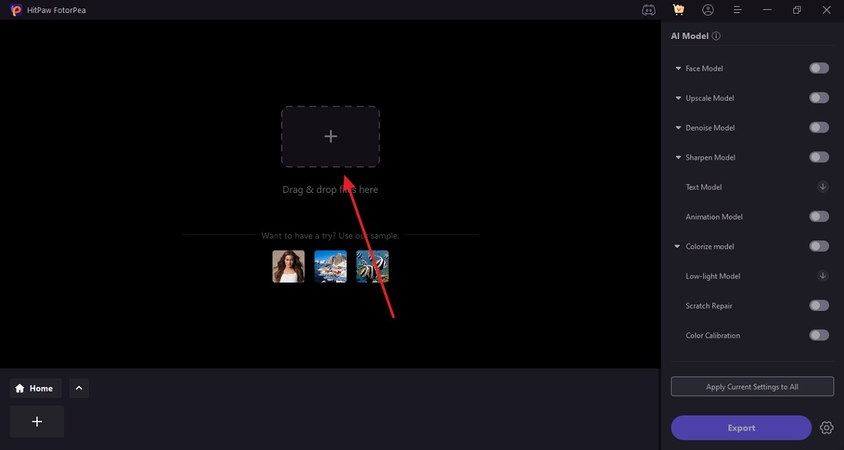
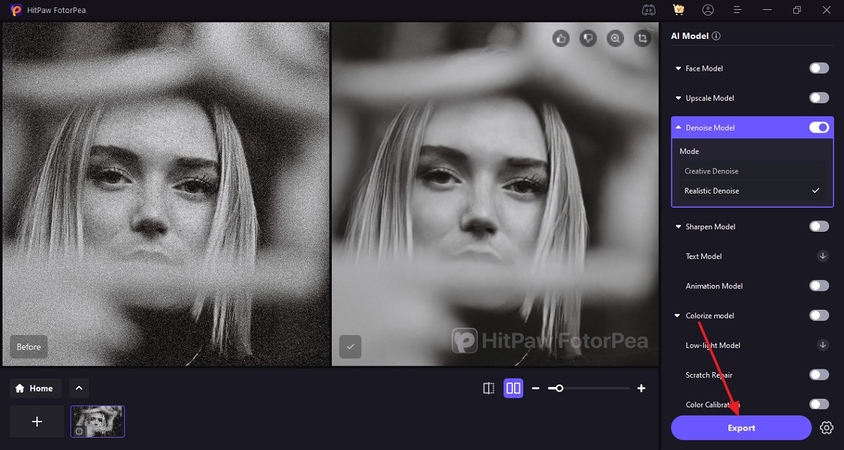
Step 3. Select the Realistic Denoise Model from the Denoise Model
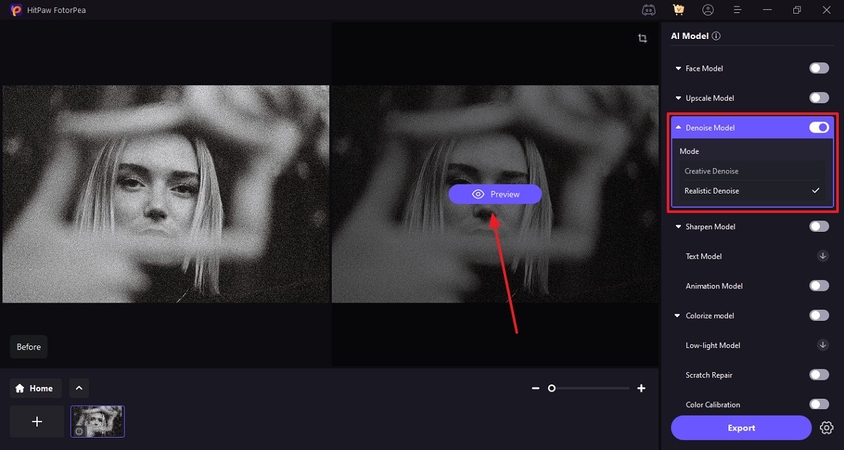
Once the imported image appears on the screen, head to the right panel and select the “Realistic Denoise” model from the “Denoise Model” menu. Afterward, select the “Preview” button to unveil the enhancement results in a few moments.
Step 4. Save the Image After Enhancement
As the results are shown, go to the bottom right to “Export” the enhanced picture on your device.
Conclusion
In summary, this article was a beginner’s guide to the definition and causes of indoor mobile photography noise. We also explored the camera and light settings that enhance your chances of getting a noise-free result. If these settings do not work, you can use HitPaw FotorPea to upgrade your image’s quality by removing the grainy appearance. To speed up the tasks, users can benefit from the batch processing features.


 HitPaw Edimakor
 HitPaw VikPea (Video Enhancer)
 HitPaw Univd (Video Converter)
 ![[Online &PC] Top 7 Brat Generators You Must Try](https://images.hitpaw.com/topics/photo-enhancer-tips/brat-generator-cover.jpg)


Share this article:
Select the product rating:
Daniel Walker
Editor-in-Chief
This post was written by Editor Daniel Walker whose passion lies in bridging the gap between cutting-edge technology and everyday creativity. The content he created inspires the audience to embrace digital tools confidently.
View all ArticlesLeave a Comment
Create your review for HitPaw articles