How to Remove Filters from a Picture: 5 Proven Tools to Restore Natural Photo Quality
I was scrolling through old photos the other night when I stumbled upon a picture of my younger brother. It was taken on a sunny afternoon, the light warm on his face, the sky a gentle blue backdrop. But someone had slapped on a cold, moody filter that drained the joy right out of it.
"I thought it looked cool," he'd told me, shrugging.
Cool, maybe. But real? Not even close.
If you've ever looked at a filtered photo and felt like something essential got lost-some flicker of authenticity, some piece of truth-then you already understand why this matters. And chances are, that's why you're here. You're not just trying to figure out how to remove filters from a picture. You're trying to get the moment back.
Here's the thing: removing a filter isn't like peeling off a sticker. Once it's baked into the image, the filter becomes part of the file. But that doesn't mean all hope is lost. You can still bring your photo back to life-and in this guide, I'll show you how.
Because every photo is a memory worth preserving, in its most honest form.
Part 1. Can You Really Remove a Filter from a Picture?
Let's get one thing straight.
You can't simply "undo" a filter after it's been saved into a photo. That's not how pixels work. It's like adding food coloring to a glass of water-you can't pull the color back out. But what you can do is change the water again. You can balance the color. Shift the lighting. Restore clarity.
That's the power of image restoration-an approach that uses a combination of AI and editing tools to reduce the impact of filters and bring your photo closer to its natural state.
And this isn't just about technical correction. It's about emotional clarity, too. The real smile. The true tone of someone's skin. The blue that you remember, not the blue the filter invented.
This process doesn't demand a tech degree. It just takes the right tools-and a little patience.
Part 2. What Makes a Photo Look Filtered?
If you want to fix a photo, you first need to understand what's wrong with it.
Filtered images usually have telltale signs:
- Oversaturated reds or oranges
- Washed-out shadows or super-sharp contrast
- Skin that looks plastic, smoothed over like a wax figure
- Vignettes or borders that distract instead of add
- Lens flares or tints that weren't there in real life
A filter often exaggerates light, dark, and color for dramatic effect-but real-life moments are rarely that extreme. When filters mute emotional nuance for aesthetic trends, the image may no longer feel like your memory. That's the key issue we're trying to solve.
If you look at a photo and think, That doesn't feel right, trust that instinct. Your job is to help the image feel honest again.
Part 3. Techniques Used to Reverse Filter Effects
Here's how you begin pulling your photo back into focus-literally and emotionally.
Color Correction
Start by dialing back the saturation. Lower the warmth or coolness. Filters often twist colors to create a certain vibe-but those edits can be softened with basic adjustments.
Use tools with a visual histogram or slider-based interfaces that let you gradually bring the image back into balance. Pay close attention to skin tones and backgrounds. If the photo features people, skin should look healthy and warm-not orange or ghostly.
AI Photo Restoration
This is where tools like HitPaw FotorPea shine. AI can detect the signs of heavy filtering-blur, noise, exaggerated smoothing-and restore balance. It's like having an intelligent assistant that knows how your photo should look.
The beauty of AI restoration is that it takes the guesswork out of editing. Instead of spending hours manually fixing shadows and colors, AI analyzes the photo holistically and corrects it based on what's visually "natural."
Object Removal
Sometimes filters add more than color-they add distractions. Think fake lens flares, fake bokeh, digital stickers. Removing these helps the real subject breathe.
And it's not just about aesthetics-it's about storytelling. Every distraction removed brings the focus back to what matters.
Face Restoration
When someone's face has been airbrushed into oblivion, AI tools can restore skin texture, natural lighting, and even fine details like freckles or soft lines.
Instead of making people look flawless, aim to make them look real. Face restoration preserves emotion-something over-filtering tends to erase.
Denoising and Deblurring
Many filters hide flaws by softening or adding grain. Tools with de-noise and sharpening options can clean this up while preserving integrity.
Deblurring is especially powerful when dealing with smartphone photos taken in low light or movement. You can recover surprising amounts of detail.
Part 4. Top Tools to Remove Filters from a Photo
Let's dive into the five tools that actually deliver.
Each of these tools has its own strengths. Some offer simplicity. Others offer control. All of them help you bring your photos back to life.
1. HitPaw FotorPea
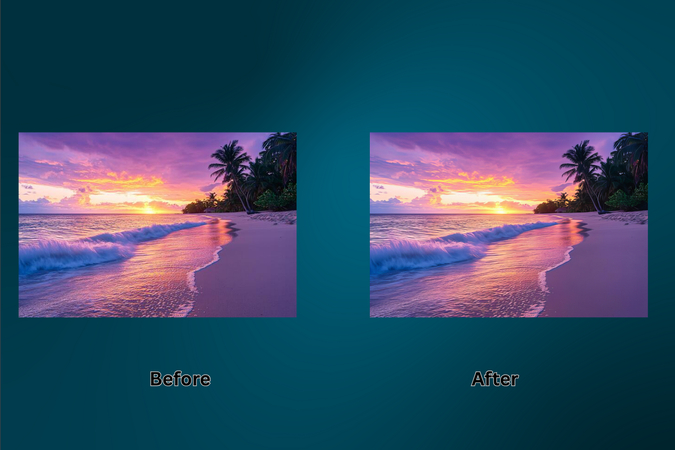
HitPaw FotorPea isn't just another photo app. It's like the digital equivalent of photo CPR.
Here's how to use it:
- 1.Head to this page and click "Try it Free."
- 2.Install the software and launch it.
- 3.You'll see options like Face Restoration, Detail Recovery, high-quality restoration, and Remove Object. These are your weapons.
- 4.Pick what fits. Upload your desired picture. Maybe your photo needs clarity. Maybe it needs texture. The AI will help decide.
- 5.Preview the changes. If it feels right, move to export. (the option to export is only available for paid customers, free version preview includes a watermark. Premium: $22.39/month, with a 7-day free trial.)
What makes it powerful?
- 16K enhancement
- AI upscale to 4K/8K
- Fixes noise, blur, over-smoothing
- Batch processing
You can even restore old family photos, portraits, or faded scanned images. It doesn't just enhance your photo-it helps you remember what it felt like.
2. Fotor
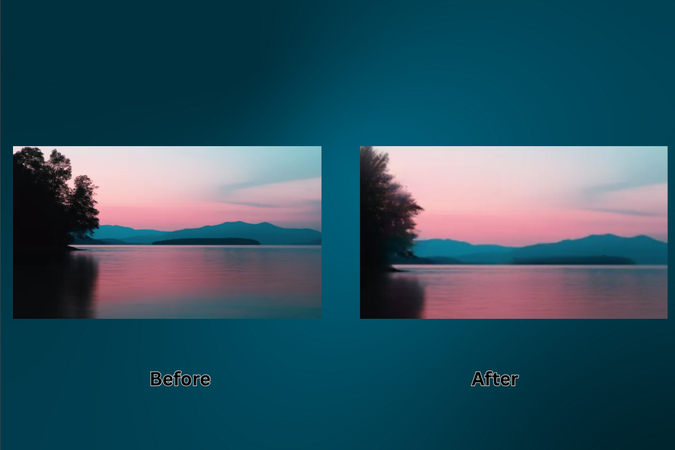
Use it like this:
- 1.Visit Fotor's filter remover.
- 2.Click "Remove Filter Now."
- 3.Use the Magic Eraser to brush away unwanted edits.
- 4.Hit Apply, then Download (premium only).
Fotor gives you control in small strokes. Great for beginners who want hands-on results.
It's especially helpful when you need to erase dramatic shadows, border effects, or artificial lighting added by filters. The brush tool lets you work section by section.
3. YouCam Online Editor
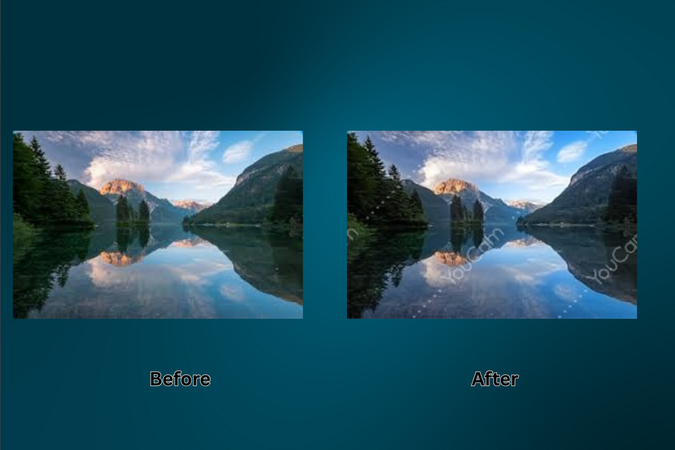
How it works:
- 1.Visit YouCam and choose "AI Color Correction."
- 2.Upload your image.
- 3.Let the AI do its thing.
Fast, clean, effective. Just note: you get 3 free edits per day, and there's a watermark on free downloads.
YouCam is perfect for color-focused fixes-think selfies with weird lighting or snapshots with too much cool/warm tone.
4. Picsart
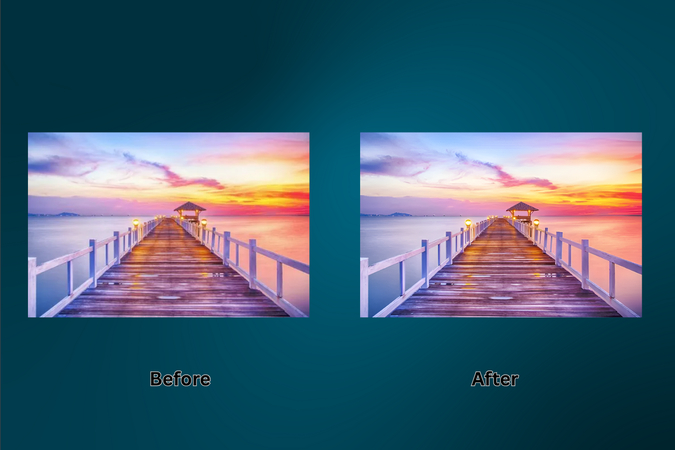
Steps:
- 1.Upload your photo to Picsart.
- 2.The system processes it immediately.
- 3.Download the result (free low-res or HD with subscription).
Picsart is best for on-the-go tweaks. One tap, and your selfie's back to sanity. Great for social media photos that need quick polish.
5. PhotoKit
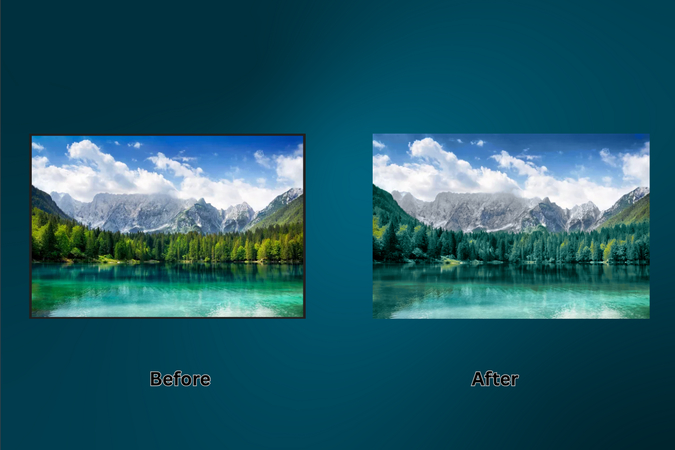
Here's what to do:
- 1.Go to PhotoKit and click "Start Editing."
- 2.Upload your photo.
- 3.Use the Magic Eraser for filters, Eraser for distractions, Colorize to bring tones back.
- 4.Save and smile.
PhotoKit is a dream for creatives who like having both precision and automation.
Part 5. How to Choose the Right Tool for Your Filtered Photo
Choosing the right tool starts with asking the right question:
What do you want to fix?
- Got a selfie that looks too plastic? HitPaw FotorPea.
- Need a browser-based tool? YouCam or PhotoKit.
- Want mobile simplicity? Picsart.
- Prefer manual control? Fotor.
Also think about your goals:
- Are you sharing this publicly?
- Is it a keepsake photo you'll print?
- Do you need watermark-free, high-res exports?
Tools are just tools. It's how you use them that brings the photo-and the memory-back to life.
Part 6. Practical Use Cases: When You Might Want to Remove a Filter
Let's get real: not every photo was meant to be filtered.
Here are moments that deserve their original look:
- Professional resumes: A moody filter isn't going to get you hired.
- Family albums: You want your grandpa's suit to look navy, not neon.
- Stock photography: Editors want clean, color-accurate shots.
- Gifting: Imagine printing a photo, only to find it doesn't feel like the day you captured.
- Documenting important events: Birthdays, weddings, graduations-don't bury them under a trendy preset.
Sometimes, less filter equals more feeling.
Part 7. Tips to Make Your Photo Look Natural Again
Making a photo look natural again isn't just about technical steps-it's about reconnecting with the moment it was taken. When we restore a picture, we're not chasing perfection. We're aiming for honesty, warmth, and the kind of subtle beauty that feels like real life.
Here's what's helped me-and what might help you too:
- Start with emotion, not tools. Before you touch a slider, ask yourself what the photo should feel like. Was it a quiet morning? A loud celebration? That emotional anchor will guide your choices more than any filter can.
- Use natural light as your compass. Look at the shadows and highlights. Real light isn't perfect-it's soft, a little uneven. If the photo looks too balanced or artificial, it might need a nudge toward imperfection.
- Focus on skin tone. It's the one detail that can either save or ruin the realism of your image. Healthy skin looks slightly warm, never gray or overly pink. Use warmth and tint adjustments sparingly, like seasoning.
- Zoom in, but also step back. Sometimes you need to see the details up close to make surgical corrections. Other times, you need to walk away, then come back and see how the image
- Don't correct what's already right. If a part of the photo feels emotionally true, leave it alone. It's tempting to keep tweaking, but restraint is often the secret to authenticity.
- Trust your memory more than the monitor. If your photo looks technically polished but emotionally flat, think back to the moment it was taken. Adjust it until it feels familiar.
These aren't just editing tips-they're restoration principles. You're not just fixing pixels. You're recovering something real.
Part 8. Common Mistakes to Avoid During Photo Restoration
Let's talk about what not to do:
- Don't go overboard. The goal is natural-not perfect.
- Don't forget to preview. Step back. Look at the before and after.
- Don't save over your original. Always keep a backup.
- Don't fix what isn't broken. Focus on the parts that feel fake.
- Don't ignore resolution. Garbage in, garbage out. Start with a clear image.
You're not trying to make the photo flawless. You're trying to make it real.
Final Thoughts: Restore, Don't Regret
There's something sacred about a photo. It's not just pixels-it's memory, mood, light. When filters cloud that, it's okay to want clarity again.
With the tools you've just seen, you don't need to settle for something that "looks cool." You can bring back what matters.
If you're ready to restore more than just the image-if you're ready to bring the feeling back-then start with HitPaw FotorPea.
Click here to download HitPaw FotorPea. Bring your photos back to life.
FAQs
Q1. I lost the original version of my photo. Can I still fix it?
A1. Yes. Tools like HitPaw FotorPea and PhotoKit can reverse the lookof a filter, even if the original is gone.
Q2. My edited photo looks weird after restoration. What now?
A2. Start over, and this time go slower. Less is more. Preview each step before saving.
Q3. Do I need Photoshop-level skills?
A3. Not at all. Most of these tools are one-click or drag-and-drop. If you can use a mouse, you can restore a photo.
Q4. Are my photos safe on these platforms?
A4. Yes, especially on trusted tools like HitPaw. Still, avoid uploading anything sensitive without checking their privacy policy.
Q5. Is the free version enough, or should I go premium?
A5. Free versions are fine for quick edits. But if you want HD, no watermark, or batch editing-premium is worth the price.


 HitPaw Univd (Video Converter)
 HitPaw VoicePea
  HitPaw VikPea (Video Enhancer)


Share this article:
Select the product rating:
Daniel Walker
Editor-in-Chief
This post was written by Editor Daniel Walker whose passion lies in bridging the gap between cutting-edge technology and everyday creativity. The content he created inspires the audience to embrace digital tools confidently.
View all ArticlesLeave a Comment
Create your review for HitPaw articles