The Complete Guide to Camera Settings for Portrait Photography
When capturing expressive and professional portraits, getting the camera settings for portraits right is essential. Whether you're shooting indoors, outdoors, with natural light or artificial lighting, understanding the correct setup can elevate your portraits from average to outstanding. These settings are not just technical elements; they are creative tools that give you control over depth, sharpness, mood, and storytelling.
In this guide, we'll walk you through the best camera settings for portraits, so you can confidently photograph anyone-from casual family photos to professional headshots-with precision and creativity.
Part 1: Best Camera Modes for Portrait Photography
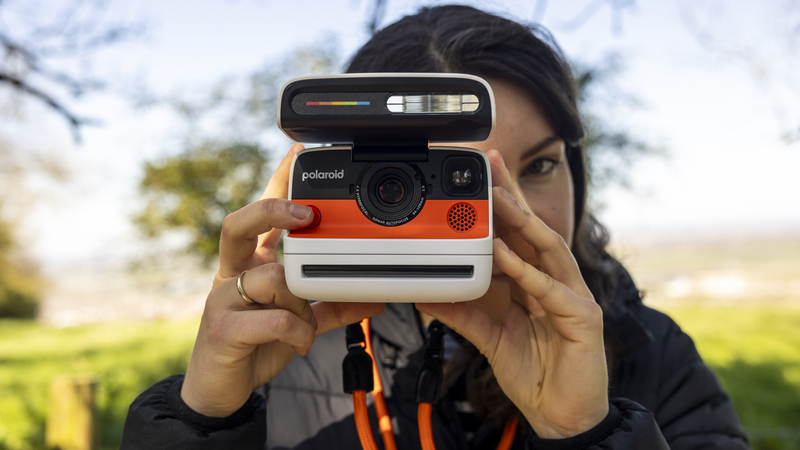
Choosing the right camera mode is the foundation of every portrait session. It dictates how much control you have over your exposure and how easily you can adjust settings on the fly during a session.
Manual Mode for Portraits - Full creative control
Manual mode (M) offers complete freedom over every setting: aperture, shutter speed, and ISO. It's ideal for photographers who understand how exposure works and want total control over the outcome. In situations where the light is tricky-such as backlit portraits, studio lighting, or harsh midday sun-manual mode is invaluable. It allows you to adjust for strong highlights or deep shadows, giving you the flexibility to manipulate light in portrait photography with precision. While this mode has a steeper learning curve, the results are unmatched for those who invest the time to master it.
Aperture Priority Mode for Portraits - Ideal for quick adjustments
Aperture Priority mode (A or Av) allows photographers to choose the aperture while the camera calculates the correct shutter speed. This is particularly beneficial for portraits because you can set your desired depth of field-say, a beautiful f/2.0 for creamy bokeh-and still get a well-exposed shot without adjusting every setting manually. It's perfect for natural light portrait sessions where lighting conditions may shift rapidly, such as moving between shaded areas and sunlit backgrounds. Aperture Priority provides a great balance between creative control and efficiency, making it a favorite among portrait photographers who shoot on-location.
Part 2: Essential Camera Settings for Stunning Portraits
Once you've selected your camera mode, the next step is dialing in the individual settings that bring your portraits to life. These include aperture, ISO, and shutter speed-commonly known as the exposure triangle.
Perfect Aperture Settings for Portraits (f/1.4-f/5.6)
Aperture is one of the most important settings in portrait photography. It affects how much of the background appears in focus and how well your subject stands out. A wide aperture such as f/1.4 or f/1.8 blurs the background and isolates your subject, adding depth and visual interest. This is typically considered the best aperture for portraits, especially when shooting headshots or half-body shots.
However, if you're shooting a group or want to ensure the whole subject is in focus (like with environmental portraits), you might opt for f/4 to f/5.6. These slightly narrower apertures still provide some background blur but keep more of the frame sharp. Remember, the wider the aperture, the more sensitive your focus needs to be-especially on the eyes.
Optimal ISO Settings for Portrait Photography (100-1600)
ISO controls your camera's sensitivity to light and directly affects image noise. In well-lit environments, using ISO 100-200 ensures maximum sharpness and minimal grain. However, when shooting indoors or in low light, you may need to push ISO to 800 or 1600 to maintain a proper exposure. Modern cameras handle higher ISOs well, but be aware that too much ISO can introduce digital noise that may degrade skin tones.
Balancing ISO with other settings is essential in professional portrait work. For instance, when shooting at a fast shutter speed for portraits, you may need to increase ISO slightly to keep the image bright. Always test your camera's ISO performance at various levels to understand where image quality begins to drop.
Ideal Shutter Speed for Portraits (1/100-1/400)
A fast enough shutter speed is crucial to avoid motion blur. Even slight hand movements can blur an image at slower shutter speeds. For stationary portraits, 1/100 to 1/125 is typically safe. For moving subjects-like children or outdoor candids-go for 1/250 or faster.
Another rule is that your shutter speed should be equal to or faster than your focal length to reduce camera shake. So if you're using a 135mm lens, a shutter speed for portraits of 1/135 or faster is ideal. If shooting handheld in lower light, using stabilization features or a tripod becomes essential.
Part 3: Portrait Camera Settings for Different Lighting
Portrait lighting conditions vary greatly, and your camera settings should adjust accordingly to get consistently excellent results.
Sunny Day Portrait Settings (f/2.8, ISO 100, 1/200)
On bright days, sunlight can cast hard shadows, especially on faces. Using a wide aperture like f/2.8 softens the background and helps isolate your subject. ISO 100 will reduce noise and ensure clarity, while a shutter speed of around 1/200 keeps the exposure balanced. Consider using reflectors or diffusers to manage contrast and control light in portrait photography more effectively.
Cloudy Day Portrait Settings (f/2.8, ISO 400)
Overcast skies provide natural softboxes, which are fantastic for portraits. These conditions allow you to shoot with wider apertures without worrying about harsh highlights. Increase ISO to 400 to compensate for the reduced light, and adjust shutter speed accordingly. The even lighting is ideal for capturing skin tones and facial details.
Indoor Portrait Camera Settings (f/2.8, ISO 600, 1/200)
Indoor environments often require higher ISO and wider apertures due to limited lighting. Start with f/2.8 or wider to let in more light, increase ISO to around 600 or higher, and keep shutter speed around 1/200. Use a bounced flash or softbox if needed. Balancing all three settings is essential in making indoor portraits look naturally lit and professionally polished.
Part 4: Focus Techniques for Sharp Portraits
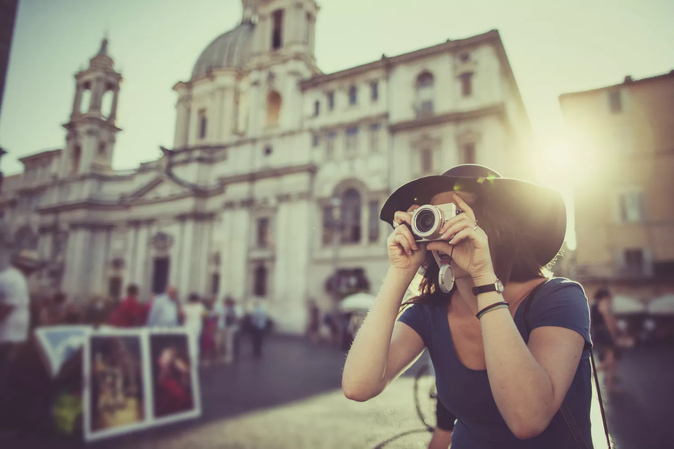
Why Focus Matters in Portrait Photography
Sharp focus is critical to an engaging portrait. Even if every other setting is perfect, an image with soft focus can feel unprofessional. The eyes should always be tack sharp, as they are the emotional center of the portrait. When using a shallow best aperture for portraits, even a slight shift can cause focus to land on the nose or ears instead of the eyes, so be meticulous with your focus points.
Best Focus Modes for Portraits (Single-Point vs. Multi-Point)
Single-point autofocus (AF-S or One Shot) is the most accurate mode for portraits, especially when using wide apertures. This allows you to manually select the focus point-ideally one eye-and ensures precision. Multi-point autofocus can be useful for group photos, but it risks focusing on unintended areas.
Modern cameras and smartphones with portrait mode camera technology often use face-detection and eye-tracking features. These are excellent starting points but should still be double-checked through the viewfinder or LCD.
Part 5: Best Camera Gear for Portrait Photography
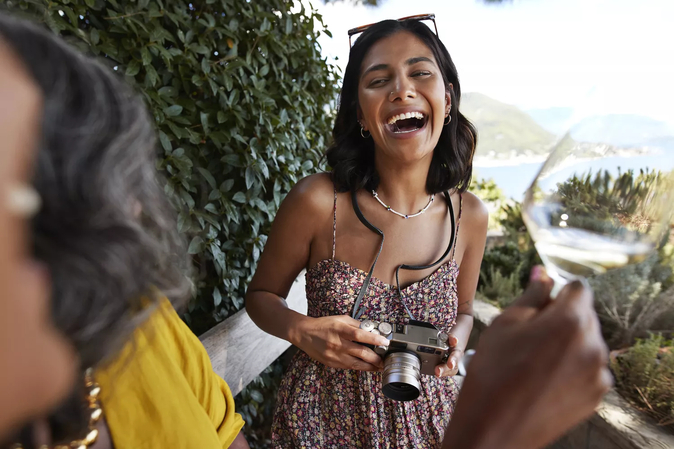
Best Lenses for Portraits (85mm-135mm)
The lens you choose has a major impact on your portrait results. Prime lenses like 85mm f/1.8 and 135mm f/2.0 are industry standards because they offer sharp optics, beautiful background blur, and flattering compression. These focal lengths help avoid facial distortion and allow for comfortable shooting distances.
For beginners, a 50mm f/1.8 is an excellent and affordable option that still gives professional results. Having a reliable lens makes a huge difference in creating the best settings for portrait photography from the start.
Tripods & Remotes for Stable Portraits
Stability is key in low-light environments or when using longer exposures. A sturdy tripod ensures sharpness, especially when balancing tricky lighting. Pairing a tripod with a remote shutter or timer also eliminates camera shake, especially helpful when using slower shutter speed for portraits.
Part 6: White Balance Settings for Natural Portrait Tones
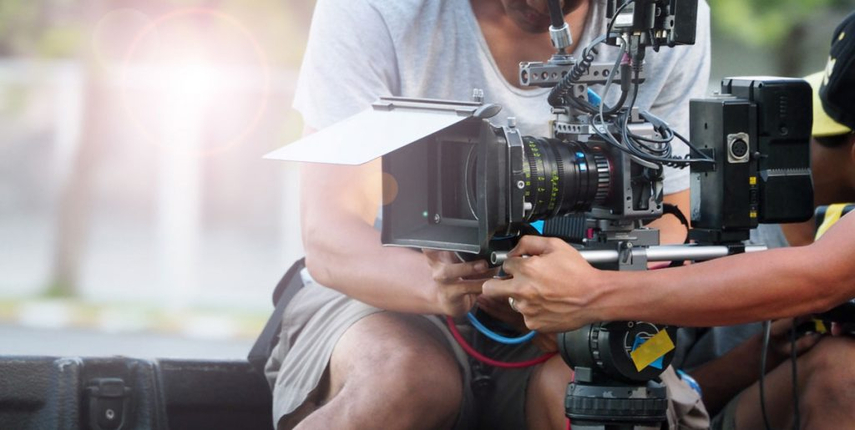
Custom White Balance for Accurate Skin Tones
Skin tones are extremely sensitive to white balance. Auto white balance might shift tones too cool or warm depending on the lighting. Custom settings give you consistency and accuracy, particularly important in professional portrait work. Set your white balance manually by measuring the light temperature, especially in mixed-light environments.
Using Gray Cards for Consistent Portraits
Using a gray card allows your camera to evaluate neutral tones accurately, ensuring color consistency across your session. It is a vital tool for post-processing, as it allows you to correct color easily using reference points. Especially in varied light in portrait photography settings, it ensures every shot has reliable, true-to-life colors.
Part 7: Pro Tips for Perfect Portrait Camera Settings
Test Shots & Adjustments
Even with perfect preparation, every location is different. Always take a few test shots to evaluate exposure, sharpness, and color tone. Then adjust your settings for portrait photography accordingly. A few seconds spent here can save hours in editing and reshoots.
Shooting RAW vs. JPEG for Portraits
Shooting in RAW format gives you much more flexibility in post-processing. You'll be able to fix white balance, adjust exposure, and enhance details without quality loss. JPEG is quicker and requires less space but sacrifices editing power. For serious portrait work, especially when shooting with custom camera settings for portraits, RAW is the way to go.
An Amazing App for Photo Enhancer: HitPaw Photo Enhancer

Post-processing is the final stage in creating amazing portraits. HitPaw Photo Enhancer is a highly recommended tool that uses AI to improve sharpness, reduce noise, and clarify details. Whether you shoot in low light, experience motion blur, or just want to perfect facial textures, this app offers one-click enhancement. It supports multiple enhancement modes specifically designed for portraits, making it an ideal choice for photographers of all skill levels.
Part 8: Conclusion
We've covered everything from camera settings for portraits to white balance techniques, gear recommendations, and editing tools. Mastering the best camera settings for portraits means understanding how shutter speed for portraits, light in portrait photography, and the best aperture for portraits all work together to create professional images.
Experimenting with different tools, including portrait mode camera settings and manual control, helps you grow as a photographer. The more familiar you become with your camera and how it responds to light, movement, and focus, the better your results will be.


 HitPaw Univd (Video Converter)
 HitPaw VoicePea
  HitPaw VikPea (Video Enhancer)



Share this article:
Select the product rating:
Daniel Walker
Editor-in-Chief
This post was written by Editor Daniel Walker whose passion lies in bridging the gap between cutting-edge technology and everyday creativity. The content he created inspires the audience to embrace digital tools confidently.
View all ArticlesLeave a Comment
Create your review for HitPaw articles