How to Fix Noise in Camera Portraits: Techniques and Tools for Clearer Images
The life of a professional photographer revolves around smartphones and DSLRs, taking intricate and stunning images. It is a major issue when noise affects their photoshoot, diminishing its value and beauty. The noise is mostly notable in low-light conditions, high ISO settings, and when you’re using smaller sensors. This article will provide a detailed guide on photo noise and what techniques to use to fix noise in camera portraits.
Part 1. What Is Photo Noise and Why It Appear in Camera Portrait Photos
In plain terms, photography noise digital means the random fluctuations of noise that appear as grains in the picture. It's especially apparent when taking photos in low light as they are interfered with by electrical devices and others. Furthermore, this noise warps skin tones, hides delicate details, and destroys the overall image quality. Before learning how to fix noise in portrait photos, you should understand the causes and impact of noise in the following:
Causes in Portrait Photography
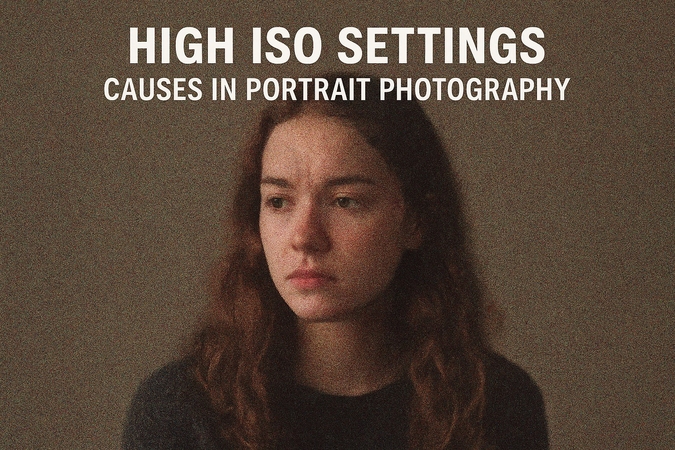
1. If you use a high ISO settings number, it causes the intrinsic noise of the camera sensor, leading to grainy images.
2. The photos taken under conditions where the light is insufficient can result in underexposed photos with profound shadows and other problems as well.
3. When the camera is left exposed to light for longer durations, it leads to longer exposure times. The camera sensor begins to heat up considerably, which eventually introduces thermal noise into the recorded image.
4. If your sensors are low-quality or small, they are more apt to introduce noise, especially in low light, leading to noise introduction.
Impact on the Image Quality By Photo Noise
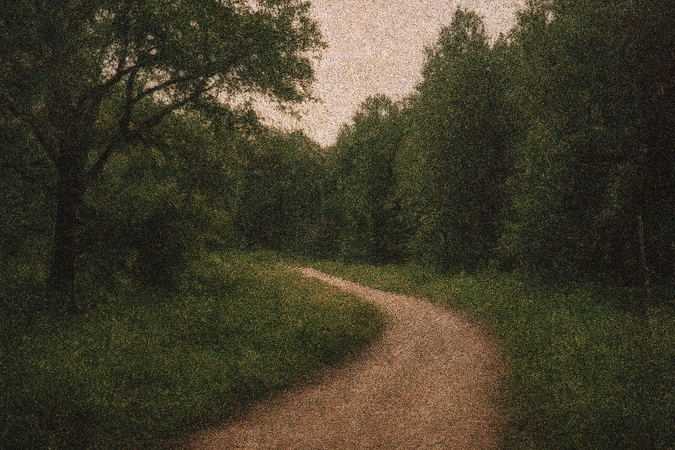
1. Loss of Detail: The presence of noise significantly obscures many small details in the image, including the skin texture, hair threads, and small changes in facial expressions. The interference thus causes the portrait to blur and become grainy, losing its total sharpness and clarity.
2. Color Distortion: Color speckles may form due to high noise and change the face and background color of the model, leading to uneven color distribution.
3. Reduced Sharpness: Photographers who are required to deal with high amounts of noise in their images generally need to reduce the overall sharpness of their images. This is a step that is required in order to learn the means by which to correctly fix noise in camera portraits.
4. Distracting Grain: Noise tends to be a major distraction when you effectively get to take stunning pictures, which unfortunately makes the image look imperfect and full of distracting grains.
Part 2. Luminance vs. Chroma Noise in Camera Portraits
In portrait photography, it is important to understand the concept between the following primary types of digital noise. If you want to produce professional-looking portrait photographs and remove grain from camera portrait shots, read the following:
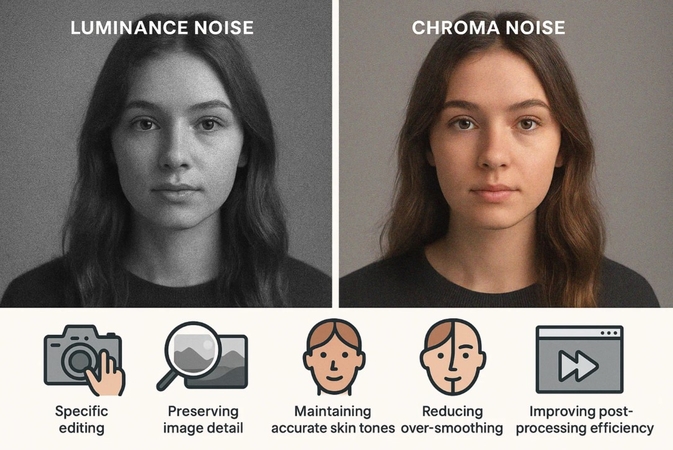
Luminance Noise
This kind of noise is defined as random brightness noise that looks like a grainy texture over the image. It is more noticeable in darker areas and at higher ISO settings, which helps us select the reduction in image quality. The luminance noise can lower image sharpness and often mimics the aesthetic of film grain, which is tolerable than other noise.
Chroma Noise
It is also known as color noise, and it is displayed as random color speckles across the image, especially in shadowed or uniform areas of the image. This noise is more distracting and noisier than luminance noise, as it distorts skin tones and background colors, making portraits appear unnatural. It is especially problematic in low-light conditions and at high ISO settings, giving pictures a disturbing grainy appearance.
Importance of Distinguishing Between the Two for Targeted Noise Reduction
After learning the basics of the two types of noise, understand their importance, and try portrait photography noise reduction tips:
1. By understanding the two noises, the photographers can apply specific noise reduction settings on their cameras to achieve smooth images.
2. If you can manage luminance noise separately, it can help retain the sharpness and fine details of the pictures.
3. As the Chroma noise specifically affects the skin colors, you can try maintaining a natural look without any speckles or blotches.
4. Another targeted adjustment you can try is preventing the plastic look that can result from applying uniform noise reduction.
5. Knowing what type of noise you're dealing with can help streamline editing by using the right camera portrait grain fix techniques.
Part 3. In-Camera Techniques to Avoid Noise in Portraits
Users can go through the following to avoid noise in portraits with these camera portrait grain fix techniques:
1. Utilize Low ISO: If the ISO setting of the camera is kept as low as it can be, it will decrease the sensor's sensitivity and capture cleaner photos.

2. Right Exposure to Images: You must attempt to prevent your images from being underexposed because it increases noise, so attempt to aim for an even histogram.
3. Shoot in RAW Format: RAW images retain more image information than JPEGs, so post-processing can more effectively remove noise.
4. Inadequate Lighting: Throughout the shooting, make sure the subject is sufficient with natural light, reflectors, and so on to minimize the use of high ISO.
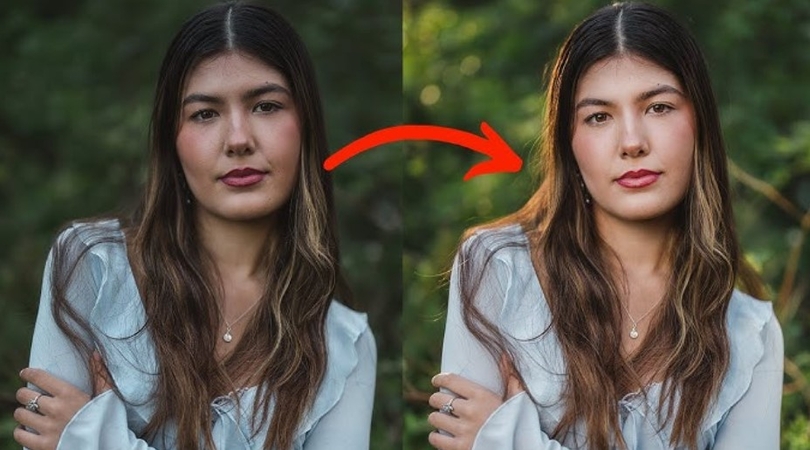
5. Utilize Fast Lenses: Photographers can experiment with using fast lenses with a larger aperture so more light enters the sensor.
Part 4. Common Mistakes to Avoid That Can Introduce Noise in Portraits
Beginner photographers should try to avoid the following mistakes, as without them, it can significantly reduce digital noise in face shots:
1. Overusing High ISO: The excessive use of ISO settings does amplify the camera's sensor, but it also increases digital noise.
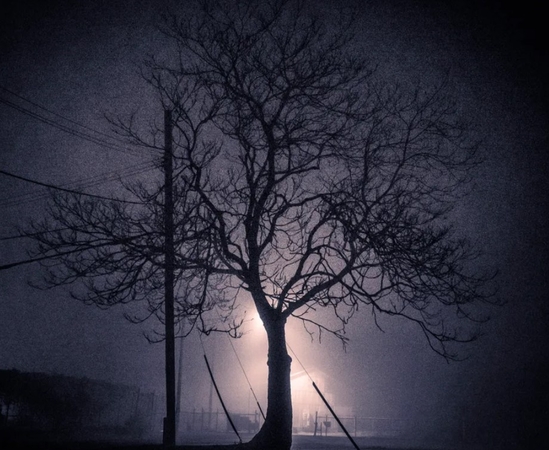
2. Underexposing Images: When you capture images with insufficient exposure, their brightened version presents noise in the shadows.
3. Using Digital Zoom: If you rely on digital zoom enlargers, the image gets cropped and interpolated, accentuating noise.

4. Neglecting Camera Maintenance: A dirty camera sensor can introduce artifacts that resemble noise, as the dust or smudges may appear as spots and grains.
5. Improper White Balance: This setting can lead to color casts on images, and attempting to correct it can amplify Chroma noise.
Part 5. Best Noise Reduction Software to Fix Noise in Camera Portraits: HitPaw FotorPea
After learning about the basic mistakes, causes, and types of noise, you can learn how to reduce them using the noise reduction software for portraits. The best software for this job is HitPaw FotorPea, which is a powerful AI-based photo enhancement tool designed to simplify noise reduction in portraits. It automatically detects and removes both luminance and Chroma noise, thus improving high-ISO or low-light images.
With its user-friendly interface, it can help you cater to users looking for quick and 100% professional-quality results. On the other hand, FotorPea is a free, web-based photo editor that offers advanced editing capabilities. This software is highly compatible with various file formats, making it a versatile tool for different editing needs.
Key Features
1. Denoise Model: Its Denoise Model uses AI to preserve details while smoothing out the grain, making it ideal for portrait photographers.
2. AI Denoising Model: This model is more technical and uses AI machine learning to eliminate digital noise from images without losing any detail.
3. Upscaler Model: With this model, you can get enlarged and sharpened images with 4K and 8K resolution quality.
Stepwise Guide on How to Perform Denoise with FotorPea to Fix Noise in Camera Portrait
The following steps will guide you on how to perform the denoising effects to fix noise in the camera portrait:
Step 1. Launch the Enhancer Software and Import an Image to DenoiseOpen the main interface of the software, press the “Enhance Photo Now” button, and import the noisy image.

Step 2. Choose the Desired Model For Noisy Portrait
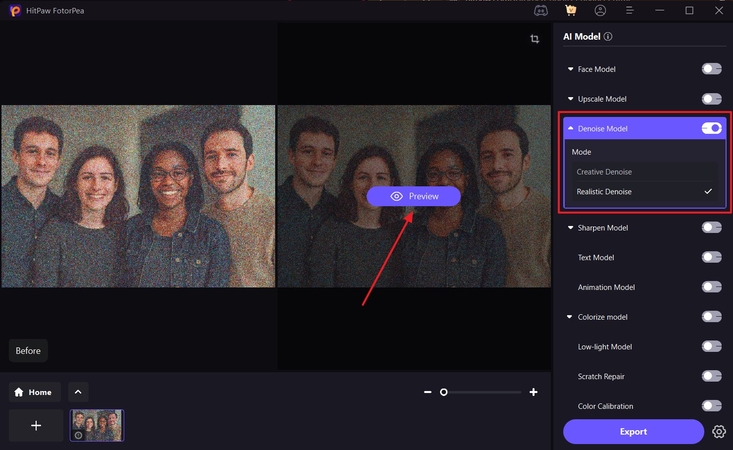
Now, toggle the “Denoise Model” option, select any “Mode,” and hit the “Preview” button to get started.
Step 3. Review the Results and Export
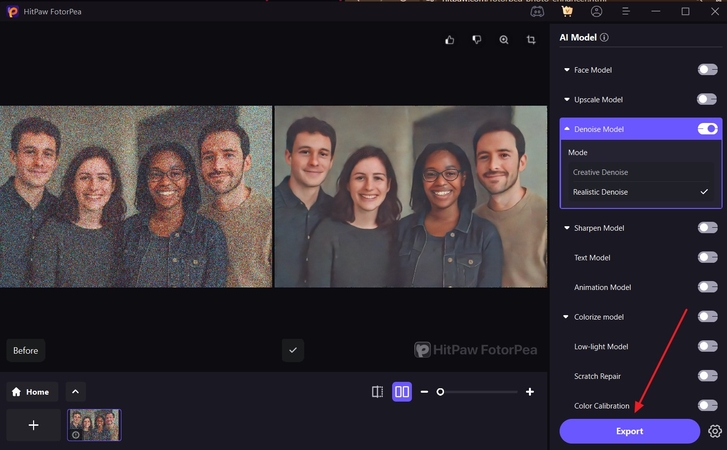
When the results appear, review them, and if satisfied, press the “Export” button.
Conclusion
This article explored the various types, causes, and mistakes of noise found in camera portraits. There are various reasons, like the RAW format or low ISO settings, that can lead to in-camera noise and more. To cater to this issue, the best-recommended solution to fix noise in camera portrait is by using the HitPaw FotorPea.


 HitPaw Edimakor
 HitPaw VikPea (Video Enhancer)
 HitPaw Univd (Video Converter)


Share this article:
Select the product rating:
Daniel Walker
Editor-in-Chief
This post was written by Editor Daniel Walker whose passion lies in bridging the gap between cutting-edge technology and everyday creativity. The content he created inspires the audience to embrace digital tools confidently.
View all ArticlesLeave a Comment
Create your review for HitPaw articles