9 Tools to Make Low Quality Videos High Quality
Turning a blurry, grainy clip into a watchable video is not magic but a combination of the right techniques and tools. Whether you inherited old footage, received a low resolution clip, or shot in poor lighting, you can often improve clarity, color, and smoothness without reshooting. This guide explains what causes low quality video, when improvement is realistic, how to make a low quality video high quality using AI and classic editors, and which tools to try.
Part 1. Can You Make a Low Quality Video High Quality
Yes, in most cases you can make a low quality video high quality enough for viewing or publishing. Results depend on the original file, how much detail it contains, and which methods you use. Modern AI upscalers can restore edges and reduce noise, while traditional editing corrects color, stabilization, and bitrate. If the footage is extremely compressed or missing detail, there are limits, but many practical fixes will significantly improve perceived quality.
1. What Makes a Video Low Quality?
- Low resolution that lacks fine detail
- Bad lighting producing noise and poor contrast
- High compression and low bitrate causing artifacts
- Motion blur from slow shutter or fast movement
- Camera sensor noise in low light environments
- Incorrect white balance or poor color representation
- Low frame rate causing choppy motion
2. Ideal Situation for High Quality Video
- Resolution: 1080p minimum, 4K or 8K for best detail
- Lighting: soft, well balanced, avoid harsh shadows
- Frame rate: 24 to 60 fps depending on motion needs
- Bitrate: high enough to avoid compression artifacts
- Codec: modern codecs like H.265 or ProRes for less loss
- White balance: set correctly to eliminate color casts
- Stabilization: tripod or in-camera stabilization for smooth motion
If you plan to change low quality video to high quality later, capture as much information as possible up front: higher resolution, proper exposure, and higher bitrate increase the chance of a strong upscale.
Part 2. Best AI Tool to Make a Low Quality Video Look Better without Reshooting
If you want a fast, user friendly way to make a low quality video to high quality without reshooting, AI upscalers like HitPaw VikPea are built specifically for that task. These tools combine denoising, sharpening, and frame detail recovery so you can salvage old footage or improve compressed clips. It focuses on simplicity and powerful AI models, giving you one click options and manual controls for fine tuning. For creators who ask can you make low quality video high quality, AI upscalers provide surprisingly good results with minimal technical setup.
- AI video upscaler that increases resolution up to 8K with retained detail.
- Advanced denoise engine that reduces grain while preserving edges and texture.
- Multiple AI models for portraits, sharpening, and general enhancement tasks.
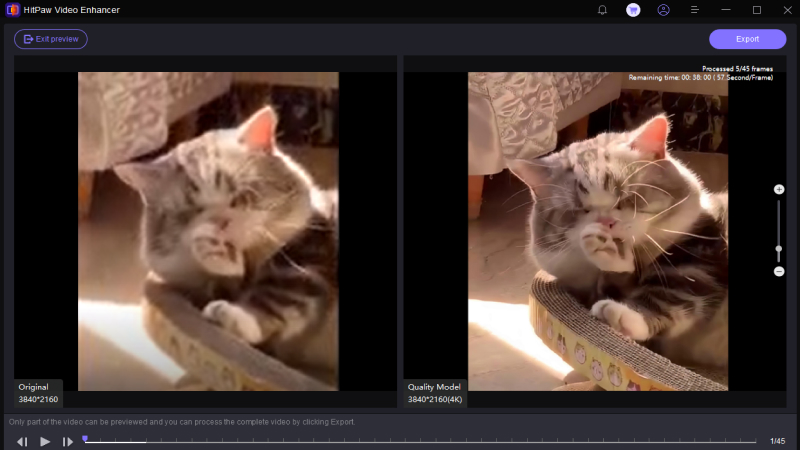
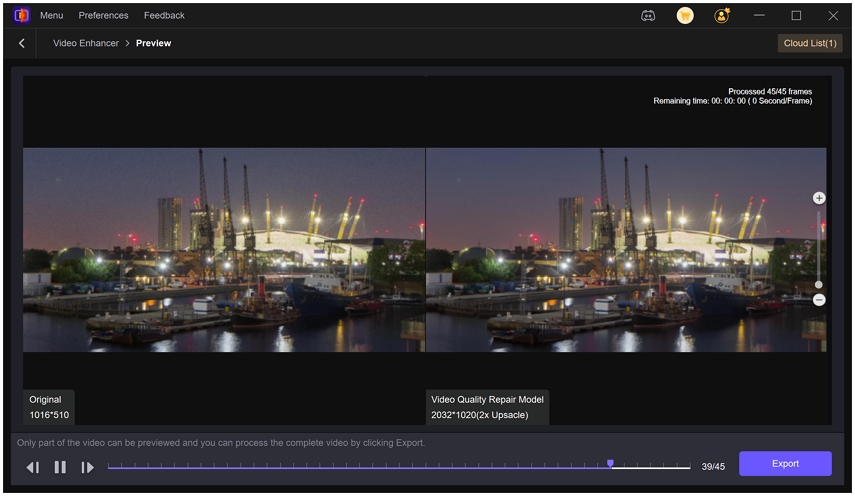
- Side by side preview showing before and after results in real time.
- Video quality repair model to fix compression artifacts and blockiness.
- Batch processing support for multiple clips to speed up workflows.
- Export options with customizable codec, bitrate, and resolution settings.
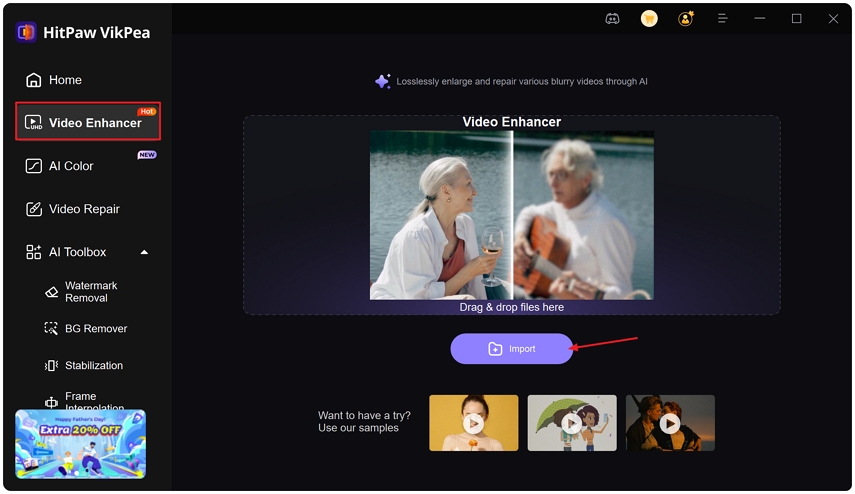
Step 1.Download and open HitPaw VikPea on your computer. Choose Video Enhancer on the main screen and import your clip, or drag the file into the Video Enhancer workspace.

Step 2.Pick an AI model that matches your goal. Options typically include a General Model, Sharpen Model, Portrait Model, and Video Quality Repair Model. Choose based on subject and issues.

Step 3.Under Export Settings select the resolution you want. VikPea supports upscaling to 4K or 8K. Preview the result using the before and after view, then click Export to save the enhanced video.

Using HitPaw VikPea is a straightforward way to change low quality video to high quality without the need to reshoot.
Learn More about HitPaw VikPea Improve video quality
Part 3. Other 5 Video Enhancers That Can Make Low Quality Video to High
Various video quality enhancers can help you know how to make a low quality video look better. A few noteworthy options are listed below.
1. Adobe Premiere Pro
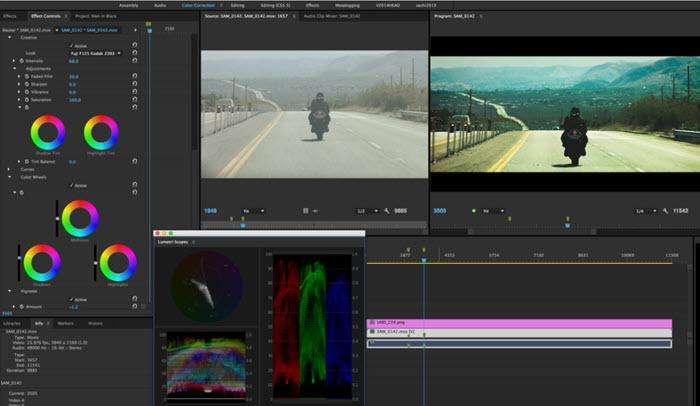
Although Premiere Pro can feel complex, it has the tools to enhance footage professionally. Use upscale, Lumetri color, noise reduction, and export presets to lift low quality clips.
Operating System: Mac, Windows
Price: $20.99 per month
Pros
- Industry standard tools for professional editing
- Powerful color grading and Lumetri controls
- High quality export presets for multiple formats
- Extensive plugin and third party ecosystem
Cons
- Subscription cost may be expensive over time
- Steep learning curve for new users
- Requires powerful hardware for smooth performance
2. Final Cut Pro X
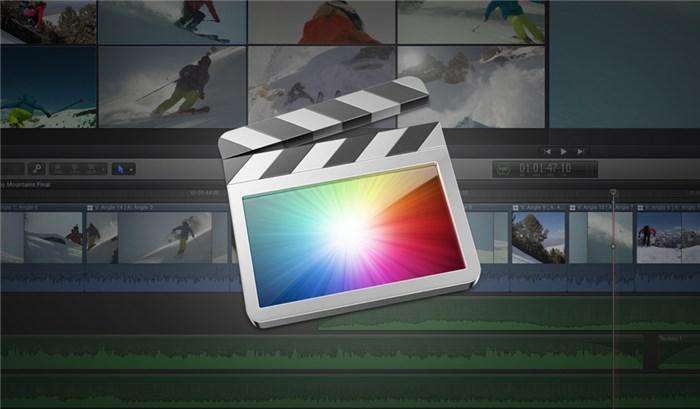
If you still don't know how to make low-quality videos high quality, opting for Final Cut Pro X won't be a bad idea. Using this great color grading software, you can turn your video to a 4K quality video with minimal effort. It offers various filters that help you alter your video's brightness, contrast, and white balance.
Operating System: macOS, Windows
Price: $299.99 (One Time price)
Pros
- Fast optimized performance on Mac computers
- Built in color grading and effects tools
- One time purchase no recurring fees
- Seamless integration with Apple ecosystem apps
Cons
- Only available on Apple macOS hardware
- Paid upfront cost might deter casual users
- Limited third party plugin support compared to competitors
3. Avidemux
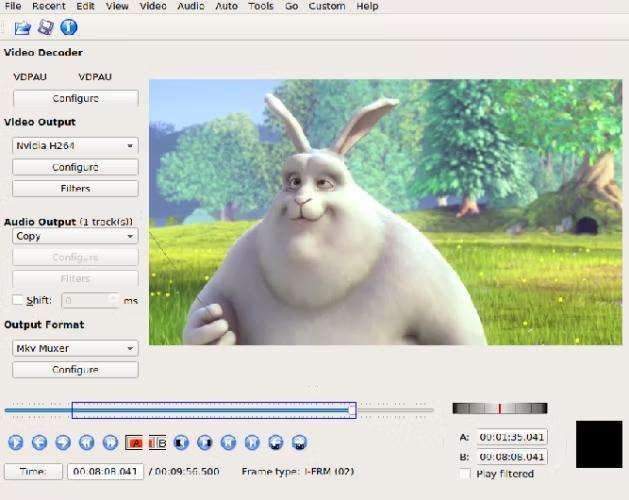
Another video quality enhancer that can assist you in knowing how to make a low-quality video high-quality is Avidemux. Although this video editor offers fewer features than other tools, you can adjust the resolution of your video using it.
Operating System: Mac, Windows, Linux
Price: Free
Pros
- Free and open source video editing tool
- Lightweight and runs on older hardware
- Supports simple cut filter and encode tasks
- Cross platform support for multiple operating systems
Cons
- Limited advanced features compared to paid software
- Interface feels outdated and less intuitive
- Fewer color grading and VFX tools
- Occasional stability issues on complex projects
4. Blender
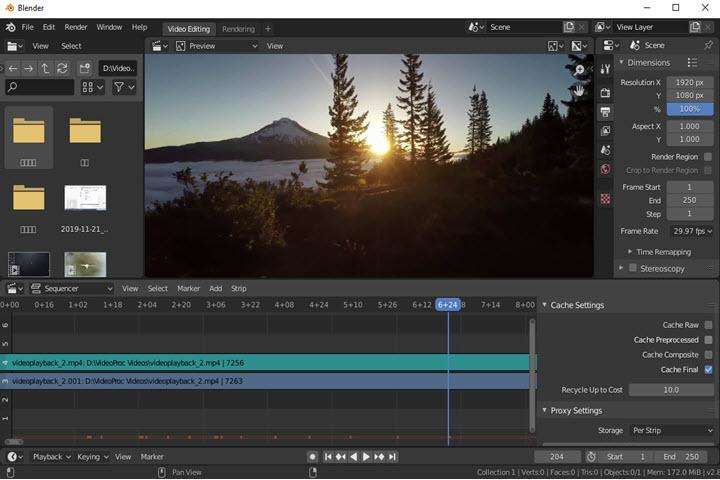
Blender is known for its VFX and 3D modeling. Using this tool, you can upscale videos as Blender has the render settings to make your video watchable. Using Blender, you can increase the bitrate settings and improve your video's resolution quality.
Operating System: Linux, macOS, Windows
Pros
- Powerful VFX and compositing for advanced projects
- Free and open source with frequent updates
- High quality rendering engine supports upscaling workflows
- Extensive community tutorials and plugin ecosystem
Cons
- Steep learning curve for new users
- Not specialized solely for video editing tasks
- Rendering can be time consuming on large projects
5. After Effects
Apart from using Premiere Pro, you can also opt for After Effects, an Adobe product. It allows you to improve video quality by providing features including visual effects, motion graphics, and animation composting. This tool excels at motion graphics, compositing, and repairing footage through advanced tracking and effects, useful for fixing exposure and stabilizing shots.
Operating System: Linux, macOS, Windows
Pros
- Industry standard for motion graphics and VFX
- Powerful compositing and tracking tools available
- Extensive plugin marketplace that enhances capabilities
- Strong integration with Adobe Premiere Pro workflows
Cons
- Requires subscription to Adobe Creative Cloud
- Learning curve for complex motion graphics tasks
- High CPU GPU demands for heavy compositions
Part 4. How to Make Low-Quality Videos High-Quality Online?
If you prefer not to install software, online editors offer quick ways to improve clips and learn how to make low-quality videos high-quality in a browser.
1. Clideo
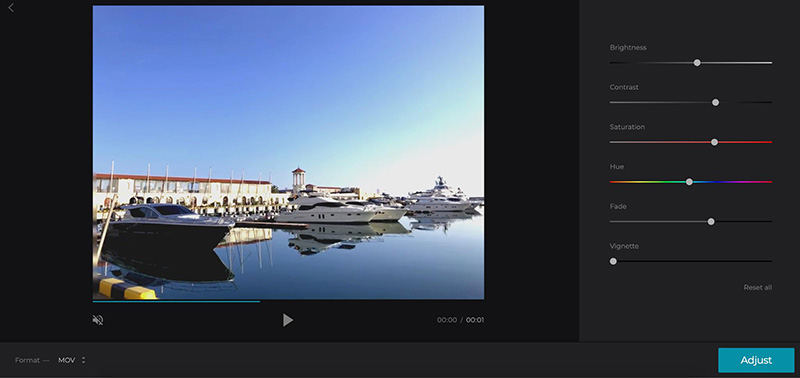
Clideo is a web based suite for simple adjustments like brightness, contrast, and saturation to make footage more presentable. Here's how to make a low-quality video high quality using Clideo.
- 1.Navigate to the official website of Clideo and tap on the ''Choose File'' icon to import the video you'd like to enhance the quality.
- 2.Once the video is added, you can use the slider to adjust the different settings. You can use brightness, contrast, saturation, Fade, or Vignette sliders. You can also change the video format of your video.
- 3.After enhancing the video quality, you can tap on the ''Download'' icon to export the file.
Pros
- Web based access no installation required
- Simple sliders for brightness contrast and saturation
- Supports multiple file formats and quick exports
- Free tier available for basic editing tasks
Cons
- Upload speeds depend on internet connection quality
- Limited advanced controls for professional editors
- Watermark on free exports in some cases
2. FlexClip
Flex is also a reliable online video quality changer that can help you turn low-quality videos into high-quality videos without doing much. It offers an intuitive online editor and templates to help enhance clips and improve perceived quality quickly.
- 1.Visit the official website of Flexclip and then drop and drag the video clips to the main interface of this online tool.
- 2.After importing the video, you can make color adjustments. Now, you can easily change the contrast, saturation, brightness, and resolution.
- 3.Download the video once you're done increasing its video quality

Pros
- Intuitive drag and drop web based editor
- Built in templates speed up editing workflow
- Basic color correction tools and filters available
- Cloud storage for projects and easy sharing
Cons
- Some features locked behind paid plans
- Export resolution limited on free version
- Dependence on stable internet for editing sessions
Part 5. How to Make Low-Quality Videos High Quality on iPhone?
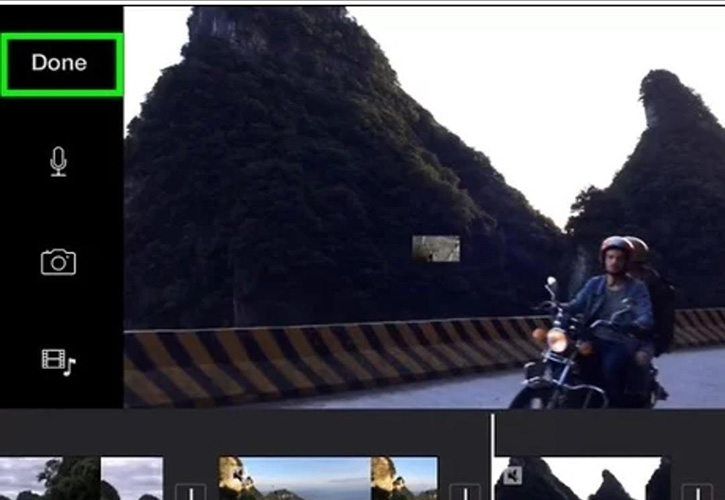
If you intend to improve the quality of your video on your iPhone, iMovie might be the right answer for you. It is a brilliant app for iOS that helps you change low quality video to high quality for social sharing or storage with minimal effort.
Install the iMovie on your iPhone after visiting the App Store. Next, launch the application to proceed ahead.

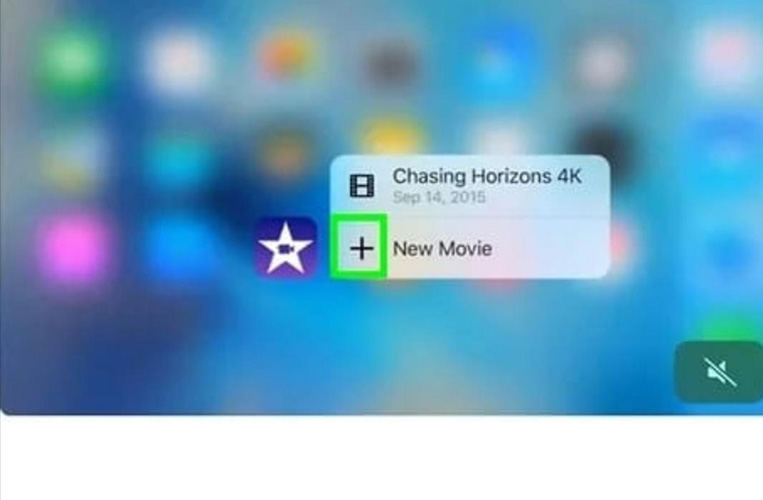
- Tap on the "New iMovie" icon to import the video clip to your iPhone. Next, change your video's resolution and then adjust your video's settings.
- After improving your video quality, tap on the "Done" icon to finish the task.
Pros
- Free and optimized for iPhone performance
- Simple timeline editing and easy trimming tools
- Integrated filters and basic color correction options
- Direct export to Photos and social sharing
Cons
- Limited advanced color grading and VFX tools
- Only available on Apple iOS devices
- Not suitable for complex professional workflows
Part 6. Frequently Asked Questions on Low Quality Video to High
Upscale Resolution: Boost resolution to 1080p, 4K, 8K, or higher to improve clarity.
Enhance Sharpness and Detail: Apply sharpening and detail recovery to restore edges.
Denoise: Remove grain and sensor noise with denoising filters or AI denoisers.
Stabilize Shaky Footage: Use stabilization to smooth camera movement and improve perceived quality.
Adjust Brightness and Contrast: Fix exposure and contrast to make the image pop.
Color Correction: Correct white balance and grade colors for a polished look.
Frame Rate Adjustment: Raise frame rate where appropriate to smooth fast motion.
AI algorithms can significantly reduce grain and restore missing detail, often making grainy video usable and visually much cleaner.
Yes, you can increase perceived quality after recording using upscaling, denoising, sharpening, color correction, and stabilization, though true detail cannot be fully recreated if the original is extremely degraded.
Conclusion
Improving a clip from low quality video to high quality is usually possible with the right approach. Start by assessing the original file, then choose a strategy: AI upscalers like HitPaw VikPea for quick, impressive gains; professional editors for fine control; or online and mobile options for convenience. Remember that capture quality matters, so when possible shoot with better resolution, lighting, and bitrate to make future enhancement easier. Whether you ask can you make low quality video high quality or need to change low quality video to high quality for a project, a careful combination of denoising, sharpening, color work, and upscaling will get you far.
Leave a Comment
Create your review for HitPaw articles


