2026 Guide: How to Blur Photo Background on Mac with Ease
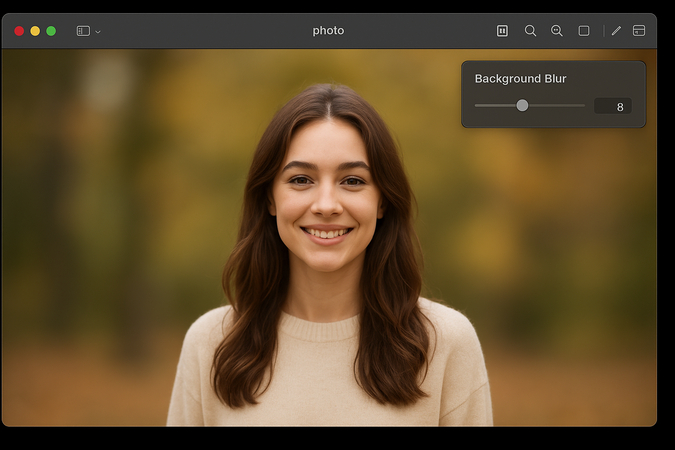
The background could be optically soft and change the common shot into a really striking photograph. A macro blur photo background will create separation of your subject. Whether you are creating professional headshots, social media photography, or product photography, it is one of the simplest solutions to create a standout lone subject.
This tutorial will discuss blurring, or emulating a blurred background, on macOS; when each technique can be used, and how to obtain a more natural and professional style.
Part 1. Why to Blur a Photo Background on Mac
The background of an image should be blurred so as to make it easy to focus on the main object and decrease distraction. It is a practice most professional photographers employ to achieve effects of depth-of-field without the use of complex equipment.
Common uses include:
- Portrait photography-Attention to the person, then blur out the background.
- Product shots - Provide an emphasis on the product by stripping down what is not necessary in the background.
- Event pictures -Softening untidy scenes or places, to create an atmosphere.
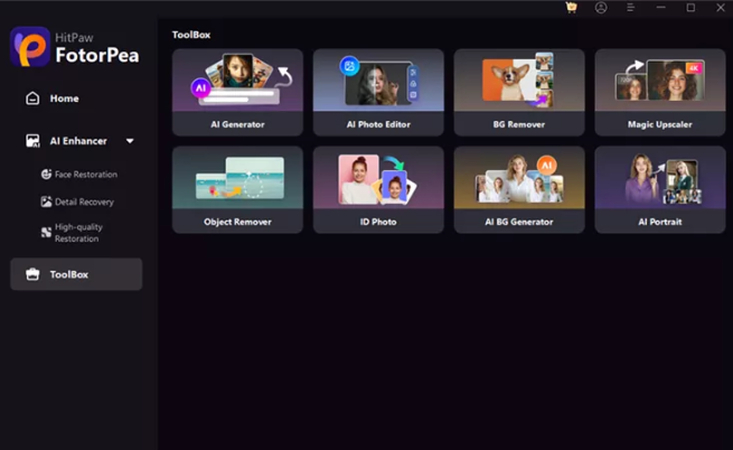
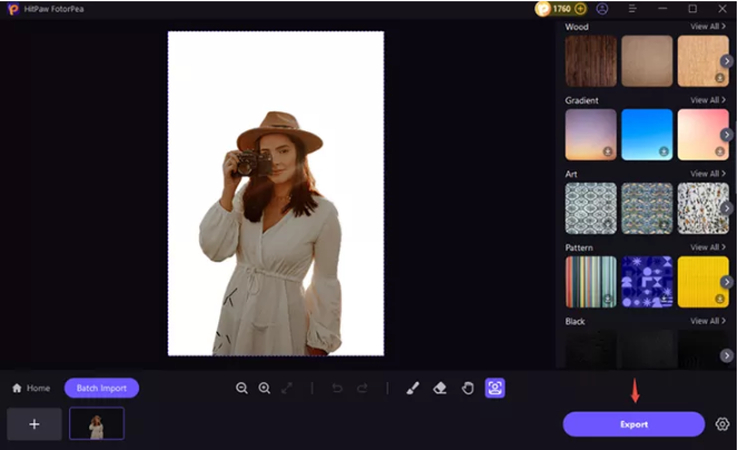
On Mac, there are macOS Preview blur tools when you have a small task, or there are other software programs that can help you blur the backgrounds of your photos, such as the third-party Mac photo editor program HitPaw FotorPea, because it applies background removal and replacement with blurred background by using an AI model.
Part 2. How to Blur Background Using Mac Preview
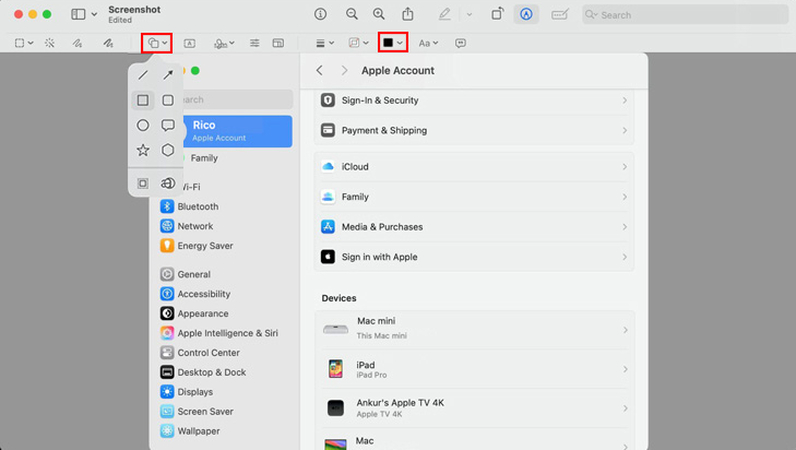
Every Mac comes with the Preview app, which is mainly used to open images and PDF files. It does, however, have some basic editing abilities, such as how to give a Mac photo a blur effect on the background. Although Mac Preview does not have a specific blur slider, you may use the absence of sharpness or use pixelation instead. It is ideal here where it involves taking the center stage quietly, with the concealing of sensitive information.
Step-by-Step Guide for Mac Preview Blur
- Right-click on your photo to choose among the following options. Right-click on your image and select Open With and Preview.
The icon of Markup Toolbar (little pencil or locker) must be pressed.

Pick the Selection tool (Rectangle, Oval, or Lasso)and choose the background area.

- Snippet Tools > Adjust Colors > lower Sharpness to gentle the zone to pick. As an alternative, you can manipulate the selection a bit by going to Tools > Adjust Size to achieve some similar effects to pixelation.
- Have a copy of the newest version and create a copy of the File > Save or File > Export copy.
Limitations of macOS Preview blur:
- No true adjustable blur tool.
- Can't selectively blur complex edges like hair.
- Works best for basic edits, not high-end photo projects.
Once you require an advanced, polished blur photo mac effect, you will require a standalone Mac photo editor blur background tool.
Part 3. Best Third-Party Tools for Blurring Backgrounds on Mac
Once you require precision, control, and swiftness, third-party software always surpasses macOS Preview blur.
HitPaw FotorPea - AI Background Removal and Blur Simulation
HitPaw FotorPea does not have an option to blur a photo background: it only allows one to remove it and make it a blurred/soft-focus image. This provides you with the same visual effect, but as far as full customization is concerned, this works.
Working on Mac, HitPaw FotorPea: blur photo background:
- AI-powered background removal - Instantly isolates your subject.
- Custom background replacement - Use your own blurred backdrop or choose from built-in options.
- Batch processing - Edit multiple images at once.
- Beginner-friendly interface - Easy enough for casual users, yet precise for professionals.
Other Alternatives for Mac Photo Blur Background:
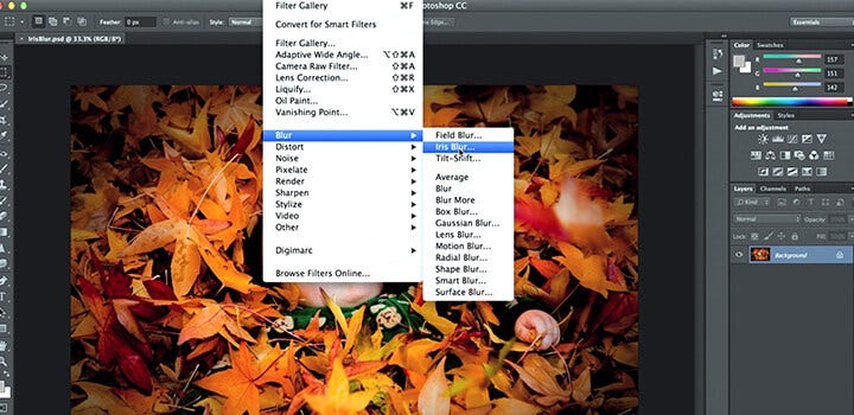
Adobe Photoshop - Offers multiple blur filters, layer masks, and precise control.

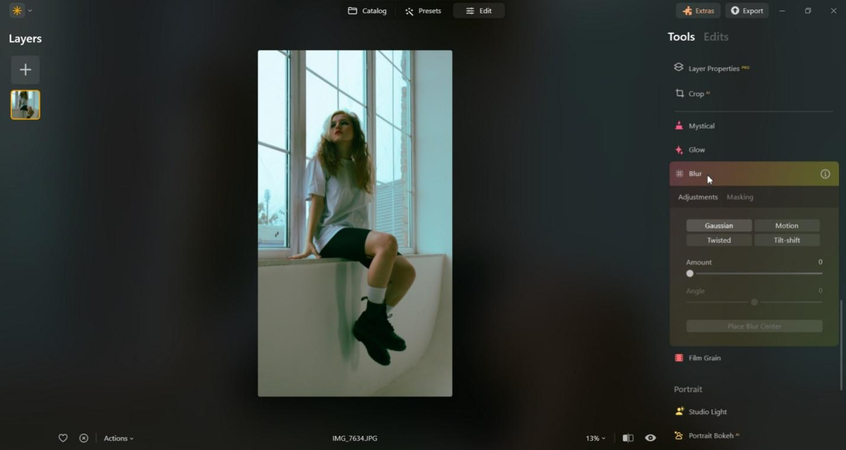
Luminar Neo - AI-based portrait and bokeh tools for realistic results.

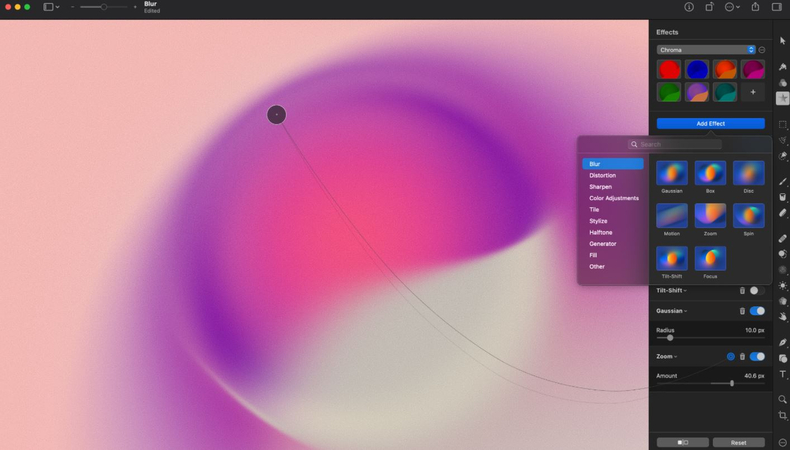
Pixelmator Pro - Affordable Mac app with strong background blur capabilities.

Part 4. Step-by-Step Guide Using HitPaw FotorPea
That is how you can give your Mac photo editor a blur background effect using the background replacement of HitPaw FotorPea:
Visit the official site, download the macOS version, and follow the installation prompts.
Drag your file into the workspace or click Choose File.

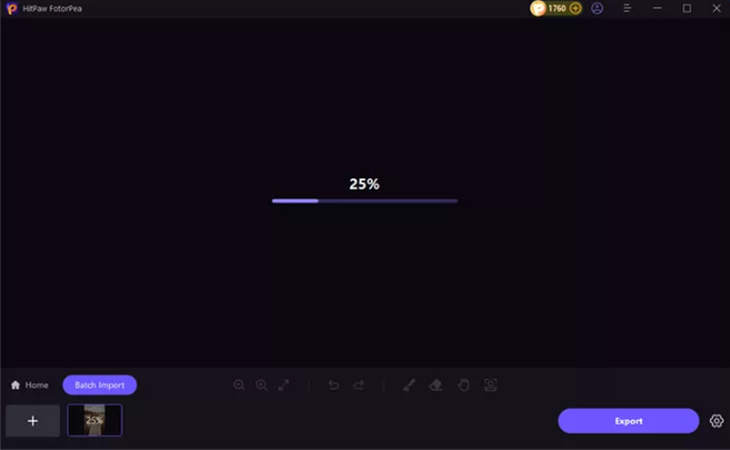
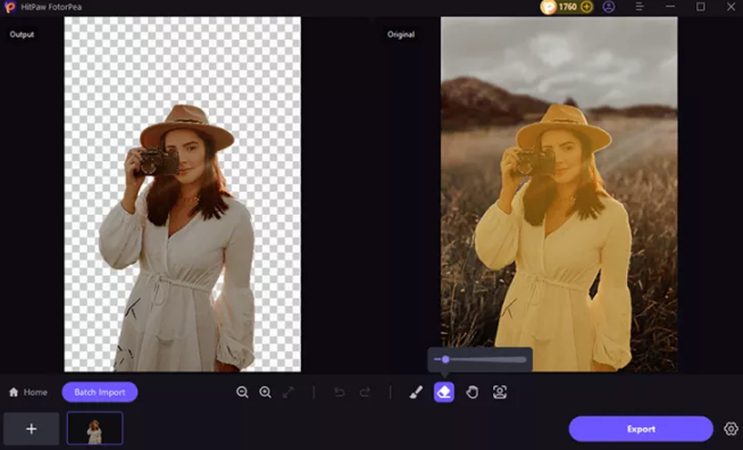
The software automatically detects and separates the subject from the background in seconds.

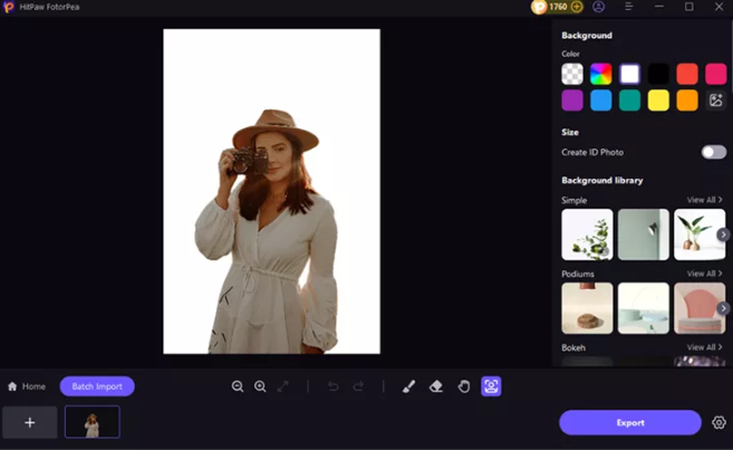
Choose a soft-focus or bokeh-style background from the built-in library, or upload your own blurred image.

Adjust subject placement, edge smoothness, and lighting to blend naturally with the background.

Save in high resolution for printing or sharing online.

The technique gives versatility to produce a Mac photo blur background effect even when the initial photo is not made with shallow depth-of-field.
Part 5. Tips for Professional-Looking Blurred Backgrounds
Use these tricks to give a natural and attractive outcome, no matter whether you are working with Mac Preview blur or HitPaw FotorPea:
- Do not over-blur it - Extreme blur would appear to have the subject out of place.
- Apply selective blur. However, the face, eyes, or edges of the product should be sharp.
- Sync the lighting - It is important to make sure that the smeary background faces in the same direction and that its brightness is synonymous with the first image.
- Apply the proper type of blur - the Gaussian blur is normally used to blur down portraits, and motion blur or lens blur might be applied to blur images of products.
- Redirection of edits- Brighten up, tranquilize, and desaturate after blurring to give it balance.
When you substitute the background with HitPaw FotorPea, get your hands on very high-resolution blurred backgrounds, which add to the coloring and style of the subject.
Conclusion
There are several methods through which a blurred photo's appearance can be realized by the Mac user. The Preview on macOS has the blur tool built in, which can be commonly used to make simple and fast edits, but is not fine-tuned to work on more complicated images.
To obtain a clean, professional output, HitPaw FotorPea is very advisable. Although it does not necessarily blur the background, the AI-enhanced background removal and replacement operation enables you to establish a Mac photo editor blur background look that is favorable to DSLR photography, without having to use costly equipment or complex programs.
Leave a Comment
Create your review for HitPaw articles


