How to Build a Photo Booth: Weddings, Parties & Events [2026]
Photobooths have become a common requirement in functions, and renting a photo booth would be expensive; hence, constructing your own photo booth will be surprisingly simple and economical. No matter what party it is, a wedding, birthday party, or a corporate event, a DIY photo booth brings in a touch of excitement.
If you're wondering how to build a photo booth, you have come to the right place. In the next article, we will give you the step-by-step process to make a photobooth and some basic ideas and quick tricks.
Part 1. Essential Materials & Tools for a DIY Photo Booth
The right materials are the first step to a successful DIY holiday photo booth installation that creates functionality and fashion. The essential components collaborate to form a durable construction and an aesthetically pleasing background, which can help the guests to memorize the quality images of any event. Therefore, to make your experience in a photo booth better, you must collect the following items to create this DIY photo booth:
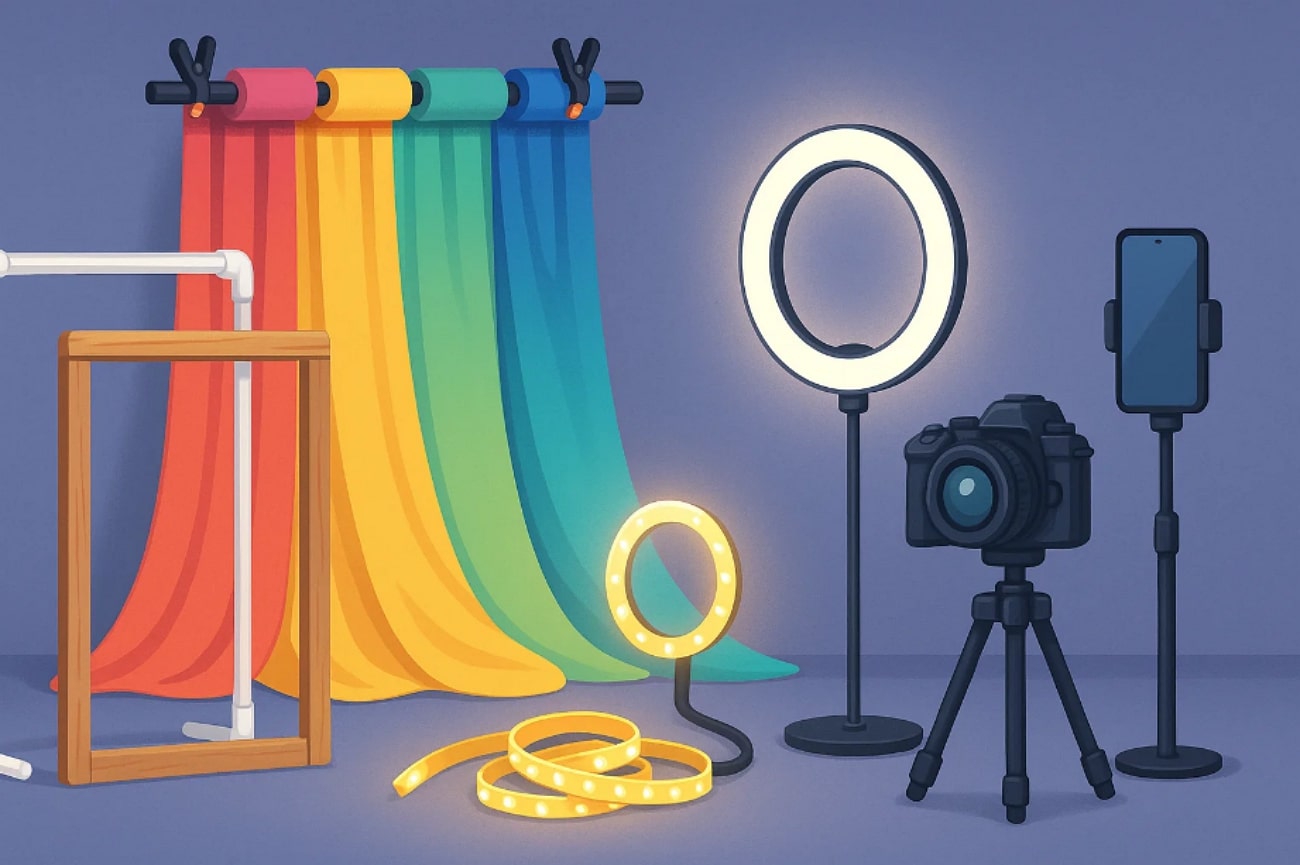
- 1. Frame Materials:Select lightweight and simple to set up PVC pipes, preferred due to their portability, and use wood that is durable, such as pine or recycled pallet boards.
- 2. Backdrop:You have the choice of using backdrop options such as draped fabric or brightly colored paper rolls, and these can simply be clamped on your frame.
- 3. Lighting:Superior images cannot be obtained without a lot of lighting, and hence, collect ring lights to ensure uniform facial lighting or flexible LED strips.
- 4. Camera:A DSLR camera is preferable to create pro-level images, or you can even use a high-quality smartphone with a tripod adapter, which is more convenient for you.
- 5. Tripod:Keep your camera steady by using a sturdy tripod or mounting stand you can easily adjust to height and angle to make sure all the guests are in the picture.
Tools You'll Need
Once you have selected the core material, there are some tools that you require to create a professional-looking DIY photo booth. These tools will help you not only to construct the photobooth but also to make your backdrop and accessories securely fastened. To understand how to make a photo booth stand, assemble the following equipment, which will save you a lot of time and effort:
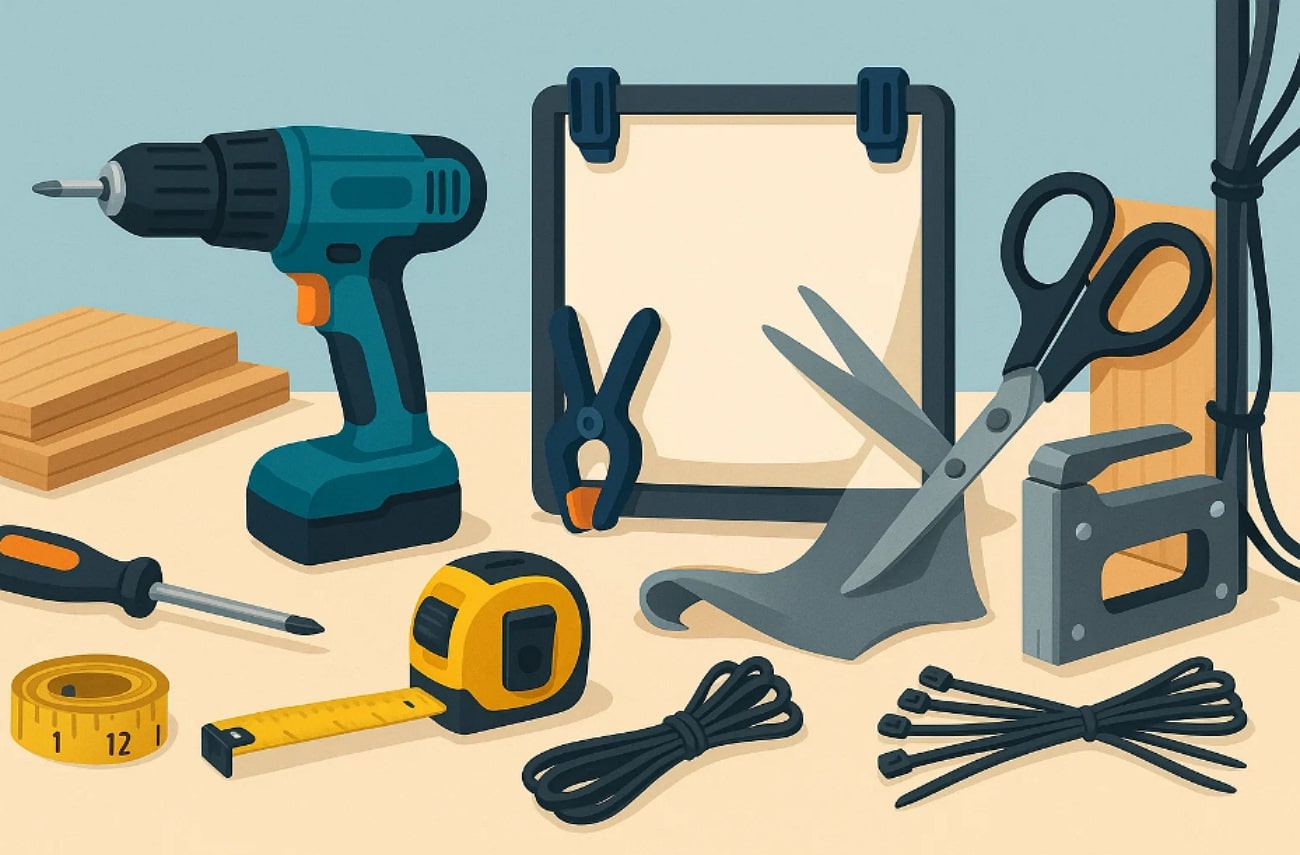
- 1. Screwdriver and Drill:Take a screwdriver to tighten or loosen the screws, and a drill to create precise holes, especially in wood.
- 2. Measuring Tape and Clamps:When measuring the frame and backdrop with precision, you'll need a measuring tape paired with clamps to secure the materials.
- 3. Scissors and Staple Gun:Keep scissors and staple gun at hand to trim fabric or paper and attach fabric to the wooden piece.
- 4. Zip Ties:Finally, keep zip ties on hand to securely attach cables, lights, or backdrop material to the frame.
Optional Extras
To elevate the guest experience and add interactive elements, consider adding optional extras within your DIY photobooth. It boosts creativity, makes photo sessions more entertaining, and can provide your guests with memorable take-home images. Here we have listed down some of the optional extras that you can add to your photobooth:

- 1. Props Box:Fill the box with fun hats, quirky glasses, and themed signs to inspire guests to make creative poses.
- 2. Instant Printer for Photo Strips:You can offer an instant print facility for the pictures so that people can take their memorable images along with them.
- 3. Digital Tablet for Live Preview:One can set the tablet as a live monitor, allowing guests to preview their poses before snapping the photo to ensure stunning images.
Part 2. How To Make a Photo Booth Stand - Step-by-Step Guide
For creating a DIY portable wedding photo booth, we have provided a detailed stepwise guide in the following section:
Step 1. Decide on Your Booth Style, Location & Proportion
Begin by deciding whether you want an enclosed photo booth or an open-air one, which could be based on your venue and number of guests invited.
Step 2. Carefully Build the Frame For the Photo Both
Now, cut and assemble your chosen materials, such as PVC or wood, to create the frame and connect them according to the required style. Here you can add extra support or weights for outdoor events to prevent tipping.
Step 3. Set Up the Backdrop
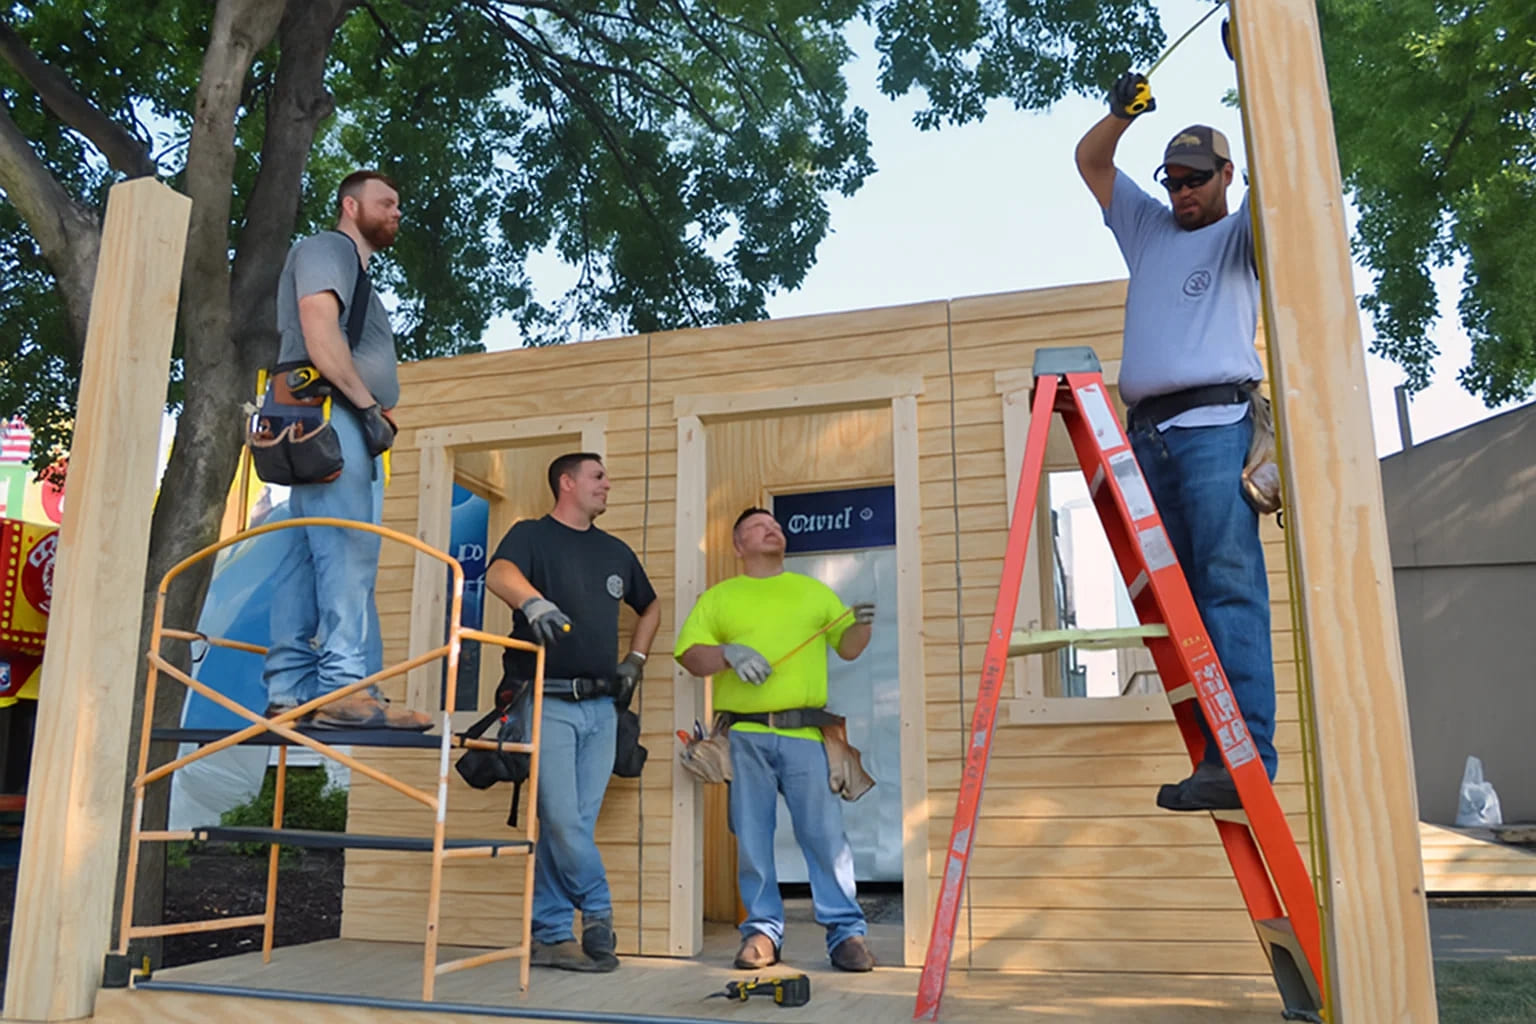
Then you need to select the backdrop that will fit your event theme, this can be fabric, paper rolls, or completely personalized. Staple the backdrop so that it can be firmly attached to the wooden frame using items such as clamps and zip ties to give it a high look.
Step 4. Install Lighting
Find the lights, e.g., ring lights or soft boxes, or LED strips, and place them around the photobooth to have even light and make the picture smooth.
Step 5. Position the Camera & Tripod
Set your camera or phone on a tripod at your chest or shoulder height level for guests, and angle it to capture the best scene possible.
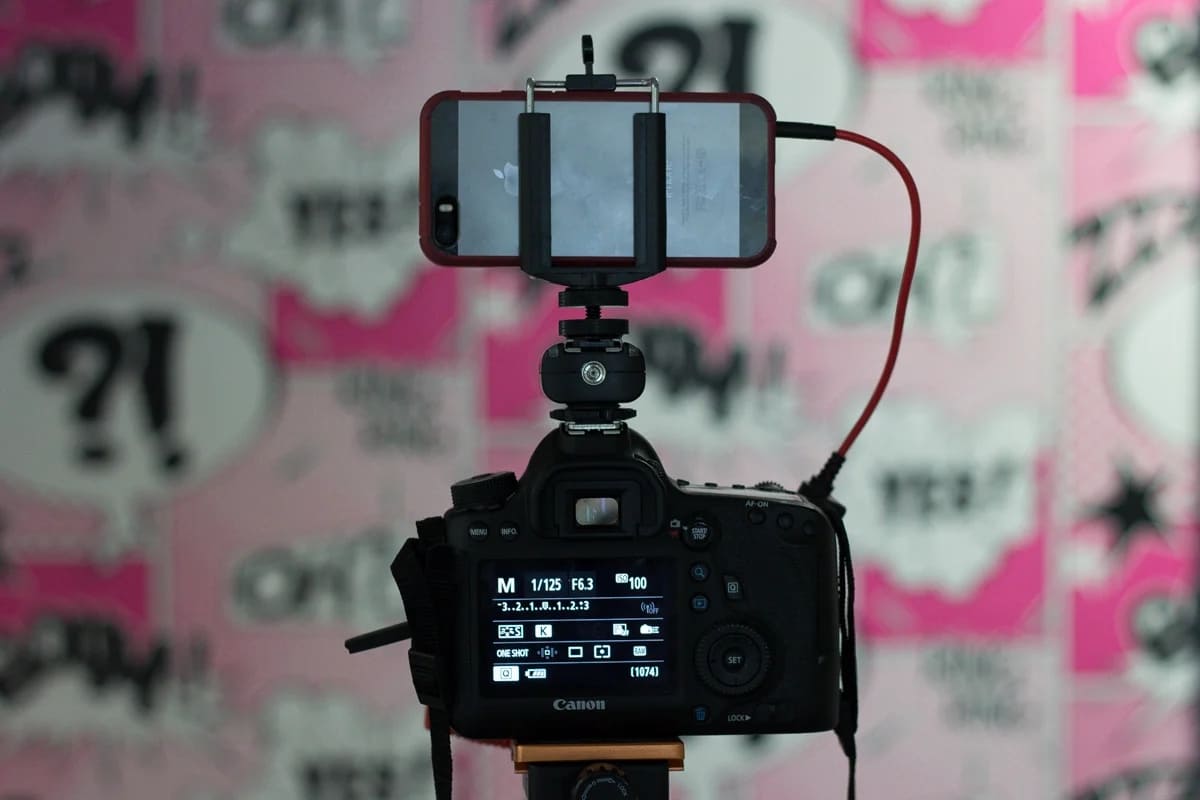
Step 6. Locate Photobooth After Adding Themed Decorations
Finally, organize event-themed props like hats, signs, or glasses beside the photo booth and ensure you place them at an easily accessible spot for guests.
Part 3. Tips for the Perfect DIY Photo Booth Setup
In the process of learning how to make a photo booth stand, you should also consider following given tips for maximum results:
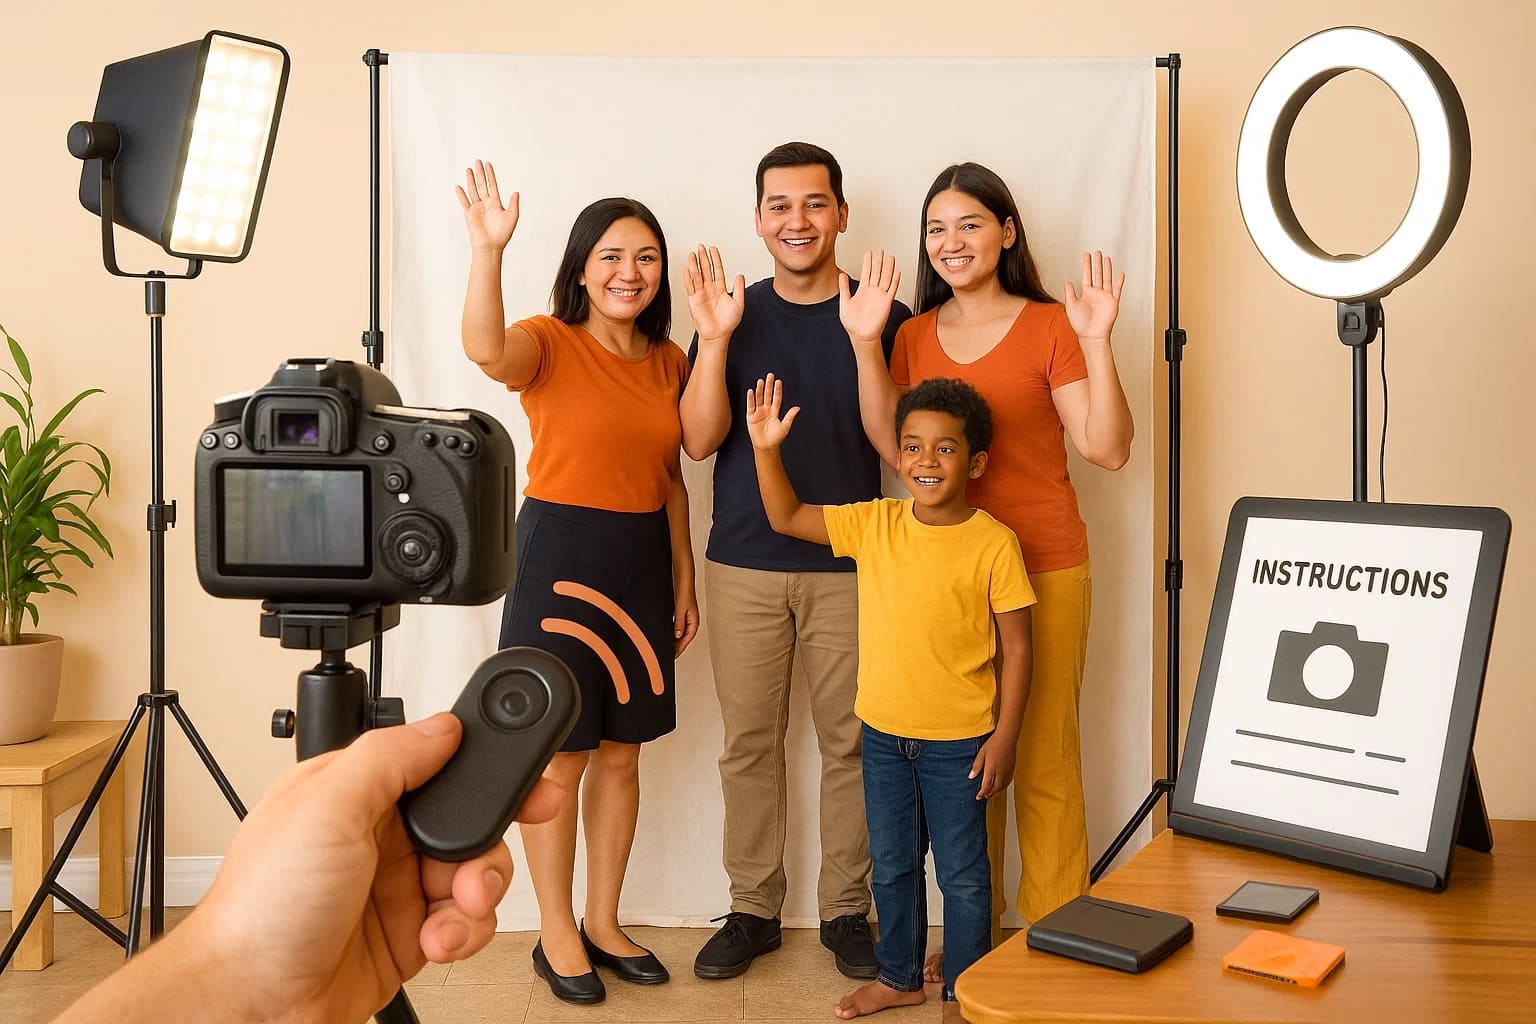
- 1. Enough Space:Ensure your photobooth has enough space so that guests can easily stand and take single and group photos.
- 2. Test lightning:Prior to the event, always check the lightning to adjust and check your lights to make sure faces are well-lit.
- 3. Remote Clicker:Always keep a remote clicker on hand, allowing the guests to snap photos from afar and remain out of the camera's sightline.
- 4. Extra Batteries:Keep backup batteries and memory cards on hand so that you can keep the light and camera always running.
- 5. Instructions Booklet:Put a book of instructions next to the photobooth so that they can readily know how to use it.
Part 4. Enhance Your DIY Photo Booth Photos with FotorPea
After learning how to make a selfie booth, have you tried to make one for your birthday event? However, when you look at images, suppose they turn out a little pixelated and in low light due to the wrong placement of the light. Now, since you can't capture them again, use HitPaw FotorPea (formerly HitPaw Photo Enhancer), which lets you enhance images up to 8x.
Key Features of FotorPea
- 1.Enables upscaling your photobooth images without ruining their actual quality.
- 2.Lets you remove extra noise from the photobooth image caused by compression effects.
- 3.Removes the unwanted background of selfie booth photos using its BG Remover.
- 4.Enhances the text written on photo booth pictures to make it visually appealing.
- 5.Allows you to preview your generated outcome before exporting it to the device.
Quick Guide to Editing Your Photo Booth Shots
Upon knowing the features of HitPaw FotorPea, if you want to enhance your image taken by a DIY holiday photo booth, then go through this guide:
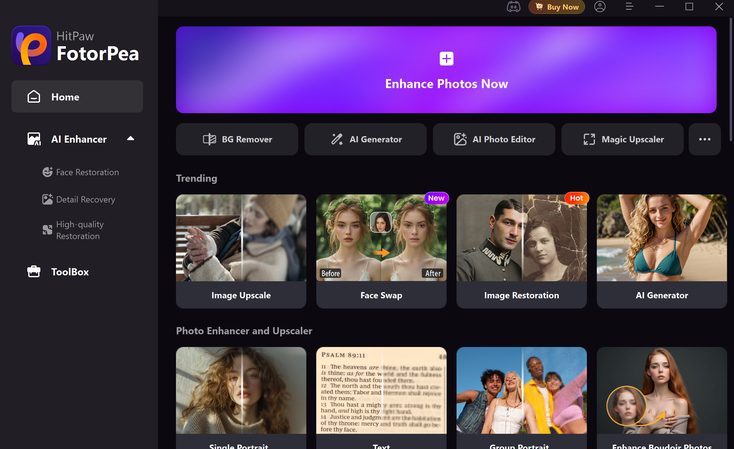
Step 1. Launch the Tool to Select Enhance Photos Now
As you access the tool, tap the "Enhance Photos Now" option to get into the editing interface for upscaling photobooth images.
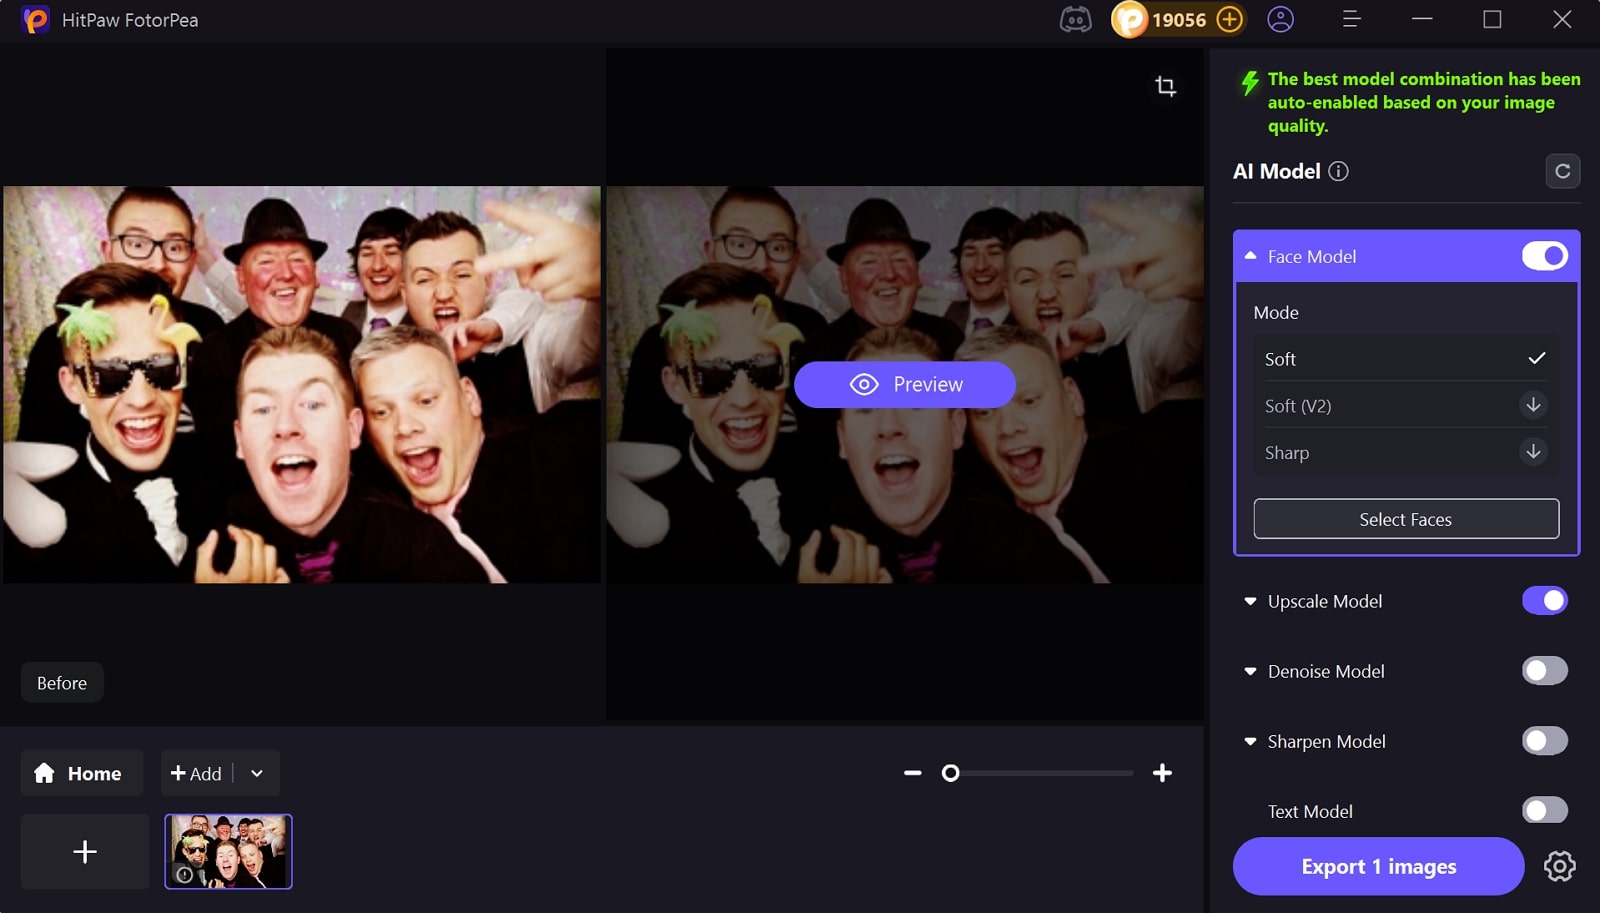
Step 2. Choose the Desired AI Model for Photobooth Images
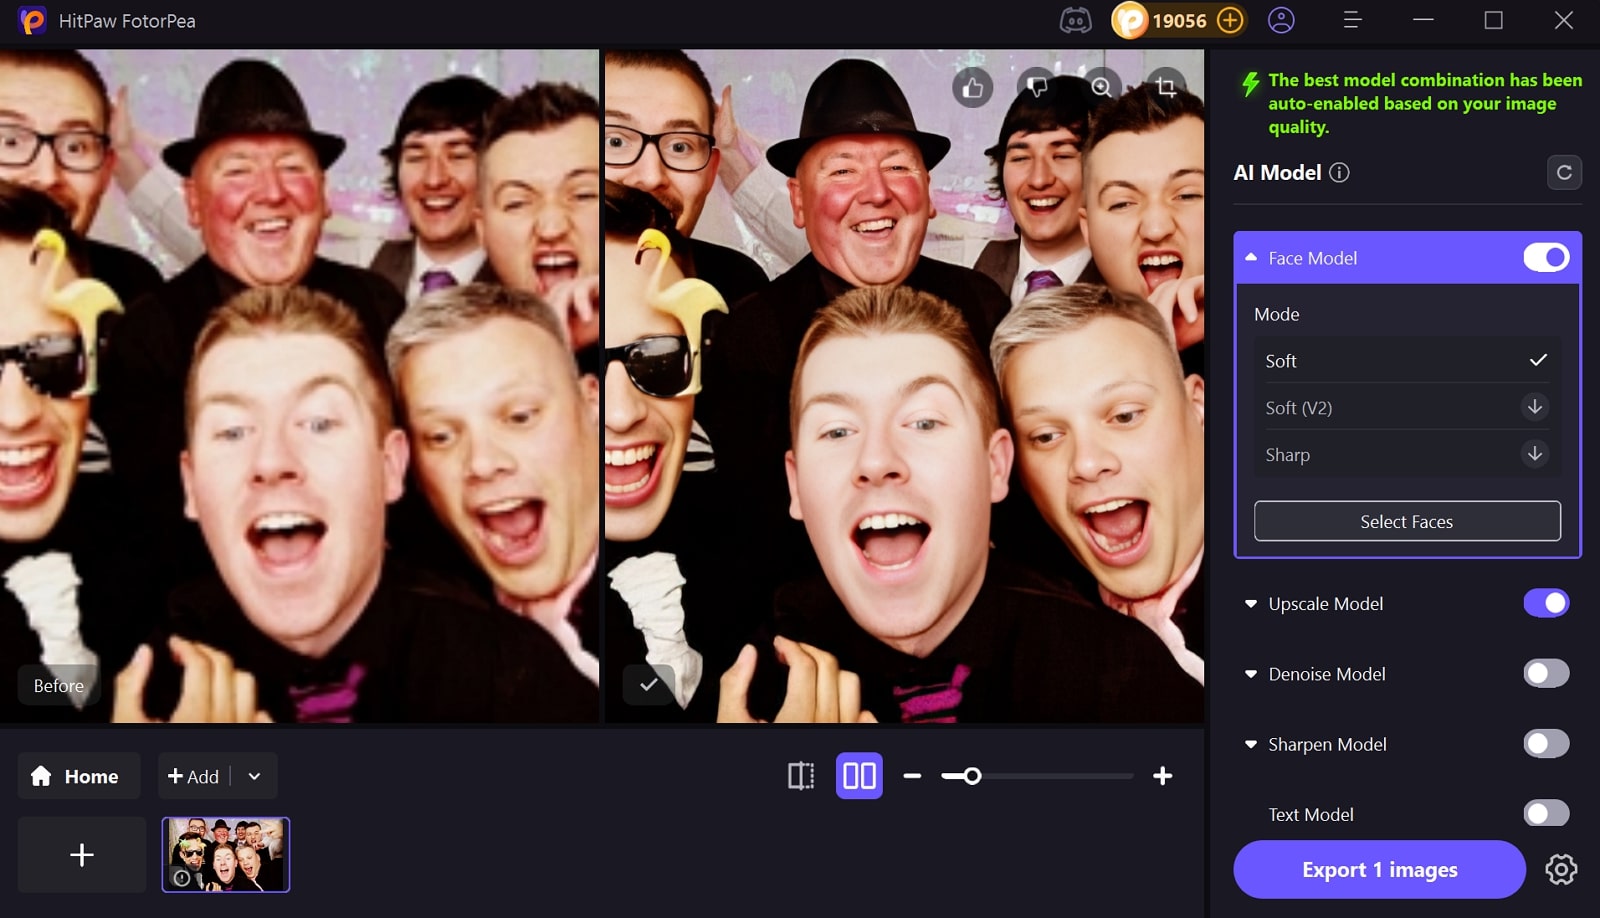
Once your pixelated photobooth picture is imported, toggle the "Face Model" and click the "Preview" button to begin the process.
Step 3. Click Export Images to Get It Saved
Finally, the image is upscaled now, tap on "Export 1 images" to get it rendered to the desired folder of the device.
Part 5. Frequently Asked Questions on Building a Photo Booth
The cost of a photobooth depends on the size of the photobooth you are renting. However, in general, the cost lies between $100 $500 for a basic setup.
Although choosing the best camera depends on your budget, you can go for Canon EOS M50 Mark II and Nikon D3500. Usually, they are considered best yet affordable options, with unmatched results.
DIY holiday photo booth is kind of both, which is particularly designed accordingly to the holiday destination. In this, they alter the lights and camera positioning frequently.
A DIY portable wedding photo booth is a customized, movable photo station designed for weddings. Unlike larger and fixed ones, such photo booths are lightweight and easy to transport, making fun accessible.
While learning how to make a photobooth, ensure your booth has enough space for guests to stand. Furthermore, always test lightning beforehand and keep extra batteries with you.
Conclusion
In this article, we have provided a detailed guide on how to build a photo booth. Now, if the generated images turned out pixelated, we recommend using HitPaw FotorPea to enhance them.
Leave a Comment
Create your review for HitPaw articles


