Beginner's Guide to Product Photography: Tips, Equipment & Lighting
In the bustling e-commerce scene, how your items look can play a massive role in convincing people to buy. That's why getting good at product photography setup is super important if you want to make it big online. From choosing the right camera and lighting to setting up an appealing background, every detail matters. In this beginner's guide to product photography, we'll walk you through practical tips, essential equipment, and lighting techniques to help you capture professional-looking product photos that showcase your items in the best possible way.
Part 1. What Is Product Photography?

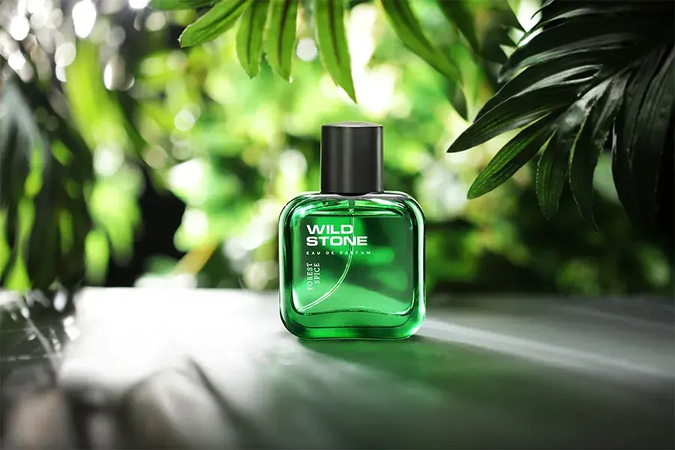
What is product photography? Product photography is the process of creating high-quality visual content that showcases products in the best possible light. It involves taking well-composed, aesthetically pleasing images that accurately represent the product. Product photography plays an essential role in eCommerce and social media marketing, where visuals are often the first thing potential customers notice. Clear and appealing product photos help consumers understand what they're buying, build trust in your brand, and increase the likelihood of purchase. There are several types of product photography: commercial photography, lifestyle photography, and catalog photography.
Part 2. Product Photography Equipment You'll Need

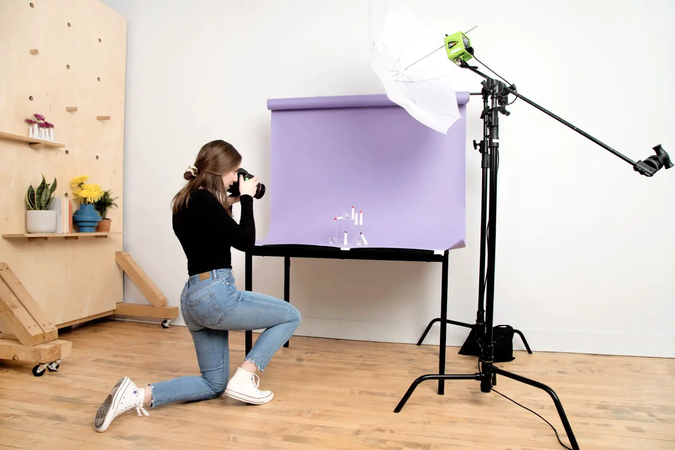
Product photography is one of the most important fields in this industry. How many times have you bought a product because you were amazed by a beautiful product image? Picking the right product photography equipment is the key to starting. Here's what you'll need:
- 1. Camera or Smartphone:A high-quality camera is one of the most crucial tools in product photography. For maximum control over focus, aperture, and shutter speed, a DSLR camera is an ideal choice. If you're on a budget, a smartphone with a high-resolution camera can also produce excellent results.
- 2. Tripod:A tripod is essential for stabilizing your camera and ensuring sharp, blur-free images. There are hundreds of tripods available in the market, from compact to heavy-duty professional-grade options.
- 3. Lightbox or White Backdrop:It helps create a clean, distraction-free background that highlights your product's details and keeps the viewer's focus where it belongs -on the item itself.
- 4. Reflectors and Diffusers:Control and soften light to eliminate harsh shadows and give your photos a professional, balanced look.
Part 3. Product Photography Lighting Setup

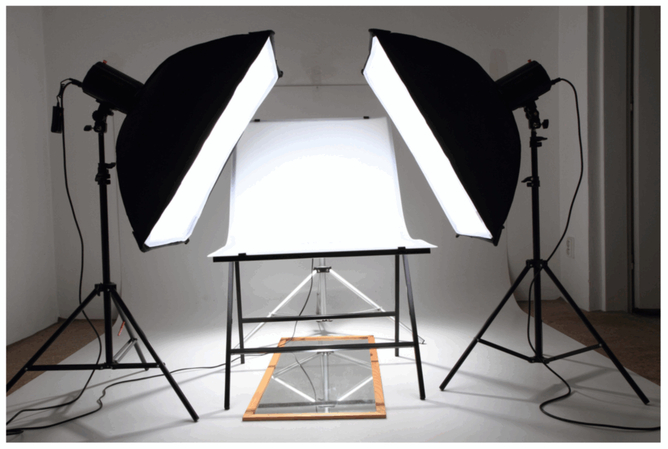
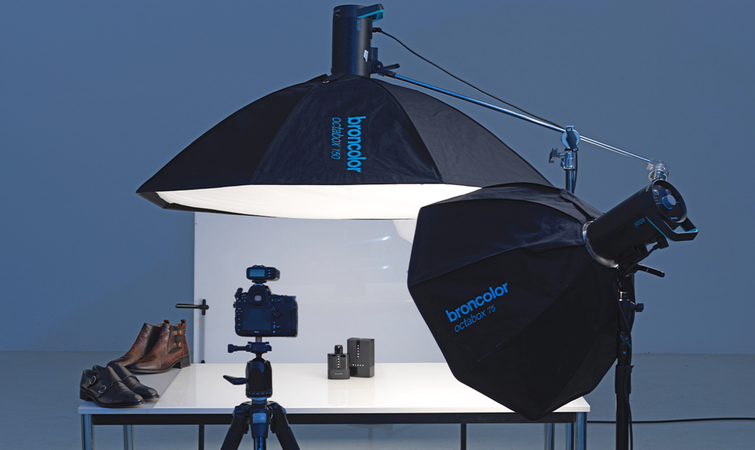
Great product photography lighting transforms online shopping from guesswork into confidence. The right lighting reveals textures, highlights key features, and creates an atmosphere that resonates with buyers.
- Natural vs. Artificial Light
- A Three-Point Lighting Setup
- Tips For Best Results
When it comes to a product photography tutorial, choosing between natural and artificial light can differentiate the result. Natural light works great for lifestyle shots and products with soft tones, while artificial light offers more control.
Your scene is going to be lit by a primary "key" light. This is the main light source pointing directly at your product from the front. A second "fill" light removes this contrast, and a third "back" light is placed somewhere behind the subject. Backlighting separates the subject from the background.
Avoid mixing different light sources, as this can distort colors. Always check for unwanted reflections on shiny surfaces and adjust angles accordingly.
Part 4. Product Photography Composition and Framing

Framing is a useful composition technique in photography that can enhance the effect of your images. It helps to draw the viewer's eye into the image and creates a sense of depth. Here are some product photography tips on framing:
- Natural Framing: Look for natural elements within the scenes that can create a frame around your subject.
- Apply the Rule of Thirds: Position your product slightly off-center to create a more dynamic and visually appealing composition.
- Choose the Right Background: Always select a simple, complementary backgrounds that highlight the product's colors and details.
- Add Props Purposefully: Use props to tell your brand story or show the product in use, but make sure they don't overshadow the main item.
- Shoot from Multiple Angles: Capture front, side, back, and close-up shots to give customers a complete view of the product.
Part 5. Ideal Image Size and Resolution for Product Photography
To cut to the chase, around 2000 x 2000 pixels is a good default size for product imagery posted online. However, if you're using a third-party platform to sell products online, your host platform has its own image guidelines. Here is the product photography guide for image size and resolution for popular platforms:
1. Shopify
- Recommended Size for Product Image: 2048 x 2048 px
- Image Resolution: 72DPI
- Format: JPEG or PNG
2. Amazon
- Recommended Size for Product Image: 1000 x 1000 px
- Image Resolution: 72DPI
- Format: JPEG
3. Etsy
- Recommend Size for Product Image: 2000 x 2000 px
- Image Resolution: 72DPI
- Format: JPEG
Part 6. Extra Product Photography Tips for Beginners
How to do product photography? Product photography isn't just about pretty pictures. It's a powerful photography approach that can make or break a sale. Here are the best product photography tips to help you capture amazing product images:
- Decide on a visual theme that aligns with your brand, such as minimal, colorful, or luxury - and apply it across all your product photos for a unique look.
- Noting kills a good shot faster than a shaky setup. You don't need a professional studio table - a clean, stable surface will do the trick.
- If you're thinking, "Do I really need a tripod?" - the answer is Yes! You can opt for a mini tripod or a large tripod, depending on how small/large your product is.
- Third-party apps give your smartphone an extra edge, and you can capture DSLR-like photos.
- Always try to capture product images in RAW or JPEG format, which is useful if you intend to edit your photos on your desktop or laptop.
Bonus Tip: Edit Product Photos Easily with HitPaw FotorPea
After capturing your product photos, the final step to making them stand out is editing - and that's where HitPaw FotorPea comes in. HitPaw FotorPea is an AI-powered product photo editor that helps you perfect your product images in minutes - no Photoshop skills required. With the help of its advanced AI tools, you can perform product photography retouching and give them a professional, studio-quality finish in just a few clicks. The standout feature of this tool is that it offers an intuitive interface, allowing beginners to create high-quality product images without any professional help.
Key Features of HitPaw FotorPea
- Crop and Replace Background: HitPaw Fotorpea easily crops your product images and replaces dull backgrounds with clean and professional ones.
- AI Product Filters: The program offers a wide variety of AI filters to enhance color and lighting automatically.
- Object Remover: Instantly erase unwanted elements or distractions from your product shots without affecting the image quality.
- AI Upscale: Automatically boost image resolution for crystal-clear results. Perfect for various platforms, including Amazon, Shopify, and Etsy.
- Batch Edit: With the help of this tool, you can edit multiple product images simultaneously, saving time and effort.
Conclusion
You don't need a professional studio or expensive gear to create high-quality product photos. With the right equipment, lighting, and a few composition tricks, anyone can master product photography. And when it's time to edit, HitPaw FotorPea makes polishing your photos effortless and professional.
Leave a Comment
Create your review for HitPaw articles


