Learn How to Remove Shadows in Photoshop Step by Step
The shadow in the photo can collapse the appearance even in the wonderful photo. A strong flash creates sharp lines on the face. That's why it's important for photographers, designers, and casual users to know how to remove shadows in Photoshop. It is very important for photographers, designers and even general users to learn how to deal with shadows. A variety of tools are available, including tools to modify small details and tools to brighten a wide range. In this guide, we'll explain the different methods of how to remove shadows in Photoshop with easy steps.
Part 1. Why Remove Shadows from Photos?
Shadows often appear in photographs when the light is too strong or the arrangement is bad. Bright daylight or direct flash application or uneven light when outdoor shooting may give undesired dark spots. By learning how to remove shadows in Photoshop, you can restore the natural look of your photo and keep the focus where it belongs.
Common scenarios where shadows appear in Photo
- Harsh lighting: Direct sunlight can cast sharp shadows.
- Flash photography: Built-in flash may leave a hard edge on the wall or face.
- Outdoor shooting: When the light fluctuates suddenly, the shadow may fall into unexpected places.
Benefits of removing shadows from Photo
- Product Photo: Online buyers want to see the product clearly. Shadows hide details and make the product a dull impression.
- Portrait: Shadows on the eyes and cheeks damage the expression. By removing shadows, the person looks more natural.
- Creative Project: Editors want to control light freely. By removing shadows, it becomes a more balanced finish.
Part 2. How to Remove Shadows in Photoshop (Step by Step)
Photoshop gives a lot of options to deal with shadows based on the size, type and detail of your images. All the tools possess strengths of their own kinds. While some tools are effective in small areas, others are suitable for large or complex shadows.
Method 1: Using the Clone Stamp Tool
One of the most common ways to remove shadows in Photoshop is by using the Clone Stamp Tool. This tool allows you to copy a pixel from a specific part of the photo and fill that pixel into the shadow. This method allows complete control, but requires careful work.
Steps to Remove Shadow with Clone Stamp Tool:
Photoshop's clone stamp tool is a very easy to use tool. The principle is to duplicate part of the image and paste it in another place.
Step 1.Start by opening Photoshop and importing the picture you want to edit.

Step 2.From the left toolbar, choose the Clone Stamp Tool (shortcut key S). Its icon looks like a small stamp.

Step 3.Hold down Alt (Windows) or Option (Mac) and click on the area of the image you want to copy. This creates your source point.
Step 4.Release the key and click on the area where you want to apply the cloned pixels. Keep the left mouse button pressed, and Photoshop will continue copying details from the source area to the new spot.

This tool is useful if you're figuring out how to remove the shadow in Photoshop without harsh edges.
Pros:
- Photoshop allows you to edit shadows in detail to create more natural photos.
- Various tools are available for soft shadows, hard shadows and complex shadows.
- Free control of deletion and brightness adjustment, convenient for portrait and product shooting.
Cons:
- It takes time to learn and apply the tools properly.
- If not done carefully, the editing result may become mottled or too bright.
- Practice and understanding of light and texture are necessary to obtain clean results.
Method 2: Using the Healing Brush Tool
Healing brush tool is an easy way to fix shadows by blending the surrounding part of the image with shadows. By matching the color and texture, this tool can show the area naturally. All you need to do is select the tool, sample the clean part and paint it over the shadow.
Steps to Remove Shadow with Healing Brush Tool:
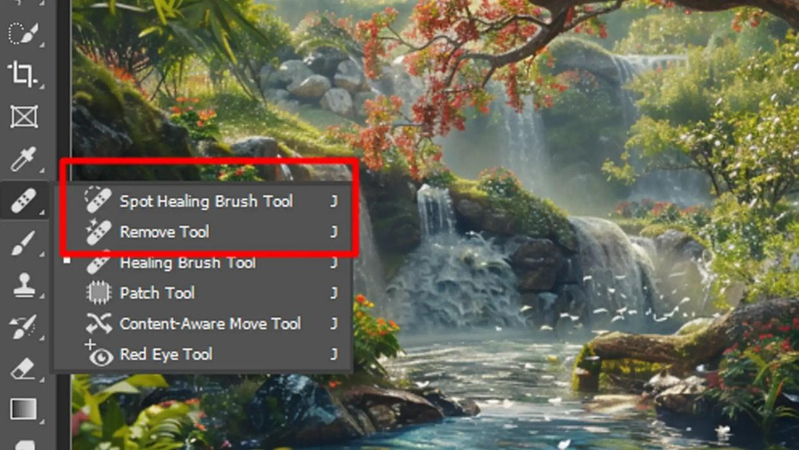
Step 1.Select Healing Brush Tool (J) from the toolbar. If it is not displayed, press and hold the Spot Healing Brush tool to display the related tool and select the healing brush from it.

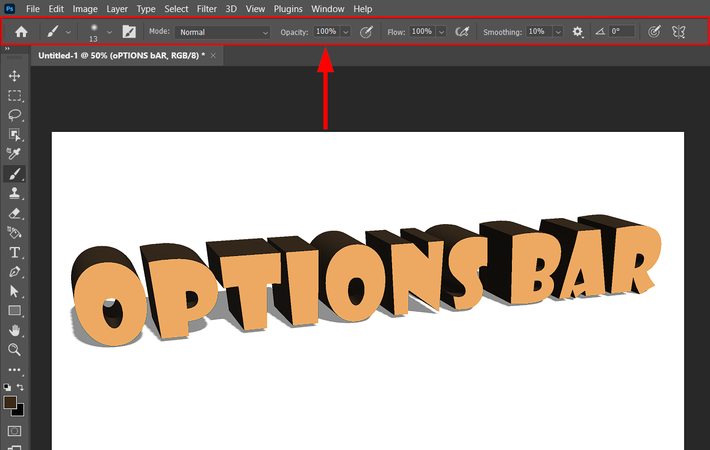
Step 2.Click the brush sample in the option bar and adjust the settings such as mode, source, alignment, sample, and diffusion in the pop-up panel.

Step 3.To set the sampling area, place the pointer at the desired position in the image and press ALT + Click (Windows) or Option + Click (Mac).
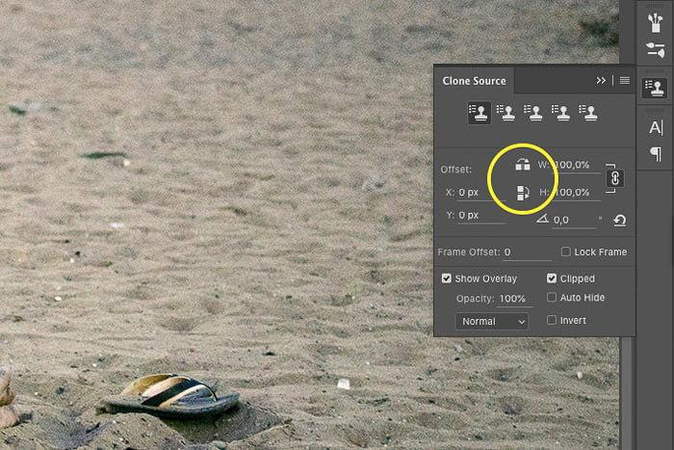
Step 4.Open the clone source panel and select the clone source button to define the sampling source to use.

Step 5.Click and drag the area you want to modify. Each time you release the mouse, the sampled pixels are blended with the existing pixels.

This technique is helpful if you prefer how to remove shadows with Photoshop gradually instead of replacing them.
Method 3: Using the Dodge Tool and Adjustment Layers
The Photoshop tool called Dodge can be helpful, in case you need to make a shadow brighter without removing it altogether. With this tool, you can adjust the texture and details while brightening the dark parts. The usage method selects the dodge tool, sets the range in a middle tone, keeps the exposure low and gradually changes.
Steps to Remove Shadow with Dodge Tool:
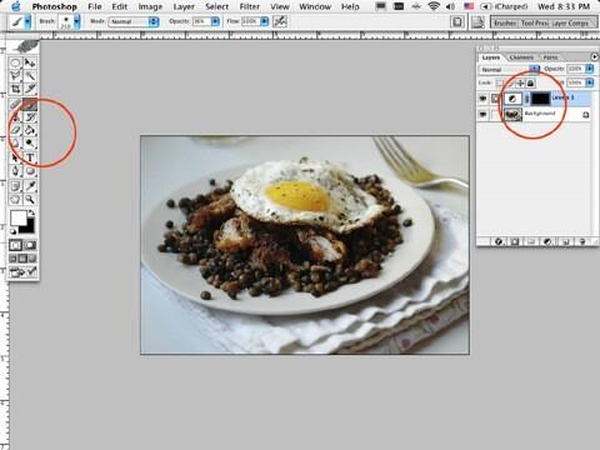
Step 1.Open your image, click the Adjustment Layer button, and add a Levels Adjustment Layer.
Step 2.Use the mid-tone slider in the histogram to lighten dark areas. Don't worry if the whole image brightens, we'll fix it with a mask.
Step 3.A mask is added automatically. Select it, fill with black to hide the adjustment, then use white later to reveal it where needed.

Step 4.With a soft brush at low opacity (around 15%), paint white over the parts you want lighter until you reach the desired effect.

Method 4: Advanced Selection and Masking
The tools of Photoshop selection and mask are useful to precise editing. These tools enable you to leave the rest of the picture and just select the shadows. First is to choose the shadow portion in the Lasso or Quick Selection tool and smooth the edge using feathering option. Now use the Curves or Levels adjustment layer to beet up the selected section until it seems to merge.
Steps to Remove Shadow with Advanced Selection and Masking:
Step 1.Open your image in Photoshop, ideally one with fine details like hair, fur, or branches.

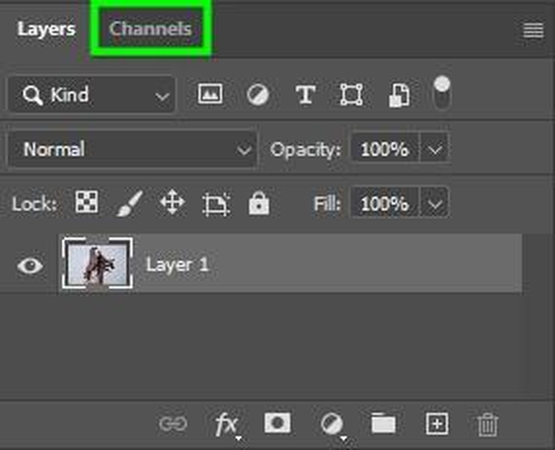
Step 2.Go to Window > Channels to open the Channels panel.

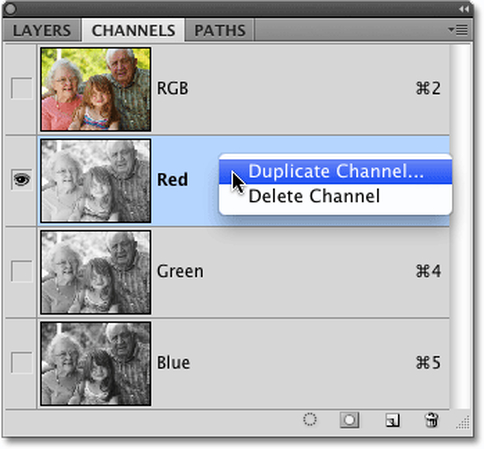
Step 3.Check each channel (Red, Green, Blue) and pick the one with the strongest subject-background contrast.
Step 4.Right-click the best channel and duplicate it.

Step 5.Increase contrast with Image > Adjustments > Levels (Ctrl/Cmd + L), making the subject dark and background light.
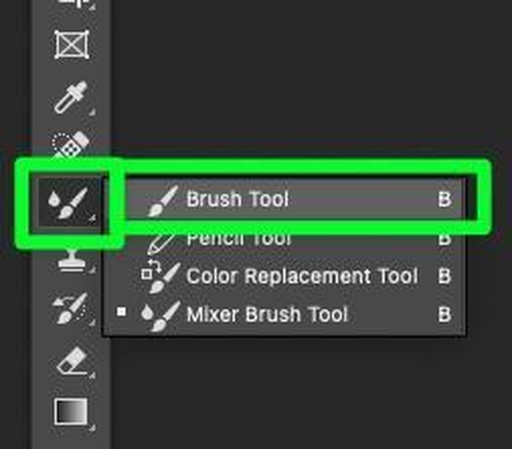
Step 6.Use the Brush Tool (B) to refine paint black to hide, white to reveal.

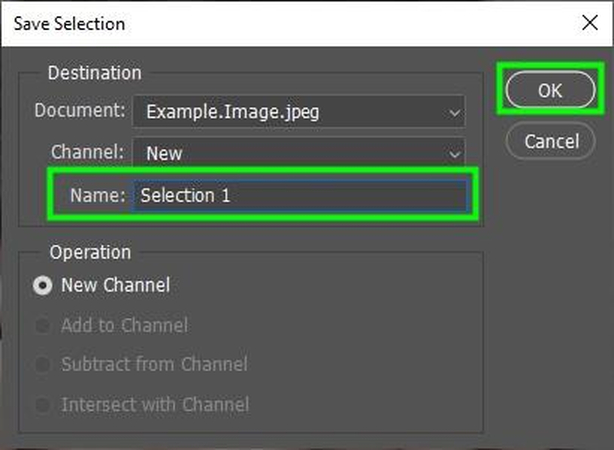
Step 7.Hold Ctrl/Cmd + click the channel thumbnail to load it as a selection.
Step 8.In the Layers panel, select your image layer and click Add Layer Mask to apply.
Part 3. Limitations of Removing Shadows with Photoshop
Selection and mask uses of photoshop are very useful when it comes to careful editing. Such tools enable you to avoid adjustments on the rest of the picture except the shadows. Stroke selection whose part is the shadow area first, then in lasso or quick selection, feather option is used.
- Time-consuming: Beginners may need time to edit one photo.
- Manual skills: Every method requires practice and attention.
- Risk of looking unnatural: When editing becomes too much, the final photo may lack balance.
Because of these issues, many people search for simpler solutions than Photoshop remove shadow methods.
Part 4. Easier Way: Remove Shadows with AI Tools
HitPaw Watermark Remover is one of the simplest methods of erasing shadows without acquiring complicated editing skills. This utility is less advanced and does not require detailed processes in Photoshop as it follows automatic procedure. Shadows on your face, product or background can be eliminated with a few clicks. It can also be used to remove the watermarks, text or logos which might blur focus on the principal topic. It would not take long: you simply upload photos, point at areas and leave them to the program.
Key Features of HitPaw Watermark Remover
- Built-in tools help detect and reduce unwanted shadows automatically.
- Remove shadows from photos without leaving blurry marks behind.
- Easily clean up dark areas, lines, or objects that create distracting shadows.
- Get rid of overlapping or floating shadows in images with minimal effort.
- Lighten or erase shadows in photos within seconds using just a few clicks.
Steps to Remove Shadows with HitPaw Watermark Remover
Step 1.First, download and install HitPaw Watermark Remover. Open it to begin.

Step 2.Drop your photo with shadow into the center of the interface or click to upload it.
Tip: Upload more media by clicking the Add icon above. Navigate between files by selecting each one.

Step 3.Select one Selection Tool and one Remove Mode. After selecting the mode, highlight the shadow to remove it.

Step 4.Hit Preview to check the result. Click Export to finalize, then Open Folder to view the output.

Conclusion
Learning to remove shadows in Photoshop is very useful for anyone working with photos. To the user that works in simpler solutions, AI tools such as HitPaw Watermark Remover may make things much easier, and they can help eliminate any shadowing, watermarks, or any other unwanted signs with just one click. Both tools are valuable in their own right: Photoshop is better when the senior editor wants maximum control and when he or she needs a clean and fast final result, HitPaw can be a preferable solution with new users.
Leave a Comment
Create your review for HitPaw articles


