How to Draw Naruto: Easy Guide for Beginners [2026]
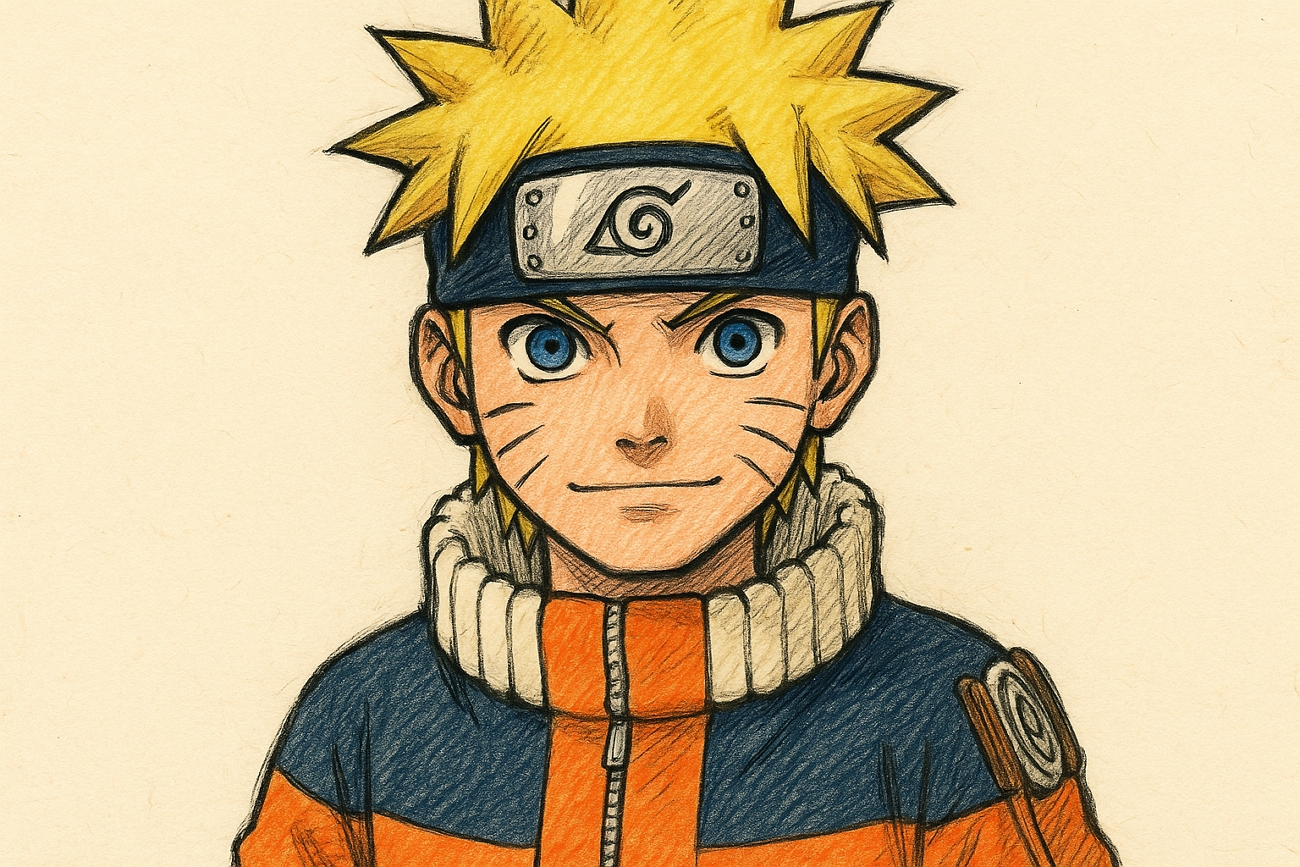
Naruto is the most popular anime series, and it is officially ranked as the top kids' anime show in over 80 countries worldwide. Manga has sold more than 245 million copies of the Naruto series worldwide. Millions of anime art fans globally are possessed by his iconic look and love to draw his spiky hair and Leaf Village symbol headband.
However, many beginners are unsure how to capture his iconic expressions and features accurately. Therefore, this guide covers the simple steps of easy Naruto drawing that help you draw a realistic Naruto sketch from start to finish.
Part 1. Basic Materials for Naruto Drawing
Before moving towards anime Naruto drawing, it's important to collect the right materials used for a perfect sketch.
1. Basic Tools
- Pencils: It is a compulsory material used to draw outlines and shapes. Use an HB or 2B pencil to draw your sketch that could be easily erased when needed.
- Erasers: An essential material that is used to help fix any mistakes while sketching. Eraser also removes the center guidelines after the sketch is done.
- Sharpeners: This tool is used to keep your pencil tips sharp, which helps you craft detailed sketches.
- Rulers: For beginners, rulers help in drawing the center guidelines and keep the overall proportion accurate.
2. Paper Types
- Sketchbook: It helps you practice and keep all your sketches together in a single copy.
- Drawing Sheets: A single sheet of paper used to create final artwork, especially when you have to give that art to someone.
- Digital Canvas: Digital Canvas is a virtual drawing space that helps you create and edit artworks on a digital screen.
Part 2. How to Sketch Naruto: Clear Step-by-Step Guide
Having discussed the materials used for Naruto drawing, let's learn how to sketch Naruto within simple steps:
Drawing Naruto's Face (Easy)
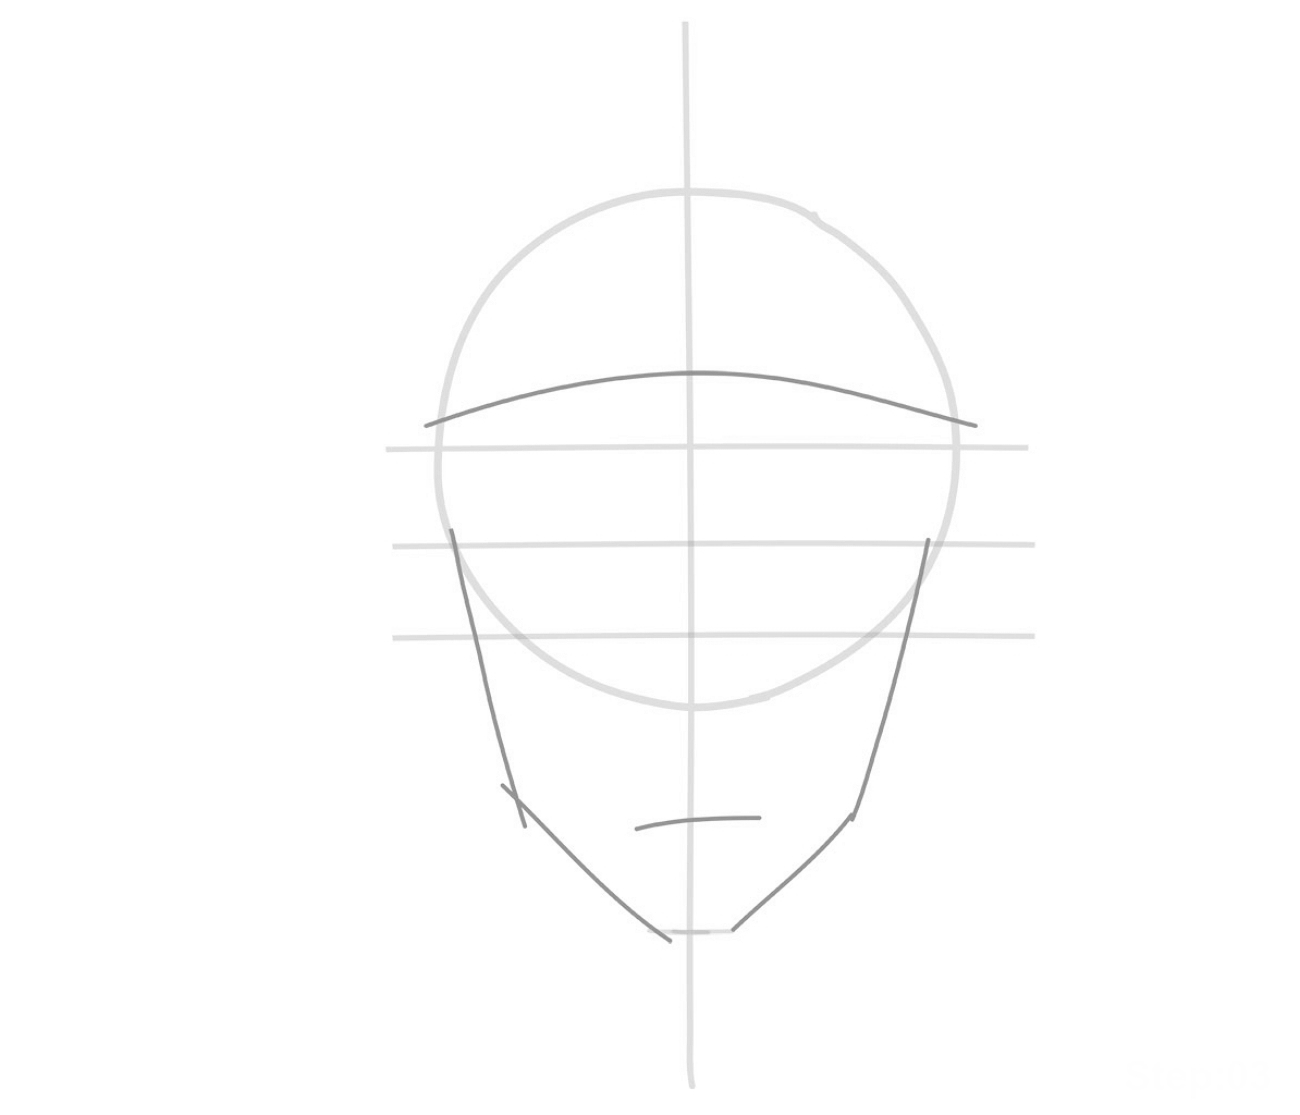
Step 1.Start drawing with center guidelines and a slightly rounded oval with a mouth to outline Naruto's face.

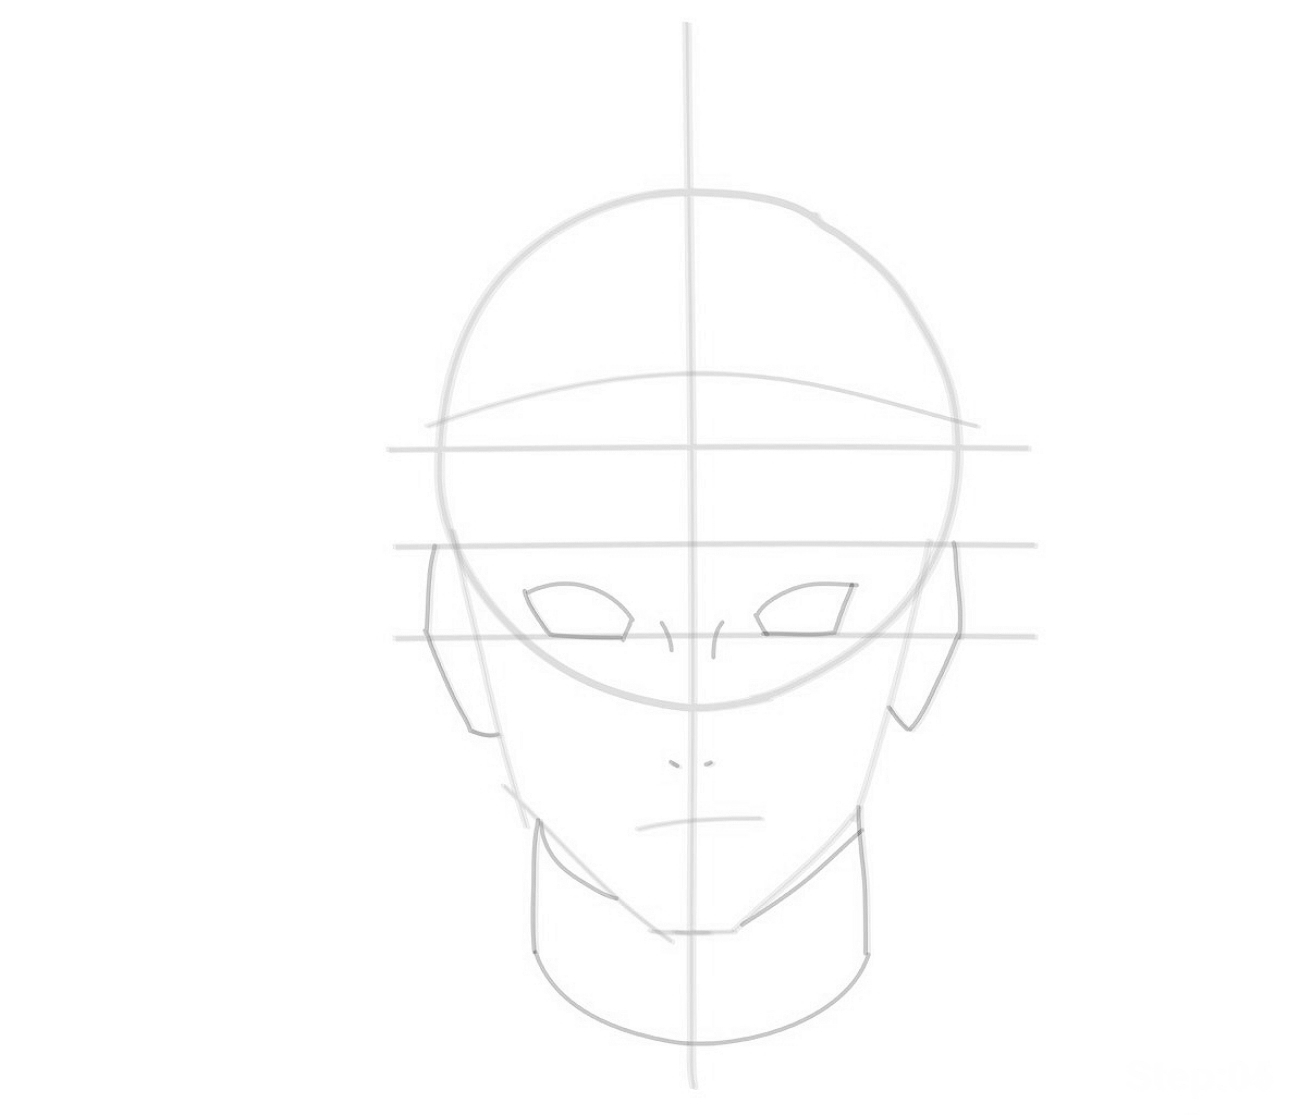
Step 2.Sketch a basic guide showing where Naruto's eyes, nose, ears, and neck will be placed.

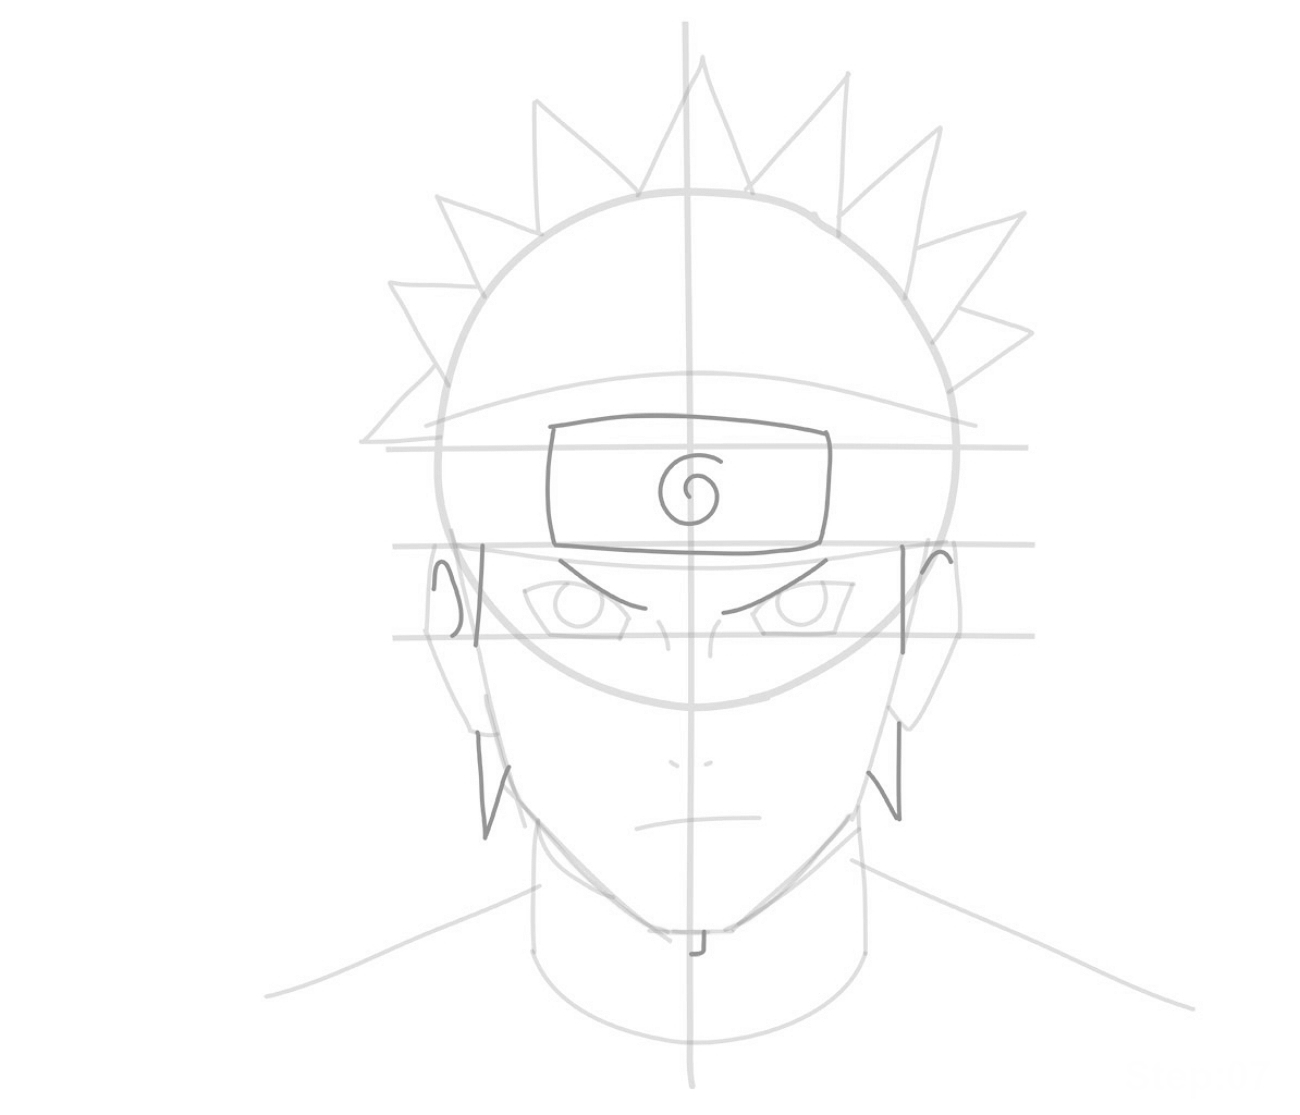
Step 3.Draw shoulders, hair, and headband outlines, and craft eyeballs.

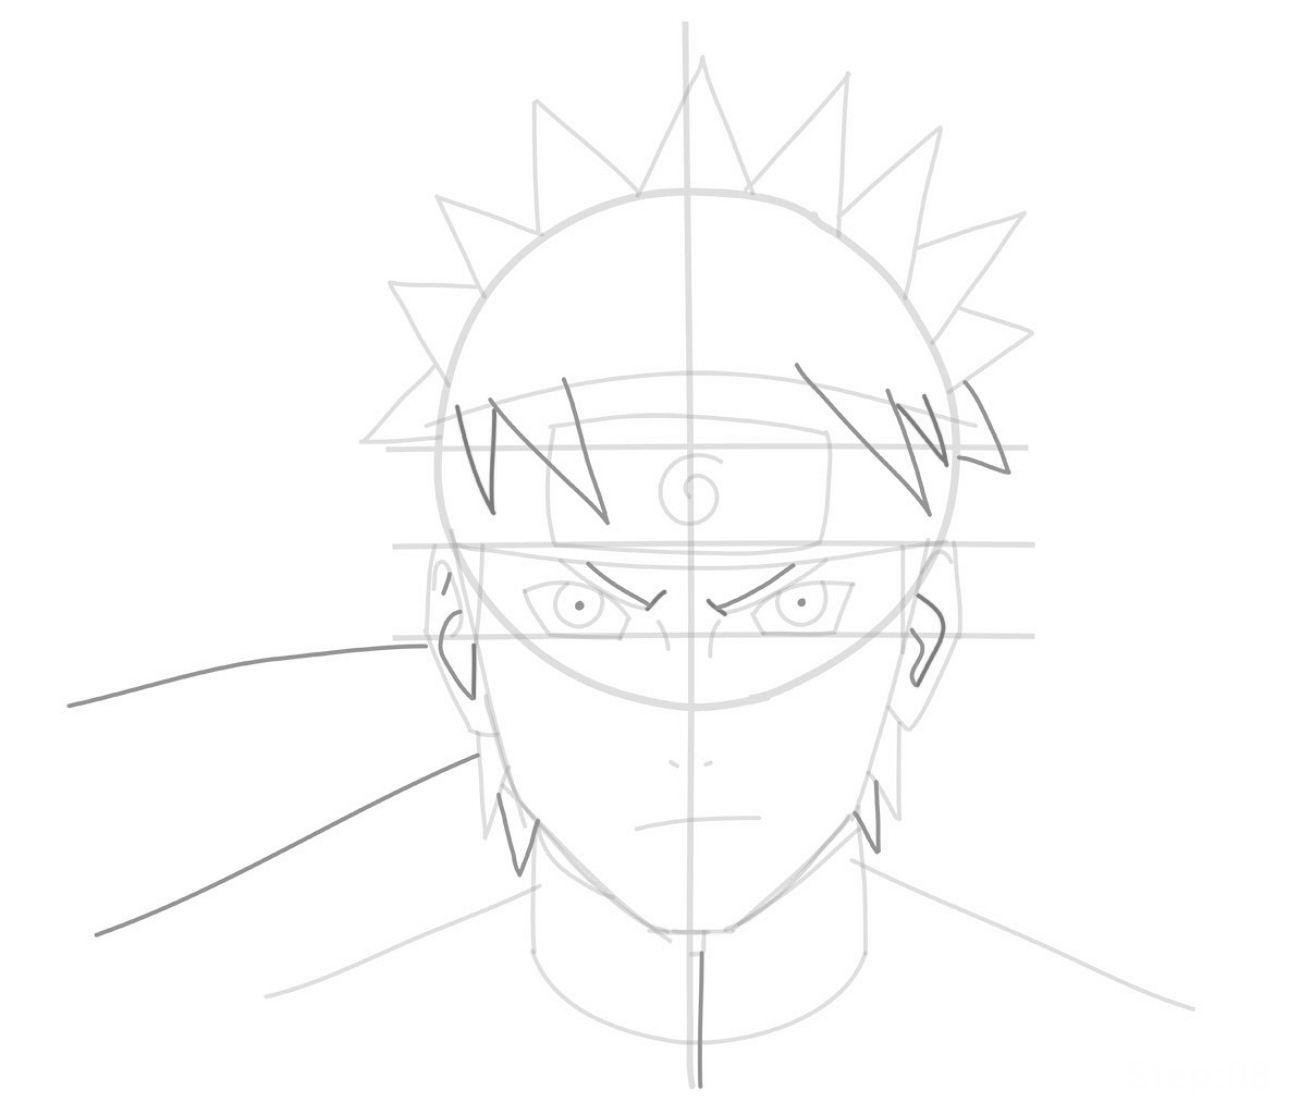
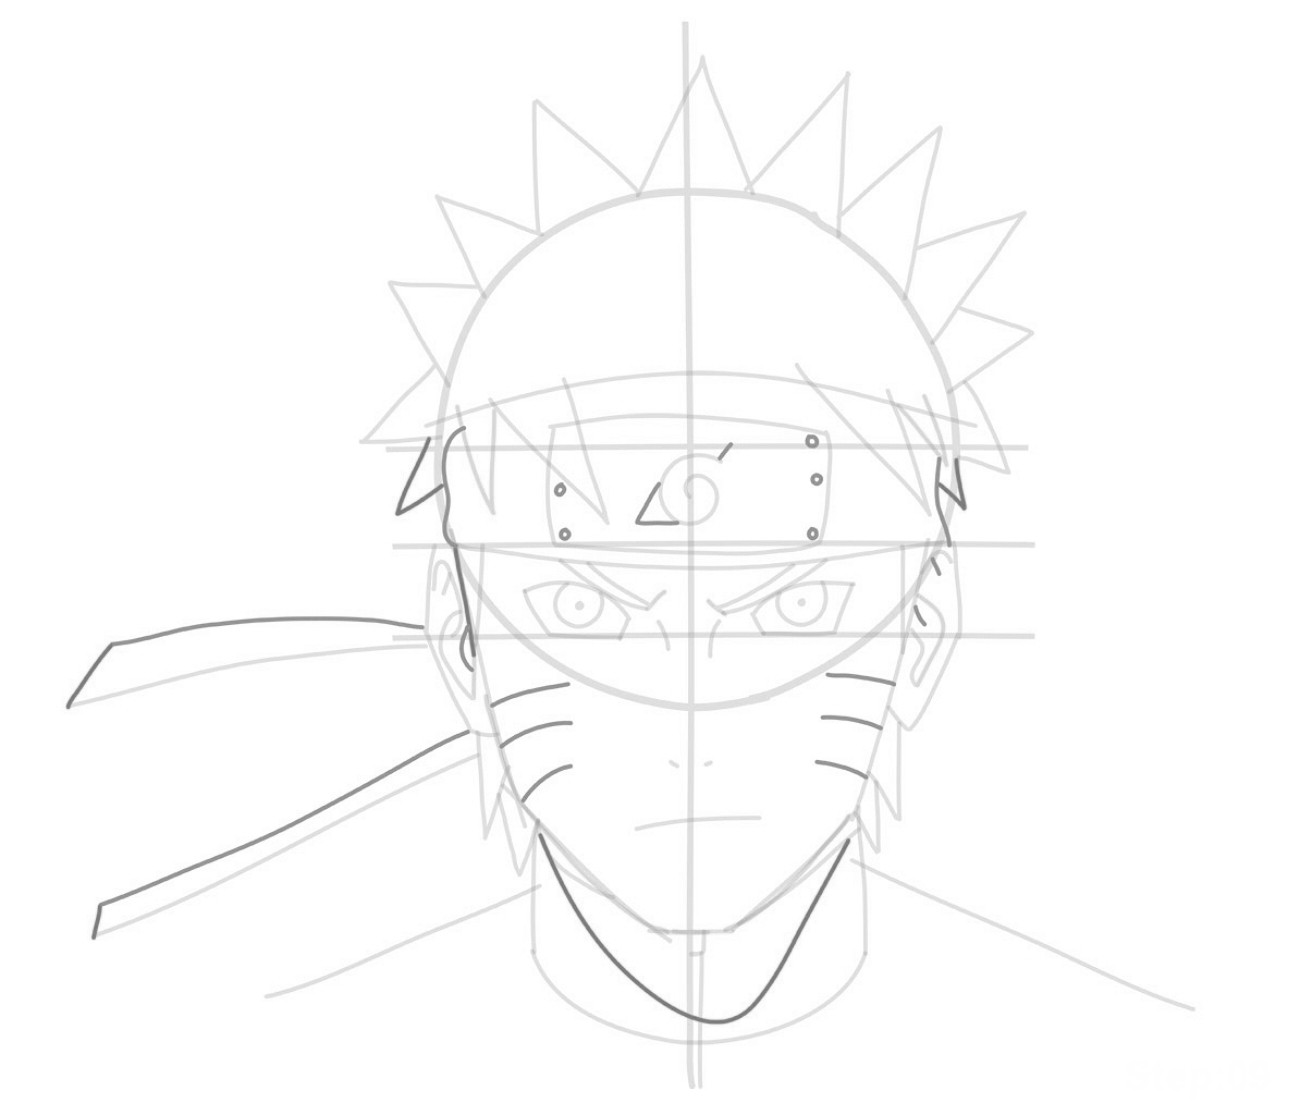
Step 4.Fill in some details by adding hair over the headband, inner ear design, and eyebrows.

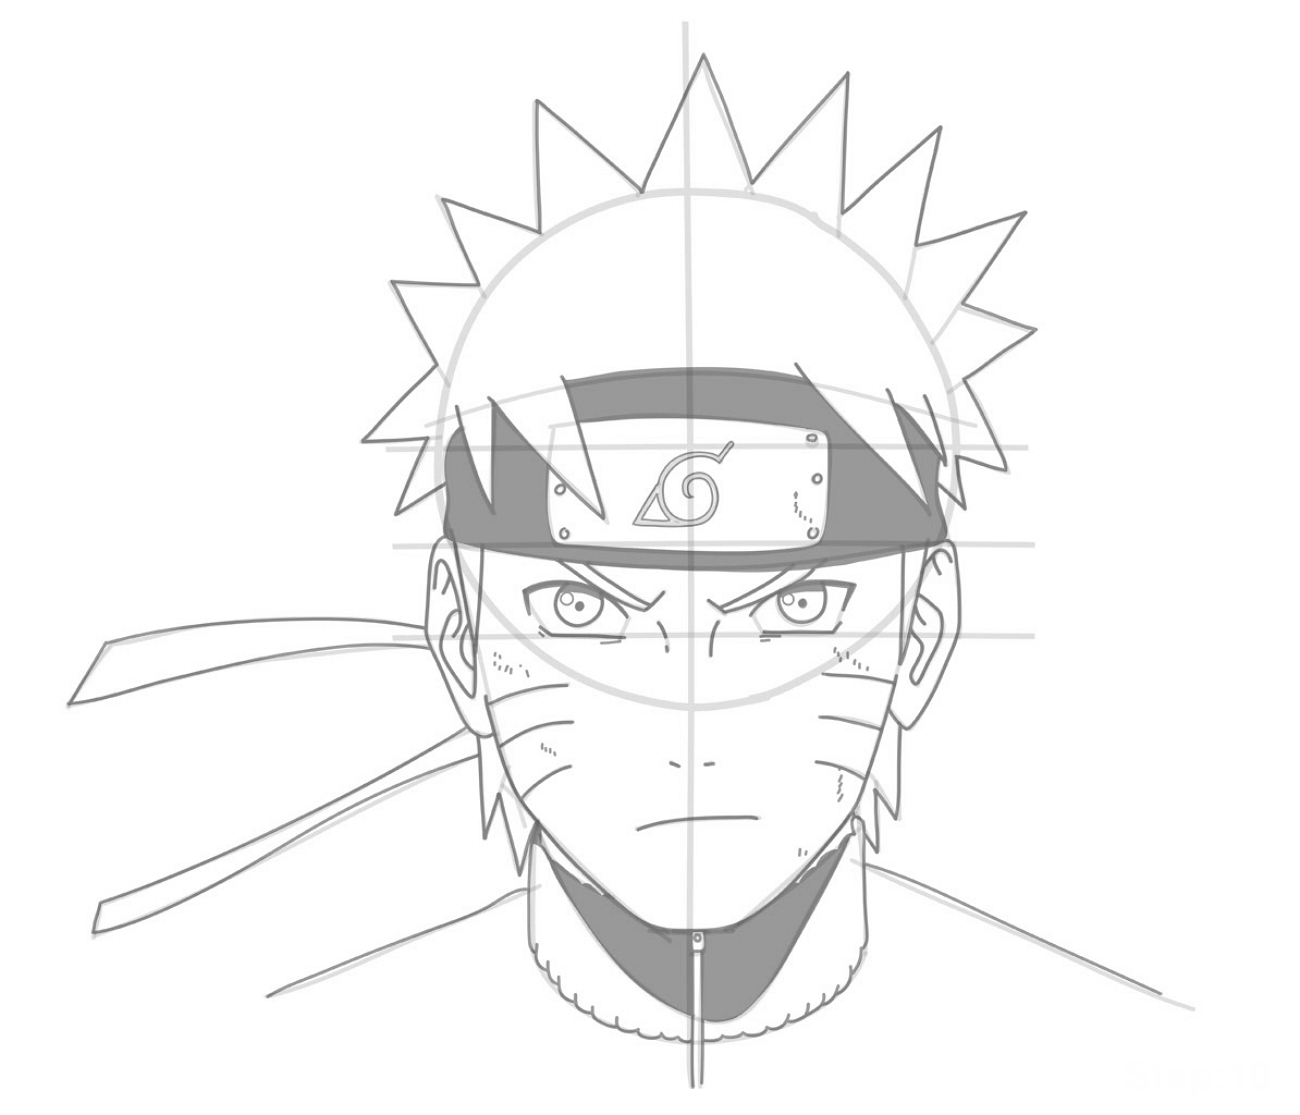
Step 5.Complete the headband with the Leaf Village symbol and draw whisker marks.

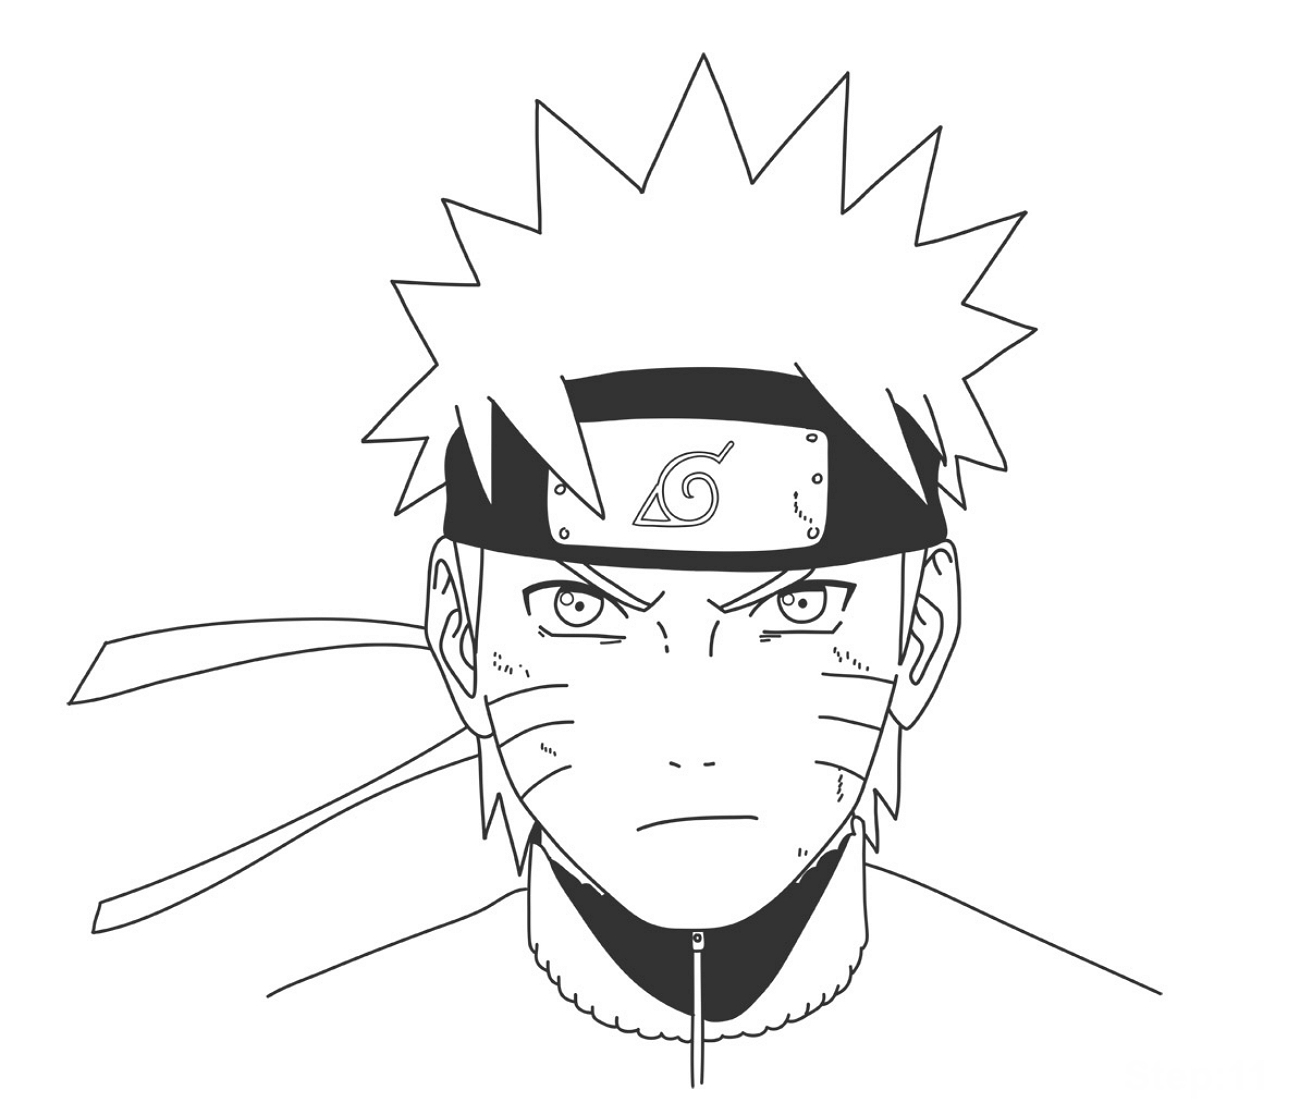
Step 6.Color the headband black without the logo and darken the outlines of the whole sketch.

Step 7.Erase the center guidelines and make sure not to remove the sketch lines.

Drawing Naruto's Full Body
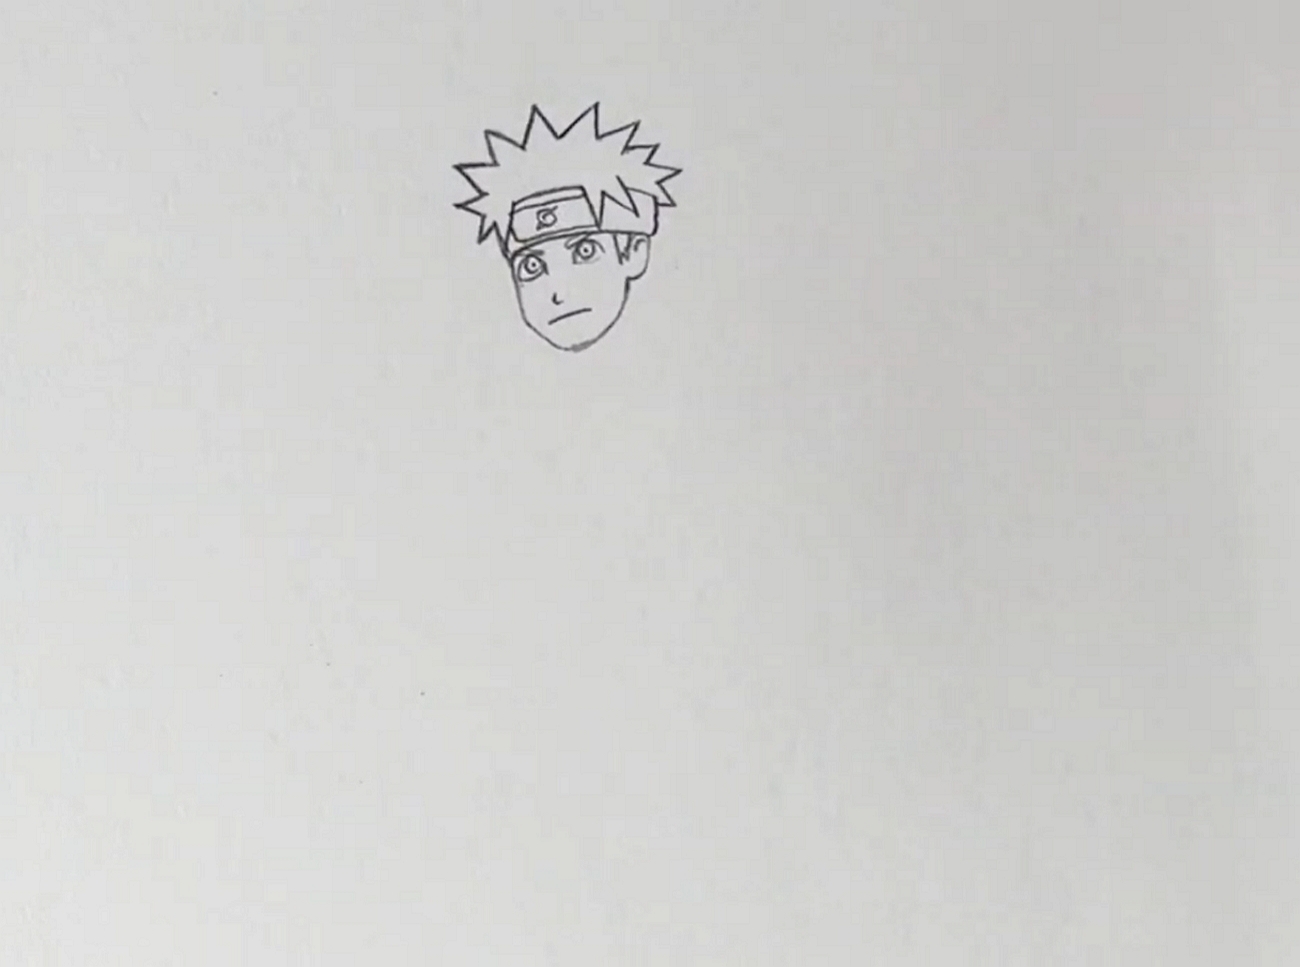
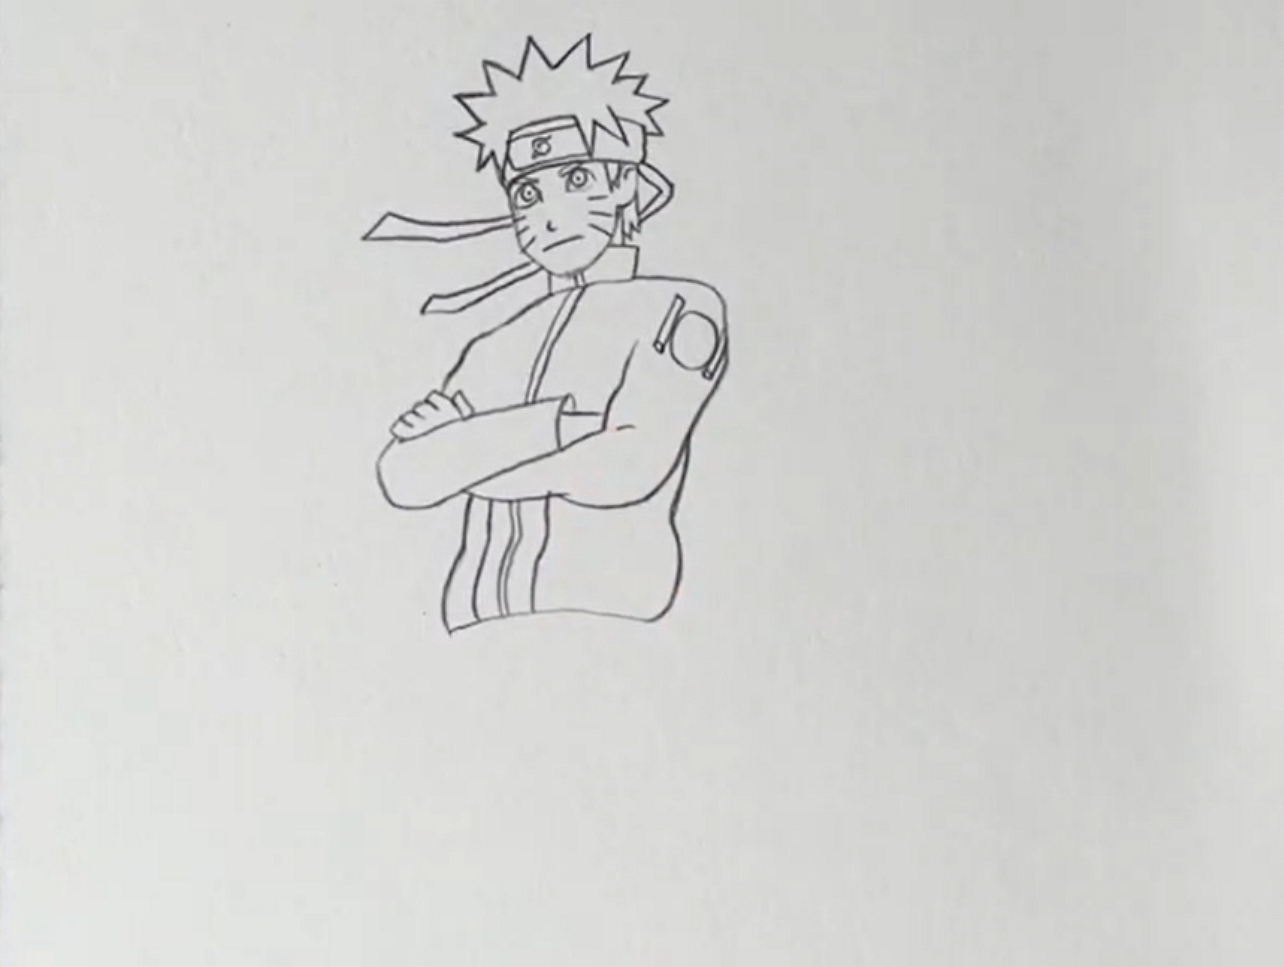
Step 1.Begin by drawing a face with hair, whisker marks, a headband, and facial features like eyes, nose, and ear.

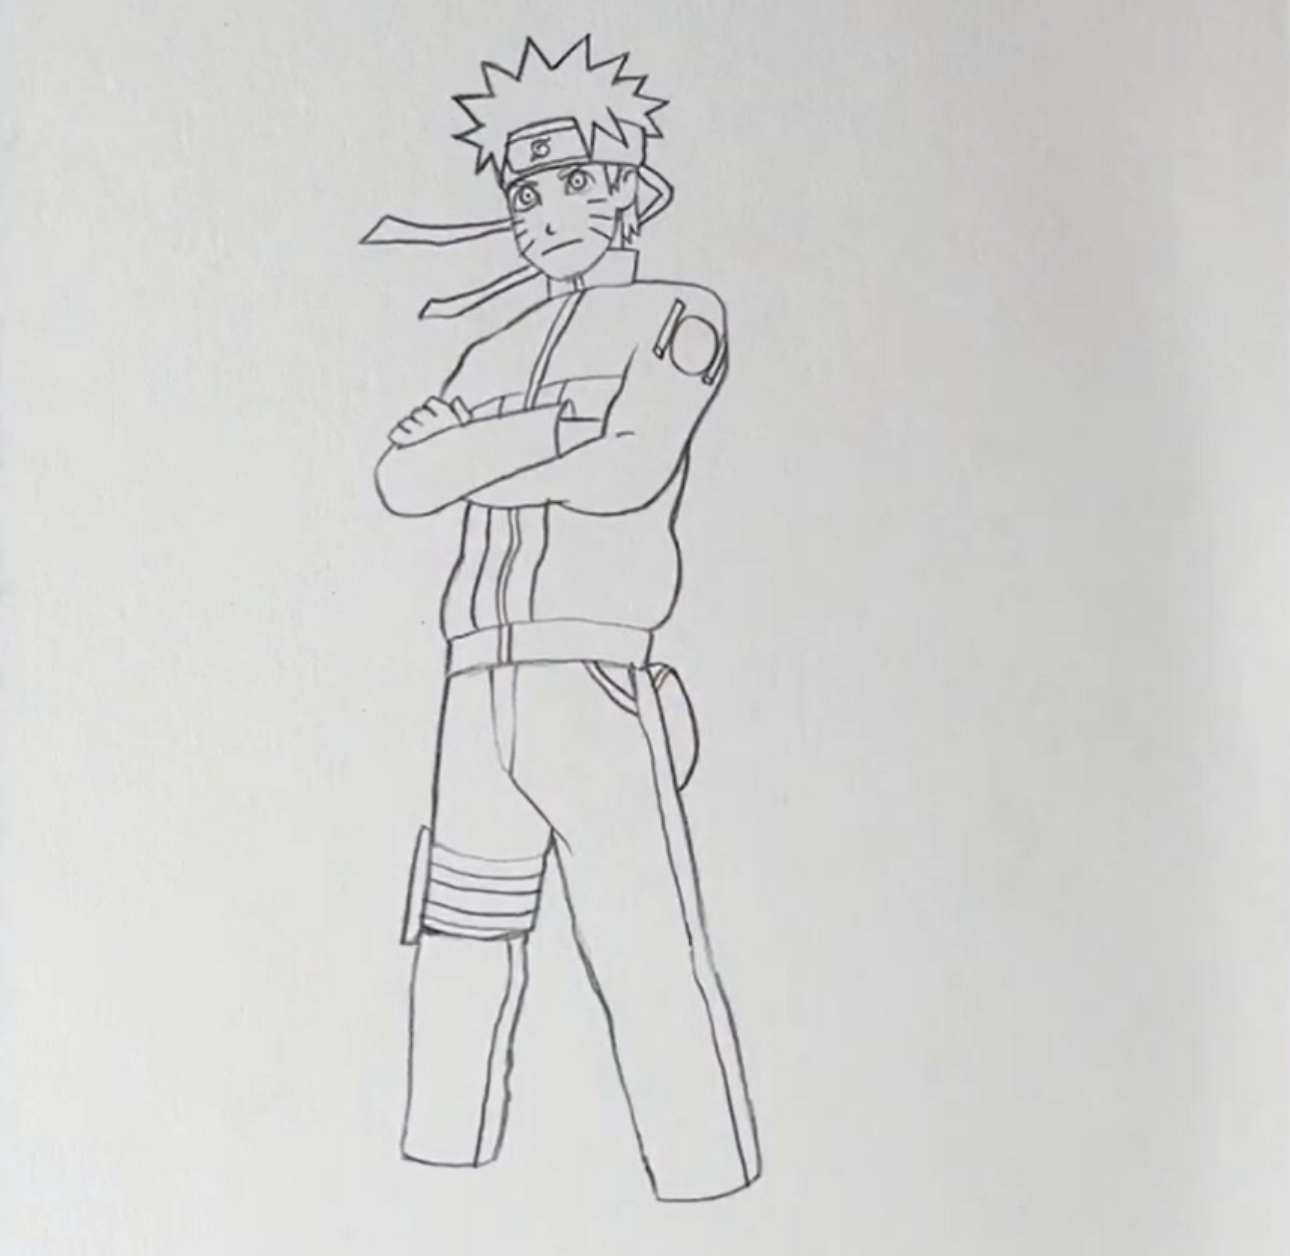
Step 2.Finish the jacket at the bottom to complete the upper body sketch.

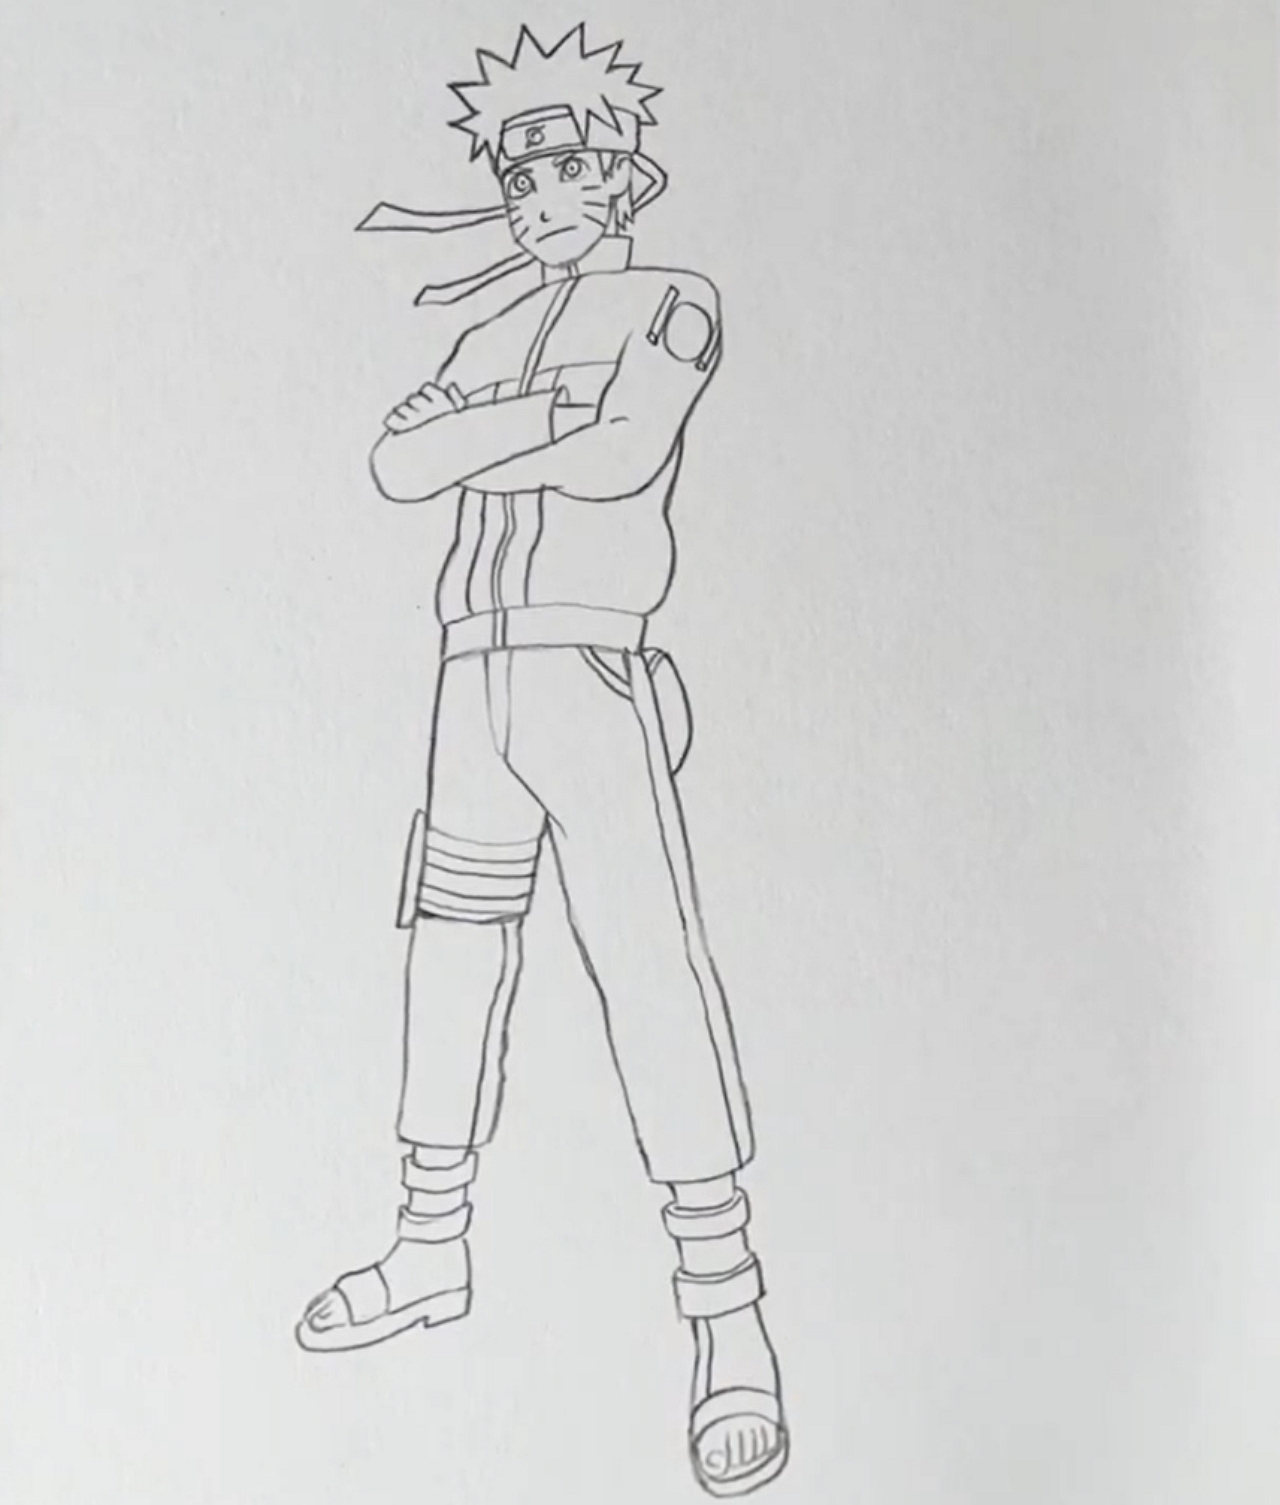
Step 3.Draw the pants for the lower body with a pocket on one side.

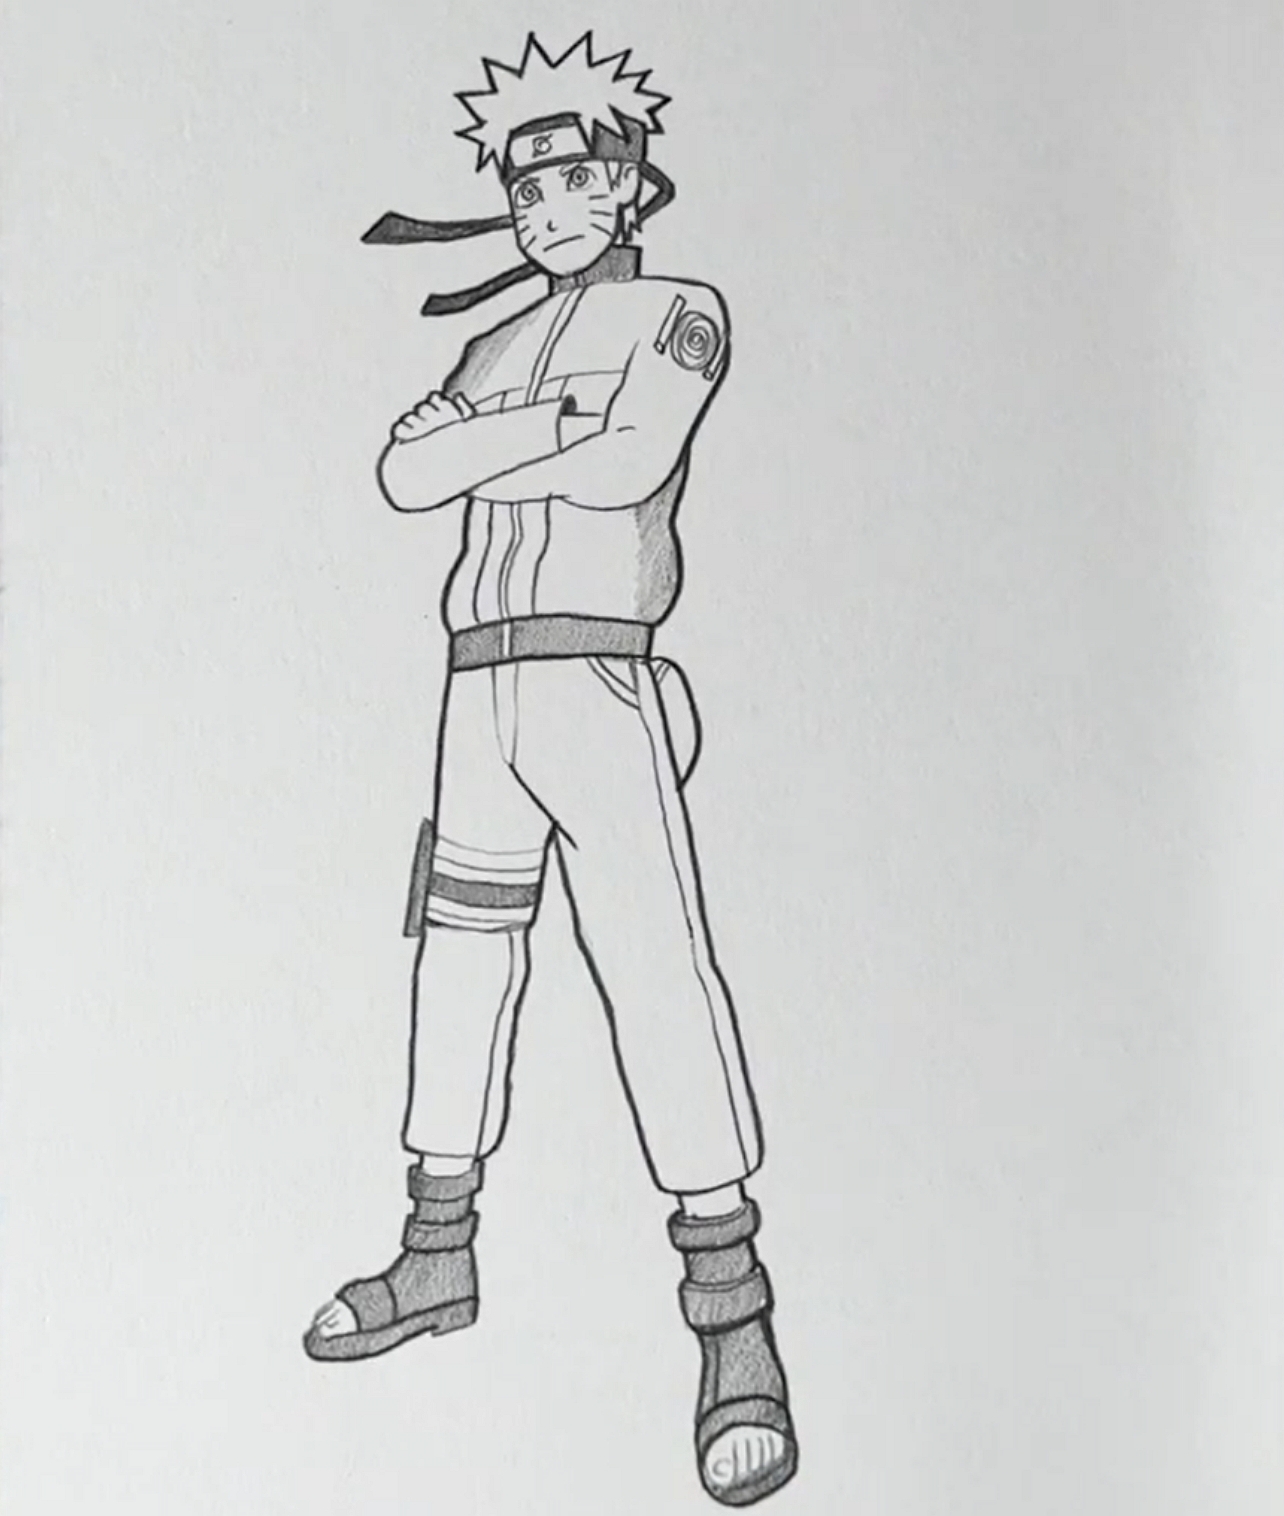
Step 4.Complete the drawing by crafting feet with Naruto's signature footwear.

Step 5.Shade the sketch to give it a more realistic and detailed look.

Part 3. Some Tips for Beginners for Naruto Image Drawing
Now that we have learned how to create a face and full-body Naruto drawing, apply the following tips to make your Naruto drawing stand out.
- 1. Use Light Pencil Strokes:For beginners, the use of light pencil strokes is beneficial as they can make mistakes in the Naruto sketches. Light pencil strokes can be erased easily without leaving any marks on the drawing sheet.
- 2. Observe Stills from Anime Episodes:Look at the pictures from Naruto's actual episode or Manga official pages before drawing. This will help you imagine and create accurate and realistic Naruto sketches.
- 3. Draw Multiple Expressions and Angles:After observing Naruto stills, practice the same character with different face expressions and angles. It will help you showcase emotions and depth in your Naruto drawings.
- 4. Break Characters into Simple Shapes:Before drawing complex characters such as ears and eyes, break these characters into simple oval or circular shapes. This will make it easier to get the right proportions and add details in the correct spaces.
Part 4. Quick & Easy AI Anime Naruto Drawing with HitPaw FotorPea
While creating detailed Naruto sketches takes time and skill, sometimes you just want a fast and easy way to generate stunning Naruto-style images. That's where HitPaw FotorPea (formerly HitPaw Photo Enhancer) shines-its powerful AI lets you instantly create vibrant Naruto drawings from text or images without any complex setup. With just a few clicks, you can know how to draw Naruto easily and quickly.
Key Features
- 1.Allows you to utilize a batch processing system for editing multiple images at once.
- 2.Offers 9 different AI models to enhance, color calibrate, upscale images up to 8K, and more.
- 3.Generates AI-powered images in various models through simple text prompts or reference images.
- 4.Repairs damaged and scratched photos to a clear and realistic image with one click.
- 5.Transform vintage black-and-white photos into vivid, full-color images in just a few steps.
How to Generate Best Naruto Drawing With HitPaw FotorPea?
Moving on from the key features of HitPaw FotorPea, let's look at how to generate the best Naruto anime character drawing with this tool.
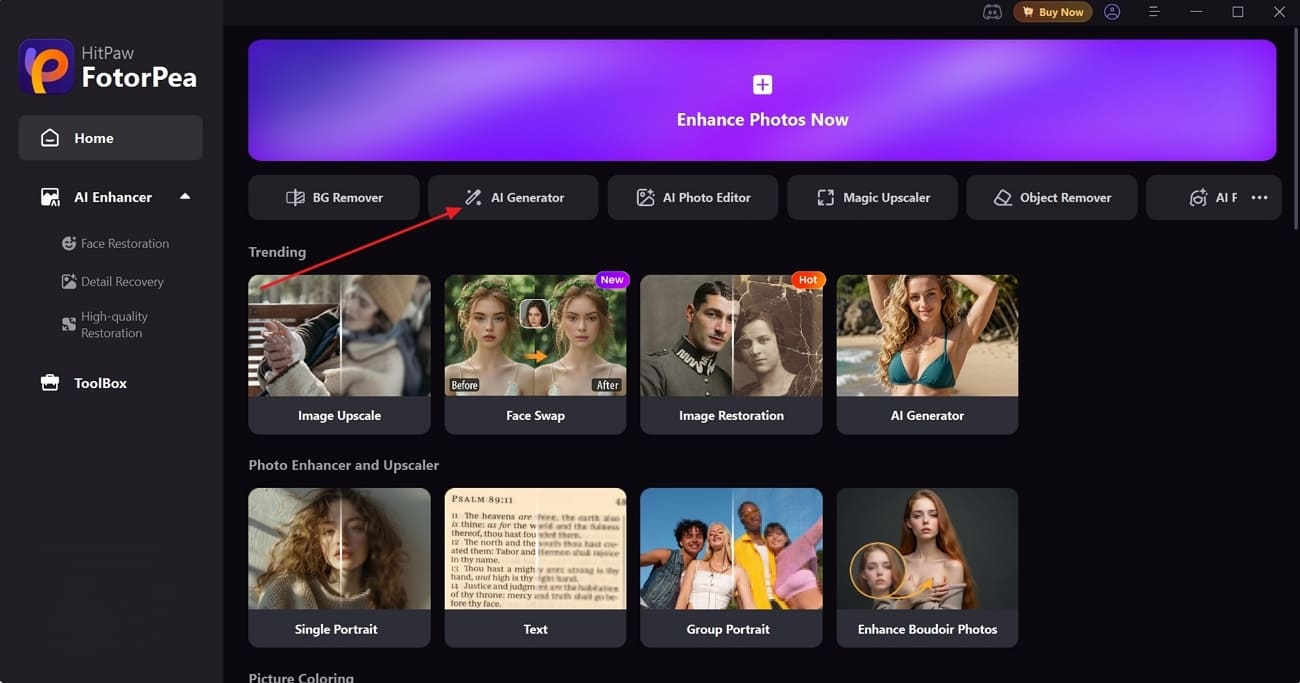
Step 1. Launch HitPaw FotorPea and Choose AI Generator
Open HitPaw FotorPea and access the "AI Generator" tool to enter the next page.
For users looking for a lightweight, web-based option, HitPaw Online AI Photo Generator is a perfect complement. It allows quick AI image creation directly in your browser, with features such as:
- Fast AI image generation - turn prompts into visuals instantly.
- Background editing - remove or replace backgrounds with a few clicks.
- Creative style transfer - apply artistic effects to images quickly.
- Beginner-friendly interface - ideal for rapid experimentation or casual projects.
- Whether you need a powerful desktop-level editor or a fast online generator, HitPaw offers solutions for every creative scenario.
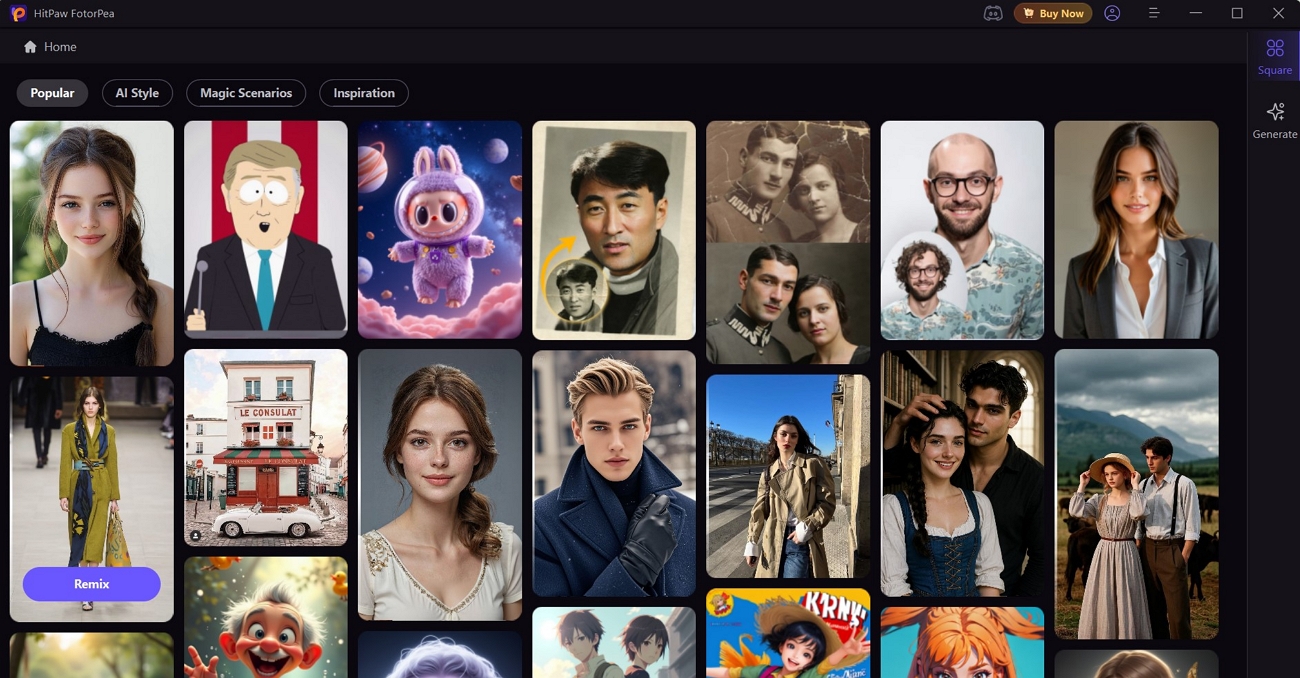
Step 2. Access Square and Choose The Model
Press the "Square" icon on the side bar, hover over the preferred model, and press the "Remix" button.
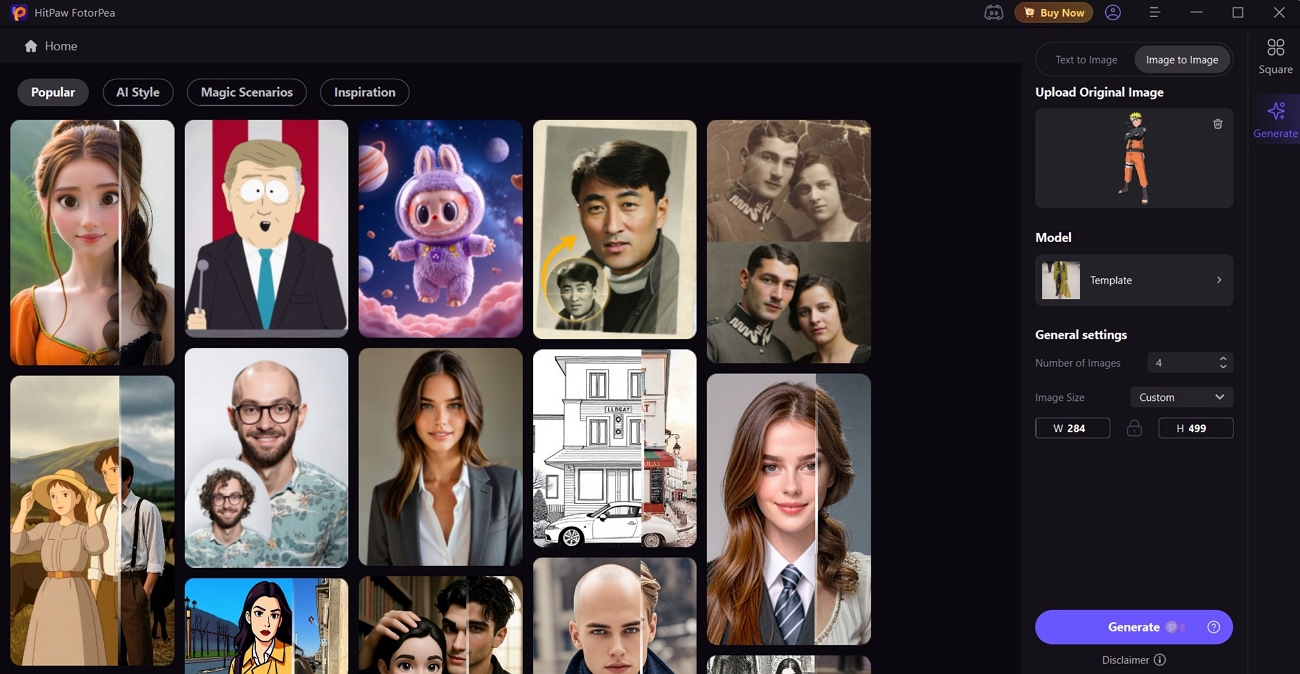
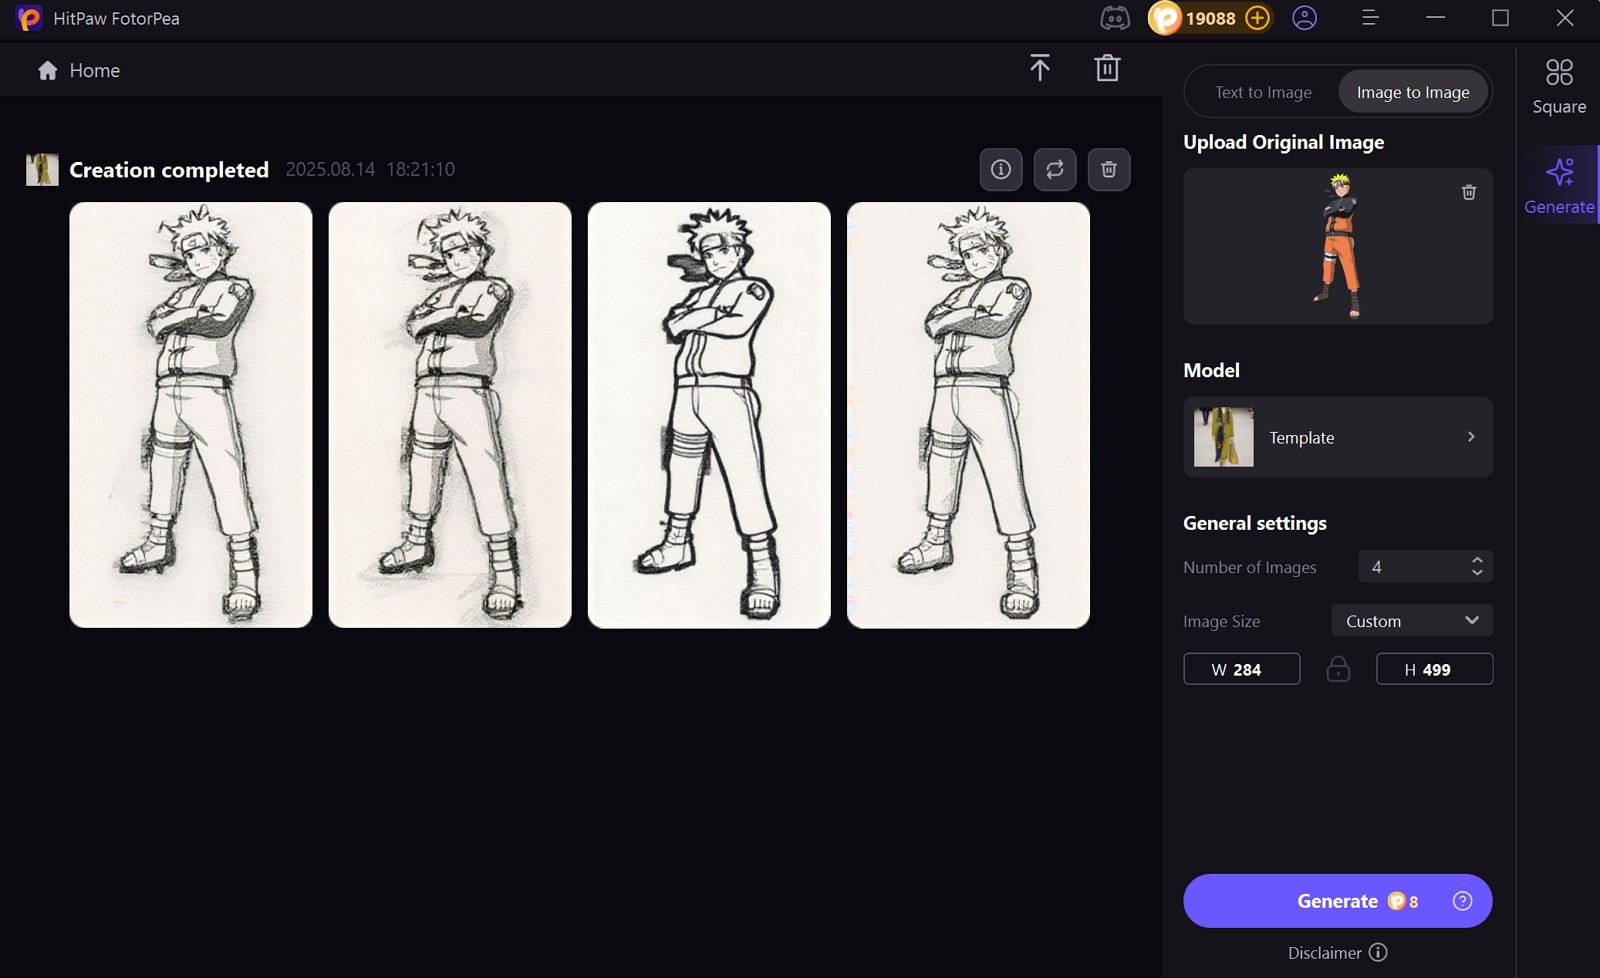
Step 3. Choose Image to Image Mode and Upload Image
Afterward, click the "Upload Original Image" button to add your Naruto's reference image. Next, please press the "Generate" button to generate AI drawing.
Step 4. Export The Generated Naruto Drawing
As you achieve finest results, review them, and "Download" the desired result to your device for further use.
FAQs on Naruto Picture Drawing
Begin Naruto drawings by outlining simple shapes and reference lines, then gradually add facial and body details. Practice each part and refine your lines that will help you improve as you develop your anime style.
First, form Naruto's hair by outlining jagged spikes above the headband with strong. clear lines. Then, use reference images online to get the spike direction and layers just right for an authentic look.
Start with a large circle for the eye with a small circle for the iris, then add three Tomoe set evenly apart inside. Choose the vivid red color for the iris and refine with markers or colored pencils to draw Sharingan eye perfectly.
Beginners can easily try Naruto drawing with color by using colored pencils and markers. For digital help, use HitPaw FotorPea to create realistic AI-generated pictures through reference images.
Conclusion
In short, Naruto's fans enjoy creating easy sketch Naruto drawings and show enthusiasm towards anime art by capturing iconic expressions, hairstyles, and costumes. Therefore, in this article, we discussed simple techniques and tricks to draw a Naruto sketch. However, many anime fans love generating digital images as well. If you are one of them, use HitPaw FotorPea to create realistic Naruto illustrations from text or a reference image.
Leave a Comment
Create your review for HitPaw articles


