RAW or JPEG? How to Choose the Right Photo Format for Every Shot
As a photographer one of the biggest decisions you make is choosing between raw photo format vs jpeg photo format. Whatever format you settle on, directly affects image quality, editing flexibility, storage requirements, and workflow efficiency. Therefore, it’s a no-brainer that you must understand the differences between these two popular formats.
This article covers the technical, pros and cons of both formats so you can make an informed decision on which one is right for your photography style and needs.
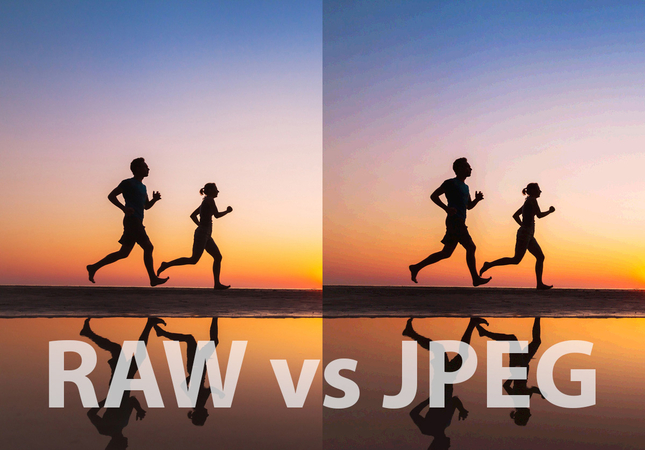
Part 1. What is Raw Photo Format?
What is raw photo format? Simply put it’s an unprocessed image file that captures all the data recorded by your camera’s sensor at the moment of exposure. You can think of it as a digital negative—raw and unaltered, with every bit of information your camera captured without any compression or processing.
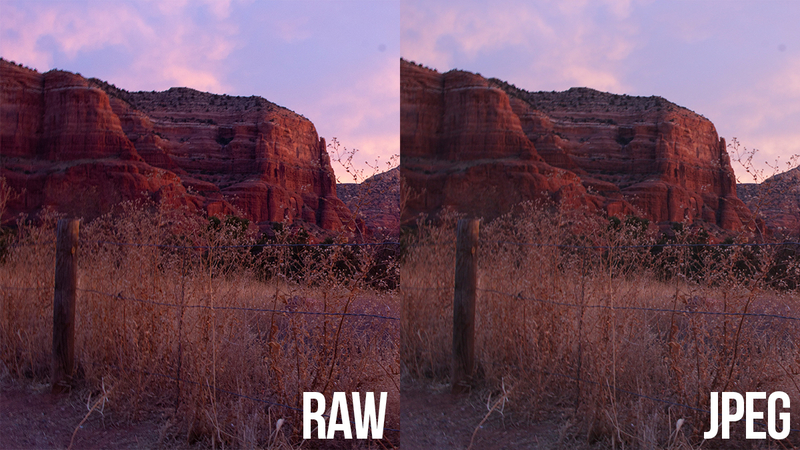
In comparison to the processed formats, raw photo format files preserve the highest image information which include:
- Full color data of sensor
- Full dynamic range This is a characteristic of color systems that are capable of generating the richest spectrum of colors it can produce
- Original exposure data
- White balance controls (controllable with no loss of quality)
- Emphasized and darkly defined stuff
Part 2. What is JPEG Format?
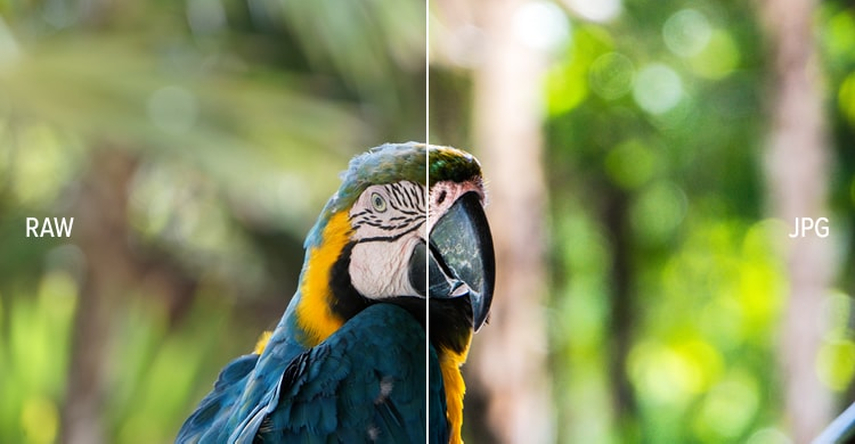
Joint Photographic Experts Group (JPEG format) is a compressed format of image which has become the universal standard of digital photography. To save in JPEG format, your camera processes raw sensor data, sharpening the image, adjusting contrasts, color saturation and white balance. Then, the image is compressed to reduce its size.
Part 3. RAW vs JPEG: Key Differences
RAW vs JPEG Difference 1: Image Quality and Data Retention
The most significant difference in raw photo format vs jpeg lies in image quality and data preservation. RAW files represent color information in each channel (channels trillions of possible colors). In contrast, anything contained in JPEG files [8] in color depth, admits no more than 16.7 million colors.
RAW vs JPEG Difference 2: File Size and Storage
JPEG format file sizes are much smaller than the RAW files by about 2-10MB in general with regard on resolution and compression levels. RAW files however may be as small as 20-40MB or even bigger depending on the level of resolution on the camera.
RAW vs JPEG Difference 3: Editing Flexibility
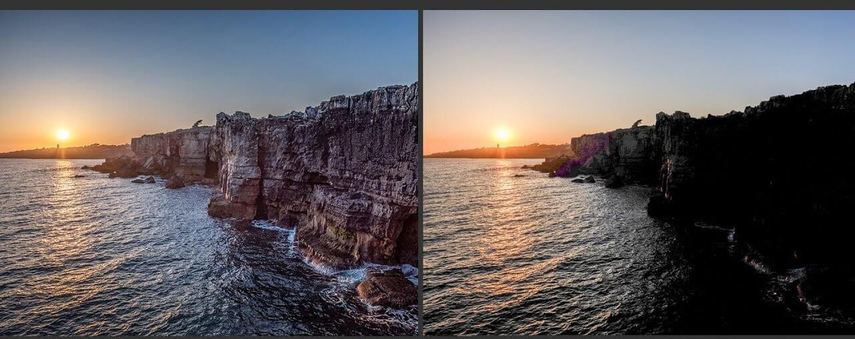
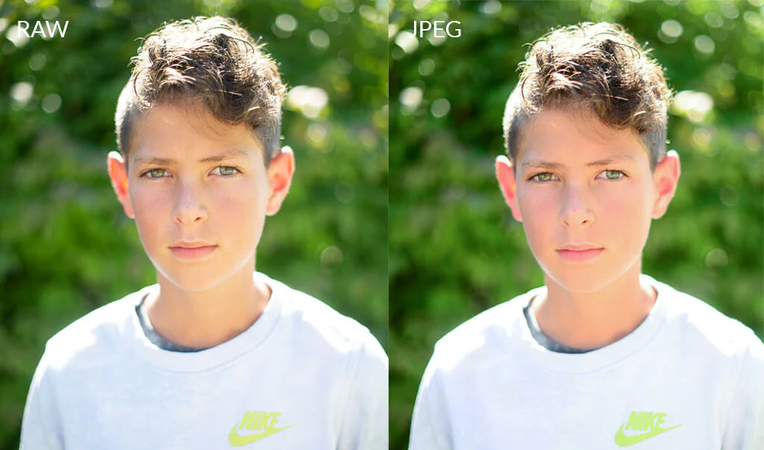
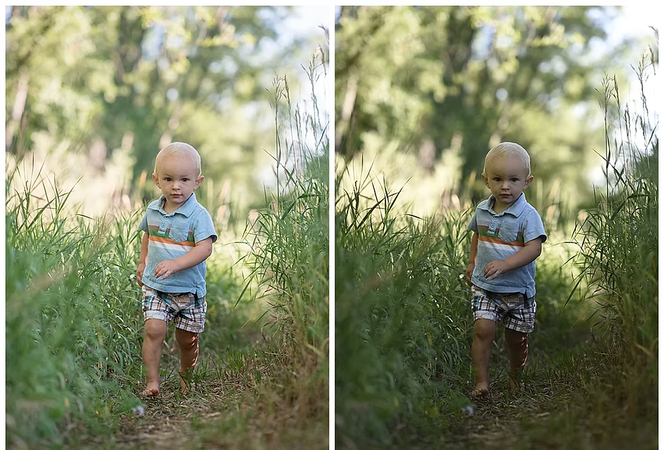
RAW files are super flexible. You can adjust white balance, exposure, highlights, shadows and colours with minimal quality loss. Since the original data is still there, you can reprocess the same RAW file multiple times with different settings without degrading the image. JPEG formats have much less flexibility. Aggressive exposure or white balance adjustments will often result in posterization (banding in gradients) or colour shifts.
RAW vs JPEG Difference 4: Processing Time and Workflow
JPEG formats are ready to go straight out of the camera with no post processing required. This is great for situations where you need to deliver images fast or shoot in high volume situations where you can’t edit every image. RAW files require post processing in software like Adobe Lightroom, Capture One or DxO PhotoLab. This adds time to your workflow but gives you total creative control over the final image.
RAW vs JPEG Difference 5: Compatibility and Sharing
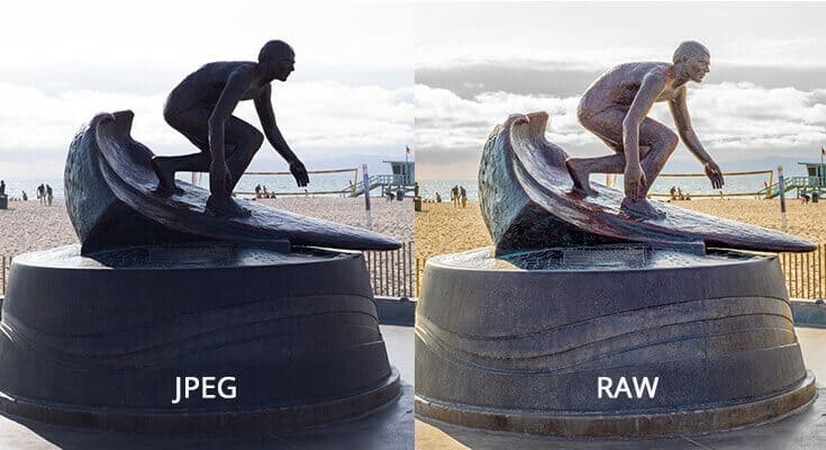
JPEG photo formats have a universal compatibility. You are allowed to access with any device, post on social media, email or even print it without converting them. They are lingua franca of digital images. RAW files can only be viewed and opened with the use of specific software. You will have to transfer the level before sharing them to another format more widely used such as JPEG or Tiffs. This is an additional measure that can be perceived as both a hassle and a chance to polish on your photos, after which you are going to distribute them.
Part 4. Step-by-Step Guide for Enhancing Your RAW Photos with HitPaw FotorPea
The quality of your RAW or JPEG image depends on the format of the picture and the post editing process. HitPaw FotorPea is an application you can use to enhance your image quality. It’s an easy to use platform with a straightforward editing process.
Follow this steps to enhance your photos:
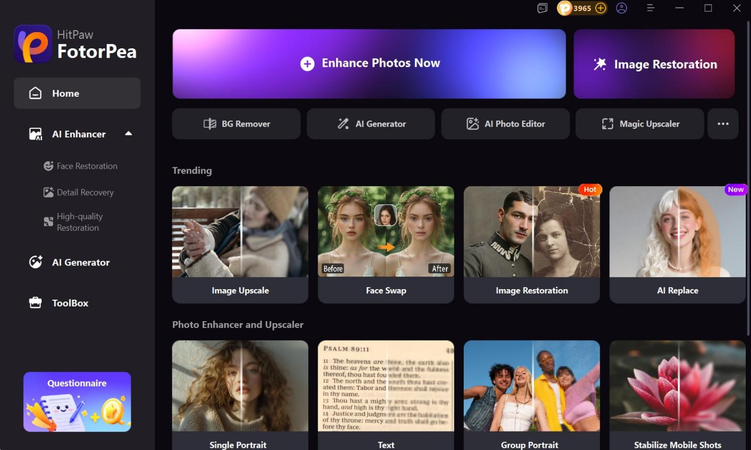
Step 1: Launch the Application
Open FotorPea (HitPaw) on your computer.
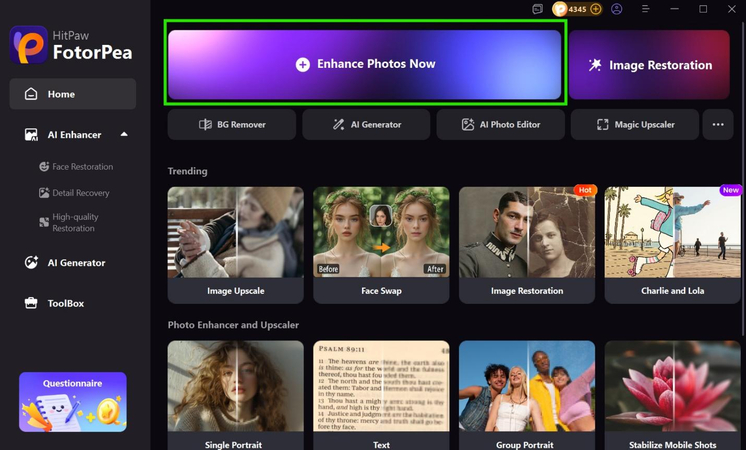
Step 2: Select the Enhance Now Option
The next step is selecting the right enhancement option. In this case, use the Enhance Now option. We highly recommend this option because the AI determines the right models for enhancing your image.
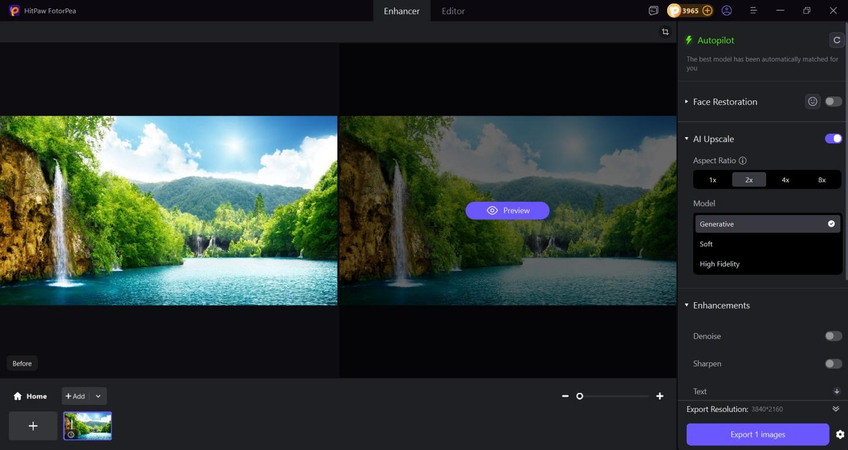
Step 3: Import Your Photos
In the window that appears, click to upload the image you want to enhance. The AI automatically determines the best model to enhance your picture. Click preview to apply the recommended enhancements.
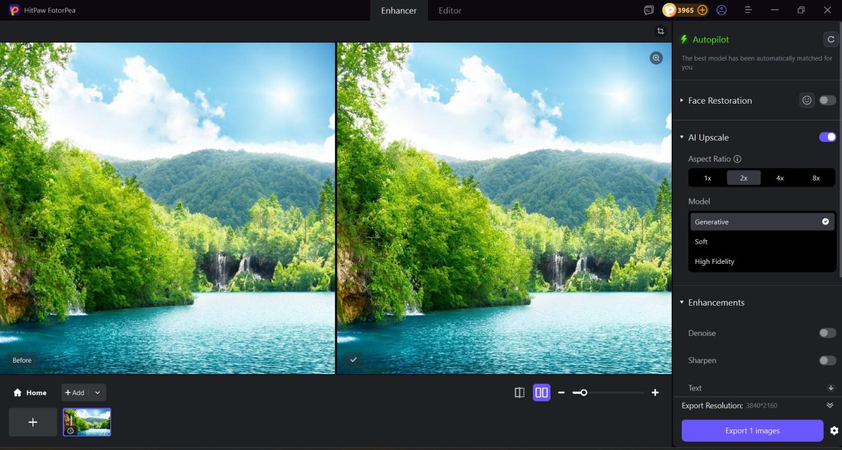
Step 4: Export Your Image
Preview the refined image. If you love the results, you can go ahead and export the image. However if you feel like the results are not satisfactory, you can try editing manually using the other enhancement models available in the app. When exporting, select the right image format you are looking for, such as JPEG, or PNG.
Conclusion
To get the best pictures, you must first understand the differences between raw photo format vs JPEG. RAW files are better quality and more editable but take up more space and processing time. JPEGs are convenient and universally compatible but sacrifice some image quality and editability. Raw photo format captures all the data from your camera’s sensor and gives you maximum control during post processing.
Once you have decided the right format for your needs, you can use HitPaw FotorPea to edit and fine-tune your images further. HitPaw FotorPea is an AI driven editing tool, and automatically helps you edit your photos. You don’t need to be an expert in photo editing, like when using other platforms like Adobe Photoshop. With HitPaw, you are guaranteed high quality edits like a pro.
Leave a Comment
Create your review for HitPaw articles


