How to Compress Video with DaVinci Resolve
DaVinci Resolve is an outstanding video editing tool for post-production processing. It combines visual effects, animations, color correction, and audio processing into a seamless tool that's remarkably powerful and intuitive. As one of the top choices for professionals working in the entertainment industry, DaVinci Resolve is a highly capable tool supporting a multitude of video formats. It can also compress videos, convert them to different codecs, and customize them to various specifications. It's these capabilities that come in handy when using DaVinci Resolve to compress video to reduce size. Here's a detailed guide on how you can compress video with DaVinci Resolve.
Summary: How to Compress Video with DaVinci Resolve
DaVinci Resolve allows users to reduce video file size by adjusting export settings such as resolution, codec, bitrate, and quality. To compress video in DaVinci Resolve, use the Deliver page to export using the MP4 format, H.265 or H.264 codec, and set the Quality to "Restrict to" a lower bitrate (e.g., 5,000–10,000 kbps for 1080p). Reducing the resolution to 1080p or lower and choosing "Least" or "Low" quality settings also significantly reduces file size.

Part 1. Why Reduce Video Size with DaVinci Resolve?
Video files occupy lots of storage space on devices. Whether you're using a desktop, smartphone, tablet, or other device, they're all limited in storage capacity, and videos gobble up that limited space quickly if you're not too careful. If you're especially fond of high-definition videos (think 4K or 8K resolutions), then you're always at the risk of running out of storage space on your devices. The higher the video quality, the larger the file size. This also becomes a problem when you're sharing or uploading videos. Even on a high-speed internet connection, you may face difficulties uploading videos. So, what can you do?
Well, the smart solution is to compress your videos to manageable sizes. And DaVinci Resolve is one of the best video editors for compressing videos. With its extensive compression settings and customizations, you can tinker with a variety of options to achieve the right balance between quality and file size.
Part 2. How to Compress Video File Size in Davinci Resolve
- Step 1: Create New Project
- Step 2: Import Videofor Compress
- Step 3: Cut Video in Edit
- Step 4: Cut Video Segments with Blade
- Step 5: Customize Export Settings
- Step 6: Choose Destination for Output
- Step 7: Create Export
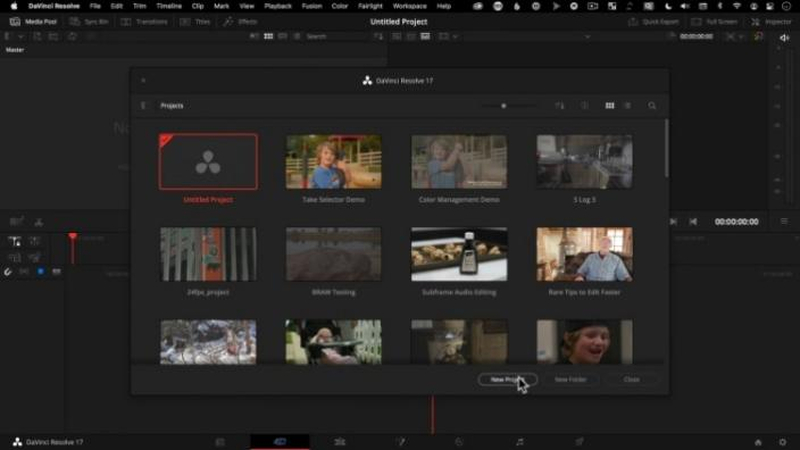
Launch Davinci Resolve >> Click 'New Project' in Project Manager >> Enter a name for your project >> Hit 'Create.'
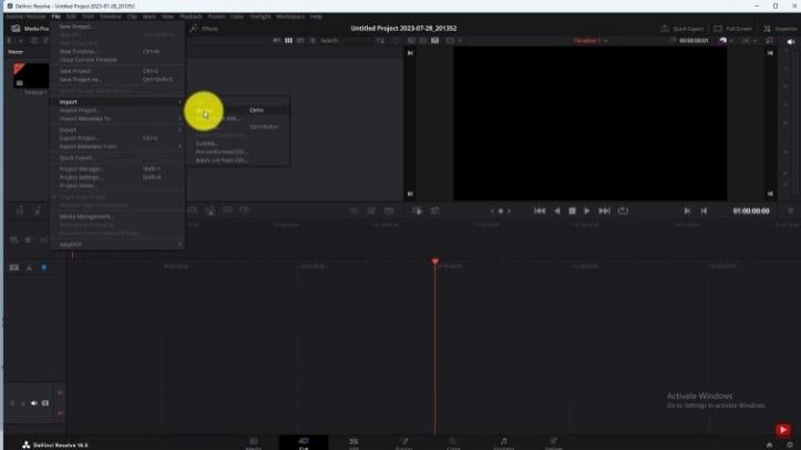
Go to 'File' in the Main Menu >> Choose 'Import' >> Select 'Media' >> Browse, select, and import video into the tool.
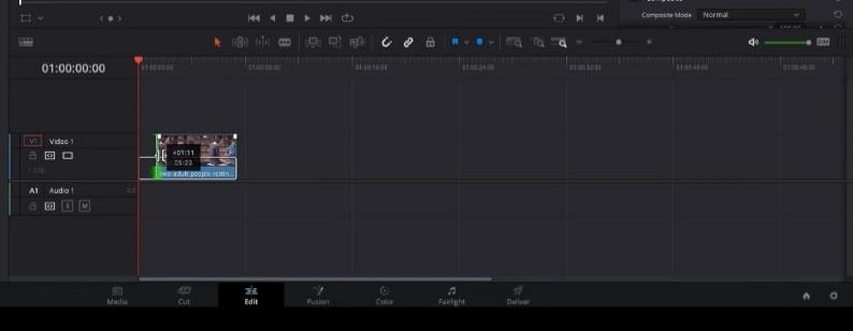
Enter Edit mode by clicking on 'Edit' at the bottom of the window >> Move the cursor to the end of the clip to activate the drag bar >> Move the drag bars on either end of the video to chop off the parts that you do not need.
The limitation of this method is that you can only remove the end segments of the video.
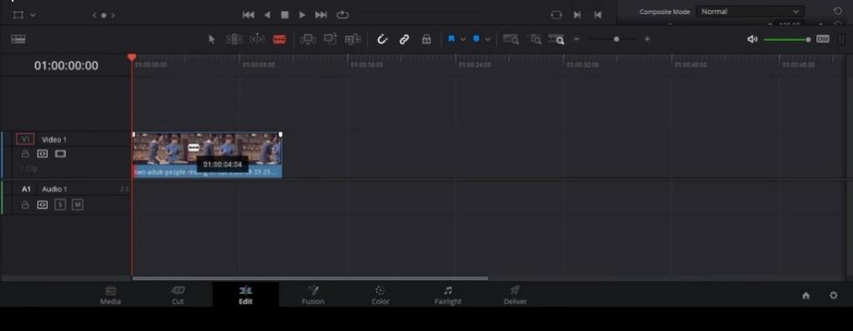
Click on the 'Blade' tool right above the video timeline >> Move the cursor to anywhere on the video timeline where you'd like to cut the video >> Click on it to split the video at that point >> Now, use drag bars for each of the split clips to chop off portions that you don't need.
With this method, you can chop off any part of the video.
Select the clip portion you'd like to compress >> Go to 'Deliver' at the bottom of the screen to open Export Settings >> Check 'Export Video' box >> Use Format dropdown to choose 'MP4' as output >> Set Codec as 'H.265' >> Downscale Resolution to reduce file size >> Set Quality to 'Automatic' or lower it to reduce file size >> Lower the 'Bitrate.'
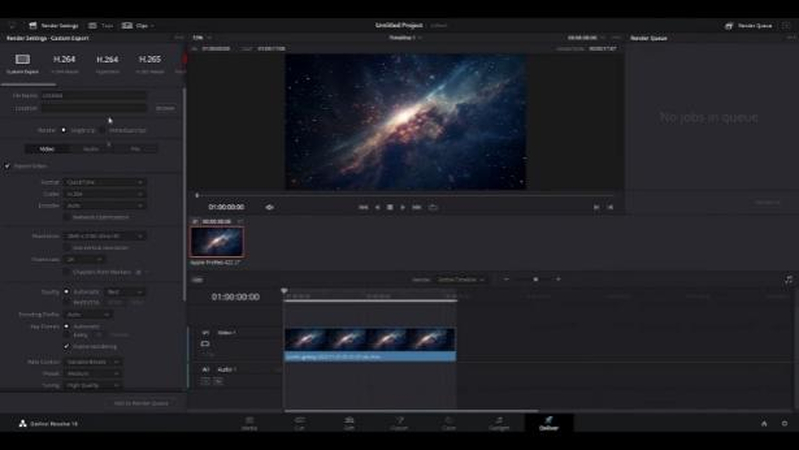
Go to 'Location' at the top of the Export settings window >> Use the 'Browse' button to navigate and choose the output destination.
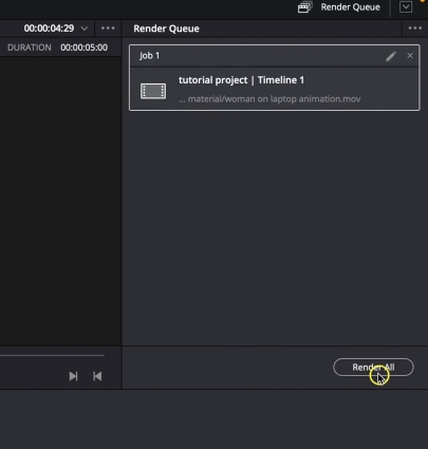
Click on 'Add to Render Queue' at the bottom of the Export Settings >> Find and click 'Render All' on the right side of the window.
Part 3. How to Compress Video with DaVinci Resolve Alternative
Davinci Resolve is no doubt a powerful video editing with extensive video compression customizations. However, it can be daunting to new users unfamiliar with its complex user interface. Even for seasoned users, the sheer variety of hoops to jump through makes it a less appealing option. For quick performance without quality or customization compromises, choose Univd Video Compressor. As the top alternative to DaVinci Resolve, Univd offers a fast, seamless, and user-friendly video compression experience to users.

HitPaw Univd - All-in-one Video Solutions for Win & Mac
Secure Verified. 254,145 people have downloaded it.
- Unlimited Batch Compression: Compress thousands of videos with HitPaw Univd in a single batch.
- Fast and Easy: Univd is so easy to use that you can compress videos in seconds.
- Maximum Efficiency: Compress video size by 80% without losing video quality.
- VariousFormats Support: Univd can compress any video in any format without any limits.
- FasterSpeed Compression: With Univd, compressing videos is faster than any other tool.
- Full Customizations: Univd gives you complete control over the quality and size of compression.
Secure Verified. 254,145 people have downloaded it.
How to Compress Videos With HitPaw Univd
- Step 1: Activate Univd Video Compressor
- Step 2: Import Videos for Compression
- Step 3: Customize Compression Settings
- Step 4: Compress Videos in Univd
Install and launch HitPaw Univd >> Click on 'Compressor' in the main interface.
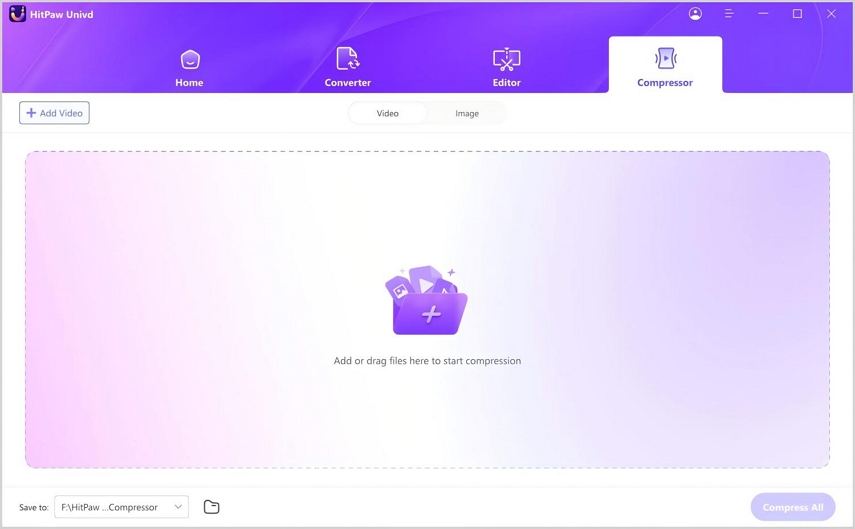
Drag videos directly into the upload box or use the 'Add Video' button.
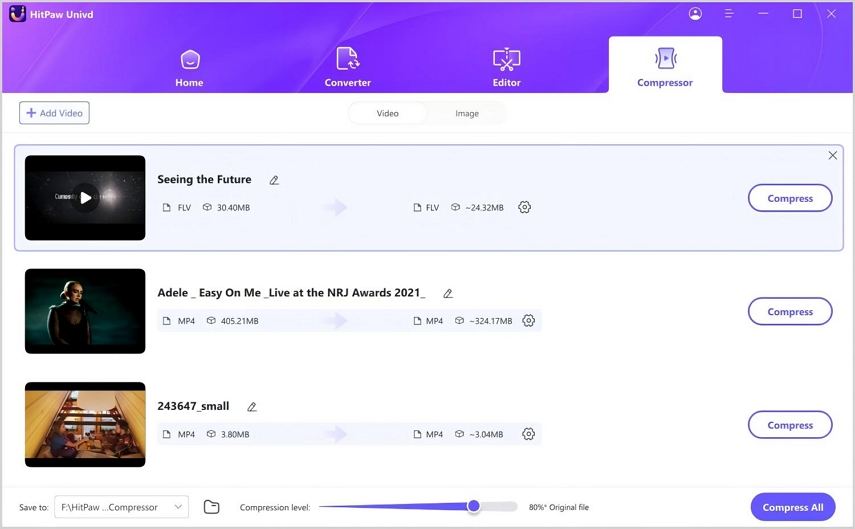
Click on the 'Gear' button beside the imported video to open Compression Settings >> Use 'Precise compression' for compressing videos by file size and 'Quality compression' for compressing videos by video quality.
For batch conversion, use the Compression Bar at the bottom of the window instead of the 'Gear' button accompanying each window.
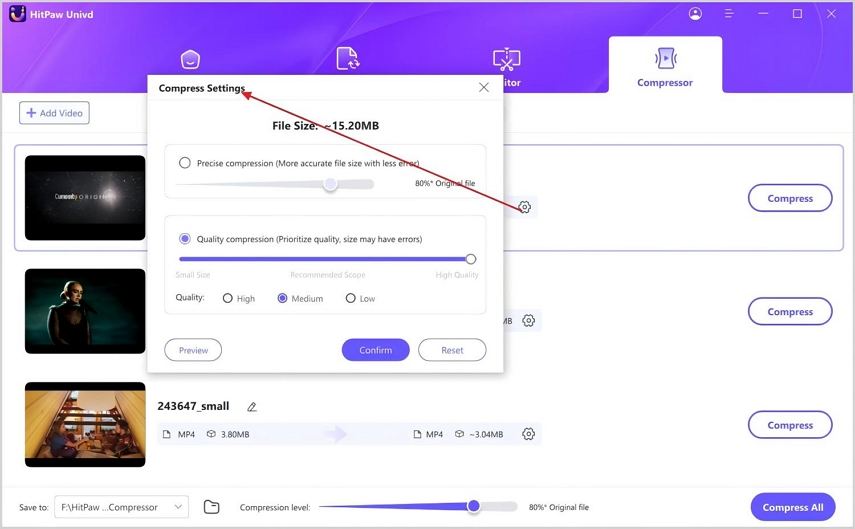
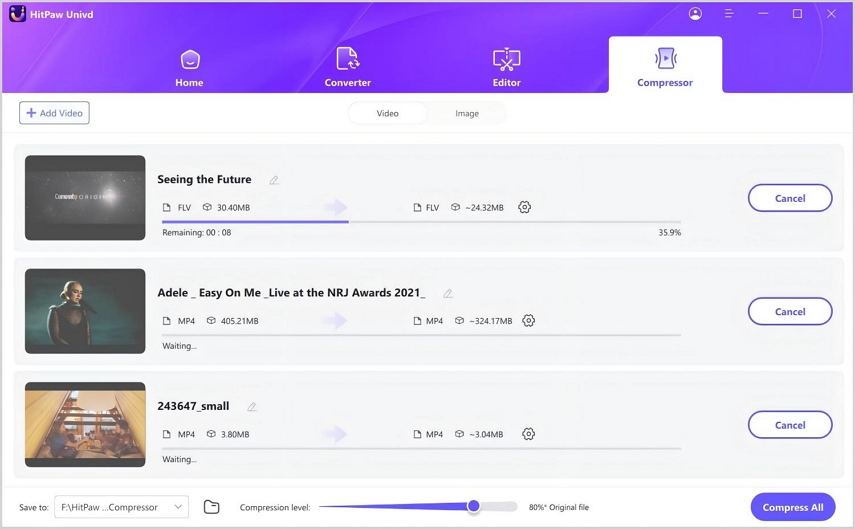
Click 'Compress' or 'Compress All' to start compressing videos.
Learn More about HitPaw Univd AI Video Compressor
FAQs on How to Compress Video with DaVinci Resolve
Q1. Should I choose H.264 or H.265 codec (HEVC) for better compression?
A1. H.265 provides better compression and smaller file size than H.264, but H.264 offers wider compatibility. Choose H.265 for local storage and H.264 for online platforms like YouTube or social media.
Q2. Can I use the DaVinci Resolve compressor for audio compression?
A2. Yes, DaVinci Resolve supports audio compression by adjusting audio bitrate during export or using audio effects in the Fairlight page.
Q3. Can I use DaVinci Resolve for batch compression?
A3. Yes, DaVinci Resolve supports batch exporting through the Render Queue, allowing you to compress multiple videos at once without third-party plugins.
Q4. How do I lower the resolution of a clip in DaVinci Resolve?
A4. To lower resolution, go to Deliver, choose export settings, then change the Resolution option to 1080p or 720p before rendering. Lower resolution significantly reduces video file size.
Conclusion
Compressing videos with DaVinci Resolve is a great way to make your video files smaller without losing too much quality. By following the simple steps in this guide, you can easily reduce the size of your videos, making them easier to store, share, or upload. However, if you want a quicker and simpler option, HitPaw Univd is the best alternative to DaVinci to compress video. It's fast, powerful, and makes it easy to compress large video files into smaller sizes without compromising quality significantly. Check out Univd today.


 HitPaw VoicePea
  HitPaw VikPea (Video Enhancer)
 HitPaw FotorPea

Share this article:
Select the product rating:
Daniel Walker
Editor-in-Chief
This post was written by Editor Daniel Walker whose passion lies in bridging the gap between cutting-edge technology and everyday creativity. The content he created inspires the audience to embrace digital tools confidently.
View all ArticlesLeave a Comment
Create your review for HitPaw articles