Step-by-Step Guide to Take Your Own Headshot at Home
Taking professional headshot photos at home is easy if you know how to take a professional headshot at home with the correct steps. No expensive equipment or studio required. With simple tools, good light, and some practice, you can take clear and nice professional photos. This guide shows how to set up your space, how to use natural light, how to take good photos, and how to edit them to look their best. Follow these simple tips to complete great portrait photos for job hunting, profile, or social media.
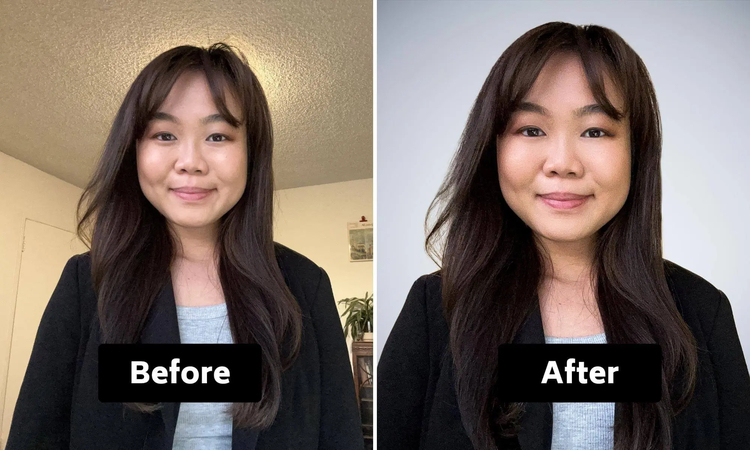
Part 1: How to Take a Headshot at Home with Basic Setup
Before taking a good headshot at home, you need to prepare some basic things. This will help your photo look better and more professional. You don't need special tools. Just a quiet place, your phone or camera, and good lighting. If you are ready for home and shooting, it is easy to take good photos at home. Follow the simple steps below to take clear and better photos.
Make Your Space
Find a quiet and clean place with no mess or distractions behind you. A plain wall or simple background works best. This helps keep the focus on your face, so your headshot looks neat and professional.
Camera or Phone Ready
Use a smartphone or camera to take clear photos. Before taking pictures, gently wipe the lens. This prevents the photo from blurring. Clean lenses are very helpful when taking professional portrait photos of yourself.
Lighting Setup
Use soft and natural light plugged from windows and lamps. Be careful not to hit the face with strong light or shadow. The proper lighting makes the skin look uniform and makes the photo clear. Do not take pictures in very dark or very bright places.
Part 2: How to Take a Professional Headshot by Yourself in Steps
Taking professional portrait photos, yourself is easy if you follow the correct steps. If you want to learn how to take a professional headshot at home, it is important to plan and carefully check the shooting method. This allows you to find the best look or pose. You can take a lot of photos, so do not worry if the first one is not perfect. Here are some simple steps to take a nice photo of yourself at home.
Frame Your Shot
Hold your camera or phone at eye level. Make sure your head and shoulders fit well in the picture. Do not cut off the top of your head or your shoulders. This makes the photo look balanced and clear.
Take Several Photos
Take many photos with small changes each time. Change your smile or the way you look at the camera. This will give you options to choose the best photo later.
Review and Choose
Look at all the photos carefully. Choose a photo with a clear natural expression. Avoid blurred, too dark or unnatural faces.
Part 3: How to Use Natural Light for a Headshot at Home
Natural light is one of the best ways to make headshot photos look beautiful. Natural light makes your face look clear and soft. If you use sunlight the right way, you don't need to buy extra lights. Just take your photo near a window at the right time. This kind of light is soft and helps to avoid dark shadows and unnatural colors. If you want to know how to take a professional headshot at home, it is very helpful to use natural light properly.
- Morning or late afternoon light works best for soft light.
- Stand near a window but avoid direct sunlight on your face.
- Cloudy days give even light that looks good for photos.
- Avoid mixing natural light with indoor bulbs to keep color natural.
- Use a white curtain or sheet to soften harsh sunlight if needed.
Part 4: How to Take a Professional Headshot with Editing Tools
Once you have taken a headshot, you can use the editing tool to make it even better. This does not require professional skills. There are a number of free simple apps that can help you adjust light, trim photos, or delete small scratches. These tools make your face clearer and more well-organized. Editing is an important step if you want to know how to take a professional headshot at home. By making small changes, the photo will be clean and clear and ready to use.
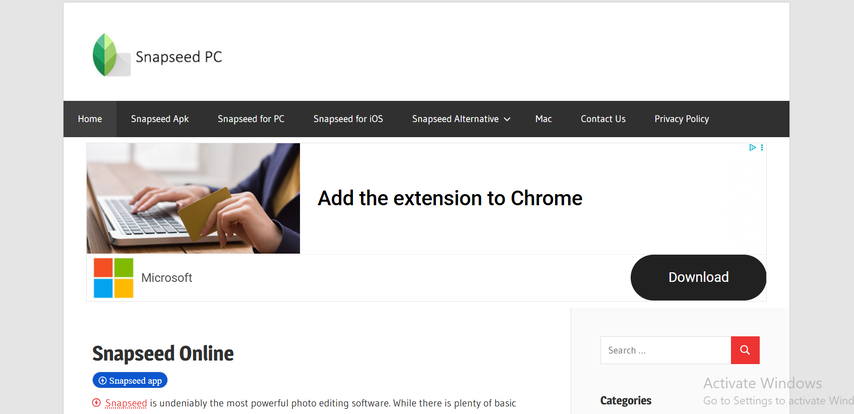
1. Snapseed
Snapseed is a free photo editing app developed by Google. Easy to use and available on both Android and iPhone. It has many features such as brightness adjustment, trimming and repair tools. Recommended for those who want to edit photos without complex steps.
Pros:
- Easy to use with simple tools
- Free with no sign-up needed
- Healing tool to remove small spots
Cons:
- Can feel slow on some phones
- No direct size templates for ID photos
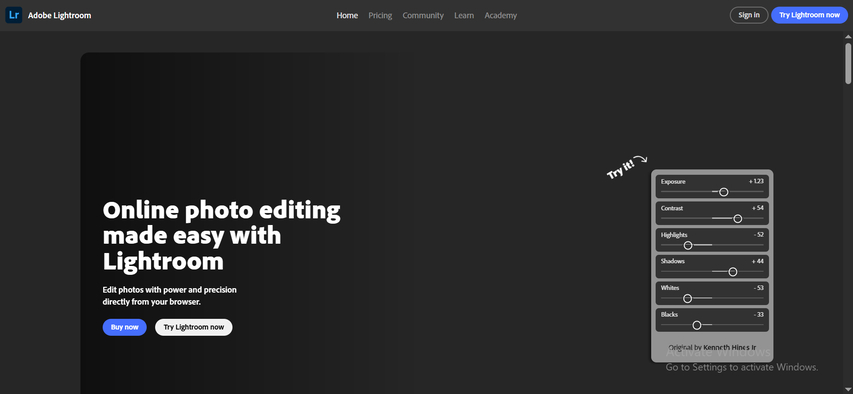
2. Lightroom Mobile
Lightroom is a photo editing app provided by Adobe. Brightness, color, sharpness, etc. The mobile version is free and includes many tools, but some additional tools require login. This app is ideal for users who want more control over editing.
Pros:
- Good for light and color control
- Makes photos look clean and clear
- Easy presets for quick edits
Cons:
- Some features need Adobe account
- Can be confusing for beginners
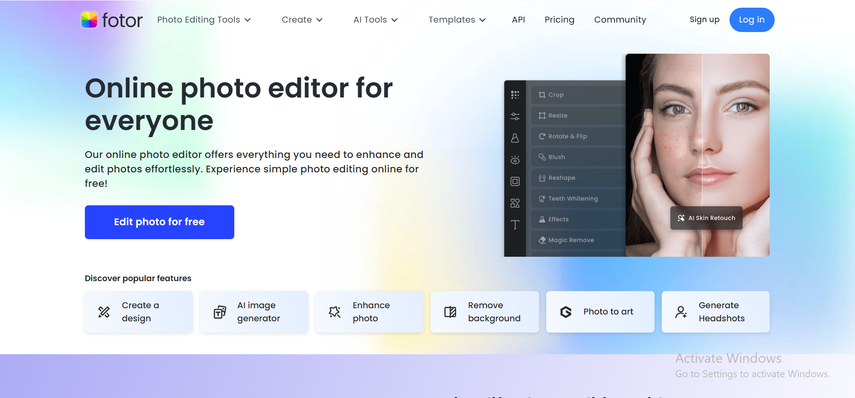
3. Fotor
Fotor is the perfect app for simple photo editing. Trimming, brightness adjustment, skin correction, background blur function. It is useful for making portrait photos clearer and softer while eliminating complex procedures.
Pros:
- Simple and clean layout
- Good skin retouching tools
- One-tap filters to try different looks
Cons:
- Shows ads in free version
- Some tools need internet connection
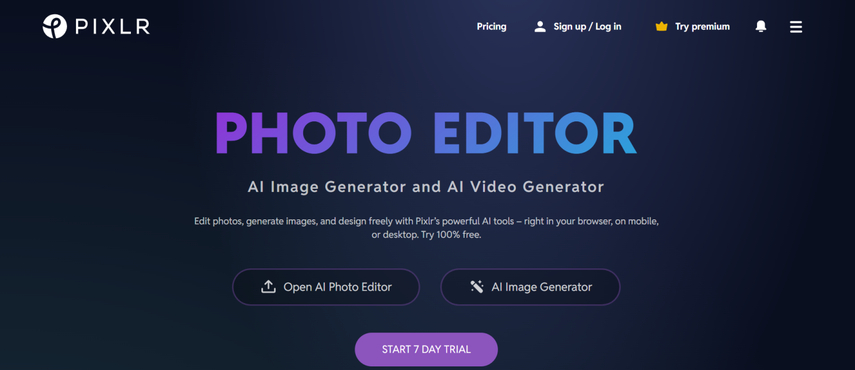
4. Pixlr
Pixlr is another free app that allows you to edit photos easily, which is helpful when learning how to take a professional AI headshot at home. You can trim, adjust lighting, and add filters. There is also a healing tool that fixes small scratches and spots.
Pros:
- Very lightweight and quick
- Healing and blur tools work well
- No sign-up needed for basic use
Cons:
- Some ads can pop up
- Not best for high-level editing
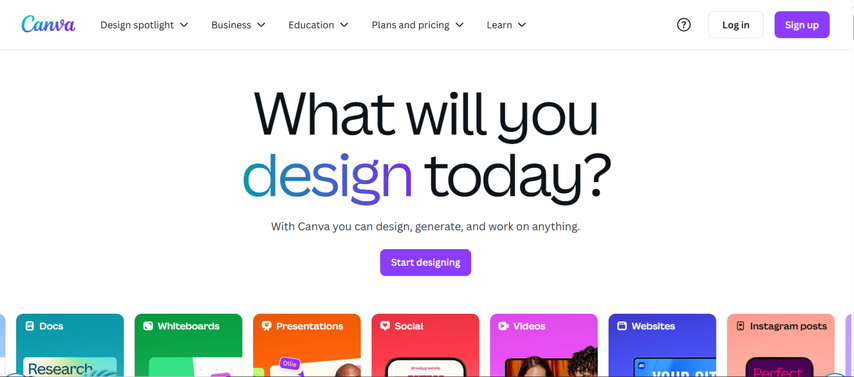
5. Canva
Canva is a free and easy photo tool. It is mostly used for making designs, but you can also use it to edit headshots. You can crop, adjust brightness, and even blur the background. It works on phone and computer.
Pros:
- Easy to use for beginners
- Has crop and brightness tools
- Works on both phone and computer
Cons:
- Needs internet to use
- Some features are not free
Part 5: [Bonus Tip] Edit Your DIY Headshot with HitPaw FotorPea
HitPaw FotorPea is a tool that helps you improve your headshot at home. If you are learning how to take a professional headshot at home, this tool can help make your photo look better. It has an ID photo tool that helps you cut your photo to the right size for LinkedIn, job forms, or online use. You can also blur or change the background to keep focus on your face. You can fix brightness and color to get a clean and natural look. Even if you don't know editing, it is easy to use and takes only a few minutes.
Key Features of HitPaw FotorPea:
- Use an AI photo tool to make your picture clearer and colors better.
- Try a passport photo maker to get the right size for your headshot.
- Use an AI portrait maker to get a natural and neat photo.
- Remove unwanted things from your photo to make it look perfect.
Steps to Use HitPaw FotorPea
Step 1:Open the ID Photo tab in HitPaw FotorPea and click Create to upload your portrait, or drag and drop the image directly into the editor.

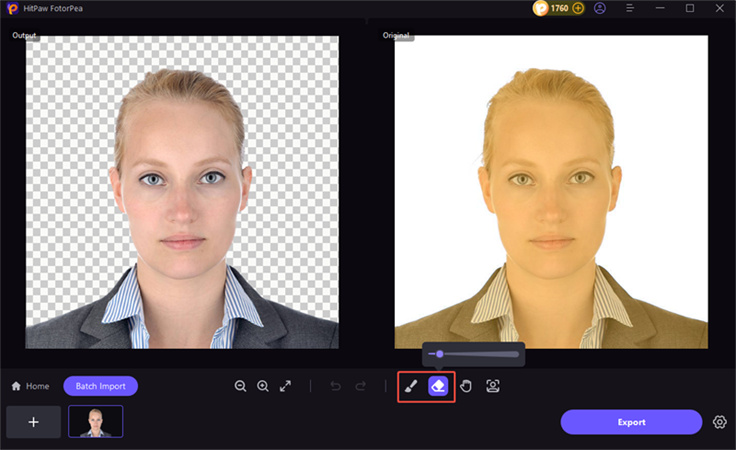
Step 2:The AI will instantly remove the background from your photo. To fine-tune details, use the Brush or Erase Selection tool located at the bottom of the interface.

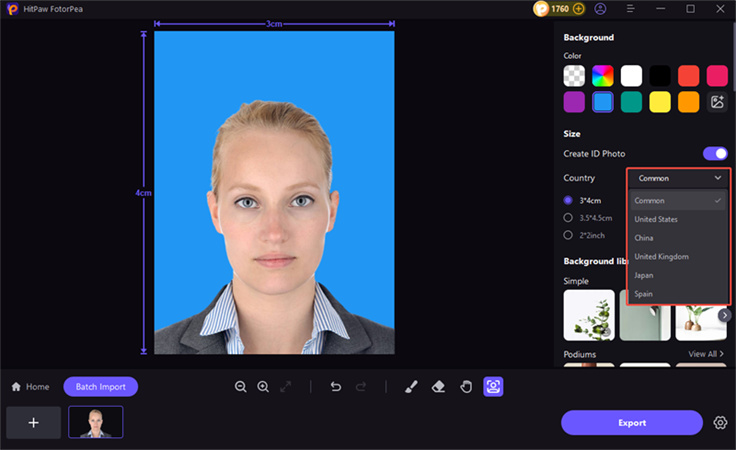
Step 3:Click the Size button and choose your country. HitPaw offers pre-set sizes for common standards like those in the United States, United Kingdom, Japan, and Spain.

Step 4:Align your photo within the frame, select a suitable background color if necessary, and preview the result. Once everything looks right, click Export to download your ready-to-use ID photo.

Conclusion
If you want to learn how to take a professional headshot at home, with good light, simple tools, and easy steps, you can take natural photos without spending a lot of money. Use soft sunlight, keep the background clean, take pictures, and choose one that looks best. After that, use a free app to make the photo brighter, remove marks, and crop it to the right size. To get the best results, try HitPaw FotorPea. This tool helps you adjust colors, remove unnecessary objects, and resize portrait photos easily. This tool is perfect for those who want to create professional photos quickly.




 HitPaw Univd (Video Converter)
 HitPaw VoicePea
  HitPaw VikPea (Video Enhancer)

Share this article:
Select the product rating:
Daniel Walker
Editor-in-Chief
This post was written by Editor Daniel Walker whose passion lies in bridging the gap between cutting-edge technology and everyday creativity. The content he created inspires the audience to embrace digital tools confidently.
View all ArticlesLeave a Comment
Create your review for HitPaw articles