Ultimate Guide to Mountain Photography for Beginners and Pros
Mountain photography captures the raw, majestic beauty of nature-peaks bathed in golden light, clouds hugging cliffs, and trails that vanish into the sky. Those with method, equipment, and timing need to blend all elements to perfect this art, whether you are an expert or a beginner.
Editing is an essential part of the effort to make your images shine. That's where HitPaw FotorPea Photo Enhancer comes in. This powered tool enhances sharpness, color, and contrast with a single click, perfect for bringing your mountain shots to life.
What is Mountain Photography?
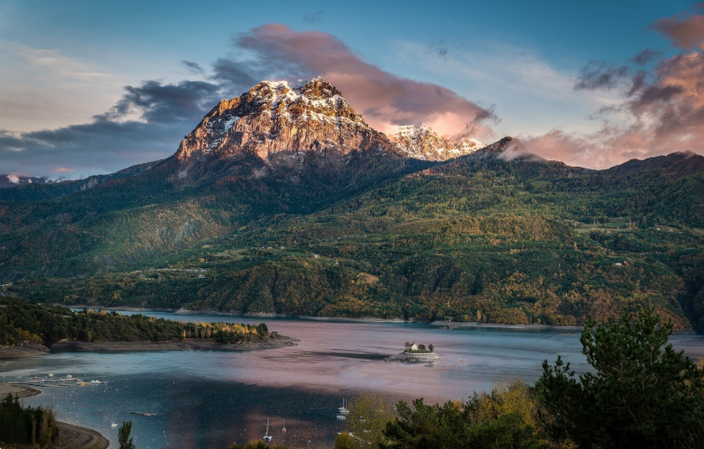
Mountain photography is a genre of landscape photography focused on capturing the grandeur and drama of mountainous regions. These shots are usually characterized by big mountains, stormy skies, hilly paths, and calm water lakes. It is not merely taking a beautiful shot; it is the narration of a story using light, composition, and viewpoint.
The best mountain photography often evokes emotion, scale, and awe. This style also tests a photographer to be able to brave weather conditions, challenging climbs, and rapidly changing light. From vast panoramas to intimate detail shots, mountain photography offers endless creative opportunities.
Essential Gear for Mountain Photography
Cameras and Lenses
Best camera for mountain photography
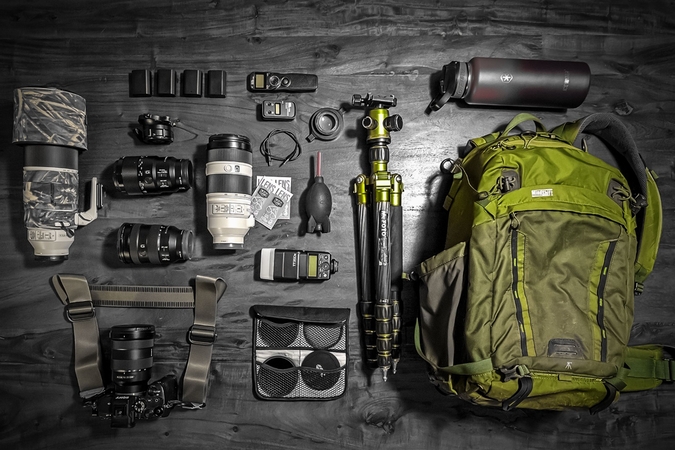
Use a weather-sealed DSLR or mirrorless camera when shooting in rocky or harsh environments. Some of the best camera for mountain photography includes the Canon EOS R5, Nikon Z7 II, and Sony Alpha a7R IV. The models have an excellent dynamic range and extensive sensor resolution to record the finer scenery.
Filters for outdoor landscape shots
To cut the haze and improve sky contrast, use a circular polarizer. In order to receive a long exposure of waterfalls or clouds, it is expedient to use neutral density filters. A graduated ND filter works to give balance between the lighter sky and the lighter landscape.
Accessories for Stability and Protection
Tripods, lens cloths, protective covers
A rugged tripod is needed to take sharp shots in windy or long exposure conditions. Have lens cloths with you when there is mist or raindrops. Still, don't forget rain covers for your camera and backpack; mountain weather changes very fast.
Best Camera Settings for Mountain Photography
Aperture, ISO, and Shutter Speed
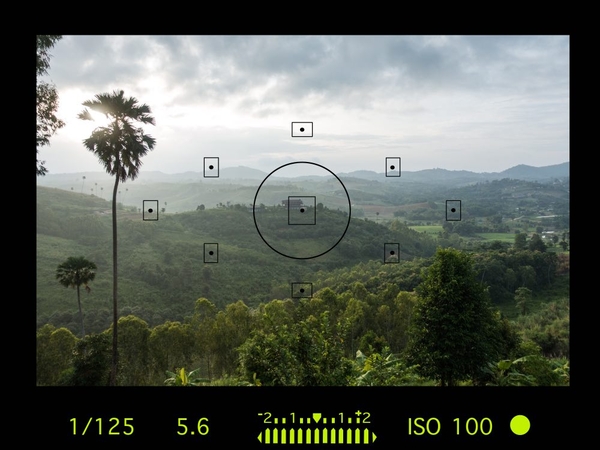
Use narrow apertures (f/8-f/16) for depth of field
This maintains the sharpness of your whole scene, including the foreground rock formation and far-reaching mountains.
Keep ISO low for noise-free images
ISO 100-400 gives you clean, high-quality captures, and this is very critical when you want to make huge photos.
Adjust shutter based on movement-fast for wind-blown trees, slow for waterfalls
Freeze motion by use of high speeds (1/500s or above). A very slow shutter speed, like 1/4s or below, is necessary for dreamy effects such as clouds or waterfalls, but a tripod is required.
Focus and White Balance
Focus stacking for sharp foreground and background
Focus stacking is the taking of a series of shots with various points of focus that are all combined later on. It comes in handy, especially when taking shots involving near and far subjects. Especially useful when shooting scenes with both near and far elements.
Custom white balance for snow or golden hours
There is a chance of snow scenes being blue; in this case, set custom white balance to save natural tones. In golden hour, change white balance to retain warmth and depth.
Planning Your Mountain Photography Trip
Research the Location
Study topography, light direction, and golden hours
Terrain and sunlight angles can be visualized with the help of such applications as Google Earth. Knowledge of the illumination of peaks at various times improves composition.
Weather and Safety Prep
Understand mountain weather patterns
Be sure to examine the local weather. The weather of the mountains is dynamic; therefore, one has to be ready with layers, maps, and safety gear. The mood of your photos can also be determined in terms of when or where you should expect the fog or the snow.
Composition Techniques in Mountain Photography
Framing and Leading Lines
Use ridgelines, rivers, or light to guide the eye
Leading lines aim at getting the natural flow of your composition. To make your subject interesting, observe a curving path or a beam of light catching the top.
Foreground, Midground, Background
Add visual interest and storytelling layers
Place in front some rocks, flowers, or hikers so as to set the scale. This method of layering makes a still photograph an action shot.
Rule of Thirds and Natural Framing
Place peaks or the sun on intersecting thirds
The rule of thirds is applied to position essential aspects to provide a balance.
Frame using tree branches or cave entrances
And this is a method of creating the impression of depth and bringing the eye toward the inside. It's an essential tip on how to compose mountain photos effectively.
Lighting and Timing for Mountain Photography
Golden Hour and Blue Hour
Warm light enhances textures and creates mood
These are off-peak times to shoot the mountains: about twilight in the morning and the evening. The low light contours and accentuates ridgelines and impresses with a magical effect.
Midday and Overcast Shooting Tips
Use shadows for drama or shoot in monochrome
Intense light is hard to deal with, but dark shadows create contrast. Or play with black and white photography to develop a texture over color.
Shooting in Snow and Harsh Sunlight
Exposure compensation for bright snow scenes
Snow can even fool your camera into giving underexposure. Set exposure compensation to +1 to +2 to maintain brightness and avoid dull whites-a vital technique in mountain photography, lighting tips.
Editing Mountain Photography for Impact
Basic Adjustments
Exposure, contrast, highlight recovery
The first thing to do is to rotate the exposure and contrast. Some of it can be recovered by lowering highlights in the sky or snow.
Enhancing Color and Sharpness
Boost natural tones without oversaturation
Make a natural adjustment of colors with the help of HSL sliders. Make it brighter and sharper to highlight the textures of the mountains.
Removing Distractions
Use healing brush for unwanted hikers or objects
Cluttered images pose distractions to your subject. Use tools in Lightroom or HitPaw FotorPea Photo Enhancer to easily remove blemishes and distractions. This is a key step in how to edit mountain photos in HitPaw FotorPea Photo Enhancer or Lightroom for clean, professional results.
Mistakes to Avoid in Mountain Photography
Overexposing Snow or Sky
Explicit scenes are highly likely to appear in high altitudes. Histograms can be used to make sure the exposure and prevent blown-out highlights.
Under planning or Ignoring Weather
Failure to prepare may lead to inadequate lighting or a safety hazard. It is always better to do research first.
Poor Composition with Cluttered Backgrounds
Avoid distractions such as overexposed clouds and branches that take the emphasis away from your subject.
Relying on Auto Mode in Complex Scenes
Manual settings provide control of light, depth, and detail. Dynamic conditions should not use auto mode.
Real-World Examples: Before and After Edits
Sunrise at Mount Fuji
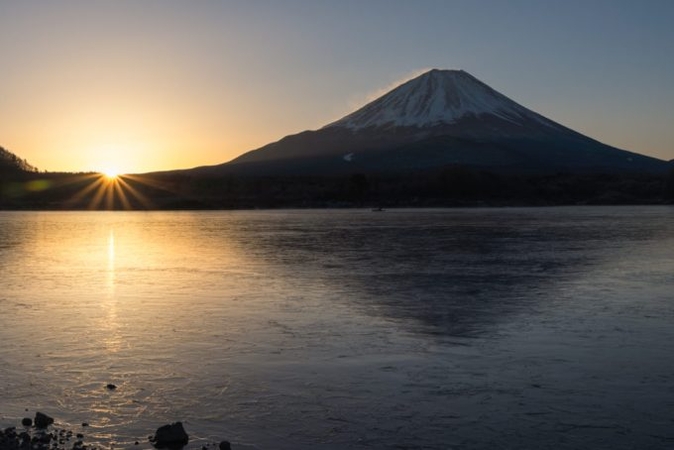
Before: dull, monotone, flat picture.
After: Enhanced shadows, crisp whites, and warm sunlight added using HitPaw FotorPea Photo Enhancer.
Rocky Terrain in the Alps
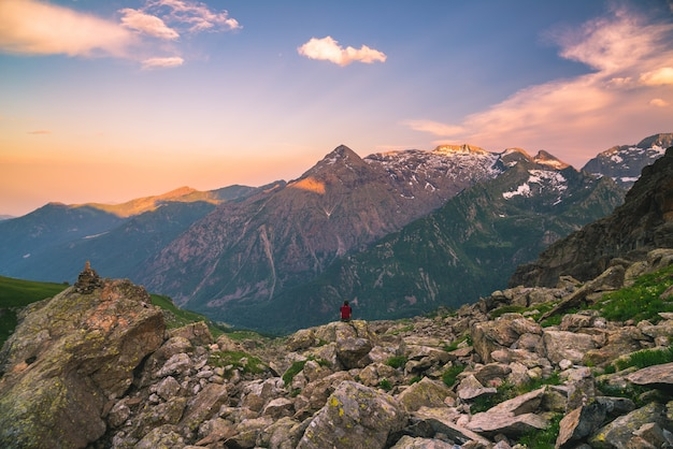
Before: Bland and two-dimensional.
After: Increased saturation, high spots, and higher contrast with the demonstration of every rocky edge.
These examples show the importance of post-processing-an essential skill in modern mountain photography.
Final Thoughts
Mastering mountain photography is a rewarding journey that combines technical skills with creative vision. All the steps matter when it is time to capture the sunrise on the peaks and edit the minor details.
Tools like HitPaw FotorPea Photo Enhancer can take your raw mountain shots and transform them into breathtaking works of art. Whether you're shooting with the best camera for mountain photography or a beginner setup, the key is preparation, practice, and passion.
FAQs
Q1. What is the best time of year for mountain photography?
A1. The most stable conditions are provided from late spring to early fall. Winter also offers dramatic snow scenery, although special equipment and caution are needed.
Q2. How can I carry heavy gear while hiking?
A2. Wear a light hiking backpack comprising padded straps and compartments. You can bring with you just the bare necessities in terms of lenses and a light tripod.
Q3. Are drones useful for mountain photography?
A3. Yes, drones indeed have beautiful aerial images. It is just crucial that you abide by the local regulations and that you can safely fly in the mountain terrain.
Q4. What's the best lens for mountain shots?
A4. Large portions of a landscape are shot by a wide-angle lens (1635mm). Telephoto (70-200mm) is the best choice to isolate the peak or get further details.


 HitPaw Univd (Video Converter)
 HitPaw VoicePea
  HitPaw VikPea (Video Enhancer)


Share this article:
Select the product rating:
Daniel Walker
Editor-in-Chief
This post was written by Editor Daniel Walker whose passion lies in bridging the gap between cutting-edge technology and everyday creativity. The content he created inspires the audience to embrace digital tools confidently.
View all ArticlesLeave a Comment
Create your review for HitPaw articles