


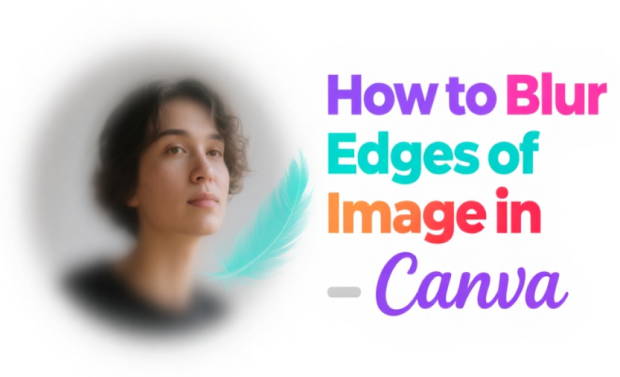
[Step-by-step] How to Easily Blur Edges in Canva for Your Photos
The images you've taken might carry unattractive edges. Since having the annoying edges will spoil the reputation of the image, blurring the edges of photos could assist you in fixing the issue you're currently having.
For that purpose, you can look at the blur edges Canva as it is one of the best online photo editing tools that allow you to perform various photos editing operations in no time. You can get into this post to learn how to blur edges in Canva without compromising the image quality.
Part 1. How to Blur Edges in Canva
Pixelated or jagged edges in the photos won't do good for you, especially if you're using the images for commercial purposes. Luckily, you can blur edges of photo in Canva to ensure that the unattractive part of the images doesn't come to the notice of people getting to see the photos on social media platforms.
Canva is a high profile photo editing tool with the reputation of performing some of the most wonderful photo editing operations without asking you to do much.
How to Fade Edges of Photo in Canva with 3 Major Tools
Here's the step by step guide to learn how to to blur the edges of a photo through Canva.
1.Start the Canva and log in with the Canva account credentials afterward.

2.Press the ''Create a design'' button to begin the proceedings.
3.Choose the preferred template after visiting the list. For instance, we will select the Poster template from thereon.
4.Select the photo you'd like to blur the edges of and click on the ''Upload files'' button to import the photo.
-
5.Navigate to the left toolbar and press the Elements button.
a. Using the Blur Tool
Next, you must click the Enter icon after searching for the ''blur'' icon. Now, you can choose the blur you want to apply to the image you want to edit.
b. Using Gradient Frames
Search for "Gradient frame", select one, then resize and position it over your image where you want the faded edge effect.
c. Custom Shape with Gradient
Add a shape (like a rectangle) to your design, click on it to open the color settings, select a gradient with one side transparent, and adjust the angle to control the blur direction.
6.In this phase, you'll need to customize the effect's intensity using the Transparency slider on the right side of the Canva.
7.Place your blur effect around the photo's edges.
8.That's all you've had to blur edges in Canva. You'll need to preview the effects, and if you think that there is still something that needs to be edited, you can begin the editing process afterward.
After you are satisfied with the results, you'll need to press the Share button to save and download the photo into the preferred folder on the computer.
Part 2. The Best Alternative to Enhance Photos with HitPaw FotorPea
It is impossible to create the perfect images in one go after clicking them from the camera. Instead, you might have to perform photo editing to make the photos look relevant and breathtaking. With the arrival of the HitPaw FotorPea, improving the quality of the images has become simpler than you think.
It allows you to explore the 6 breathtaking AI models to assist you in taking the quality of the images to the next. With supporting the multiple image format and allowing you to import multiple photos simultaneously, HitPaw FotorPea has surely become the top priority of millions of people wanting to edit images.
Features of HitPaw FotorPea
HitPaw FotorPea - All-in-one Photo Editing Tool for Win & Mac
Secure Verified. 212,820 people have downloaded it.
- Improve the photo's resolution and quality automatically
- Upscale and enlarge the images without prompting the image quality
- Colorize the black and white images
- Upscale multiple images simultaneously
Secure Verified. 212,820 people have downloaded it.
Step-by-step Guide to Enhance an Image
Here's the step by step guide to know how to upscale the image through HitPaw FotorPea.
Step 1:After marching into the official website of the HitPaw FotorPea, you'll need to install the software on a Mac or Windows PC.
Next, you'll need to start the program and tap the Choose File button to import the photo you'd like to improve the quality. HitPaw FotorPea helps you to import images in various formats, including TIFF, WEBP, JPG, PNG, etc. Luckily, HitPaw FotorPea enables you to import multiple images simultaneously, which is compatible with batch processing.
Step 2:HitPaw FotorPea brings in 6 AI models, including the Color Calibration, Face Model, General Model, Denoise Model, Color Calibration, etc. The General Model allows you to enhance the real portraits, including the flowers, animals, buildings, etc.
With the Face Model allowing you to eliminate the blur from the images, the Denoise Model will deal with low light and high ISO images. Color Calibration is a perfect way to fix unexposed images, making the photos look eye catching.
Step 3:Click on the Preview icon to review the AI model you've just applied to the image. Upon satisfaction with the outcome of the image, you can then press the Export icon to download the image.


Video Tutorial for AI Image Enhancer
Part 3. FAQs of Blur Edges Canva
Q1. Can you blend edges on Canva?
A1.
Blending the edges on Canva is possible, and you'll only need to follow the simple steps to put things in order.
1. Launch the Canva and press on Create a Design. Next, you'll need to import the photo into the timeline of Canva.2. Now, you'll need to alter the background of the image, and selecting a background color is recommended.
3. Navigate to the Element icon before typing the ''Fade to transparent gradient''. Find the gradient background you'd like to use after hitting the Graphics button. Position the selected gradient option with the fading effect. After doing that, you can export the image to the preferred location.
Q2. How do I make edges transparent in Canva?
A2. If you aren't happy with the edges in your photo, you can make them transparent without any issue. You'll need to launch Canva and import the photo you'd like to edit to do it. Next, you can select the Gradients or Blur option to make the image's edges transparent.
In Summary
While blurring the edges of the images, various tools compromise the overall quality of the photos. Hence, aiming at the blur edges Canva is an appropriate idea; you can read this guide to learn how to blur edges in Canva. We have listed the step by step guide to blur edges in Canva, and this tool doesn't take any extra time while blurring the edges of the images.
We have recommended the HitPaw FotorPea as the best alternative to enhance the image quickly. From allowing you to fix blurry images to helping you to colorize the black and white images, HitPaw FotorPea seems to have photos editing operations in its pocket. Hence, when aiming to enhance the image quality, you must not ignore the credentials of the HitPaw FotorPea.

 HitPaw Edimakor
 HitPaw VikPea (Video Enhancer)
![[Full Guide] Learn How to Unblur Text on a Website](https://images.hitpaw.com/topics/covers/audio-link-downloader.jpg?w=800&h=495)

Share this article:
Select the product rating:
Daniel Walker
Editor-in-Chief
This post was written by Editor Daniel Walker whose passion lies in bridging the gap between cutting-edge technology and everyday creativity. The content he created inspires the audience to embrace digital tools confidently.
View all ArticlesLeave a Comment
Create your review for HitPaw articles