Why Is My MacBook Camera Blurry and How to Fix It
I tired to open the camera for FaceTime and the Camera get's blur and not with clear picture. What is the solution ? Please help me Guys! thanks. -From Apple Discussions
A blurry camera on your Mac can be incredibly frustrating—especially when you're preparing for an important Zoom meeting, recording a video, or live streaming. Many users experience unclear or low-quality images from their Mac’s built-in webcam, particularly in low-light settings or on older devices.
So why does your Mac camera appear blurry, and more importantly, how can you fix it? In this guide, we'll walk you through the common causes and solutions, and also show you how to enhance the quality of your videos on macOS.
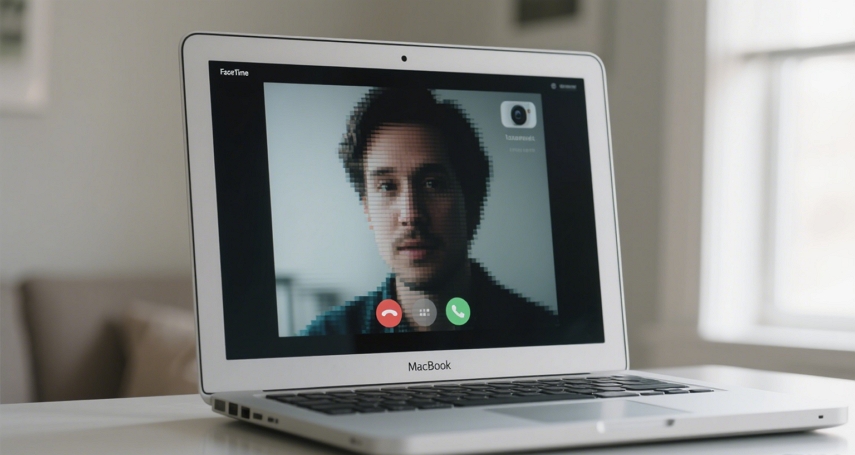
Part 1. Why is My Mac Camera so Blurry?
Before jumping into fixes, it's crucial to understand what causes your Mac camera to be blurry in the first place. Below are the most common reasons:
- 1. Dirty Camera Lens
- 2. Poor Lighting Conditions
- 3. Low Camera Resolution
- 4. Software Settings
- 5. Network Compression
- 6. Background Effects or Filters
The simplest yet often overlooked cause is a smudged or dirty lens. Dust, fingerprints, or even skin oils can distort the image and make your camera look foggy.
Webcams, especially built-in ones, don’t perform well in low-light environments. If your room isn’t well-lit, your image will appear grainy and less sharp.
Most MacBooks, even recent ones, still use a 720p FaceTime HD camera. While usable, it doesn't offer the clarity of 1080p or 4K external webcams.
Apps like Zoom or Google Meet might have video settings that default to lower quality, especially to preserve bandwidth.
Blurriness during video calls might not be the camera’s fault but a result of your network limiting the video stream quality due to poor bandwidth.
Using virtual backgrounds or facial filters can strain the processing power and lead to pixelation or blurriness.
Part 2. How to Fix a Blurry Camera on Mac
When your Mac camera appears blurry, try these step-by-step fixes to restore sharp, high-quality video:
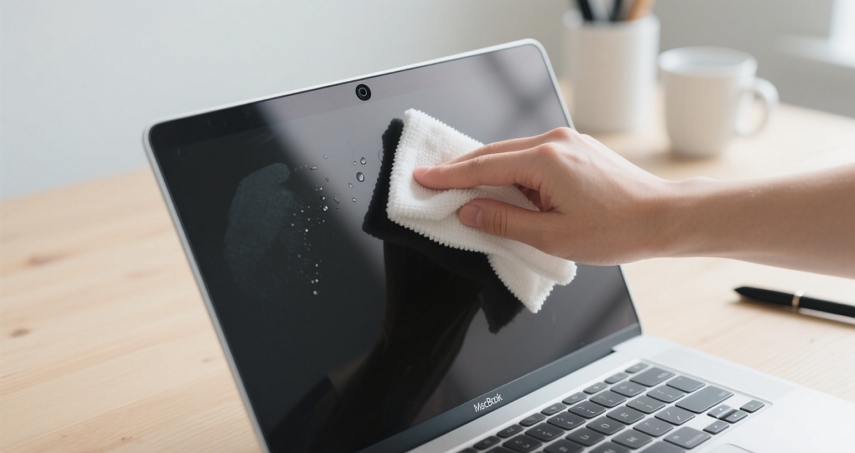
1. Clean Your Camera Lens Thoroughly
Even a thin layer of dust or fingerprints on your camera lens can cause image distortion or foggy visuals. Many users overlook this simple step.
- Turn off your Mac and identify the camera location (usually at the top center of your screen).
- Use a clean microfiber cloth (the kind used for glasses) to gently wipe the lens.
- For stubborn smudges, lightly dampen the cloth with distilled water or lens cleaner—but never apply liquid directly to your Mac.
- Avoid using tissue paper or rough fabric, as they may scratch the lens.
2. Improve Your Lighting Environment
Lighting plays a massive role in how your webcam image appears. Poor lighting forces your camera to increase ISO sensitivity, which leads to grainy, soft images.
- Place a soft light source in front of you, behind your Mac. Avoid backlighting or harsh overhead lights.
- Try using a ring light or LED panel at eye level for balanced illumination.
- If recording during the day, sit facing a window to use natural light.
- Avoid mixing different light temperatures (like warm desk lamps with cold LEDs) which can distort color and clarity.
3. Use an External HD or 4K Webcam
The built-in FaceTime HD cameras on many MacBooks are limited to 720p, which is subpar for professional use. Upgrading to an external webcam can make a major difference.
- Purchase a 1080p or 4K webcam from brands like Logitech, Razer, or Elgato.
- Connect the webcam via USB and allow macOS to detect it automatically.
- In your video app (e.g., Zoom or FaceTime), go to Settings > Video and select the new webcam.
- Some webcams also come with dedicated software that allows further image tuning (brightness, contrast, focus, etc.).
4. Check and Adjust App Settings
Even with good hardware and lighting, your camera might still look blurry due to software settings within video conferencing apps like Zoom, Microsoft Teams, or Skype.
How to fix in Zoom:- Open Zoom and go to Settings > Video.
- Enable the option “HD” to activate higher-resolution output.
- Disable “Touch up my appearance” or “Adjust for low light” if they cause unnatural blurring.
- In other apps like Google Meet, go to Settings > Video and set resolution to 720p or 1080p if available.
5. Improve Network Stability and Bandwidth
Blurry video in calls can sometimes be caused not by the camera but by network-based compression. Low bandwidth forces video apps to reduce image quality for smoother performance.
- Use a wired Ethernet connection if possible—it’s more stable than Wi-Fi.
- If using Wi-Fi, position your Mac close to the router or use a Wi-Fi extender.
- Pause background downloads or streaming services while on video calls.
- In Zoom, go to Settings > Statistics to view current bitrate and resolution during calls.
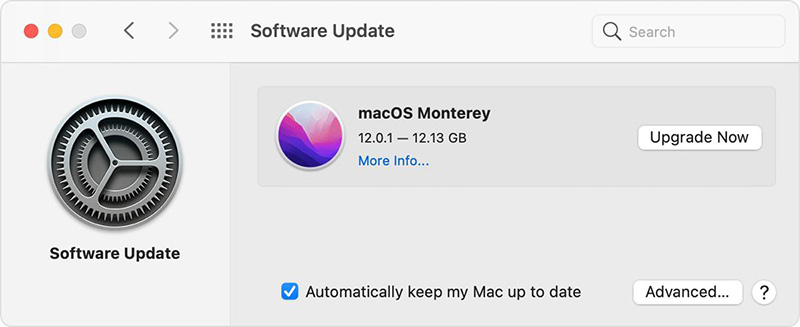
6. Update macOS and Video Apps
An outdated system or video application can result in compatibility issues or suboptimal camera performance.
- Go to System Settings > General > Software Update and install the latest macOS updates.
- Open the App Store or your browser to download the latest version of Zoom, Skype, or other relevant software.
- Restart your Mac after updates to apply changes and refresh system performance.
Special Considerations for New MacBook Pro Camera Blurry
For users experiencing new macbook pro camera blurry, there are a few additional considerations:
1. Specific versions of the new MacBook Pro may have firmware changes or patches regarding the camera. Visit the support tab of Apple’s website or the discussion forum to check whether there are any familiar issues and their probable solutions for the model you are using.
2. Although it may not be widespread, some problems may arise in the hardware, which may be well illustrated in the camera. Suppose the problem is still there after successfully performing each solution above. In that case, it is advisable to consult an Apple Support or visit an Apple Store to enable a technician to assist you.
3. The newer MacBook Pro models have improved cameras optimized for different lighting conditions. Although the conditions may affect the cameras' functionality, ensure that there is no direct glare and no high-intensity light sources in the environment where you are located.

Part 3: How to Improve Blurry Video Quality on Mac (After Recording)
If you've already recorded a blurry video using your Mac’s built-in webcam or any low-resolution source, you might think the footage is unusable. Fortunately, AI-based video enhancement tools can significantly recover and even upgrade your blurry video to HD or 4K, making it sharper, cleaner, and more vibrant.
Use AI to Fix and Enhance Video Quality on Mac
One of the best solutions for fixing blurry or low-quality videos on macOS is HitPaw VikPea —a professional-grade AI video enhancer that works seamlessly on Mac computers (including Apple Silicon M1/M2/M3 devices).
HitPaw VikPea is an AI-powered video enhancer designed to improve the clarity, sharpness, and overall quality of any video—especially those affected by blur, low resolution, noise, or color fading. It supports macOS 10.15 and above, and runs natively on Apple Silicon chips.
Key Features of HitPaw VikPea
- Easily upscales low-resolution videos to 1080p, 2K, 4K, or even 8K, maintaining clarity and reducing pixelation.
- Automatically identifies blurry frames and sharpens edges using deep learning. Perfect for webcam videos or motion blur.
- Offers specialized models including: General (clarity), Face (portrait enhancement), Animation (cartoon sharpening), Denoise (reduce video noise).
- Enhances faded or dull colors intelligently—perfect for old, washed-out videos.
- Split-screen comparison to instantly preview the difference before exporting.
- Enhances multiple videos at once with consistent quality. Ideal for content creators or archivists.
Steps to Fix Blurry Videos on Mac with VikPea
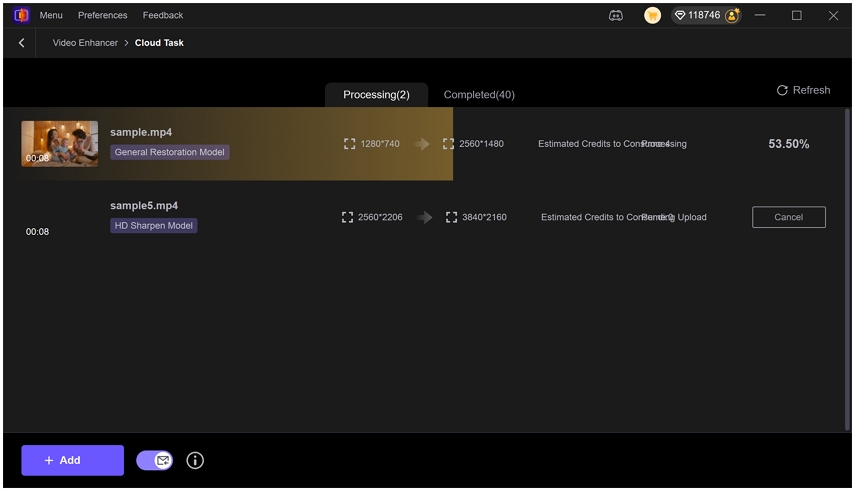
Step 1. Launch HitPaw VikPea and import the video you want to enhance.

Step 2. Select the appropriate model from the available AI models, such as an General Retoration Model or Portrait model, based on your needs.
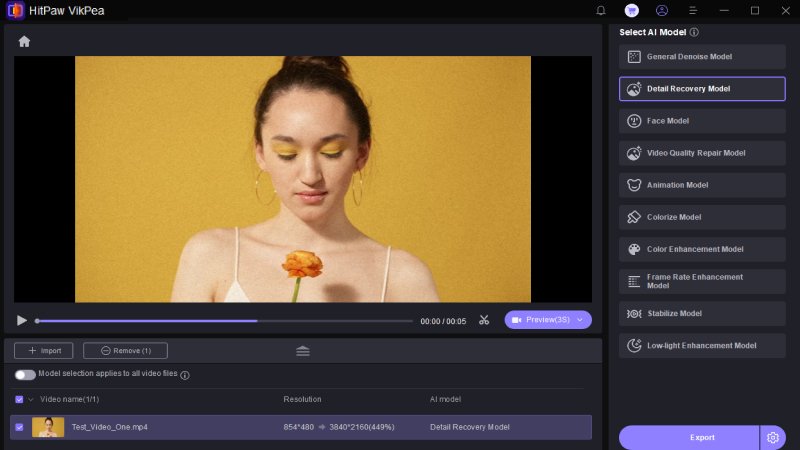
Step 3. After the video has been edited and enhanced, click Preview button to instantly see a side-by-side before-and-after comparison.

Step 4. Click the Export button to save the enhanced video.
Learn More about HitPaw VikPea
FAQs about Mac Blurry Videos
Q1: Why does my MacBook Pro camera look worse than my iPhone camera?
MacBook cameras are often limited to 720p resolution and use smaller sensors optimized for video calls, not recording. In contrast, iPhones have advanced camera systems with larger sensors, multiple lenses, and dedicated image processing chips. For better video quality on Mac, consider using Continuity Camera (iPhone as a webcam) or enhancing your recordings with tools like VikPea.
Q2: Can I use my iPhone as a webcam for Mac? Will it improve sharpness?
Yes, with macOS Ventura or later, Apple introduced Continuity Camera, allowing your iPhone to function as a high-quality webcam over Wi-Fi or cable. It supports Center Stage, Portrait Mode, and Studio Light, significantly improving clarity, depth, and lighting—especially when compared to the built-in Mac camera.
Q3: How much lighting do I need to avoid blurry webcam video?
You need balanced front lighting to avoid overexposure or shadows. A ring light or LED panel placed behind your Mac screen at eye level is ideal. Avoid backlighting (e.g., bright windows behind you) as it makes your face darker and causes your camera to compensate poorly, leading to blurriness or grainy video.
Q4: Is there a way to permanently fix blurry videos recorded on Mac?
Yes. Using AI-based enhancement software like VikPea allows you to permanently upscale and deblur your videos. Once processed, the output file is clearer and sharper, ready for upload or editing. This is particularly useful for older or important recordings you can’t re-shoot.
Conclusion
A blurry Mac camera doesn't have to ruin your video calls or recordings. From simple cleaning and lighting tweaks to upgrading hardware and using smart software solutions, there are plenty of ways to sharpen your image.
And if you’ve already recorded blurry videos on your Mac, don’t worry. HitPaw VikPea is here to help. With just a few clicks, you can transform fuzzy footage into crisp, HD-quality content—perfect for social media, work presentations, or personal keepsakes.


 HitPaw Edimakor
 HitPaw FotorPea
 HitPaw Univd (Video Converter)



Share this article:
Select the product rating:
Daniel Walker
Editor-in-Chief
This post was written by Editor Daniel Walker whose passion lies in bridging the gap between cutting-edge technology and everyday creativity. The content he created inspires the audience to embrace digital tools confidently.
View all ArticlesLeave a Comment
Create your review for HitPaw articles