How to Capture Long Exposure Photography Stars to Perfection?
Capturing the night sky filled with stars is a truly magical thing to do. The still sky and the brightness of the countless stars create a sense of wonder that is hard to describe. For those who want to capture this beauty, long exposure photography stars allow a way to freeze these moments. However, many people do not know the right tools and techniques to create a perfect combination.
To address their concerns, the article will discuss the concept and the applications of astrophotography. Readers will also learn about the equipment used and the different techniques to get a clear magical shot. In the end, the guide discusses a tool that helps you remove extreme noise in the photos.
Part 1. Exploring Long Exposure Sky Photography and Its Artistic Appeal
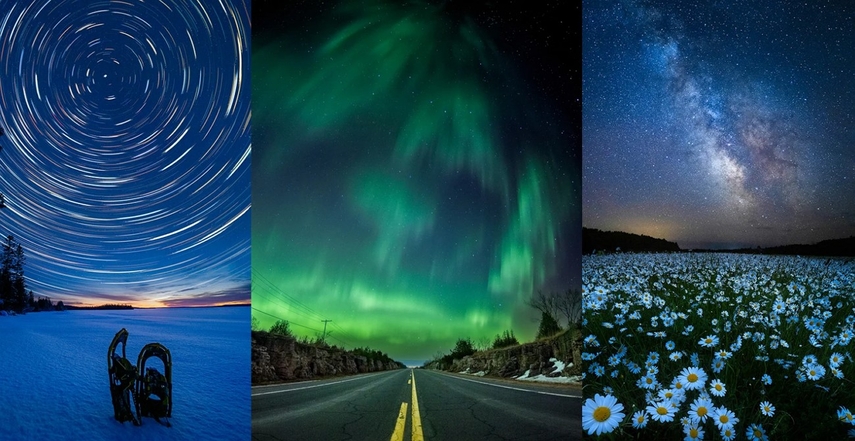
Basically, capturing sky in long exposure involves using a slow shutter speed to capture the movements of stars over time. This night sky exposure photography lets you record stars as they move across the sky due to the Earth’s rotation. This is an art that shows the beauty of the cosmos and arouses feelings of curiosity in viewers. It opens up a range of creative possibilities, and a few applications are:
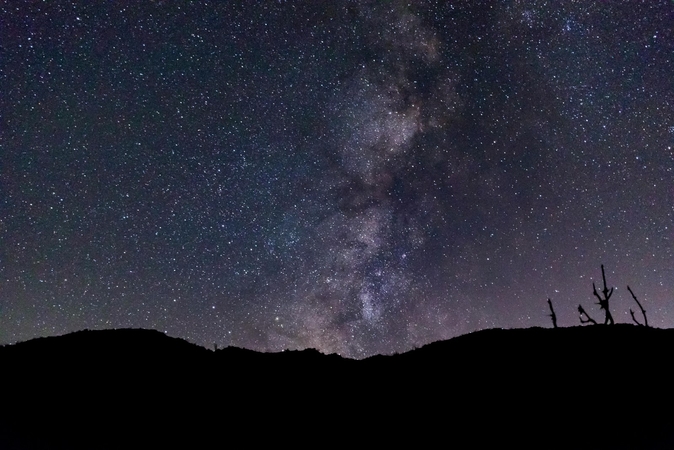
1. Star Trails: This shows how stars move around the sky in circles, which happens due to the spinning nature of Earth.
2. Milky Way Photography: One can focus on the bright center of our galaxy, which has countless stars and dust clouds.
3. Night Landscapes: In this, trails of stars are combined with things on the ground, such as trees or mountains.
Part 2. Essential Equipment for Long Exposure Night Sky Photography
After learning about the basic concept, let’s discuss the equipment needed for long-exposure sky photography:
1. Camera and Lens
For a long exposure photo of stars, it is necessary to have a camera that has high ISO functionality. It should have manual control that includes bulb mode and remote shutter support. When we are using lenses, their focal length will determine how much sky you can photograph. Wide lenses are ideal for photographing the Milky Way, but larger ones are ideal for zooming in on an object.
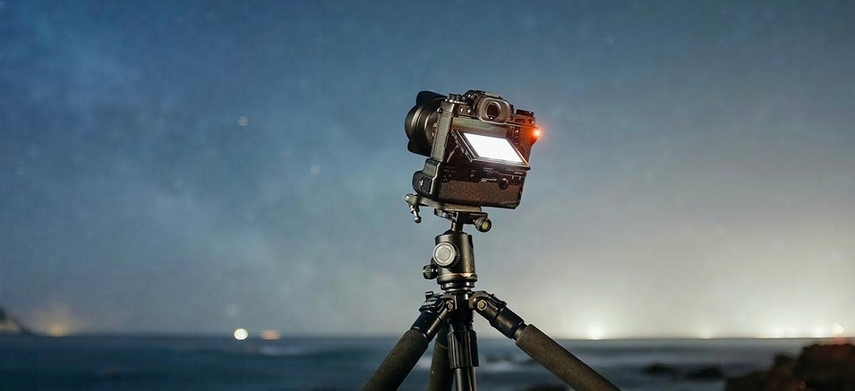
2. Tripod
We will need a good, sturdy tripod to steady the camera between exposures. A slight movement, however, and the picture is blurred, so make sure that the tripod is secure.
3. Remote Shutter Release
The remote shutter release prevents the camera from vibrating while you push the button. You can take the photo without physically touching the camera. It is handy when you have long exposure.
4. Batteries and Memory Cards
Because you need to shoot so many camera shots, this kind of photography depletes the battery quickly. And it's also a good idea to bring spare batteries and memory cards in reserve.
Part 3. Techniques for Capturing Long Exposure Star Trails
Now that you have the equipment ready, apply these techniques for a surreal night sky exposure experience:
1. Location and Composition
It is necessary to choose a dark location that is away from light and pollution. Before capturing, explore one such area that has ground elements like trees and rocks. When you insert these elements into your composition, it will add depth and interest to your photos.
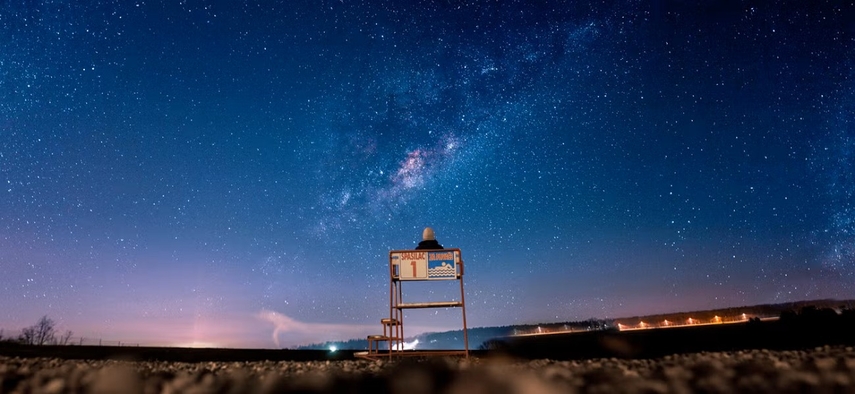
2. Camera Settings and Shooting
To capture, it is important to check that your camera is in manual mode. Usually, it is good to use a 30-second slower shutter speed to capture what you need. Take numerous images across a given time to document the stars' movement.
3. Post-Processing
After capturing your shots, employ potent software like Adobe Photoshop for stacking. This process unifies numerous photos into a singular image, thereby increasing the depth of the field.
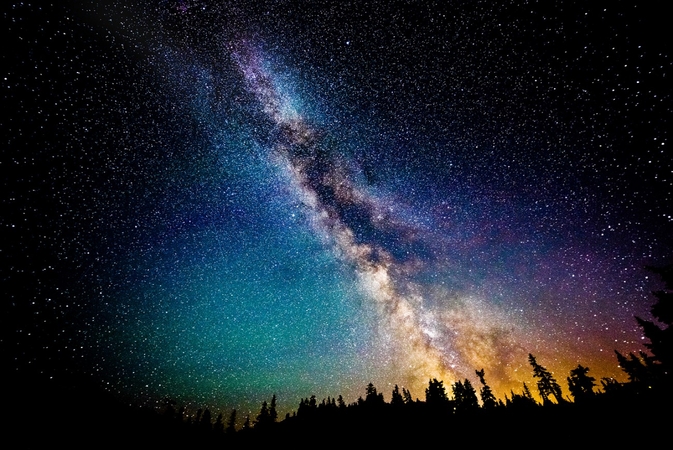
4. Experimentation
While capturing long exposure star trails, make sure to try different settings and locations. Photographers can also change the exposure time, and each session is an opportunity to learn something new.
Part 4. Optimal Settings for Capturing Various Night Sky Phenomena
Photographers can capture the perfect night sky pictures by following the given night sky long exposure settings:
1. Milky Way
To capture the perfect, high-resolution Milky Way picture, take a 30-second-long exposure star picture. Use a moderately high ISO setting, line 1600+, and have a maximum aperture lens of F/4 or lower.
2. Aurora Borealis
For a night sky aurora, turn the camera ISO setting between 800 to 6400 and use f/2.8 or smaller for the f-stop numbers. Other than that, keep the shutter speed between 4 to 30 seconds.
3. Moon
After installing your camera, put its lens in manual focus, f/5.6 to f/11 aperture and auto-white mode. Also, apply 1/125 & 1/250 shutter speed with ISO 100 to 200.
4. Meteor Showers
A perfect meteor shower will be captured with an ISO of 1600 to 3200 and an aperture of f/2.8 to f/3.5. Second, with a shutter speed of 20 to 30 seconds, you will capture a long exposure star trail.
5. Comets
While doing your night shots, rotate the shutter speed between 5 to 15 seconds with a low aperture of f/1.8 and f/3.5. Set the ISO to extreme levels, such as 1000 to 8000, with a focal length of 75mm.
Part 5. Addressing Noise and Enhancing Long Exposure Photos with HitPaw
It'll be such an ethereal sight when you try to capture the ever-growing glow of the Milky Way, Auroras, and meteor showers. These captures require long exposure to night sky photography with various settings, as discussed earlier. However, these techniques are not very beneficial if the final result of the picture is grainy and contains digital noise. Therefore, to remove the color texture and blotches, use HitPaw FotorPea (formerly HitPaw Photo Enhancer).
Key Features of HitPaw FotorPea
1. Support batch processing and enhance multiple noisy pictures of the night sky.
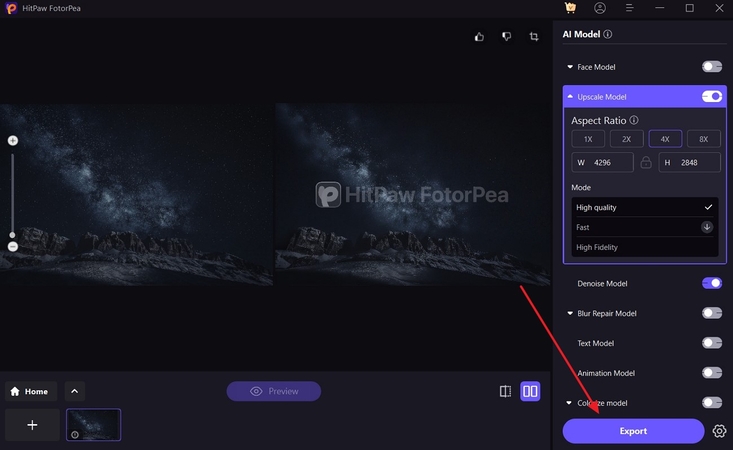
2. Offer a side-by-side preview screen for comparison between the two pictures after enhancement.
3. Restore old night sky images into high-quality and color-corrected images with AI color correction models.
4. The Denoise Model effectively removes image noise while preserving fine details and enhancing the signal-to-noise ratio for sharper, cleaner visuals.
5. Use a low-light AI model to improve the night sky view in higher contrast and more.
How to Enhance Long Exposure Photos with FotorPea?
Now, learn how this image tool can help you fix the noise and long-exposure sky photos with the following steps:
Step 1. Open HitPaw FotorPea and Import Night Sky ImageLaunch the software on your device and click the “Enhance Photos Now” button on the main interface. Next, insert any night sky view photo from your device.

Step 2. Choose Appropriate Noise Models and Preview
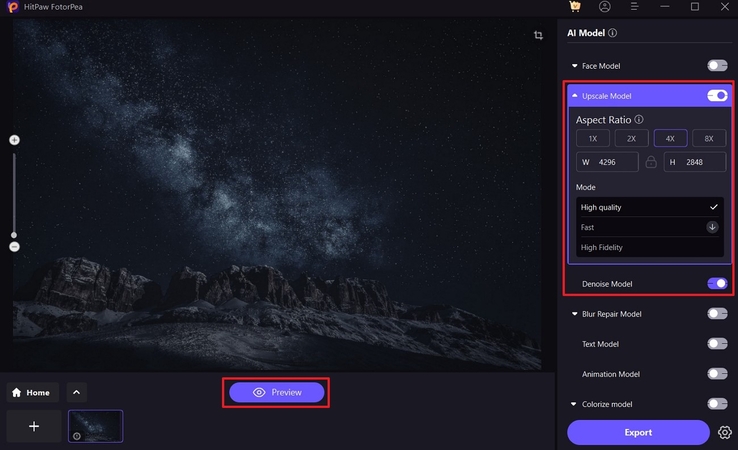
After that, toggle the “Upscale Model” and “Denoise Model” options on the right panel. Also, choose specific options under these options, like “Aspect Ratio” and “Mode,” to gain better results. Now, hit the “Preview” button to start the enhancement process.
Step 3. Export the Final Result
When the image is enhanced, go to the right-side corner and press the "Export" button to save.
Part 6. FAQs on Long Exposure Night Sky Photography
Q1. How to capture long exposure photos of stars using a smartphone?
A1. You can use the smartphone’s manual or pro mode long exposure sky settings. Set it to shutter speed up to 10 to 30 seconds, ISO at 800 to 1600, and lock the go-to to infinity.
Q2. What is the ideal exposure time for star trails?
A2. For short videos, users can use 30 seconds to 2 minutes per shot and stack multiple photos. If you want long and a continuous trail of stars, users can use a single exposure of 15 to 60 minute per shot.
Q3. Do I need a star tracker for long-exposure Milky Way shots?
A3. No, but when you are using a star photography exposure time and zoom lenses, it preserves more details. It also helps and is ideal for capturing deep-sky work and ultra-clean Milky Way images.
Q4. Why do my photos have colored spots or streaks?
A4. These are often hot pixels and sensory noise, commonly found with long exposures and ISO, used in tools like reduction software. Other times, it is caused by lens flare from nearly light sources of dust particles reflecting that light.
Q5. How do I find good dark-sky locations?
A5. Photographers can look for places with a Bortle Scale 1 -3 rating, as these are mostly national parks and deserts. Moreover, you can use apps to find the best places and try avoiding areas within 50km of major cities to minimize the skyglow and clear images.
Conclusion
This article helped users explore how to capture the perfect long-exposure photography stars with tips and camera settings. Moreover, this article provided all the right equipment that you'll need for capturing those night sky shots. However, if the picture turns out blurry or contains digital noise, use HitPaw FotorPea.


 HitPaw Edimakor
 HitPaw VikPea (Video Enhancer)
 HitPaw Univd (Video Converter)
![[Essentials] How To Perform Time-Lapse Photography Night Sky?](https://images.hitpaw.com/topics/photo-enhancer-tips/time-lapse-photography-night-sky.jpg)
![[How To] Perfecting iPhone Night Sky Photography in 2026](https://images.hitpaw.com/topics/video-enhancer/night-sky-photography-on-iphone.jpg)

Share this article:
Select the product rating:
Daniel Walker
Editor-in-Chief
This post was written by Editor Daniel Walker whose passion lies in bridging the gap between cutting-edge technology and everyday creativity. The content he created inspires the audience to embrace digital tools confidently.
View all ArticlesLeave a Comment
Create your review for HitPaw articles