How to Change Color Hair in Photoshop: A Comprehensive Guide
Digital hair coloring is the latest craze that creators, influencers, and editors have taken. Numerous users require to experiment with hair colors or improve portraits without using actual coloring. This blog will explain how to use Photoshop to adjust hair color in a step-by-step manner and how to do this in a realistic way.
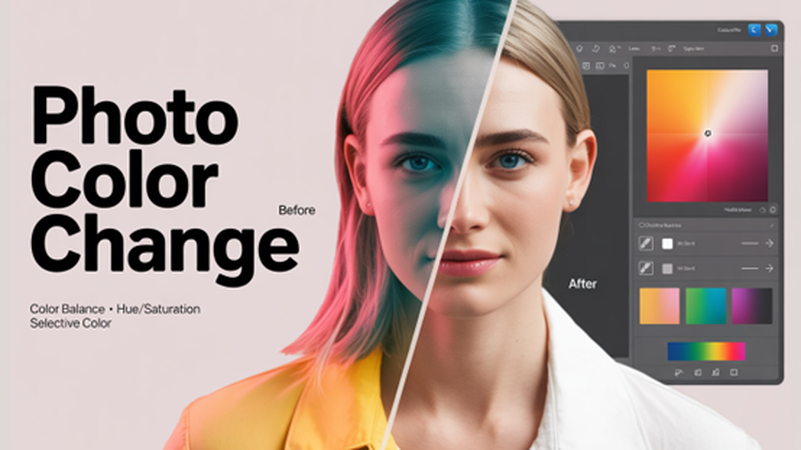
Part 1: Basics of Hair Color Change in Photoshop
In order to learn how to change hair color in Photoshop, it is necessary to get acquainted with the necessary tools and methods that the software provides to a person to precisely and effectively edit the color. Adjustment layers and selection tools are the two main components of the workflow of hair color in Photoshop.
Overview of Tools and Features in Photoshop for Color Editing
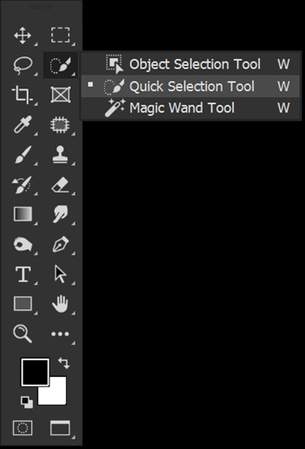
1. Selection Tools (Lasso, Quick Selection):
There are also numerous selection tools created by Photoshop, which assist in isolating the hair from the other areas of the image. The Lasso Tool is quite helpful when it is necessary to draw in a free hand the space that has a clear boundary.
In selections where more realistic and complex selections are needed, the use of the Quick Selection Tool is favored. It enables its users to paint over the hair on it and smartly identify edges. To refine the details such as strands, flyaways, the Select and Mask feature of Photoshop comes with advanced characteristics of refinements, which are necessary when learning how to change someone's hair color in Photoshop.
2. Adjustment Layers (Hue/Saturation, Color Balance):
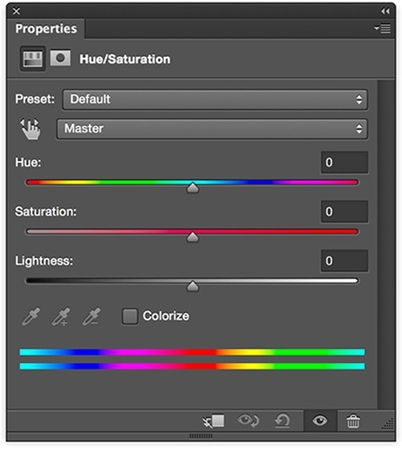
After choosing a hair, editing is made possible through adjustment layers, which do not damage the hair. The Hue/Saturation layer allows the user to put on new hues by using sliders, whereas Dale Balance offers a more fine-grained level of control over highlight, middle, and shadows, so you can make a realistic hair tone that fits the picture. If you are playing around with how to change hair color in Photoshop Elements then these layers come in handy, because they are similar in appearance.
Importance of Selecting the Right Hair Color
1. Color Theory Basics:
When making the right hair color selection the concept of color theory comes in. Colors that are at opposite ends of the color wheel or what is referred to as complementary colors form high contrast and interest.
Adjacent colors, i.e. analogous, provide a natural transition. It is always advisable to have an understanding of these relationships as it allows you to make your editing look more appealing and professionally balanced.
2. Choosing Colors That Complement Skin Tones:
The color of the hair also needs to be the equivalent of the skin undertones of the subject. Warm skins go well with rich brown, copper, auburn, and honey blonde whereas cool skins blend well with ash brown, platinum, or black.
Hair color When digitally varying hair, particularly when experimenting with how to change your hair color in Photoshop, the tone is central to believability. Using the wrong choice of color makes the picture seem unnatural but using a suitable one adds to the whole portrait.
Part 2: Step-by-Step Guide on How to Change Hair Color in Adobe Photoshop
In this component, you will find a step-by-step guide on how to edit hair color in Photoshop or how to edit my hair color in Photoshop taking the non-destructive approach.
1. Preparing the Image
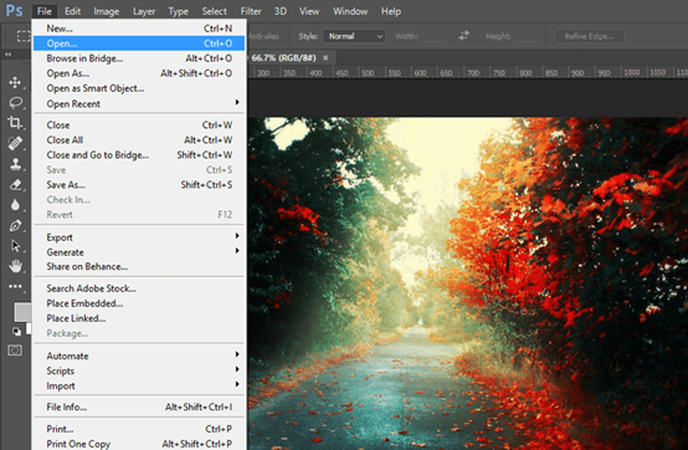
- Opening the image in Photoshop:
Begin by opening Photoshop and opening that photo of portrait photo. Ensure that the picture is of high resolution to give an optimum result.
- Duplicating the background layer for non-destructive editing:
Give the right-click in the background layer of the Layers panel and then key in the duplicate layer. This will make sure you never run out of the original untouched and you could do it again in the event of a need.
2. Selecting the Hair
- Using selection tools to isolate the hair:
Select the Quick Selection Tool and then brush the area filled with hair. The edges will automatically be detected by Photoshop to come up with a rudimentary selection involving highlights, curls, and strands.
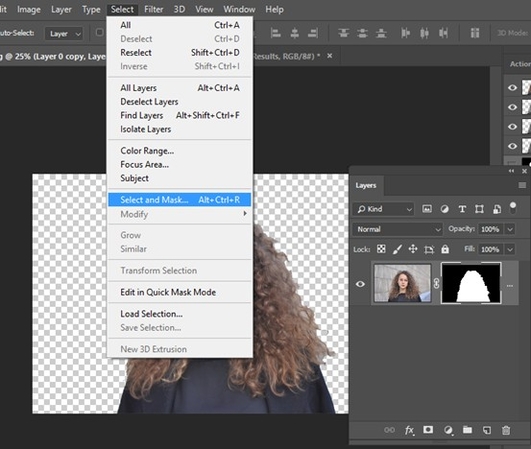
- Refining the selection for accuracy:
Make the choice Select > Select and Mask. Covert the edges in the Refine Edge Brush Tool, and add any loose hairs. Make adjustments of feathering and contrast for a smoother transition. Render this selection as a layer mask because by doing so, you would have an option to make settings later.
3. Changing the Hair Color
- Applying the Hue/Saturation adjustment layer:
Select the icon New Adjustment Layer in the Layers panel and go to Hue/Saturation. Toggle turning the Colorize check box to allow complete coloring overlapping the chosen colorable hair area.
- Fine-tuning the color using sliders:
Tone can be selected using the Hue slider, vibrancy using the Saturation slider, and brightness using the Lightness slider. Experiment until you can do a natural or stylized look, whatever you are trying to achieve, or what your client would like to see.
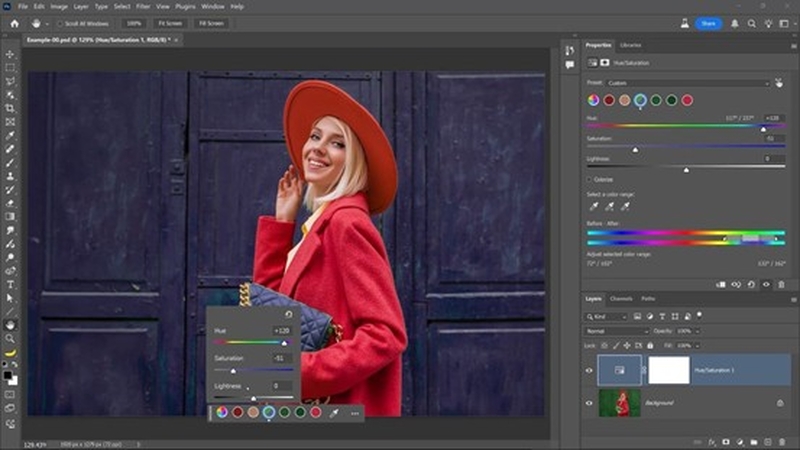
- Using Color Balance for more precise adjustments:
Above it add a Color Balance adjustment layer. In this case adjust the Midtones, Highlights, and Shadows. To illustrate, add more red hues within the midtones to generate a warm manner a la auburn, or cool down the shades to turn ash-blonde.
This two-layered method makes corrections more alive, and in learning to make realistic and deep color changes without hair in Photoshop, this factor is crucial. The screenshots to be recommended on each step: selection pieces, adjusting hue, and final results preview.
Part 3: Bonus Tips for Enhancing Portrait Photos with HitPaw FotorPea Plugin
To make your editing job even better, you can enhance the Photoshop work with the Plugin from HitPaw FotorPea to save your time and take your work to a qualitative level with the help of AI features.
Overview of HitPaw FotorPea Plugin and Its Features
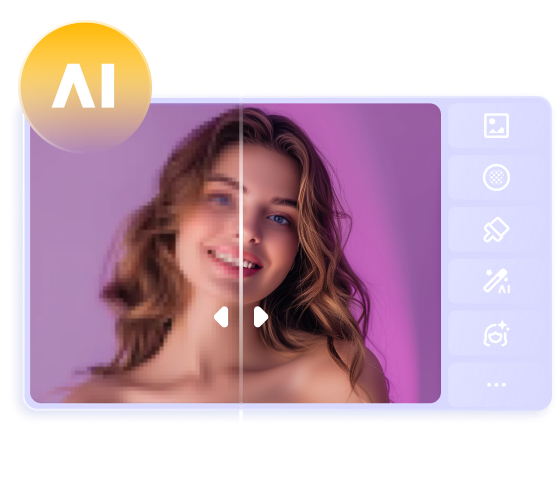
HitPaw FotorPea Plugin is an intelligent Photoshop plug-in, which is a professional portrait retouching plug-in. It offers:
- AI single-click skin smoothing
- The intelligent correction Smart light on natural skin tones
- Color boosting to match the hair with the rest of the picture
- Pre-configured filters of beauty or creative edits
This tool becomes particularly useful to people seeking an easy way to know how to change the hair color in Photoshop and expecting professional-level effects without great manual retouching or spending much time individually adjusting each spot.
Steps to Combining with Photoshop for Advanced Enhancement
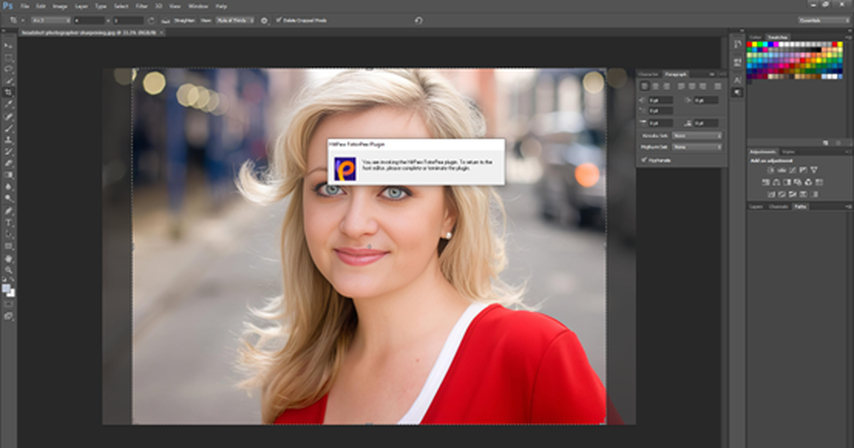
Step 1.Install and download the plugin through the official instructions of HitPaw.
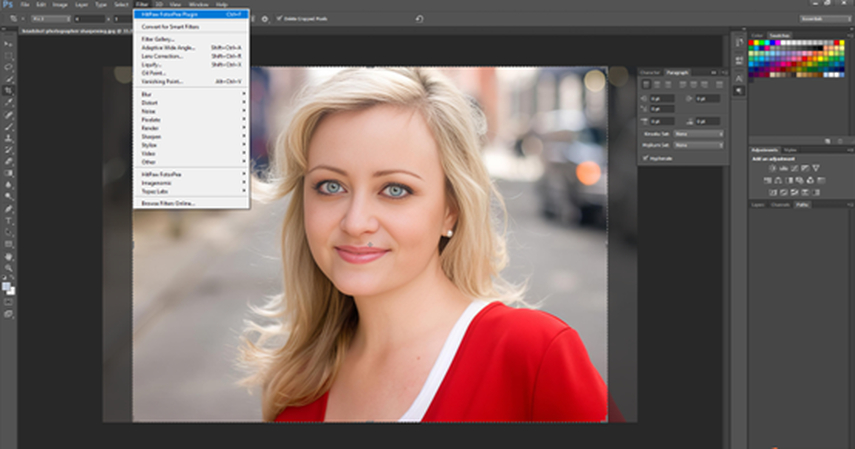
Step 2.Once you have finished your coloring of hair on Photoshop, visit Filter > HitPaw Plugin > FotorPea.

Step 3.Use such AI capabilities as Portrait Retouch or Color Correction to refine the picture.

Step 4.Smooth the skin, match the lighting, and balance the tones over the hair and the face using sliders.
Step 5.Save the result or export it where more editing and sharing are possible. Editing your hair using HitPaw FotorPea will make your edits not feel out of place.

If you are looking for more AI photo enhancer and editing tools, try with HitPaw FotorPea.
Conclusion
Adapting Photoshop to change hair color is an insanely strong tool that allows tests, corrections, and bettering of portraits without being constrained by real-life pressures. Once you know how to change hair color in Photoshop, you can test new looks, develop beauty edits, and create visuals to send to clients, among other things.
People who wish to push a little further can use such tools as HitPaw FotorPea Plugin which allows them to make all the necessary improvements intelligently smoothing the process and allowing you to have studio results in a shorter time.




 HitPaw Univd (Video Converter)
 HitPaw VoicePea
  HitPaw VikPea (Video Enhancer)


Share this article:
Select the product rating:
Daniel Walker
Editor-in-Chief
This post was written by Editor Daniel Walker whose passion lies in bridging the gap between cutting-edge technology and everyday creativity. The content he created inspires the audience to embrace digital tools confidently.
View all ArticlesLeave a Comment
Create your review for HitPaw articles