How to Master Night Landscape Photography: A Comprehensive Guide
Night landscape photography reveals a world that few people have the opportunity to witness. With stars above and moonlight casting shadows, familiar scenes become surreal. While daylight photographers chase golden hour, professional artists balance light, shadow, and exposure. Unlike bright settings, twilight vistas demand manual control and attention to detail in the darkness. The outcomes can be emotionally rich and powerful, despite the difficulty.
A strong nighttime outdoor scene evokes a sense of wonder and mystery. The atmosphere is unique, whether it captures starlit forests or distant city glows. For those seeking dramatic imagery, low-light scene photography offers depth and creativity. It takes planning, patience, and vision. If you're seeking new ideas for night landscape photography, exploring clear sky scenes can be an exciting and creative experience.
1. Essential Equipment for Night Photography
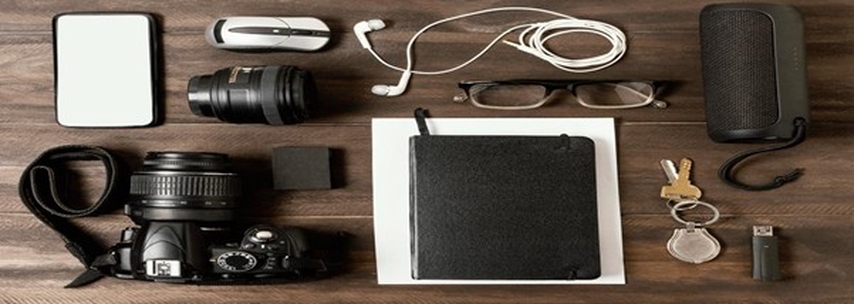
To capture quality images in the dark, you'll need more than a basic setup. Your gear must meet the specific needs of night landscape conditions, where long exposures and low light are the norm.
Camera: Use a full-frame DSLR or mirrorless model with full manual controls. These cameras perform better in low light, handling high ISO with less noise. Models like the Sony A7 series, Canon EOS R, or Nikon Z6 are excellent options.
Lenses: Choose a wide-angle lens (14mm-24mm) with a fast aperture, such as f/2.8 or wider. It lets in more light and captures more of the scene-ideal for nighttime landscape shots.
Tripod: Essential for stability during long exposures. Opt for a sturdy aluminum or carbon fiber tripod to minimize blur caused by vibrations.
Accessories: Use a remote shutter release or timer to reduce shake. A red-light headlamp preserves night vision. Bring extra batteries (cold drains them fast) and large memory cards for RAW shooting.
2. Understanding the Night Sky
Understanding the behavior of the night sky can significantly impact the quality of your shot. The moon, stars, atmosphere, and even pollution all shape your results.
Moon Phases: A full moon lights the land like a natural spotlight-great for showcasing details, but bad for stars or the Milky Way. New moon nights offer darkness, letting stars shine brightest. Quarter moons strike a balance between sky and ground visibility.
Light Pollution: Dark skies are best for capturing stars, but city lights can sometimes add a creative glow. An orange or purple haze on the horizon may enhance mood, but usually at the cost of clarity. For the sharpest results, head far from city lights. Use tools like Light Pollution Map to find dark zones.
Weather Considerations: Clear skies are ideal, but thin clouds or light fog can enhance the atmosphere. Watch out for humidity, which fogs lenses-use anti-fog wipes. Wind may blur trees during long exposures. Conducting a thorough forecast check can significantly impact the outcome.
Knowing these factors is important for taking excellent night photos and finding new ideas for photography under a clear sky.
3. Post-Processing Night Photos with Hitpaw FotorPea
Editing is essential in low-light photography.
Key Adjustments:
White Balance: Start around 3200-4000K for cooler tones. Adjust based on the scene.
Noise Reduction: Carefully apply to retain texture while removing grain.
Sharpening and Clarity: Use selectively to make stars pop and landscape details stand out.
Advanced Techniques:

Image Stacking: Improves signal-to-noise ratio. Ideal for astrophotography.
HDR Blending: Helps combine multiple exposures into a single balanced image.
HitPaw FotorPea: An excellent AI-based tool for beginners and pros alike. It sharpens details, removes noise intelligently, and corrects color balance. It's especially useful for restoring underexposed or noisy low-light scene results.
4. Scouting Locations
Good planning leads to outstanding photos. You cannot rely on stumbling into a good shot in the darkness. Scouting your location in daylight is essential to success.
Daylight Preparation: Visit your intended shooting area during the day to identify visual anchors like lone trees, intriguing rock formations, water reflections, or architectural elements. These make excellent foreground subjects once the stars come out.
Composition Tips: For a compelling composition, think in layers. Start with a strong foreground to draw the viewer in. Then build the scene with mid-ground elements, and finally frame it all with a dramatic night sky. Balance is key.
Safety Considerations: Navigating remote areas at night comes with risks. Know your terrain, bring a physical map or GPS device, and always tell someone where you'll be. Avoid cliffs, wildlife zones, or bodies of water unless you're fully prepared. A first-aid kit, whistle, and multi-tool are helpful extras.
5. Timing Your Shoot
Optimal Times: The blue hour-just after sunset or before sunrise-offers soft light that can beautifully illuminate both land and sky. Once the sky is fully dark, you get the best visibility for stars and the Milky Way. Always plan your arrival well in advance so you can set up calmly and safely.
Using Apps: Tools like Stellarium and PhotoPills help you predict celestial movements. You can plan when the moon will rise, where the Milky Way will appear, and how long your exposure window lasts. These apps are indispensable for low-light scene situations.
Seasonal Considerations: In the Northern Hemisphere, the Milky Way core is best viewed from April to October, often in the early hours of the morning. Winter skies are clearer and less humid, offering fantastic opportunities for crisp star photos-but be prepared for cold temperatures and shorter nights.
6. Camera Setup and Settings
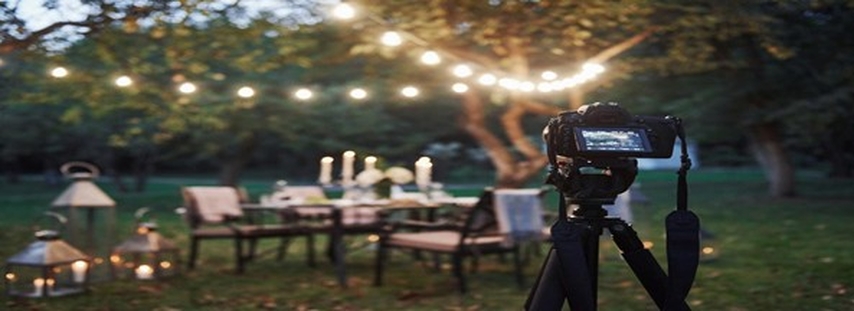
Before capturing a stunning low-light scene, your setup must be carefully prepared to meet the challenges of nighttime nature shot conditions. Success in night work often depends on small but crucial setup details.
Mounting Your Camera: Make sure your tripod is stable-check that the legs and head are locked tightly. A shaky setup will blur long exposures. Use a spirit level to keep your horizon straight.
Camera Settings: For low light, proper settings are essential.
ISO: Begin with 1600 or 3200. Higher ISO brightens images but adds noise-test your camera's limit.
Aperture: Use a wide aperture (f/1.8-f/2.8) to let in more light.
Shutter Speed: Obey the 500 Rule: 500 ÷ focal length = max exposure time before star trails appear. At 20 mm, use 25 seconds.
Focus Techniques: Autofocus often fails at night. Use live view, zoom in on a bright star or distant light, and focus manually. Tape the focus ring once it's sharp.
With the right setup, you can take sharp, clear night photos and discover new photography ideas under a clear sky.
7. Shooting Techniques
This is where your creative vision takes over and transforms a technical setup into artistic expression.
Long Exposures: Longer exposures allow you to capture more light and finer detail, revealing the beauty of the night. Use a remote shutter release or a timer delay to avoid any camera shake. For star trails, consider stacking several 30-second exposures in post-processing to create a smooth and continuous effect.
Bracketing and Compositing: Use this method to blend multiple shots with different exposures. It helps balance out scenes where the sky is much brighter than the foreground, which is common in low-light outdoor photography. This technique is essential for achieving a professional photo with full dynamic range.
Experimenting with Light: Light painting can bring depth and interest to your scene. Gently sweep a flashlight or LED over the foreground to highlight rocks, trees, or pathways. Diffuse the light or lower its output to avoid harsh spots. This creative control is essential in photography in night environments and is a powerful tool when exploring creative approaches to photographing scenes on cloudless days.
8. Common Challenges and Solutions
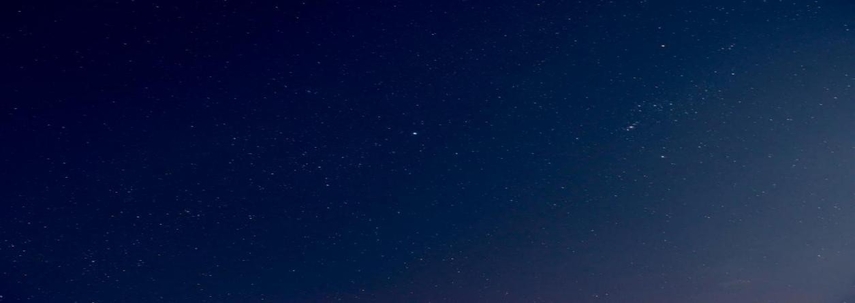
Capturing a successful low-light scene often comes with a unique set of challenges, but each has a solution if you know what to look for.
Blurry Stars: This is one of the most common issues in photography in night. If your stars appear as streaks or smudges, your exposure time is likely too long. Stick to the 500 Rule-divide 500 by your focal length-to avoid motion blur. Always double-check focus using live view and magnification on a bright object.
Noise: High ISO can brighten a dark scene but introduces grain. To combat this, shoot in RAW format for better editing control. Use noise reduction tools like HitPaw Photo Enhancer in post-processing to preserve detail while minimizing grain.
Dull Foregrounds: Underexposed terrain can make your composition fall flat. Enhance it with light painting, bracketing, or HDR blending. A well-lit foreground gives purpose and depth, elevating the overall impact. These techniques are essential when exploring new inspiration for shooting landscapes in bright, clear weather.
Conclusion
Evening scenery blends technical skill with artistic exploration, demanding patience and creativity. It challenges you to master your camera, interpret the night sky, and notice the subtle beauty of darkness. From choosing gear to composing the perfect nighttime nature shots, every step helps refine your craft. Success in it takes practice to capture scenes in the dark, but you will learn how to balance composition, exposure, and light. Planning, dependable tools, and environmental awareness are all important, but what matters most is your desire to try new things and share your ideas. Whether shooting stars, moonlit terrain, or city lights, nighttime photography offers endless possibilities.


 HitPaw Univd (Video Converter)
 HitPaw VoicePea
  HitPaw VikPea (Video Enhancer)

Share this article:
Select the product rating:
Daniel Walker
Editor-in-Chief
This post was written by Editor Daniel Walker whose passion lies in bridging the gap between cutting-edge technology and everyday creativity. The content he created inspires the audience to embrace digital tools confidently.
View all ArticlesLeave a Comment
Create your review for HitPaw articles