


[Detailed Steps] How to Blur Image in Canva for Various Parts
Blurring an image can be necessary for a variety of reasons, whether it's to protect someone's privacy by blurring their face, to create a bokeh effect for a more visually appealing background, or to reduce distractions in an image.
In this article, we will take you through the step-by-step process of how to blur an image in Canva. We will also introduce you to a tool to retouch your image tool, which can help you enhance your photos even further.
Part 1. How to Blur Picture in Canva?
Whether the blur effect is intentional on your part or to obscure some privacy, or simply to make the photo more beautiful. In any case, your photo might be saved by the blur effect.
It is not hard for you, and you can salvage a photo that was not taken well enough by Canva blur image. To add blur effects to photographs, try Canva blurry images by using simple image manipulation tools.
Step 1. Open Canva and upload the photo you want to apply the blur effect to.

Step 2. Click on the image and select Edit photo in the options bar above. Click on 'Filters' and you can find Blur option.
Step 3. Swipe right to blur and left to sharpen.
Step 4. When you slide the slider, you can synchronize it to see your whole photo blurred. Of course, if you don't like this effect, you can also remove it by clicking 'Remove blur' in the bottom left corner.
Step 5. When you have adjusted the picture to your satisfaction, you can click 'Share' in the upper right corner and select ‘Download’ to save it in the format you need.
Step 6. You can also share directly to some social media, for example, Canva supports sharing to Instagram, Facebook, Twitter, TikTok, Pinterest, LinkedIn, etc.
Part 2. How to Use Canva Blur Part of Image?
Step 1. Select the image you want to use Canva blur part of image.
Step 2. Within the Blur app menu, click on the Blur button.
Step 3. A settings menu will appear when you click the Blur button. You can adjust the Intensity (the intensity determines the transparency of the blur), Spread (spread indicates the distance you wish to blur to ) and Brush size of the blur effect you want to use. When the object you are blurring is very small, you will need to adjust the brush size.
Step 4. After adjusting the brush, click with the left mouse button and drag the cursor onto the area to be blurred.
Step 5. After releasing the mouse, the area you highlighted will now be blurred.
Part 3. How to Blur the Edges of a Photo in Canva?
Step 1. First, import the photo you want to blur edges of photo in Canva.
Step 2. Canva has a large number of pre-made gradients at your disposal that produce the effect of blurring the edges of your photos. You can type ‘Gradient Transparent’ in the search bar.
Step 3. You can click any effect into the image and use the side handles of the bounding box to stretch either side of the gradient. Expanding the side with transparency will add more transparency to the gradient and subtract it from the color.
Step 4. Hold the left key and move the background. After changing the background color, you can see that the characters and the background blend well together.
Step 5. You can see that the blur effect has been created by blurring edges of photo in Canva. You can also determine the overall effect by adjusting the figure box.
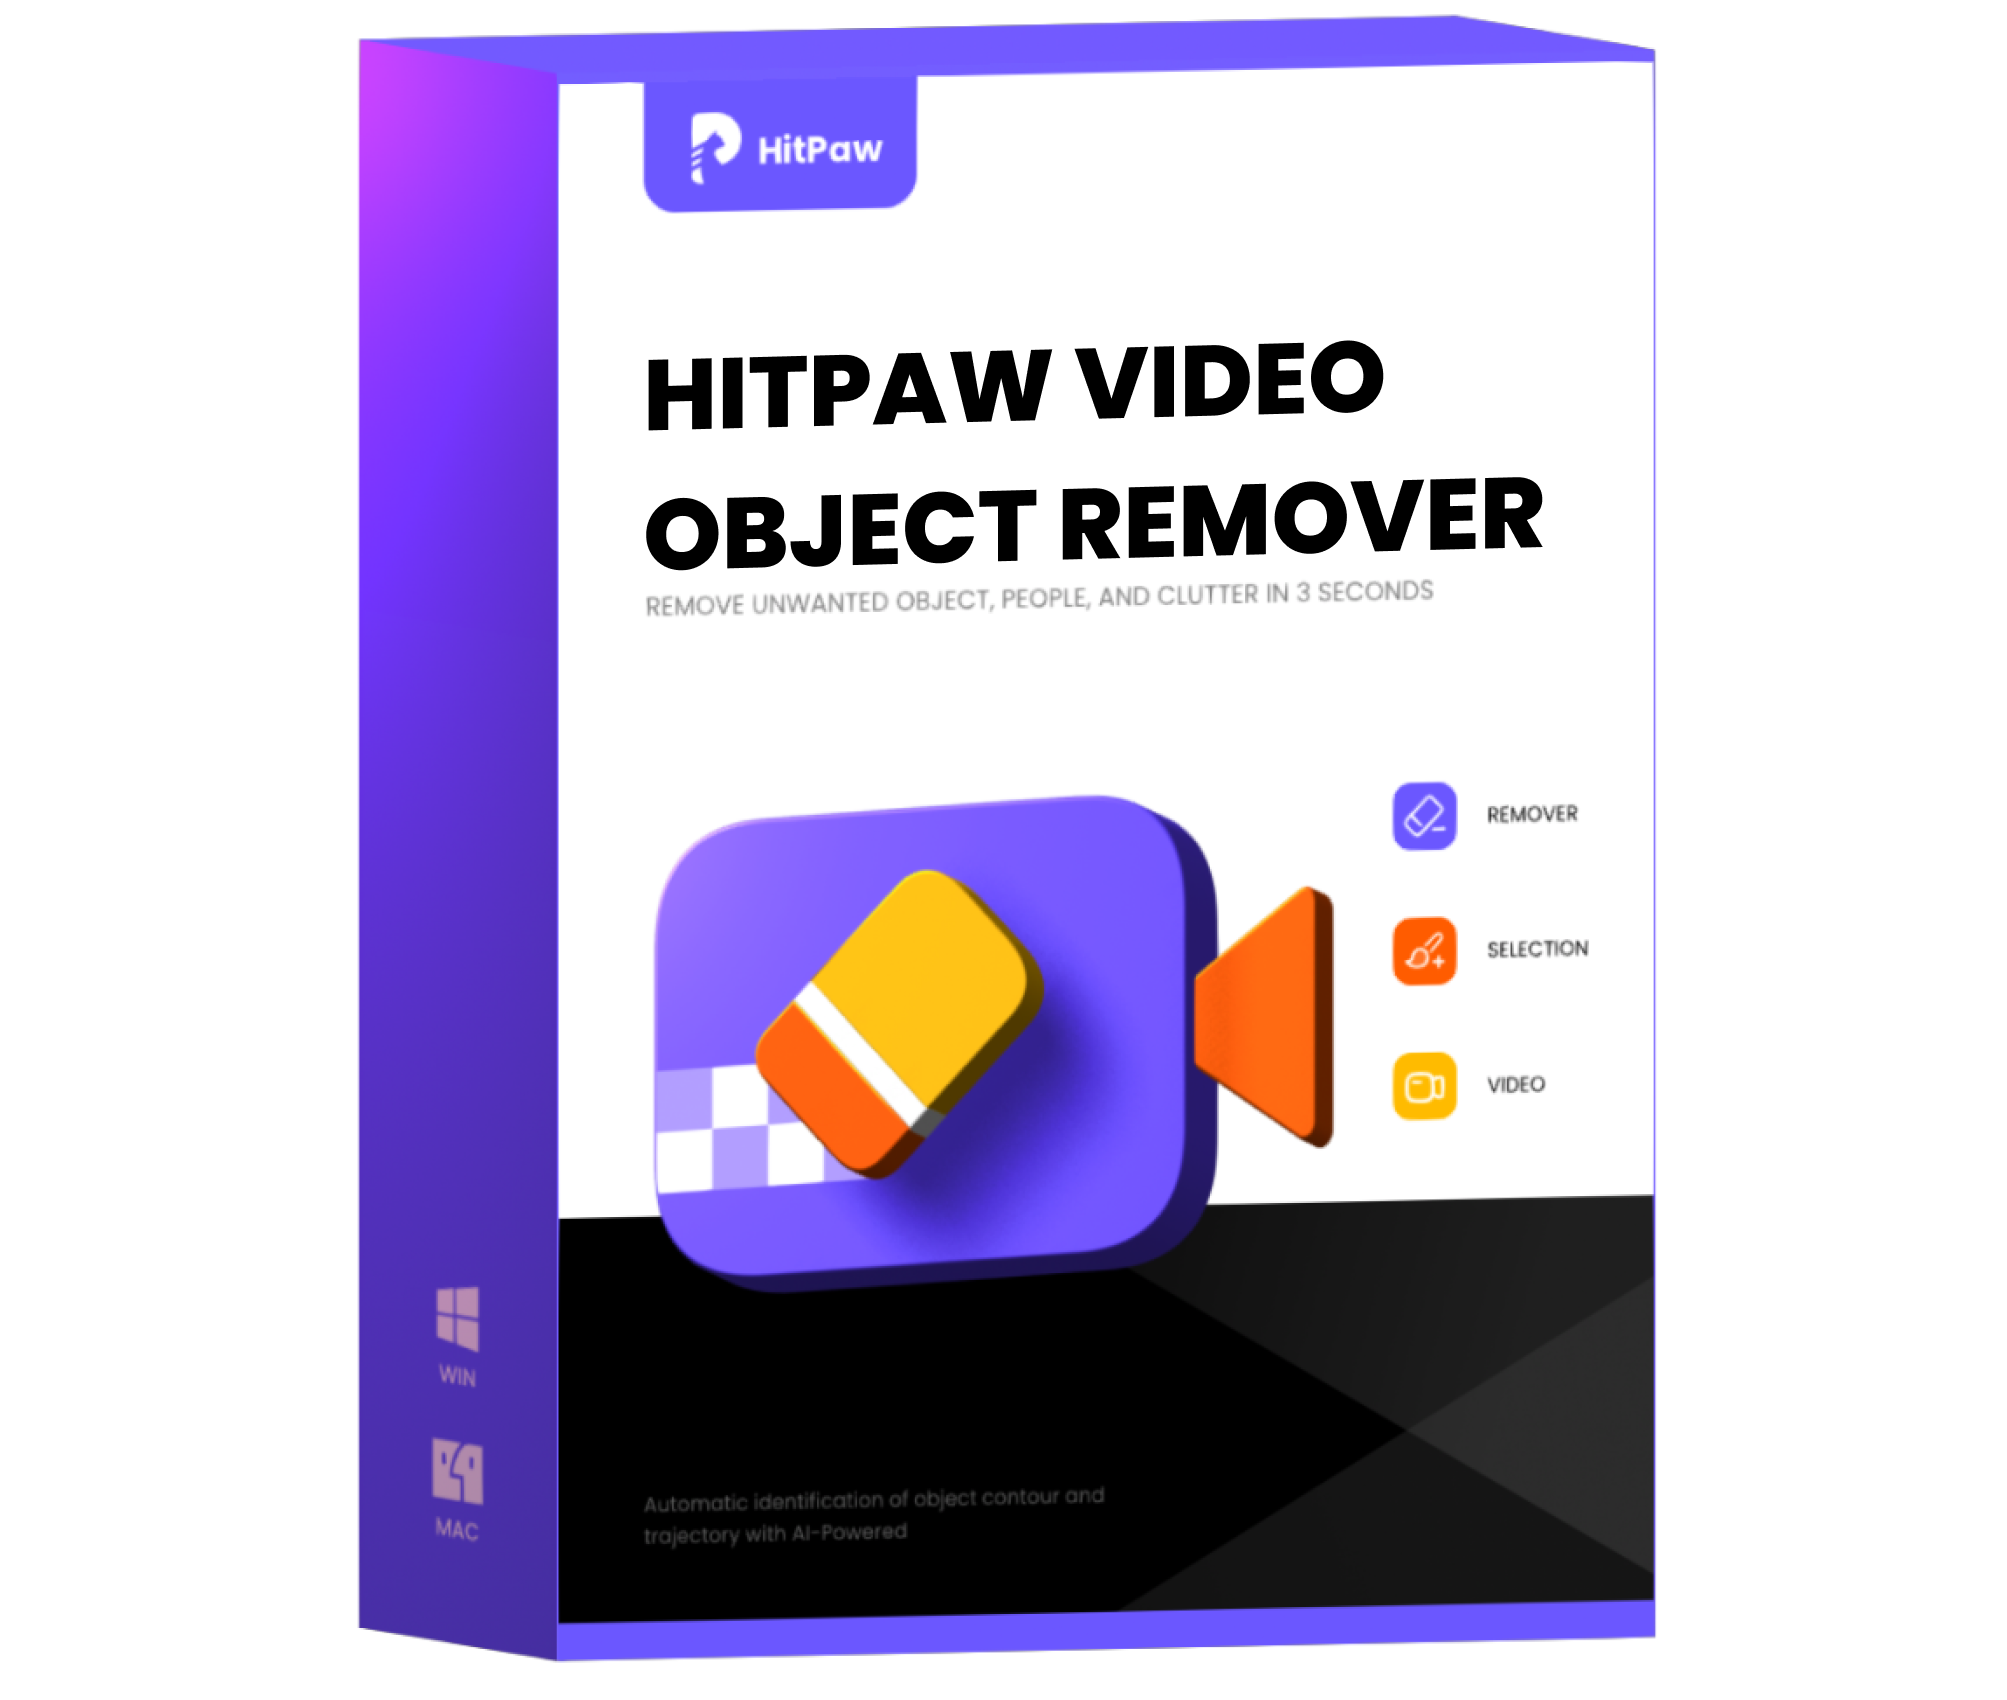
Part 4. Ultra-tips: Retouch Image by Removing Objects with HitPaw Photo Object Remover
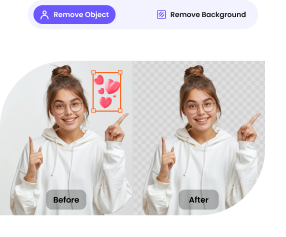
It is common for unwanted objects or blemishes to appear in an otherwise excellent image, ruining its overall impact. In such cases, a basic blur tool may not suffice.
To address these issues, more advanced image editing tools are necessary, such as HitPaw Photo Object Remover. This software offers powerful and efficient solutions to help retouch and enhance your images, ensuring they meet the desired standard.


- Retouch photos by removing unwanted objects
- Remove clutter and even shadow in a blink
- Simple and easy-to-use interface
- Offer free effect preview after processing
- Quick processing in just 3 seconds
- Also offers wrinkle and freckle removal
Features:
- Step 1. Download HitPaw Photo Object Remover
- Step 2. Import Photo
- Step 3. Locate the Box Selection Tool or Brush Tool
- Step 4. Paint the object out or frame it
- Step 5. Modify Your Selection
- Step 6. Preview and Export the Photo
On your Windows computer, download HitPaw Photo Object Remover.
To add the picture you want to remove things from, click the picture box in the center. Alternatively, you could just put the picture into the edit box.
The program's bottom has the Brush or Box Selection tool.
The object that needs to be removed from your photo can be painted out or framed.
After choosing a frame, the chosen area will be highlighted. The remove area, add, and reduce selection can be changed as needed. By using the "Undo" button, you can reselect the object if you're not happy with the current selection zoom.
Additionally, by moving the size bar, you can change the Brush Size.
To remove an object from the photo, click "Preview". The last photo(s) will then be saved to your computer once you click "Export All" and browse the route for saving.
Part 5. FAQs of Canva Images Blurry
1. How do you make Gaussian Blur on Canva?
To do this, go to Filters > Blur > Gaussian Blur. You can also add a Motion Blur filter by going to Filters > Blur > Motion Blur.
2. How to Blur a Face on Canva?
Simply choose the photo, then select "filter" and "advanced options." To blur, slide to the right; And to sharpen, slide to the left. You can also blur faces using the same method used to blur edges of photo in Canva in Part 3.
Conclusion
Canva images blurry provides a useful tool for creating various designs. When you want to blur out a specific part of an image, such as faces or sensitive information.
However, Canva blur image may not be precise enough for some users, and one such software solution is HitPaw Photo Object Remover, which is designed specifically for removing unwanted objects from photos, helping you achieve their desired result.
 HitPaw Video Object Remover
 HitPaw Univd (Video Converter)
  HitPaw VikPea (Video Enhancer)
![[Solved] How to Remove a Person from a Photo on iPhone](https://images.hitpaw.com/topics/photo-tips/remove-people-from-photos-on-iphone-with-snapseed-cover.jpg?w=855&h=1280)

Share this article:
Select the product rating:
Daniel Walker
Editor-in-Chief
This post was written by Editor Daniel Walker whose passion lies in bridging the gap between cutting-edge technology and everyday creativity. The content he created inspires audience to embrace digital tools confidently.
View all ArticlesLeave a Comment
Create your review for HitPaw articles