[2026] How to Enable/Use Frequency Separation in Photoshop
It's no secret that Photoshop is the go-to for all things editing and retouching. Frequency separation photoshop has become one of the most sought-after techniques, and rightly so. It's a powerful tool to make edits in an efficient manner without losing out on quality or details. In this guide, we'll show you how to enable/use frequency separation in Photoshop 2024.
Part 1. What is Frequency Separation?
Frequency separation is a technique that allows for the segregation of color information from the other details in your Image. This gives you the freedom to modify details and colors individually.
The process typically involves the creation of two layers: a high-frequency layer and a low-frequency layer. The high-frequency layer holds fine details within an image, such as hair, texture, pores, lines, and skin features.
On the contrary, the low-frequency layer contains information about the broader aspects like shadows, tone, and color. This technique is incredibly useful as it allows for precise editing without compromising the overall image quality.
Not only that, but it also eliminates the need for complex cloning and healing. Through frequency separation, you can quickly achieve the desired result without having to go through tedious editing processes.
Part 2. When Would You Use Frequency Separation?
There are many situations that call for the use of frequency separation. It's a useful tool to have while working with portraits, landscapes, and other detailed images.
Here are some common examples of scenarios where frequency separation comes in handy:
Erase pimples and blemishes:
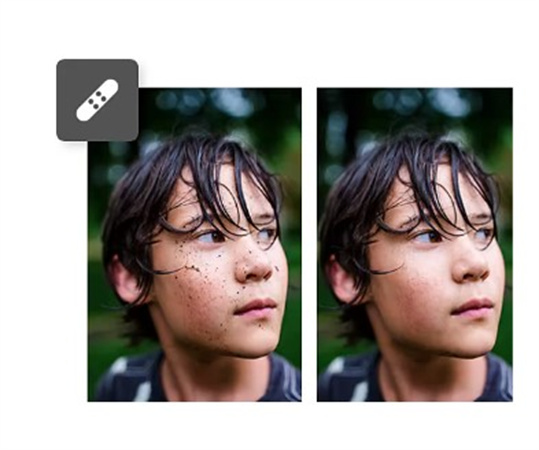
Frequency separation is a powerful technique used in image editing to effectively reduce the appearance of wrinkles, acne, and other blemishes.
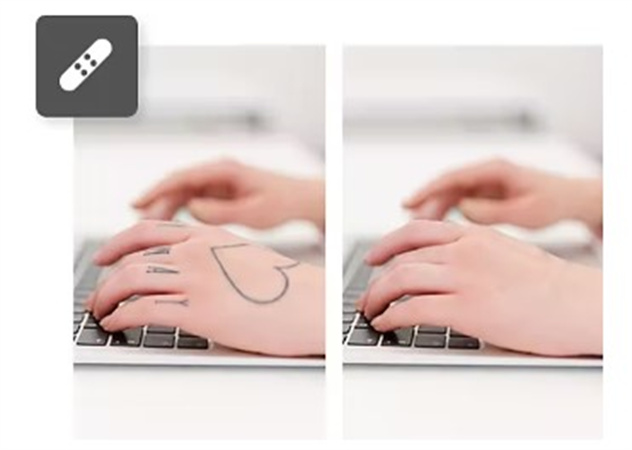
By separating the high-frequency details from the low-frequency ones, it allows for more precise retouching without compromising the overall quality of the Image. With this method, you can effortlessly remove distracting elements like moles or scars, ensuring a flawless and professional look in your photographs.
With frequency separation lightroom, achieving a smooth and flawless complexion has never been easier!
Make a product shine:
If you're looking to make a product truly stand out and captivate attention, separation frequency can be the secret ingredient to give it a vibrant and professional finish.
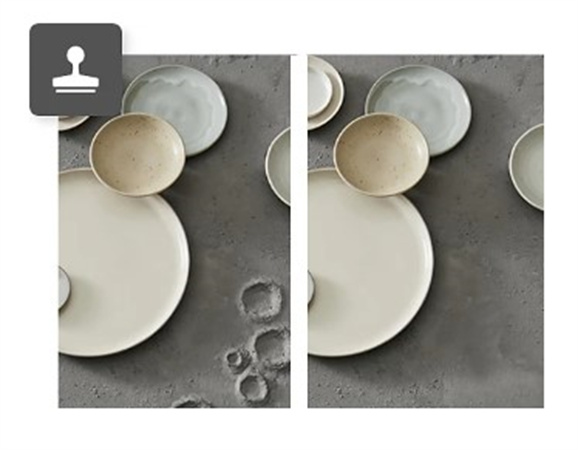
This powerful technique allows you to effortlessly enhance the finest details of the product, effortlessly bringing them to life with stunning clarity.
By carefully balancing the separation of frequencies, you can ensure that the product not only shines with remarkable precision but also effortlessly stands out against its backdrop, creating a visual masterpiece that is bound to leave a lasting impression.
Enhance your subjects:
You can utilize frequency separation photoshop action, a powerful technique, to enhance your portrait subjects. By applying this method, their features can be made more defined and refined, showcasing intricate details in the eyes, nose, and lips.
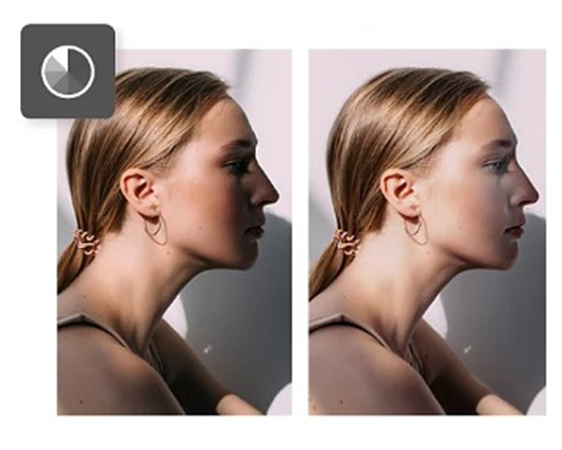
Not only that but frequency separation can also be employed to improve skin tones and seamlessly smooth out wrinkles. As a result, your images will exude a more polished and natural look, captivating viewers with stunning clarity and flawlessness.
Part 3. How to Frequency Separation Photoshop
Now that you know what frequency separation is and when to use it, let's dive into the technical aspects of how to enable/use frequency separation in Photoshop.

Here's how to do it:
Step 1. Start it:Open Photoshop and go to Window> Actions to launch the Actions window. From the sidebar, select the option to create a new Action and name it as you prefer. Then, press the Record button to start recording.
Step 2. Layer it:In Photoshop, open the Image and right-click on the layer. Choose 'Duplicate Layer' from the options that appear. You'll notice a lock icon on the Background layer. Click on it to unlock the layer, allowing modifications. Rename the layers for clarity and organization. The top layer should be named "Skin+Texture," and the bottom layer "Shadows+Color." This will make it easier to identify the layers in later steps.
Step 3. Group it:After duplicating and renaming your layers, the next step is to group them. To do this, select both the 'Skin+Texture' and 'Shadows+Color' layers by holding down the 'Control' key (or 'Command' key on Mac) and clicking on each layer. Once both layers are selected, go to the 'Layer' menu at the top of the screen and choose 'Group Layers'. This will combine your two layers into one group, making it easier to manage and apply changes together.
Step 4. Filter it:Next, apply a filter to the 'Shadows+Color' layer. Select the layer and go to the 'Filter' menu at the top. Choose 'Blur' > 'Gaussian Blur.' Adjust the radius as needed. Click 'OK' to blur out color and shadow details, keeping only high-frequency details on the 'Skin+Texture' layer.
Step 5. Apply it:Select the "Skin + Texture" layer. Then, navigate to Image> Apply Image in the menu. In the pop-up Window, choose 'Shadows + Color' in the Layer selection menu and 'Subtract' in the Blending menu. Set the Scale to 2 and Offset to 128. Once you've input these settings, click 'OK.' This step applies the blurred color and shadow details to the texture details on the 'Skin+Texture' layer, effectively separating the two sets of details.
Step 6. Blend it:Select the "Skin + Texture" layer in the Layers panel. Go to the Blending modes menu and choose 'Linear Light' from the dropdown. This changes the blending mode of the layer, blending the high-frequency texture details with the low-frequency color and shadow details. The result is a separated frequency layer for easier and more precise editing of the two sets of details independently.
Step 7. Replay it:Congrats on setting up your two retouching layers. Once you're done, click the stop icon in the 'Actions' sidebar to save your action. This makes it easy to replay in the future. To use photoshop frequency separation next time, simply open your Image, click the saved action, and you're ready to work. This saves time and effort by eliminating manual setup for each Image, allowing you to focus on the creative aspect of editing.
Part 4. [AI Tips] How to Make Frequency Separation Without Photoshop
If you don't have access to Photoshop or simply want a simpler way to apply frequency separation action, there are some great alternatives available. But which one should you choose? Keep reading to find out.
HitPaw FotorPea:HitPaw FotorPea is a top-tier AI image enhancer that is readily available for both Windows and Mac users. With a single click, it has the capacity to automatically enhance image quality and resolution.
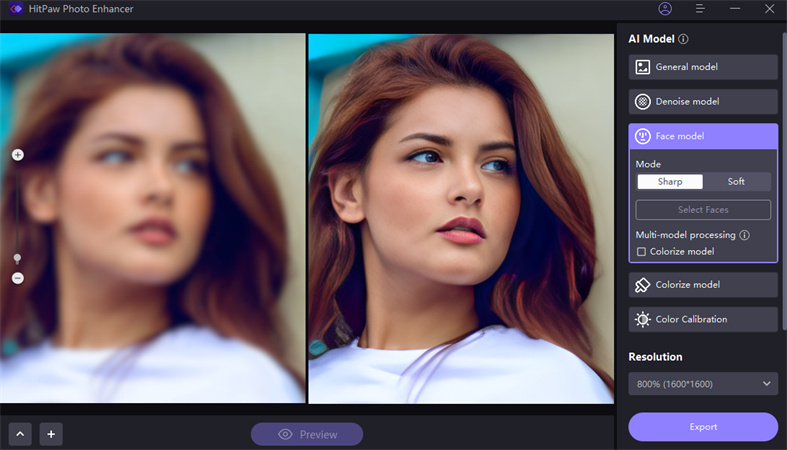
This remarkable software can effortlessly make images less blurry and eliminate noise from pictures, resulting in cleaner, more vibrant images. Furthermore, HitPaw FotorPea has a unique capability to enlarge and upscale images without any quality loss, enabling you to create high-resolution pictures with absolute ease.
This tool is user-friendly and does not require any technical know-how - making the process of frequency separation a breeze even without Photoshop.
Pros of using HitPaw FotorPea:- Easy to use, no technical know-how required
- Automatically enhances and upscales images
- Creates high-resolution pictures
- Reduces noise and blurriness in photos
- Step 1:Download and install the software on your computer
Step 2:Select the Image you want to work on

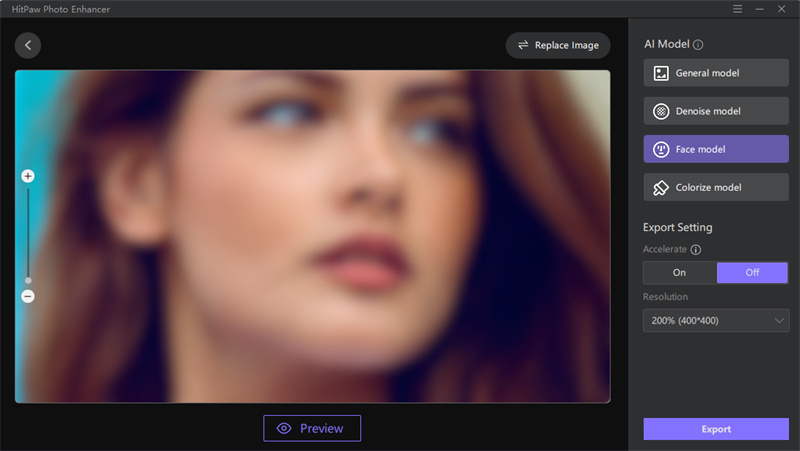
Step 3:Select an AI model and Adjust settings according to your preference (sharpness, noise reduction, etc.)

Step 4:Click Enhance and wait for the process to finish.
- Step 5:Save the file when done!
Conclusion
Frequency separation Photoshop techniques can be used to easily retouch and enhance photos. However, if you don't have access to Photoshop or want a simpler solution, try HitPaw FotorPea for an effortless way to apply frequency separation.
This AI image enhancer can automatically enhance images, reduce noise and blurriness, and create high-resolution pictures with absolute ease - no technical know-how required.


 HitPaw VikPea (Video Enhancer)
 HitPaw Photo Object Remover
![[100% Working] How to Remove Background in Procreate in 2 Ways](https://images.hitpaw.com/topics/covers/how-to-remove-background-in-procreate-cover.jpg?w=675&h=450)
![[100% Useful] Top 7 Sites to Download Paper Texture Background for Your Projects](https://images.hitpaw.com/topics/covers/paper-texture-background-cover.jpg?w=750&h=450)

Share this article:
Select the product rating:
Daniel Walker
Editor-in-Chief
This post was written by Editor Daniel Walker whose passion lies in bridging the gap between cutting-edge technology and everyday creativity. The content he created inspires audience to embrace digital tools confidently.
View all ArticlesLeave a Comment
Create your review for HitPaw articles