[100% Useful] How to Use Davinci Resolve Color Correction
In this comprehensive guide, we’ll walk you through the basic tools for color correction within Resolve and the step-by-step workflow to balance, adjust, and grade colors accurately for the best possible video image. Whether you’re new to video editing or a seasoned pro, follow these tips using Davinci resolve colour correction features to make colors pop and bring a cinematic style look to your projects.
Part 1. Why Do I Choose Davinci Color Grading?
DaVinci color grading offers some of the most advanced color grading tools available in any video editing software. Here are some of the key features that make it a top choice for color correction:
- Powerful Color Wheels and Curves: DaVinci provides high-precision color wheels for balancing contrast, mid tones, and shadows. The curve editor gives fine-tuned control over individual RGB channels. These tools allow for subtle color adjustments.
- Wide Array of LUTs: DaVinci comes packed with hundreds of Look-up Tables (LUTs) designed to give specific color and tone styles. You can easily browse and preview color grades.
- Node-Based Workflow: The node editor workflow allows you to stack color adjustments, effects, and more on individual clips or sequences. This non-destructive method prevents quality loss.
DaVinci color correction is ideal for:
-
Independent filmmakers and videographers who want premium color correction to make footage stand out.

-
Editors working with RAW footage that needs a custom color grade before delivery.

Part 2. How to use Davinci Resolve Color Correction
Davinci resolve auto color correction involves utilizing the powerful color wheels, curves, LUTs (Look Up Tables), and scopes built into the software. By following specific steps, you can professionally color grade your footage to achieve stunning visuals. We'll cover the key parts of a DaVinci Resolve color correction workflow. Here is how to color correct in DaVinci resolve:
-
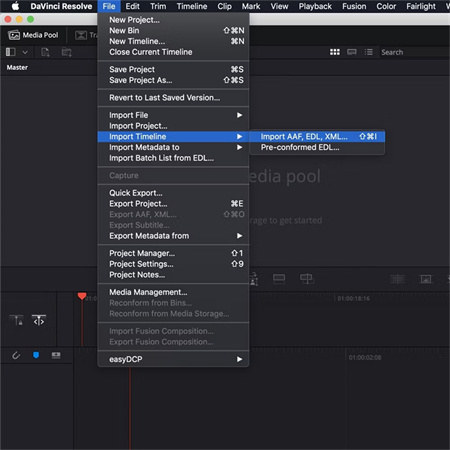
Step 1: Import Footage
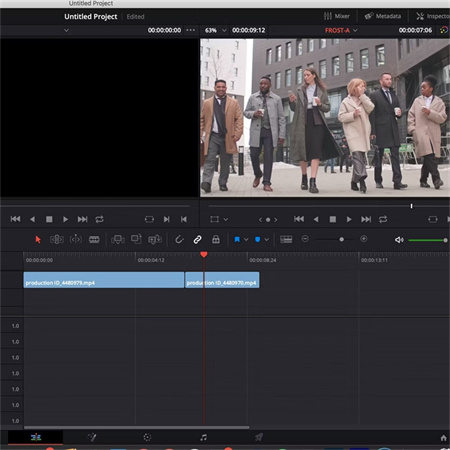
The first step is to import your video clips by either bringing in timelines and media from other editing software or importing new raw footage directly into Resolve. This provides the source media to apply color correction.

-
Step 2: Switch to Color Tab
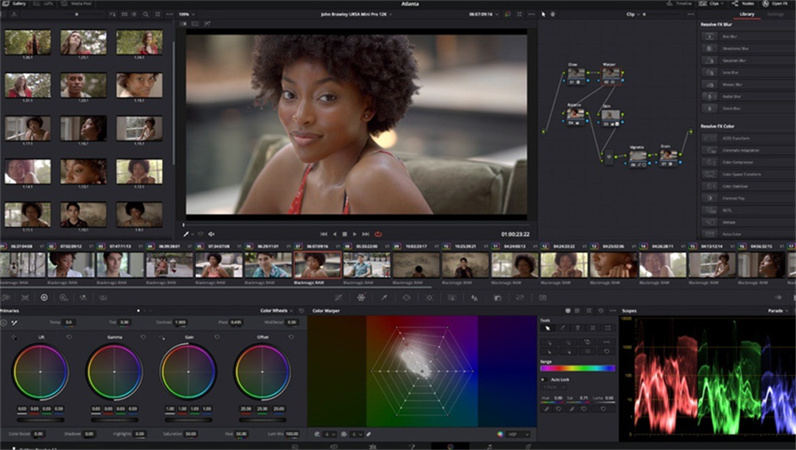
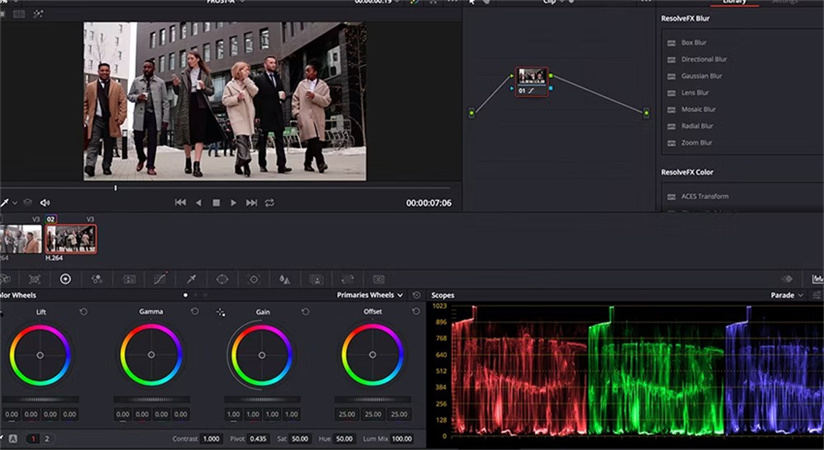
Next, switch to the Color tab, which displays the color grading tools like scopes, nodes, gallery stills, and color wheels across different panels. The viewer window lets you preview clips.

-
Step 3: Understand the Interface
Familiarize yourself with the various panels:
- Viewer: Central preview window
- Color Timeline: Displays sequence of clips
- Nodes: Apply grades modularly
- Scopes: Waveform/histogram monitors>
- Color Wheels: Lift, gamma, gain controls

-
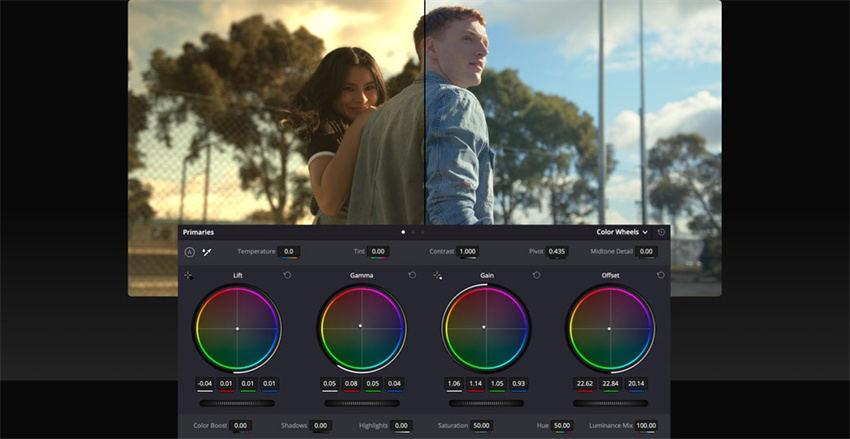
Step 4: Use Color Wheels

Use the integrated color wheels to balance and adjust tones:
- Lift: Dark shadows
- Gamma: Midtone ranges
- Gain: Bright highlights
- Offset: Entire tonal scale
-
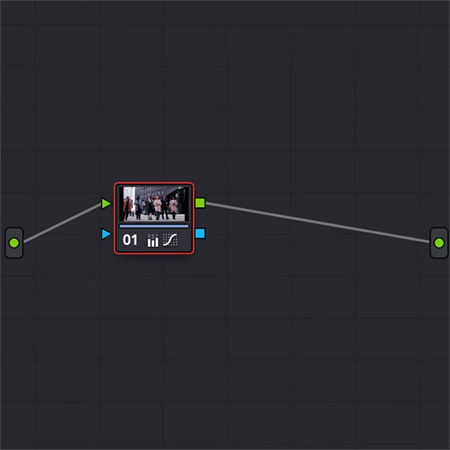
Step 5: Create Nodes

Apply grades within independent nodes rather than directly on clips. This allows non-destructive stacking of color adjustments.
-
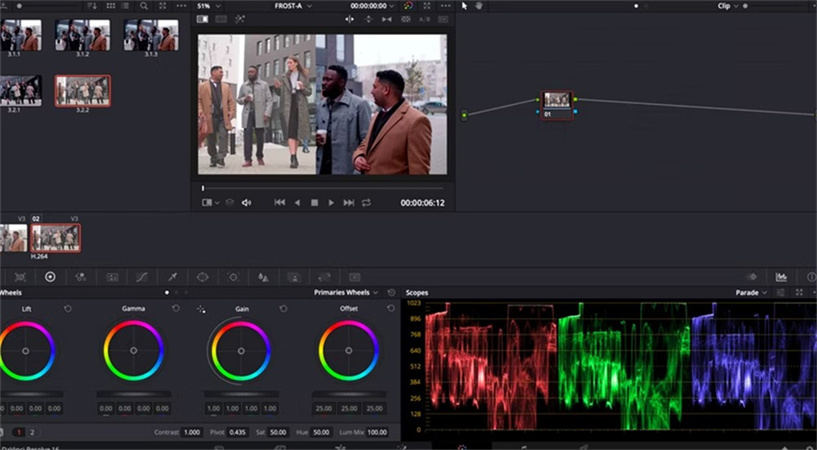
Step 6: Shot Matching

Match the color across different clips and shots for consistency:
- Copy grades from timeline
- Use auto Shot Match
- Match with scopes/stills
-
Step 7: Use Scopes
Waveform monitors provide objective color data to balance clips based on the numbers rather than just eyeballing values.

-
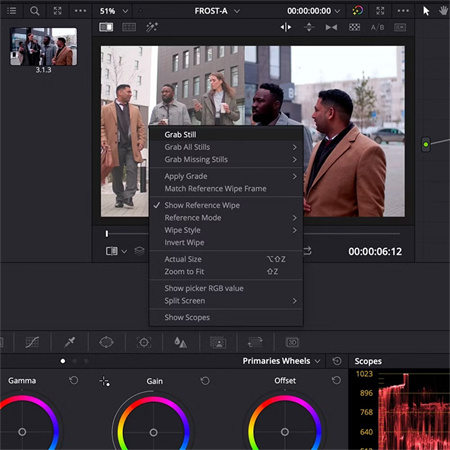
Step 8: Grab Stills
Sample still frames from clips to visually match colors, exposure, and styles side-by-side with other shots.

-
Step 9: Export Graded Footage
Finally, export your edit color DaVinci resolve from the Deliver tab to share or use in other projects.
Part 3. The Best Alternative to do Color Correction with HitPaw FotorPea
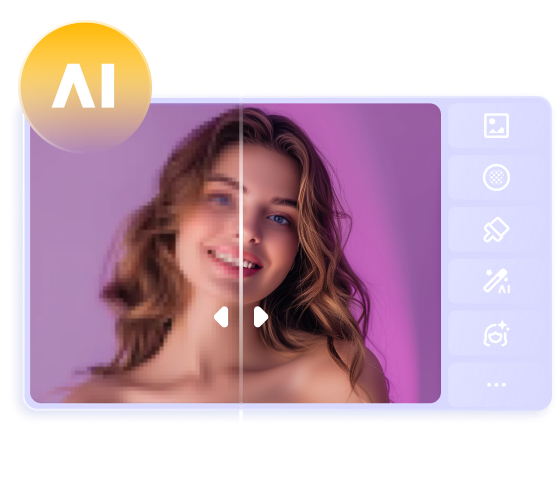
As an all-in-one AI photo editor, HitPaw FotorPea offers groundbreaking color correction capability that enhances image quality with one click. It leverages advanced deep learning algorithms to intelligently boost color, clarity, and brightness for stunning visual improvements.
The automatic photo enhancer analyses image contents and applies custom adjustments tailored to each photo, beyond the limitations of manual sliders. From breathing new life into dull, faded shots to getting polished Hollywood looks right in-camera, Photo AI elevates editing for all skill levels.
Color correction in DaVinci resolve is a complex process so that is why we have brought you a simple color grading tutorial using HitPaw FotorPea.
Features
Key color grading features include:
- One-Click AI Image Enhancer:Auto color balance, contrast, saturation boosts
- Face Refining:Smooth skin, accurate facial feature touchups
- Noise Reduction:Clean, smooth colors minus graininess
- Built-in Stylish LUTs: Iconic film color presets
- Batch Photo Processing:>Grade hundreds of images effortlessly
Steps
-
1.First, download HitPaw FotorPea from the official website and install the editing software on your Windows or macOS machine.
-
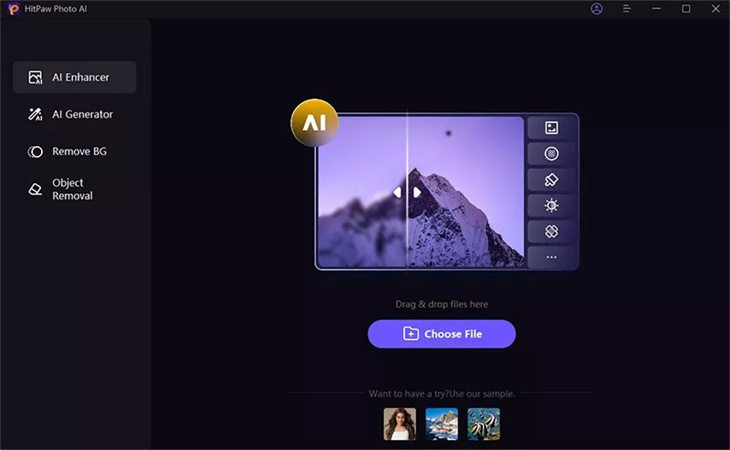
2.Next, open the application and import a photo. You can directly drag and drop images into the interface or manually select files for color correction.

-
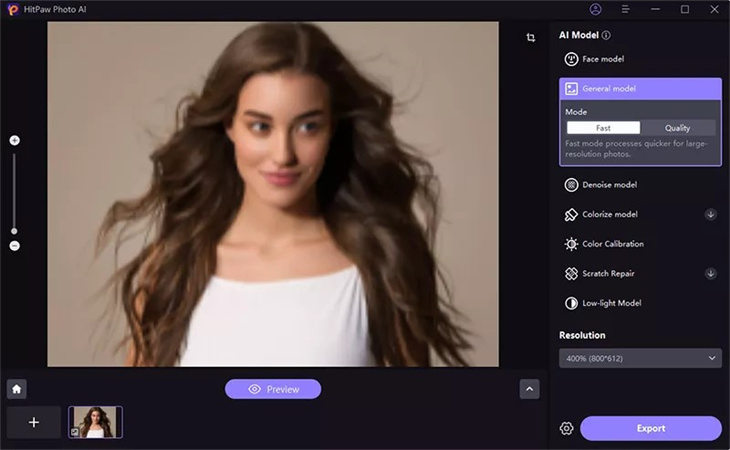
3.HitPaw FotorPea needs just one click to boost colors. You can select from the range of available AI models. In this case, you need to select the “Color Calibration” model to correct the colors of your image.

-
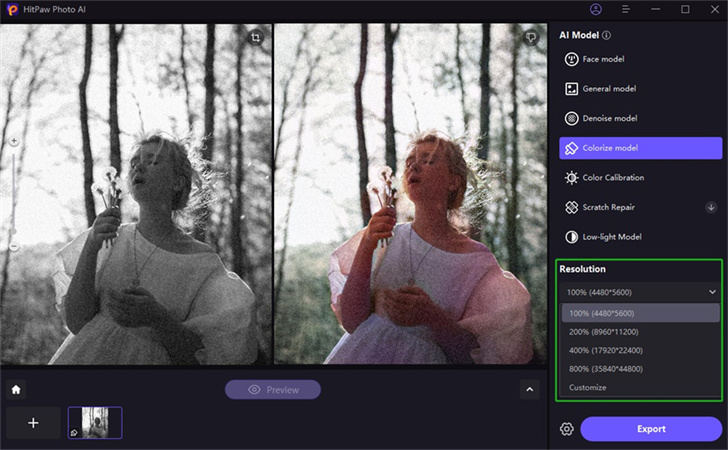
4.Finally, export the color-graded photo with boosted vibrancy to save the enhanced version. You can batch-process hundreds of dull photos this way.

Final Words
Color correction can make or break the visual appeal of photos and videos. While professional platforms like DaVinci Resolve provide advanced grading capabilities, they come with a steep learning curve.
HitPaw FotorPea changes the game by making cinematic color enhancement achievable for all users regardless of technical skill. With a few clicks, its AI photo engine automatically boosts color, contrast, and brightness to breathtaking effect. For these reasons, we highly recommend using HitPaw FotorPea over traditional video editing software for color-grading photos.





 HitPaw Edimakor
 HitPaw Watermark Remover
  HitPaw VikPea (Video Enhancer)
![[Full Guide] How to Color Grade in Premiere 2026](https://images.hitpaw.com/topics/photo-ai/how-to-color-grade-in-premiere-cover.jpg)


Share this article:
Select the product rating:
Daniel Walker
Editor-in-Chief
This post was written by Editor Daniel Walker whose passion lies in bridging the gap between cutting-edge technology and everyday creativity. The content he created inspires audience to embrace digital tools confidently.
View all ArticlesLeave a Comment
Create your review for HitPaw articles