[Full Guide] How to Color Grade in Premiere 2026
Color grading footage is essential for setting the mood and correcting issues in your videos. However, the color grading tools in Premiere Pro can seem complex for beginners. This guide will walk you step-by-step through the color grading process in Premiere Pro.
In just simple steps, you’ll learn techniques to take your video colors from dull to dramatic. Whether you want to fix inconsistent lighting or create a stylized cinematic look, this guide has you covered. Let’s take a look at how to color correct in Premiere.
Part 1. Why choose Color Correction Premiere
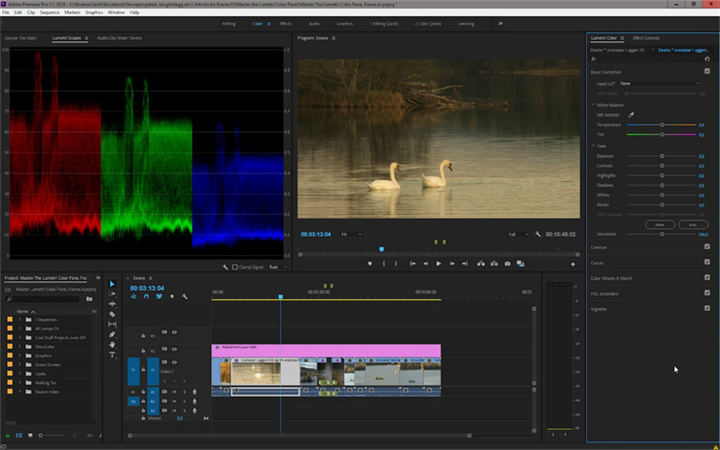
Proper color correction Premiere is essential for making your footage look its best before final delivery. It creates continuity, fixes issues like inconsistent exposures or white balance, and sets the overall mood and style.
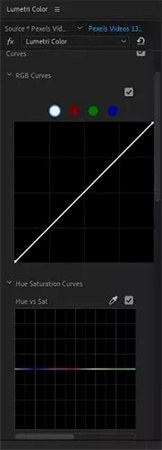
Color correction in Premiere Pro comes packed with a wide range of built-in color correction tools. Features like the Lumetri Color panel give you fine-tuned control over shot matching, correcting errors, and stylizing through intuitive sliders and curves. The latest versions utilize powerful GPU acceleration, allowing you to see results instantly even when working with 4K or HDR media. Plus, native support for LUTs and Look presets makes quick work of getting professional color looks.
For both minor corrections or a full stylized grade, Premiere Pro has all the tools you need baked right in. Its flexibility and wide toolset explain why it has emerged as such a popular color grading solution.
Part 2. How to Color Grade in Premiere
1. How to color grade in Premiere
Color grading in Premiere Pro has become more accessible than ever thanks to the powerful Lumetri Color tools now built right in. While the panel may seem dense at first glance, the grading workflow can be simple by just following a few key steps. Even beginner editors can start enhancing their footage dramatically using the techniques outlined in this quick-start guide. Here is how to do color grading Premiere:
-
1.Create an Adjustment Layer in Premiere Pro and place it above all the clips you want to color grade in your timeline.

-
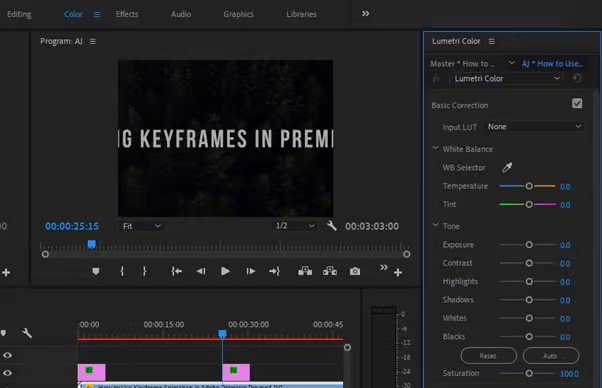
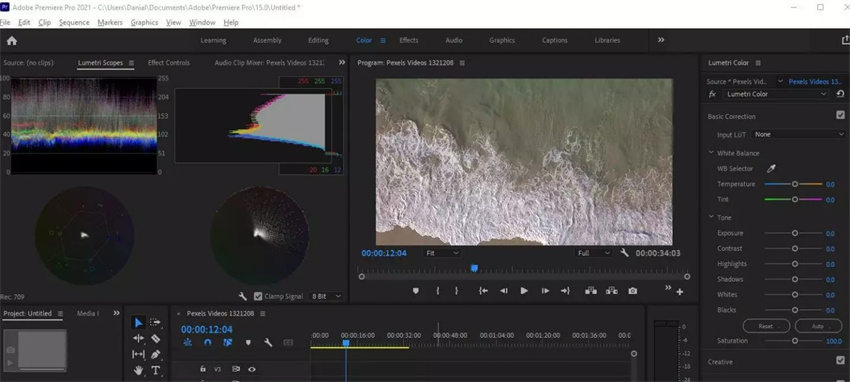
2.Select the Adjustment Layer and open the Lumetri Color panel.

-
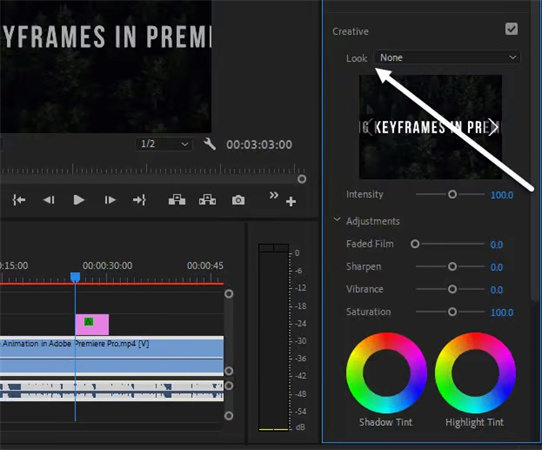
3.Use the Basic Correction tabs to balance whites, blacks, exposure, contrast, etc. Switch to the Creative tab and apply a preset LUT look if desired.

-
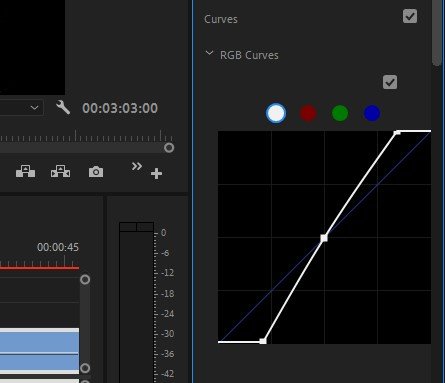
4.Fine tune the grade with the Curves and Wheels sections. Boost shadows, alter mid tones and control highlights.

-
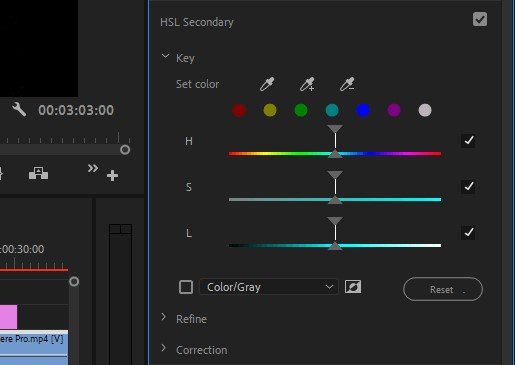
5.Use the HSL Secondary section to isolate and adjust specific color ranges.

-
6.Once set, apply the Adjustment Layer grade to any other clips by copying/pasting attributes. Intensify or reduce a look's strength using the Blending Mode option.
-
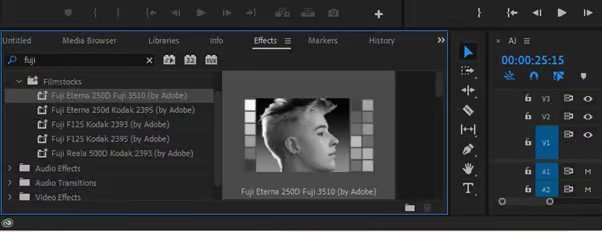
7.Still not right? Search for and add a free Fuji film preset from the Effects panel.

-
8.Tweak the preset grade in Lumetri Color to get your final desired look.
2.How to color correct in Premiere
Getting started with colour grading Premiere Pro is straightforward once you know the basics. The key is leveraging the Lumetri Color tools and scopes to enhance or correct your footage. Here is how to edit color in Premiere Pro:
-
1.Open Premiere Pro and create a new project with desired settings.
-
2.Import the videos you want to color grade onto the timeline.
-
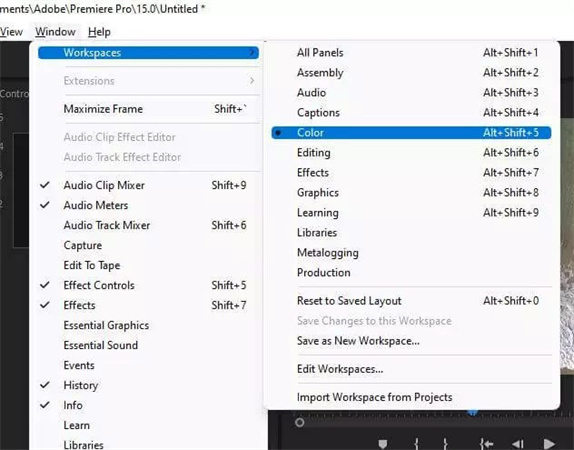
3.Switch to the Color workspace. This opens the Lumetri Color panel.

-
4.Use the Lumetri scopes to guide color adjustments.

-
5.For color correction, adjust settings like color wheels while keeping things looking natural.

-
6.For creative grading, enhance colors and adjust for temperature/weather as desired.
-
7.When done, export the color-graded video by going to File > Export > Media and selecting output format.
Part 3. The Best Alternative to do Color Correction with HitPaw FotorPea
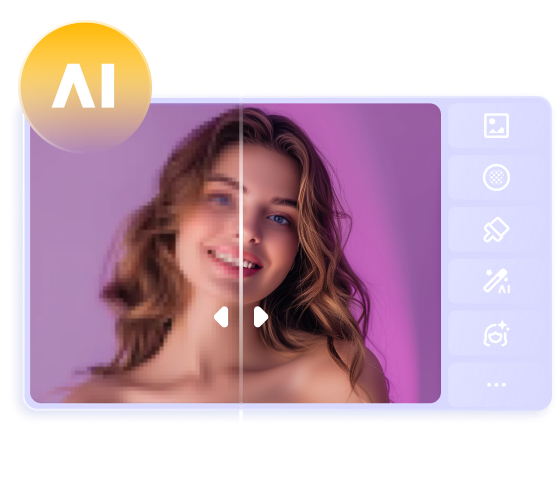
If you find Premiere Pro's Lumetri color grading tools too complex, third-party AI solutions like HitPaw FotorPea offer powerful automated alternatives for color correction. HitPaw leverages artificial intelligence to enhance image quality with just one click. It is the best alternative to color correct Premiere Pro.
Features
HitPaw FotorPea is an all-in-one photo editor focused on AI-driven enhancement. Key features include:
- One-click AI photo enhancers to boost clarity, resolution, colors, and lighting
- Automatic object removal and background replacement tools
- AI portrait generators for creating or enhancing human images
- Text-to-image generators for turning descriptions into artwork
- Compatible with macOS 10.15+
The tool specialized in background removal, which can instantly replace backgrounds with a solid color for a clean, professional look. The AI image enhancer can also colorize black and white photos, fix fades, reduce noise and generally upgrade quality.
Steps
-
1.Download and install HitPaw FotorPea from the official website.
-
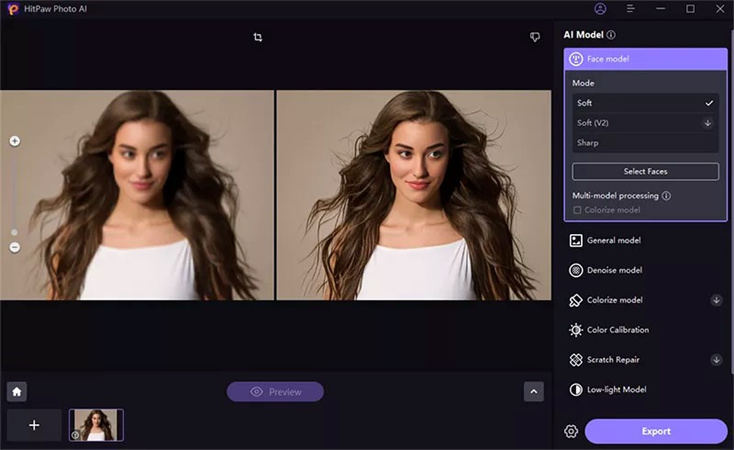
2.Import the photo you want to color correct into the interface. You can also try the included sample.

-
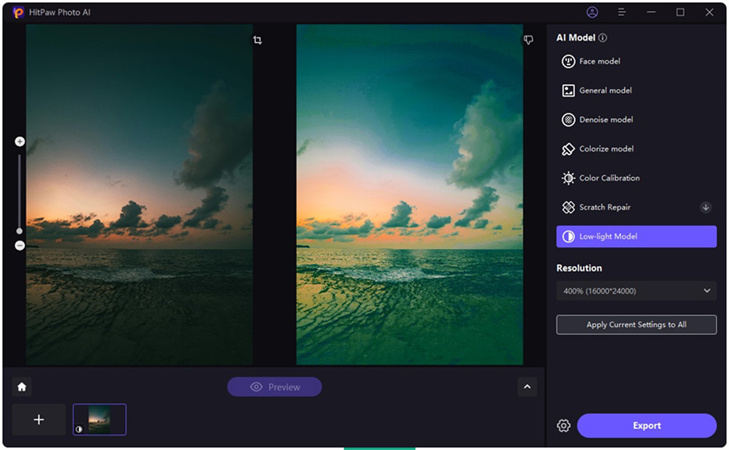
3.Select an AI correction model. In this case, select the “Color Calibration” model:
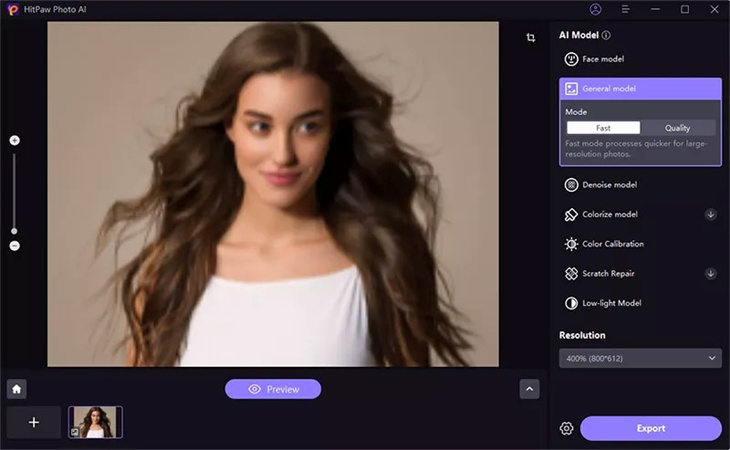
- General Model for overall scene enhancement
- Color Calibration to boost underexposed shots
- Colorize for B&W photos
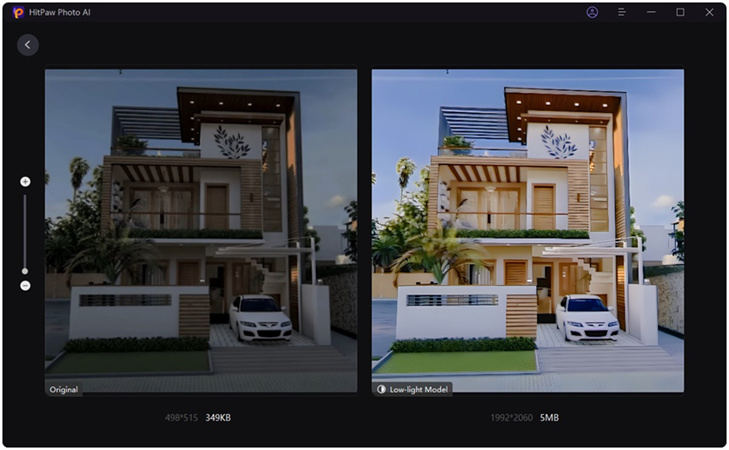
- Low-light to brighten dark images


-
4.Preview the color-corrected photo. Export the enhanced image when satisfied.

Conclusion
Proper color correction Premiere Pro is vital for making footage look its best. While Premiere Pro offers powerful grading with Lumetri Color, the manual process can prove complex for beginners.
This is where AI solutions like HitPaw FotorPea come in. HitPaw provides effortless one-click color, lighting, and quality enhancement powered by machine learning algorithms. Its specialized AI portrait, scene and lighting models give beginner-friendly tools that rival results from intricate manual grading.




 HitPaw Univd (Video Converter)
  HitPaw Watermark Remover
  HitPaw VikPea (Video Enhancer)
Share this article:
Select the product rating:
Daniel Walker
Editor-in-Chief
This post was written by Editor Daniel Walker whose passion lies in bridging the gap between cutting-edge technology and everyday creativity. The content he created inspires audience to embrace digital tools confidently.
View all ArticlesLeave a Comment
Create your review for HitPaw articles