


How to Fix Color In Your Pictures: 7 Best Ways to Color Correct Your Photos
After you take a photo on your camera, the colors never match up the way you expected when you check it out on another screen or in print. That's usually because the display, printer, and camera don't show colors the same way. If the reds feel too dull or the shadows look off, you're not imagining it. The good thing is you can fix color in images while using your editing software, which lets you adjust and correct those differences pretty easily.
Part 1. How to Fix Color In Your Images: 6 Proven Ways
Here are the 6 tips to fix the color in your captured photos using any photo editing app:

1. Balance Highlights and Mid-tones
Every image you capture is a mix of dark, bright, and middle tones. The shadows are the darkest parts, mid-tones sit in the middle, and highlights are the brightest spots in the frame. These three pieces shape how the photo feels. If the balance is off, the picture either comes out too soft and faded or too sharp and blown out.
- Shadows show up more in low-light shots and can make the subject look hidden or underexposed.
- Highlights catch the light and pull attention, but if they're too strong, they can burn out the details.
- Mid-tones are what hold everything together. They sit between black and white and are usually where the most subtle detail lives.
When you edit the highlights and mid-tones, you're not just fixing exposure. You're also deciding where the viewer's eye lands and how much detail they notice. Photographers use this to draw attention to one part of the image or even shift the mood.
To make those changes, most photo editors include sliders for brightness and contrast, highlight/shadow control bars, and histogram graphs. Those give you full control over the exposure range, so you can shift tones around until the photo actually looks the way you saw it when you hit the shutter.
2. Enhance Saturation on the Subject
When a photo feels flat or lifeless, it usually comes down to low saturation. Saturation controls how intense the colors appear, and adjusting it can shift the whole vibe of the image. Boosting saturation around the main subject can make it pop out more and bring the focus where it should be. But if you push it too far, the image starts to look fake and plastic.
Photographers usually fix saturation in editing software using sliders and tools built to fine-tune color. Hue lets you change the color values, saturation sliders push colors in or pull them back, and curve or level tools help shape those changes in certain areas. A master control tool adjusts the overall saturation across the image.
You can also work on saturation while you're taking the shot. Using a polarizing filter helps get rid of reflections, so you see richer skies or clearer water. Slight underexposure can deepen the colors a bit. Some cameras let you adjust the saturation in the settings panel, and switching from sRGB to Adobe RGB can give you a wider range of colors to play with.
The trick is to highlight the colors that matter without pushing them too far. Just enough to pull attention toward the subject and give the image more presence through color.
3. Reduce the Color Intensity In Shadows
Saturation doesn't always need to be applied across the whole image. Sometimes, you get more control by adjusting color only in certain areas. Desaturating the shadows is one of those tricks that give the image a darker, more cinematic edge without messing with the rest of the picture.
This technique started showing up in film photography because of how old processing equipment handled color. Bright areas and deep shadows often lost some saturation by default, which gave the frame a more stylized look. That effect stuck around, and now it's used on purpose in editing to bring out a certain mood.
It's not something that fits every type of photography. You won't see it much in portraits or landscapes. But when someone wants to create atmosphere or give the shot a dramatic twist, lowering the saturation in the shadows helps do that in a subtle way.
To pull it off in editing, you can use levels or curve tools in image editing software. Those let you target the darker areas and gently reduce their intensity without touching the brighter parts of the frame. It's all about shifting just enough to pull the viewer in through tone instead of brightness.
4. Utilize Histogram and Waveform Graphs
If you've ever looked at an image and thought something's off but couldn't tell what, that's where graphs come in. Waveform and Histogram graphs break down the light and color data inside the image. Instead of guessing what's wrong, you see exactly which parts are too dark, too bright, or unbalanced.
The Waveform graph shows you how the red, green, and blue color values sit across the whole image. When those color lines are too low or too high, the photo might be outside the visible range. That means details either got crushed in the blacks or blown out in the highlights. The goal is to get the three color lines sitting closer together and inside the visible spectrum so nothing important gets lost.
The Histogram graph works a little differently. It maps how many pixels are in each brightness zone, starting from pure black on the left to pure white on the right. If the curve leans too far left, the shot's probably underexposed. If it leans too far right, it's likely overexposed. You want a shape that feels balanced, where no part of the photo gets buried or washed out.
Therefore, it is best to use both graphs together in the editing app to adjust tone and color with full control.
5. Use Color Grading to Create a Style
When you want a group of photos to look like they belong together, color grading is the move. You're not just adjusting tones to fix problems-you're shaping a mood. So, choosing a primary color to guide the whole series gives your shots a consistent look and brings everything together.
Photographers often choose a main color that matches the mood they're going for. A colder tone, like blue, usually fits sky and water shots. Red gives more depth to ground or field scenes, while yellow turns up the warmth in sunlit frames.
But it doesn't stop at just one color. To keep things balanced, you'll need to match that main color with its opposite on the wheel. For example, if you're leaning into green, add touches of red to keep the frame from tipping too far. The same goes for yellow and blue or orange and teal.
Once you've locked in the palette you want, there are a few tools that help apply it. Hue shifts the color tone, saturation controls how deep the color goes, luminance manages brightness, and the color curve lets you shape all of it together. If you want extra control, split toning lets you treat shadows and highlights separately.
6. The Role of Masks and Vignettes to Fix Color
Masks and vignettes control how color appears in certain parts of the photo. Instead of adjusting the whole image, you can focus on one area and guide the viewer's attention through light, shape, and color changes. Both are often used in photography and cinematography to shape the mood of a shot.
A vignette darkens the edges gradually so the center pulls more focus. It adds weight and gives a quiet frame to the subject in the middle. A mask, on the other hand, uses a defined shape, usually a circle or oval, and has sharper edges. That one controls a specific zone more directly.
Photographers use different masking ideas depending on what they want the viewer to notice. The pin-hole zoom closes or opens the visual space and helps soften the edges. It gives a softer presence and pulls the eyes toward the inside of the frame. The voyeur mask acts like binoculars. It creates a round tunnel and brings a darker tone into the corners, setting a more intense or hidden mood.
Vignettes also use filters. The graduated neutral density filter helps lay a dark shade over one side of the shot. Colored vignettes sometimes match the subject's view and create an atmosphere without being obvious about it.
Part 2. Bonus Tip: How to Fix Color in Your Images Quickly Using HitPaw FotorPea
If you don't want to go through the trouble of balancing highlights and mid-tones, adjusting saturation, or checking histograms to fix exposure, there's a quicker way. All those things we talked about above can take time and effort, especially when you're doing them manually. HitPaw FotorPea handles all of it in just a few clicks.
So, let's break down how you can actually do this using the tools inside HitPaw FotorPea.


Step 1.Download HitPaw FotorPea, open it on your PC, and select any option from the left menu to land in the editor.
Step 2.Now, upload the image in which you want to fix color.
Step 3.If the color needs fixing around a person's face, you can choose the Face model. It sharpens the details and clears up the subject without messing up the rest of the frame. If you want to fix the blur and increase the saturation in one area but reduce the intensity in the shadows, the General Denoise and the Sharpen models take care of that. You can also make your black-and-white photos colored using the Colorize model.
Step 4.To fix color in one go, toggle on Color Calibration, select "Apply Current Settings to All," and preview to see the noticeable changes.
Step 5.After you've fixed the color in your image, preview and save your edits. To do this, click the settings icon next to "Export," then adjust export settings like Export format, DPI, and quality, and click "Save".
Now, when you click "Export" and click the folder icon, you will see the image saved in the default HitPaw FotorPea directory on your PC.
That's about it!
Part 3. FAQs of Fix Color
Q1. How to fix color in a photo?
A1. You can fix the color in the photo editing tool you use. Adjust the highlights and mid-tones, increase saturation where needed, desaturate shadows for tone control, and utilize waveform or histogram graphs to check exposure. You can also apply a color grade and add vignettes or masks. HitPaw FotorPea handles these steps through simple options like the Face model, General Denoise model, Colorize model, and color calibration.
Q2. How to remove color in images?
A2. If you want to remove the color in your images, the HitPaw FotorPea colorize model can do this for you. All you have to do is upload your image, select the Colorize model, and it will turn your colored image into a black and white picture.
Q3. How to do color correction?
A3. If you want to color correct your photo, upload your image to HitPaw FotorPea, then simply toggle on the color calibration feature and apply it. The tool then balances your tone across the frame and corrects any uneven lighting or color cast automatically.
Conclusion on Fix Color
To fix color in images, you need to practice a lot and learn the tool you are using. However, it doesn't have to turn into a hassle. You've seen how highlights, mid-tones, shadows, and saturation enhance your photo. Some shots need more work than others, but once you spot the problem, the fix becomes clear. As you go through more photos, your eye starts to catch issues early, and you begin to fix the color the way it was meant to appear in the first place.
HitPaw FotorPea lets you handle these edits faster without getting lost in settings. Each method you've used builds confidence.

 HitPaw Univd (Video Converter)
 HitPaw VoicePea
  HitPaw VikPea (Video Enhancer)
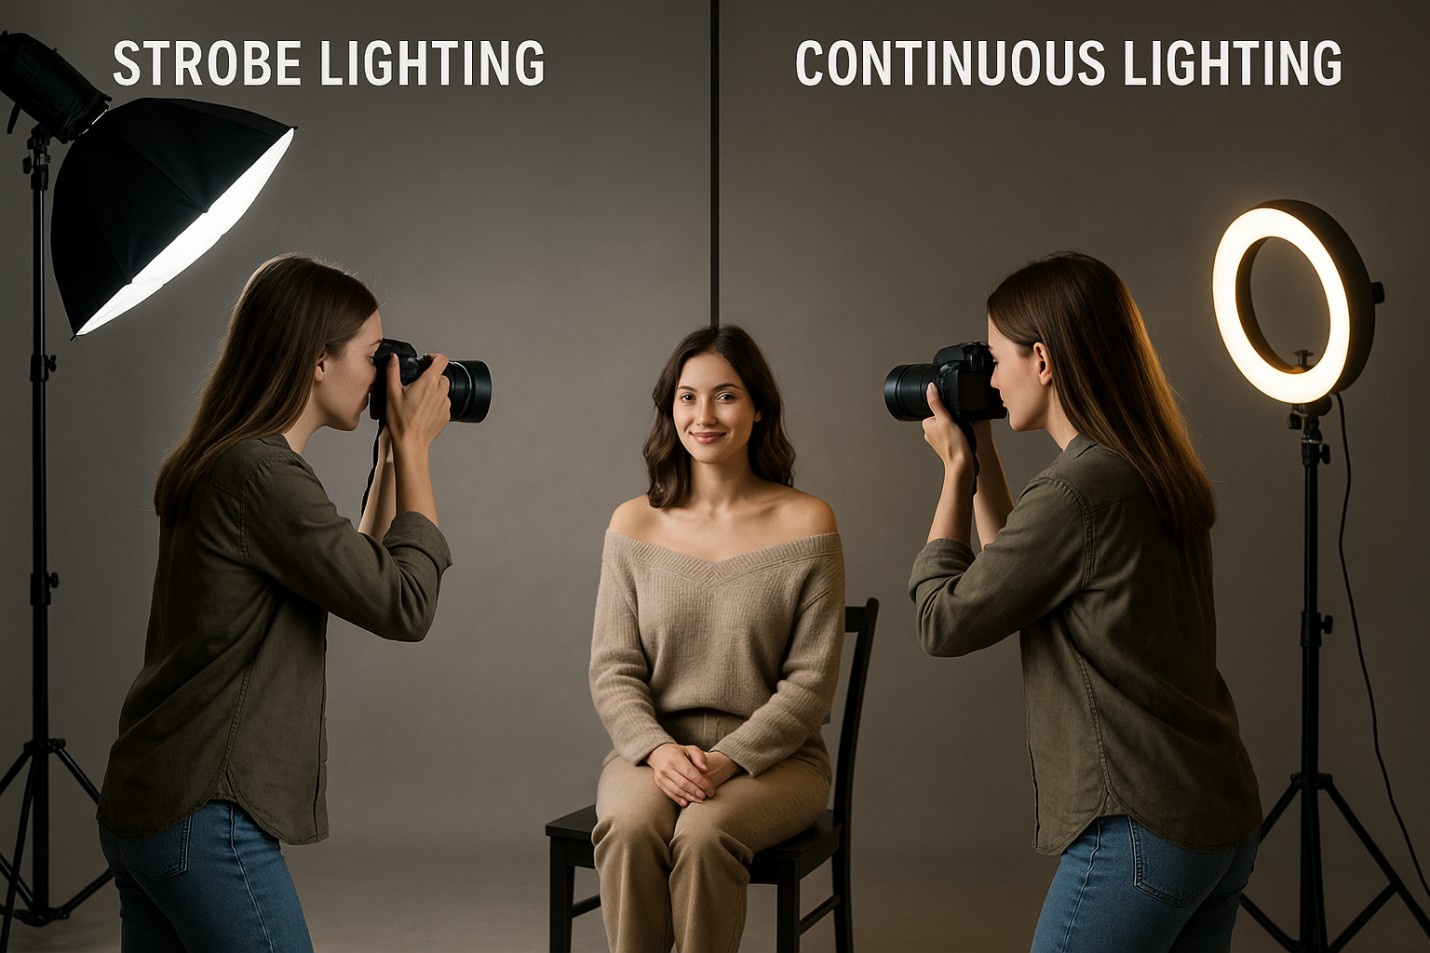

Share this article:
Select the product rating:
Daniel Walker
Editor-in-Chief
This post was written by Editor Daniel Walker whose passion lies in bridging the gap between cutting-edge technology and everyday creativity. The content he created inspires the audience to embrace digital tools confidently.
View all ArticlesLeave a Comment
Create your review for HitPaw articles