Moviemator Video Editor Tutorial: How to Get It Started
Whether you're making a stunning movie, posting everyday videos on social media, or creating a business video ad, video editing is a critical tool. There are plenty of available video editing software. Here, we will focus on Moviemator Video Editor, make a review and tutorial, and guide you on how to master the art of video editing.
Part 1: Brief Overview of Moviemator Video Editor
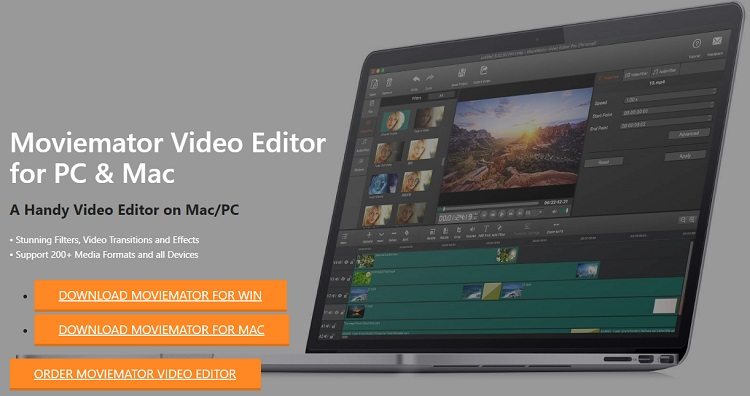
Moviemator Video Editor is a versatile video editing software that is a user-friendly, feature-rich, and affordable option for anyone who wants to edit videos. Below, we will introduce it to you from four aspects: features, supported systems, prices and Moviemator Video Editor tutorial.
- Moviemator Features
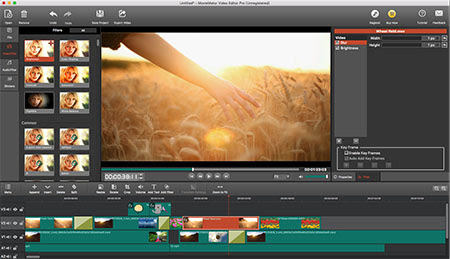
- It offers a wide array of features, including trimming, cropping, splitting, rotating, and merging, as well as adding subtitles and video overlay.
- It also supports automatic keyframe animation, allowing users to create dynamic effects with ease.
- The software is compatible with 200+ formats including MP4, MP3, GIF, and even 4K ultra-HD videos.
- Moviemator Supported Systems
- Moviemator Prices
- Moviemator Video Editor Tutorial: How to Use It
It's compatible with both Windows 10/8/7, 64-bit and macOS 10.10 or later.
You can use the free version of Moviemator, but its functionality may be limited. You can upgrade to the Pro version for a one-time fee of $29.95.
Without proper guidance, you can get lost, even if the software has a very simple interface. Let’s begin our Moviemator video editor tutorial.
- 1. Go to Moviemator’s official website, you can download it on both Windows PC and Mac. Once you have downloaded it, install and run the program.
- 2. Click on the Open button in the top right corner to import the videos ready to be edited.
- 3. Try different functions like adding effects, splitting a video, adding audio, transitions according to your preferences.

- 4. Once you are satisfied with the end product, Click on the Export button in the top toolbar. Choose your desired video format, resolution, and aspect ratio. Click on Export File.
Part 2: Tips for Efficient Video Editing with Moviemator
Efficient video editing with Moviemator begins with thorough preparation. Before diving into the editing process, you should read the following tips to ensure a smooth workflow.
- Get prepared with all necessary materials such as an outline, footage, and video clips.
- Next, invest time in learning from Moviemator’s detailed tutorials. These guides help you maximize its features.
- Lastly, creatively using shortcuts and techniques. These can significantly reduce your editing time and make the process more enjoyable.
Part 3: Best Alternatives to MovieMator Video Editor
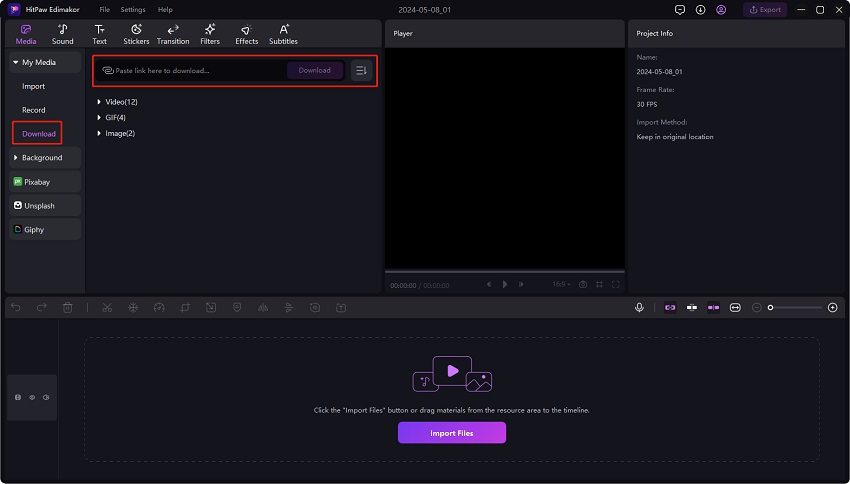
Suppose MoveiMator doesn’t have the right editing tools you need, or it doesn’t support your Windows 11 PC, or you need the latest AI-enabled video editing software, we’ve got you covered with an alternative that might tick all the boxes. Its name is HitPaw Edimakor. It is an AI-driven video editor that has all the features you need to create stunning videos and is very easy to use.
Features
- AI-Powered: It uses advanced AI technology to provide features like auto subtitling, script and video generator.
- It offers precise video cutting tools. You can add text overlays in various styles, adjust the colors.
- It comes with robust stickers, filters, transitions, audio and video library and built-in effects.
- It provides you access to audio library, text modes, stickers, filters and stock content websites like Unsplash and Giphy.
- You can control the speed of your video, making it slow or fast.
- The AI noise remover can eliminate any background noise.
If you are new to using this Edimakor Video Editor, look at the guide below to see how to edit your videos seamlessly.
-
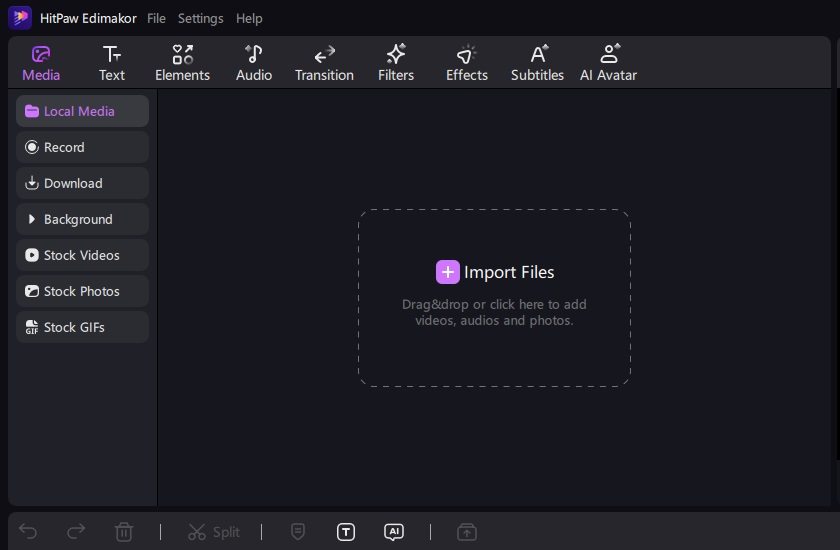
Step 1. Import the Video
Download HitPaw Edimakor and install the program. Click on Create a video to begin. To import your video files, you can either drag and drop them or click on Import Files.

-
Step 2. Edit the Video
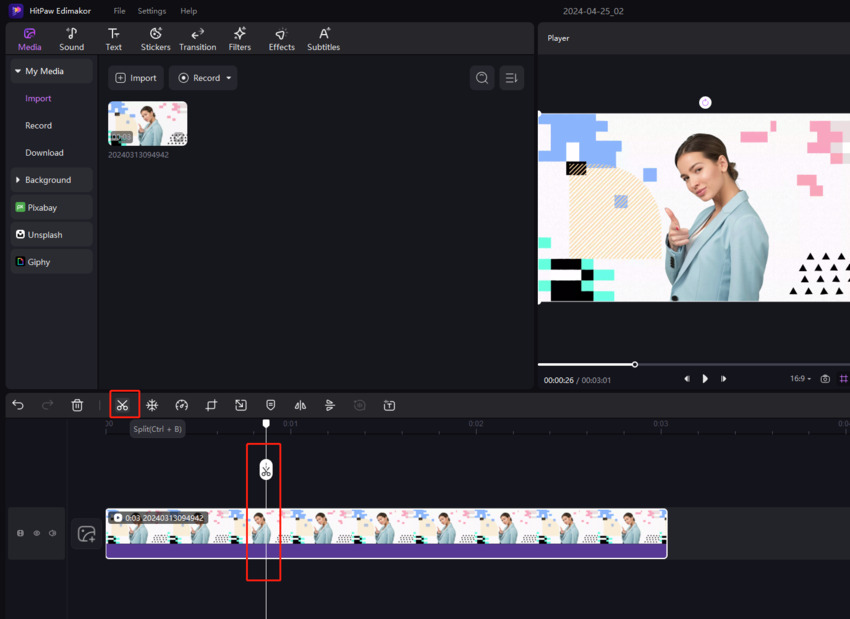
Drag the videos to the timeline and you can begin editing your video. For example. cut and trim the clips or arrange their sequence.

-
Step 3. Add Materials and Effects
To make your video more engaging, all the texts, stickers, sound effects, transitions are available to be added into your video.

-
Step 4. Preview and Export the Video
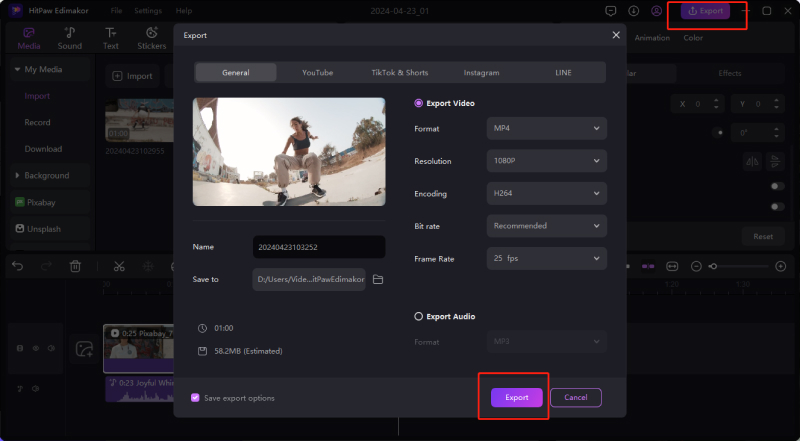
Once you are done editing your video, click on the Export button in the top right corner. Choose the desired settings and then hit Export.

Conclusion
If you're just getting into video editing, or have been doing it for a while, you may need software that's easier to use. Moviemator Video Editor and HitPaw Edimakor are some great tools that don’t require experience to use. All you need is creativity to turn your ideas into reality.





 HitPaw Univd (Video Converter)
  HitPaw Screen Recorder
 HitPaw VikPea (Video Enhancer)

Share this article:
Select the product rating:
Daniel Walker
Editor-in-Chief
This post was written by Editor Daniel Walker whose passion lies in bridging the gap between cutting-edge technology and everyday creativity. The content he created inspires audience to embrace digital tools confidently.
View all ArticlesLeave a Comment
Create your review for HitPaw articles