


Color Grading on Premiere Pro: Tips and Techniques
By employing the techniques of color grading on Premiere Pro, you will be able to lift your videos to a level of professionalism. Although, it can be quite difficult for beginners to learn how to do color grading. The aim of this guide is to give some useful tips and tricks on how to approach color grading in Premiere Pro.
To create polished videos, effective color grading is a must-have skill whether you want to set a certain atmosphere or fix problems with your footage. If you know the basics of color theory and have access to key tools in Premiere Pro, then you are well on your way toward becoming an expert at color grading.
Part 1. Understanding Color Grading in Premiere Pro
To change and improve the coloring and appearance of your video footage, you will have to carry out color grading in Premiere Pro. The aim is to set up the visual tone and mood, as well as correct any color errors in the video.
The Lumetri Colors panel on Premiere Pro has powerful tools for color grading. It includes color wheels, curves, vignettes, and creative Lumetri effects among others. Using them would enable you to manipulate particular colors or ranges of colors with more precision.
Some of the main advantages of colour grading Premiere Pro:
- Seamless workflow – Make adjustments directly on your timeline
- User-friendly Lumetri Color panel – All-in-one grading toolbox
- Scopes – Observe luminance and color info during grading
- Masking options – Fine-tune specific sections of a frame without affecting other areas
- Presets – Start from premade looks or use them for inspiration

If you practice using these powerful instruments, you can make significant changes to your videos’ appearance that go hand in hand with the overall visual tone desired by an artist like yourself. One thing that makes it even more attractive is that you can do anything from slight amendments to stylized looks using this software due to its flexibility.
Part 2. Techniques for Color Grading in Premiere Pro
Effective color grading requires an understanding of color theory and getting comfortable with the main color grading tools in Premiere Pro. Here are the key techniques for seamless color correction Premiere Pro and creative looks.
Step 1: Open the Lumetri Color Panel
Access the central color grading workspace in Premiere Pro through Window > Lumetri Color. This consolidates all key adjustment tools in one panel.
Step 2: Use Basic Correction
Make initial tweaks to temperature, tint, or exposure under Basic Correction. This gets footage to an accurate starting point before creative grading.
Step 3: Apply Creative Looks
Quickly set stylistic tones using the Library of Cinematic LUT presets under Creative. Tweak intensity to taste and combine with other grading for unique results.
Step 4: Enhance Contrast with Curves
Add contrast by creating an S-curve in RGB Curves. Drag shadows down and highlights up to heighten dynamic range. Adjust the HSL Curves below for targeted saturation control.
Step 5: Match Color Tones
Ensure consistent coloring across frames using Color Wheels & Match. Use the toggle comparison view to select the reference and current frames to analyze. Click apply after adjustments to match color tones.
Step 6: Isolate Specific Hues
Make precise adjustments to select hues only while leaving others unaffected with HSL Secondary. Use color swatches or the eye dropper to target, say, just blues or greens.
Step 7: Shape Focus with Vignettes
Draw attention to subjects by adding customizable vignettes. Adjust the amount, midpoint, feathers, and more under Effect Controls once enabled to meet your creative goals.
Step 8: Export Graded Video
Finalize the new look and feel by exporting the Premiere colour correction video through File > Export > Media.
Part 3. Optimizing Color Grading with HitPaw VikPea
Complement your color correction on Premiere Pro workflow with HitPaw VikPea (formerly HitPaw Video Enhancer) - an AI-powered plugin that can colorize video and take color enhancement to the next level.
The Color Enhance model leverages deep learning to dynamically boost color vibrance while preserving original tone and skin textures. This prevents oversaturation and artificial looks. Built-in dehazing also reveals hidden details in low-contrast shots.
Offload the demanding computations needed for AI color grading to HitPaw VikPea. Its GPU acceleration won't tie up your graphics card and system memory during rendering like running intensive effects solely in Premiere.
Take your Premiere color grading to the next level with the AI power of HitPaw VikPea. Effortlessly batch-apply existing creative looks for consistent, enhanced results in no time.
FeaturesHere are the main features of HitPaw VikPea that make it an excellent AI color-enhancing tool:
- AI Color Enhancement - Uses deep learning algorithms to intelligently boost color vibrance while preserving skin tones and original footage tone. Prevents oversaturation.
- Dehazing - Automated dehazing reveals details and enhances contrast in low-clarity shots. Works alongside color enhancement for multi-dimensional optimization.
- Batch Processing - Applies customized Premiere Pro color grades to entire sequences with just a few clicks. Ensures consistency across clips.
- GPU Acceleration - Offloads demanding computations to the GPU for smooth, efficient AI enhancements. Saves Premiere Pro system resources.
- Creative Control - Complements manual color grades instead of overriding your intended vision. Retains stylistic touches.
-
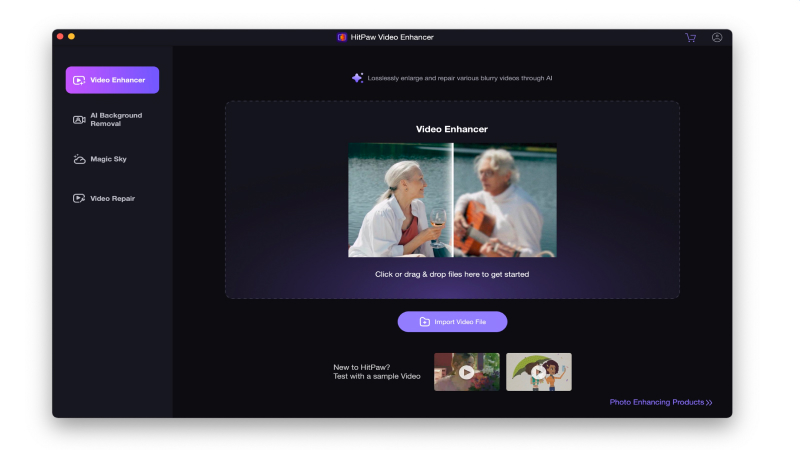
Step 1.Download and install the HitPaw VikPea on your computer.


-
Step 2.Upload the video you want to enhance the software.
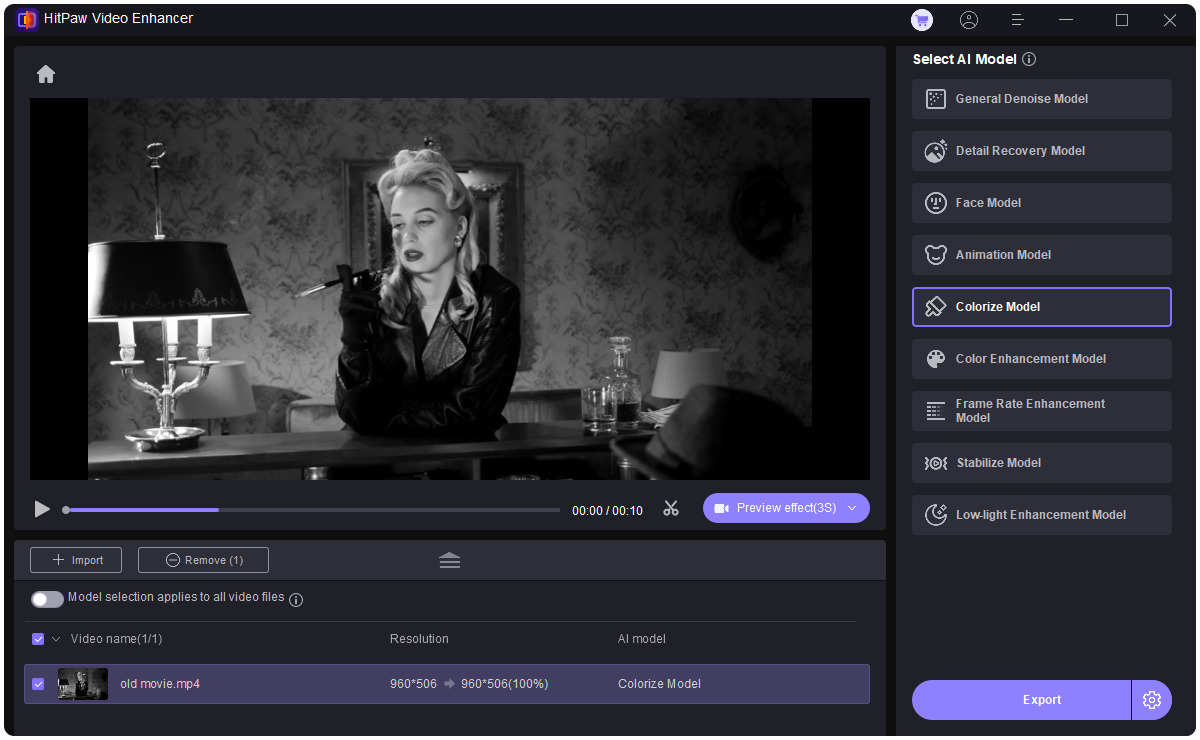
-
Step 3.Simply choose “Colorize Model”, it will help you upscale black and white video to color.
-
Step 4.Click on Preview to process the video and wait for a few seconds. Once satisfied, click the Export button to save the video file to your computer.


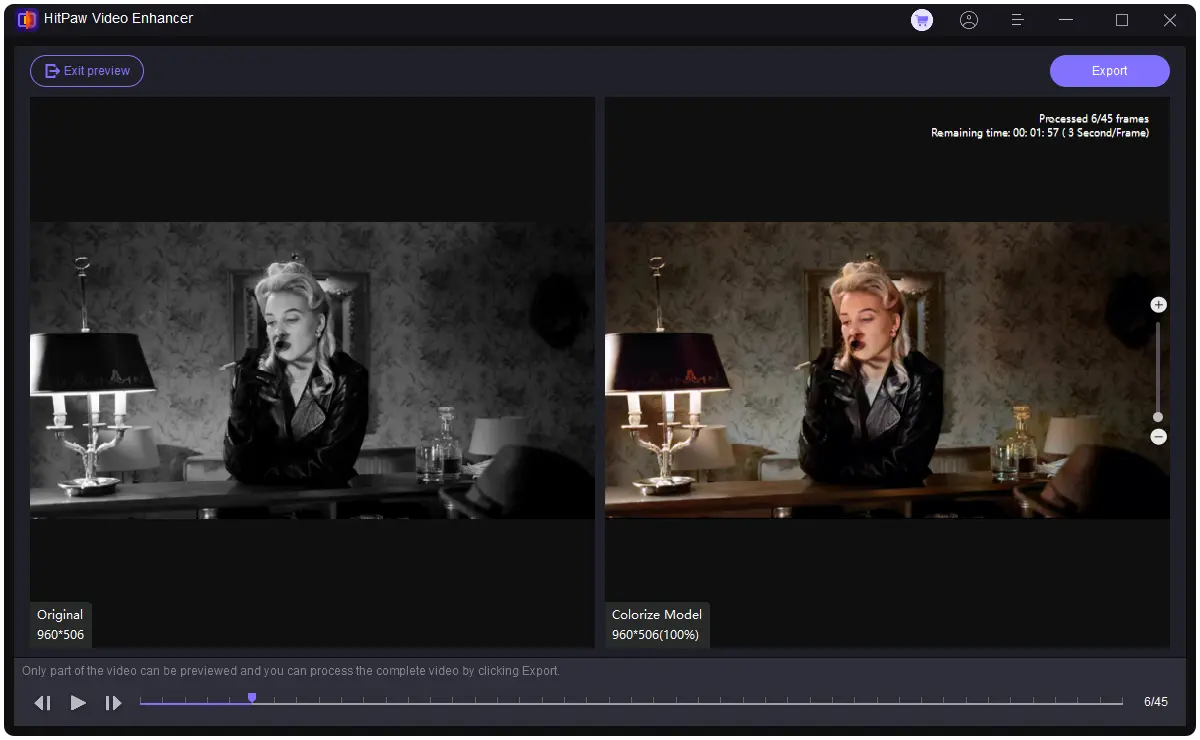
You give a modern and alluring touch to your favorite old videos with just a few clicks.
Part 5. FAQs of Premiere Color Correction
Q1. Can you apply color correction to multiple clips in Premiere Pro?
A1. Yes, you can apply color correction to multiple clips in Premiere color correction using adjustment layers, copy/paste attributes, or by selecting multiple clips and applying an effect.
Q2. How do I add a color adjustment layer in Premiere Pro?
A2. To add a color adjustment layer in Premiere Pro, create a new adjustment layer, apply color correction effects to it, and then position it above the clips you want to affect.
Q3. Why DaVinci Resolve is better than Premiere?
A3. DaVinci Resolve is considered better for color correction due to its advanced grading tools, GPU acceleration, and node-based workflow. However, Premiere Pro integrates editing and correction well.
Bottom Line
Color grading can help to make any video better. Nevertheless, Premiere Pro has nice tools for this purpose, but you can use third-party software like HitPaw VikPea that goes beyond enhancing features. Recovering details, adjusting saturation, and controlling sharpness are among the benefits of using HitPaw VikPea while working in Premiere.
AI-based rendering makes it super-fast. So don’t settle for mediocrity; raise your game with professional tricks and accessories like HitPaw VikPea. You just have an army of color-grading tips and color-grading tools at your disposal to begin creating cinematic masterpieces in Premiere Pro.

 HitPaw Edimakor
 HitPaw Univd (Video Converter)
  HitPaw VikPea (Video Enhancer)

Share this article:
Select the product rating:
Daniel Walker
Editor-in-Chief
This post was written by Editor Daniel Walker whose passion lies in bridging the gap between cutting-edge technology and everyday creativity. The content he created inspires audience to embrace digital tools confidently.
View all ArticlesLeave a Comment
Create your review for HitPaw articles