


How to Blur Instagram Photos Without Losing Quality
It is possible to blur photos in Instagram for numerous purposes, such as enhancing the appearance of your image or covering up someone's identity. But occasionally, your photos may become blurry unintentionally. If you wish to blur a photo intentionally or if you need to blur a photo that appears fuzzy after uploading it, it is necessary to maintain the image quality as high as possible. In this article, we'll go over why photos might look blurry, how to blur Instagram photos parts of your photo the right way, and how to fix blurry photos using tools like HitPaw FotorPea.
Part 1: Why Blur Instagram Photos?
Blurring images isn't necessarily something individuals do to conceal information. Blurring images can also be employed to make your photos aesthetically pleasing and clean. Some of the reasons individuals blur Instagram photos include:
Creative Styling and Focus Control
At times, a picture appears to be better when the background is blurred Instagram photos. This maintains the focus on the subject. It provides the picture with a soft appearance that enhances the visibility of the subject.
Privacy Protection
Blurring sections of a photo helps keep one's privacy safe. You may blur a face, number plate, home address, or computer screen, for instance. This prevents you from exposing too much personal information when posting your photo.
Aesthetic Filters and Soft Effects
Some filters apply a soft blur to photos that renders them serene and smooth. This is frequently applied in beauty photographs, lifestyle images, or to establish a sense of tranquility. But one should be careful not to let the blur Instagram photos destroy the image quality.
Part 2: When Instagram Photos Become Unintentionally Blurry
Not everything blurry is intentional. Actually, Instagram's own algorithm can at times make an image appear less sharp. Let's examine the primary causes for this:
Upload Compression from Instagram
When you post blurred photos on instagram, it compresses the file size. It loads photos quicker on Instagram, but it deletes little details as well. That's compression, and it makes photos appear fuzzy most of the time, especially if they already weren't huge or high-quality ones.
Overused Filters Reducing Detail
Applying too many filters or editing features can cause your picture to lose its sharpness. This is particularly so when you apply too much brightness, blurring, or noise reduction. It is advisable to apply filters in moderation to maintain the appearance of the picture.
Reposting or Screenshots Affecting Clarity
When you repost a photo or use a screenshot, the quality becomes worse. Screenshots reduce the resolution, particularly when taken from messages or stories. When you continually repost screenshots, the picture becomes progressively blurrier.
Part 3: HitPaw FotorPea--Realistic Denoise Model for the Best Results
One of the easiest and most reliable ways to fix blurry Instagram photos is by using HitPaw FotorPea. This tool is designed to clean up your images while keeping the details sharp and natural-looking. Whether your photo became blurry after uploading or it was unclear from the start, this tool can help restore its clarity. It doesn't need any high-end skills, and you don't need to install heavy software. Everything is done online or through a light app, so it's perfect for anyone looking for improved photo quality.

Key Features:
- Sharpen blurry photos with AI that restores detail without making them appear artificial.
- Eliminate grain and noise from low-light or low-quality photos in seconds.
- Preserve faces, edges, and textures as clear as possible without over-sharpening or harsh lines.
- Work fully online or through an app - no need to install large software files.
- Ideal for cleaning screenshots, reposts, or compressed images before uploading.
Fix Blur and Enhance Clarity for Instagram Photos
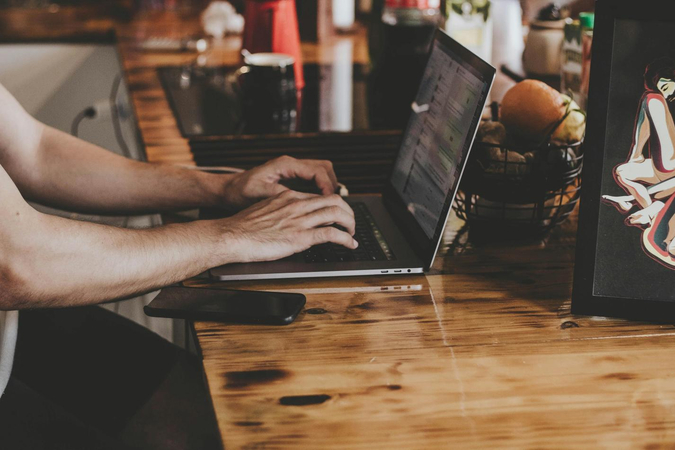
Step 1: Download and Install HitPaw FotorPea
Download the software from the official website to start enhancing your blurry Instagram photos.


Step 2: Upload the Original Photo
Click "Choose File" or drag and drop your image into the interface to upload your photo.
Step 3: Select AI Model
Choose the "Realistic Denoise" model under Denoise Model to remove the blur and enhance clarity.
Step 4: Preview the Effect
Preview the image, then click "Export" to save the enhanced version for Instagram.
Part 4: Blur vs Sharpen When and Why to Use Each
Instagram blurring photos and sharpening do opposite things. One makes parts of the photo less detailed, and the other makes them more detailed. Here's how to know when to use each:
Blur
- Apply blurs to conceal personal information, blur background objects, or give a soft appearance.
- When you need the background to be unfocused so the subject can be highlighted.
- Ideal for soft portraits, landscape images with a dreamy effect, or concealing parts of the image.
Sharpen
- Apply sharpening to make the primary subject appear clearer.
- Useful in correcting photos that are slightly blurry, particularly on faces, buildings, or signs.
- Ideal for close-up images when you wish to accentuate minute details such as eyes, text, or texture.
When to Combine Both
In other instances, the perfect photograph utilizes both instruments. You blur Instagram photos the background to eliminate distractions and sharpen the focus subject to gain attention. It works wonderfully with profile images, travel photographs, and product photos.
Part 5: How to Keep Instagram Photos Sharp After Upload
Here are some easy ways to prevent your photos from becoming blurry when you post them to Instagram:
Use the Right Resolution and Aspect Ratio
- Recommended size:Post images at 1080 x 1350 pixels for vertical posts.
- Aspect ratio: Use 4:5 for portrait, 1:1 for square, and 16:9 for landscape.
- Avoid posting photos that are too large or too small, as Instagram will stretch or shrink them.
Save Photos in JPEG or PNG with Low Compression
- Save in JPEG 80-90% quality for a nice size vs. clarity trade-off.
- You can save in PNG if the picture contains sharp edges or text.
- Don't save repeatedly; each save decreases quality slightly.
Edit Before You Upload, Not After
- Do all editing (such as cropping, color adjustment, and sharpening) prior to uploading.
- Instagram's native editor is fine, but sometimes it softens pictures.
- Editing tools outside of Instagram will generally provide better image results with more options.
FAQs
Q1. Can I blur a particular area of a photo before posting on Instagram?
A1. Yes. You can blur Instagram photos only the areas you need using apps like Snapseed, Photoshop Express, or HitPaw FotorPea. It helps in concealing faces, addresses, or personal information. Simply apply the selective blur tool on the area you need.
Q2. Why are Instagram stories usually blurrier than feed posts?
A2. Stories tend to appear worse since they are more compact. Instagram attempts to conserve space and load stories quickly, so it reduces the quality further than for standard feed posts. In aid of this, ensure your story photos are 1080 x 1920 pixels before posting.
Q3. Are AI tools superior to Instagram filters for deblurring?
A3. Yes. AI software such as HitPaw FotorPea is superior to Instagram filters. Filters are designed to transform your photo's style or color, not correct quality. AI software can blur, sharpen, and clean images more precisely, without losing information.
Conclusion
If you're attempting to blur Instagram photos for privacy, design, or to correct an issue with quality, it's worth doing it correctly. Random filters and uploads usually just make things worse, but with tools such as HitPaw FotorPea, you have more control. You can de-noise, de-blur, and sharpen images and still maintain them being clean and clear. By knowing when to blur or sharpen, and how to pre-prepare your photos before uploading, you can ensure that your posts stay in the best shape. For those who desire crisp and improved-looking Instagram images, we highly recommend trying HitPaw FotorPea.

 HitPaw Univd (Video Converter)
 HitPaw VoicePea
  HitPaw VikPea (Video Enhancer)
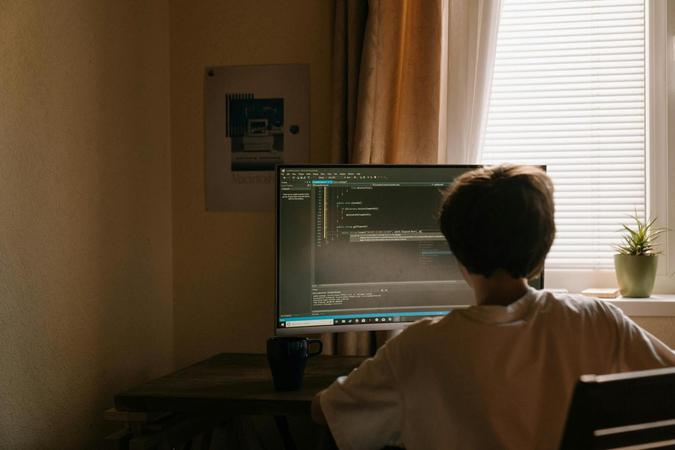

Share this article:
Select the product rating:
Daniel Walker
Editor-in-Chief
This post was written by Editor Daniel Walker whose passion lies in bridging the gap between cutting-edge technology and everyday creativity. The content he created inspires the audience to embrace digital tools confidently.
View all ArticlesLeave a Comment
Create your review for HitPaw articles