


How to Use DaVinci Resolve Color Grading
Do you know color grading is considered as icing on the cake in the world of video production because it has the power to transform the overall look and feel of a video? Among various tools available for color grading, DaVinci Resolve has gained immense popularity in the industry for its comprehensive set of features, advanced capabilities, and endless possibilities for achieving the desired visual aesthetic.
Whether you’re a seasoned filmmaker or a beginner, this guide will provide you with the knowledge and techniques required to effectively use DaVinci Resolve color grading.
Part 1. What You Need to Know Before DaVinci Resolve Color Grading
Before moving to the process of color grading in DaVinci Resolve, it is important for you to understand a few key concepts and steps that lay the foundation for a successful color grading workflow.
A video usually consists of thousands of pixels, which requires precise color classification for each individual pixel, and this complexity is further amplified when dealing with footage where scenes and subjects are constantly changing. To ensure optimal results, you need to begin with color correction which involves adjusting color balance, exposure, and any strange tints or hues that may have been picked up during the shoot.

Part 2. How to Use DaVinci Color Grading
Once you’ve corrected the color of your video, you can now move on to applying color grading in DaVinci Resolve and here you will find a lot of tools to do this. To begin with the process, you need to import your footage into DaVinci Resolve and click on the Color option in the workspace to open a color page that provides all the tools you need for this process.
1. Explore Color Spaces
Before you actually start Da Vinci color grading, open the Project Settings by clicking on the gear icon at the bottom right-hand side and navigate to Color Management to adjust the Color Space of your video. As the program will process and work with the colors in your footage, it is crucial for you to understand the different color spaces available in DaVinci Resolve. You should start by focusing on three elements, which are Color Science, Color Processing Mode, and Output Color Space.
Try checking and adjusting the color space settings of your imported video as per your requirements, or you can also leave them at the default settings that will work pretty fine as well for cinematic color grading DaVinci Resolve.
2. Using LUTs in DaVinci Resolve
On the color page, head over to the left-hand side of the interface where you will find the LUTs section. LUTs, short form for Look-Up Tables, are creative options used in DaVinci Resolve to instantly apply a specific look to a piece of footage and achieve specific looks or mimic certain film stocks.
You can access LUTs by going to the Workspace menu, select Show Panel in Workspace, and then choose LUTs that you want to apply for DaVinci Resolve cinematic color grading. Here, you can also create favorites for frequently used LUTs but always apply the LUT after your color correction to ensure that the LUT is working with exactly the kind of image you want in your project.
3. Node Editor
The Node Editor is a unique feature of DaVinci Resolve that unlike other non-linear editors allows you to apply effects and color changes using nodes. Nodes provide extensive control and can be connected to create complex color grading effects, but it somehow would be difficult to master for a newcomer or beginner-level editor.
To access the Node Editor, click on the Nodes option in the top right-hand corner of DaVinci Resolve and you can create new nodes by right-clicking inside the Node Editor and selecting Add Node. After that, you can Right-click on each new node and select Label Node to name them before assigning different effects and different colors to each node that has been created in the DaVinci Resolve grading process.
4. Master the Process with Color Grading Tools
DaVinci Resolve offers a wide range of color grading tools, so you should start with a few tools, and gradually increasing your knowledge is recommended.
Curves.Let’s first talk about Curves, which allow you to control basic aspects of color grading such as contrast by adjusting the curve for each color channel. The Curves tool offers much more control and provides lots of features especially when it comes to basic color grading DaVinci Resolve. For instance, you can use RGB Curve to adjust the contrast of your image or a simple “vs. Curve” will be helpful if you want to affect a specific color within the image.
Color wheels tool is another primary feature that can be accessed from the lower left side of the screen and used for changing or altering the color in your footage. Unlike Curves that allow you to affect the entire image, the Color Wheels will allow you to split the adjustments into groups or apply changes to smaller parts or specific areas within your footage. You will get four primary wheels for color grading in DaVinci, which are Lift, Gamma, Gain, and Offset used for adjusting the shadows, controlling the mid-tones, handling the highlights, and providing overall adjustments to your clips respectively.
5. Scopes Panel in DaVinci Resolve
It is also recommended to use the Scopes panel located on the lower right-hand side of the interface to ensure accuracy for color grading on DaVinci Resolve.
This panel can be used as a reference to see how over or underexposed your video is, such as the Parade scope divides the image into RGB values and measures their saturation and the Waveform scope assesses the brightness of your footage, both overall and in terms of colors using the IRE scale. Likewise, the Vectorscope measures the degree of hue and saturation, while the Histogram helps measure the brightness of an image by representing the frequency of each tone as a value on a bar chart.
NOTE: We have discussed the comprehensive operation of utilizing color grading in DaVinci Resolve, but within this complex process, users often come across the issue of color imbalance. And to address this problem effectively, it is advised to use professional repair software instead of going back to re-editing which would only further complicate the process for users.
Part 3. Elevate Your DaVinci Color Grading with HitPaw VikPea
If you’re looking for a simpler and more efficient way to enhance your DaVinci color-grading videos without sacrificing the quality, it’s time to look no further than HitPaw VikPea (formerly HitPaw Video Enhancer).
You can simply import your footage or materials into this program, effortlessly colorize video and enhance different aspects of your videos to professional-level grading with just a few clicks.
Pros of HitPaw VikPea
- The simplified operation process is equipped with advanced algorithms
- High-quality level of professionalism
- Automatic enhancement without waiting
- Easy and smooth conversion from 4K to 8K
- Intelligent denoising maintains high-quality


Steps to Elevate Your DaVinci Color Grading Video
-
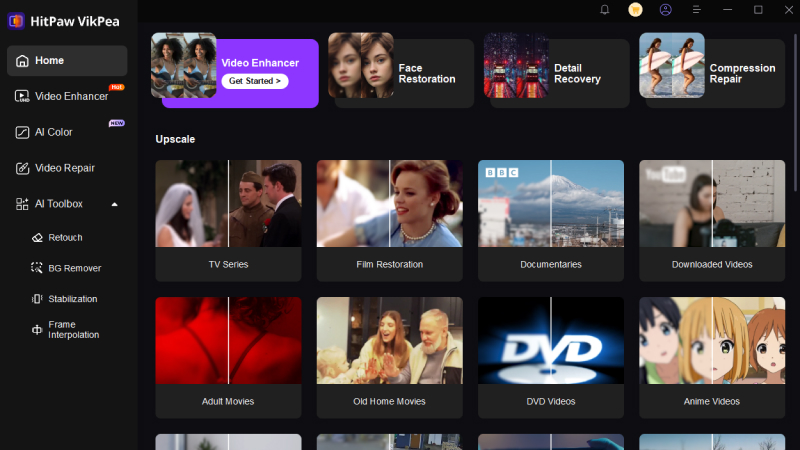
Step 1.Download and install the HitPaw VikPea on your computer.
-
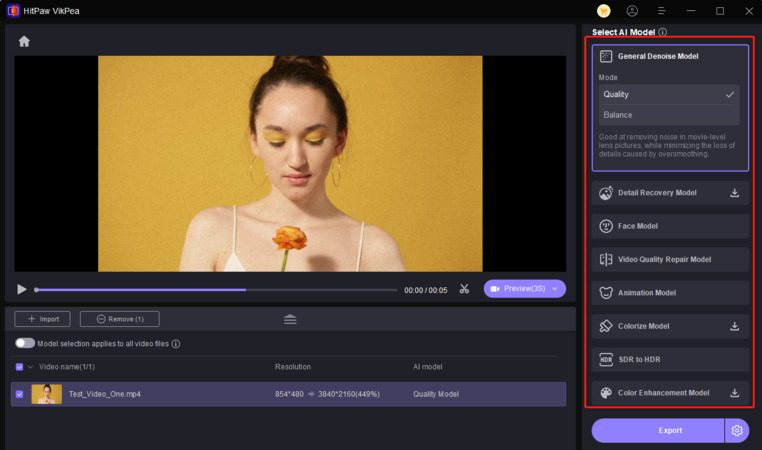
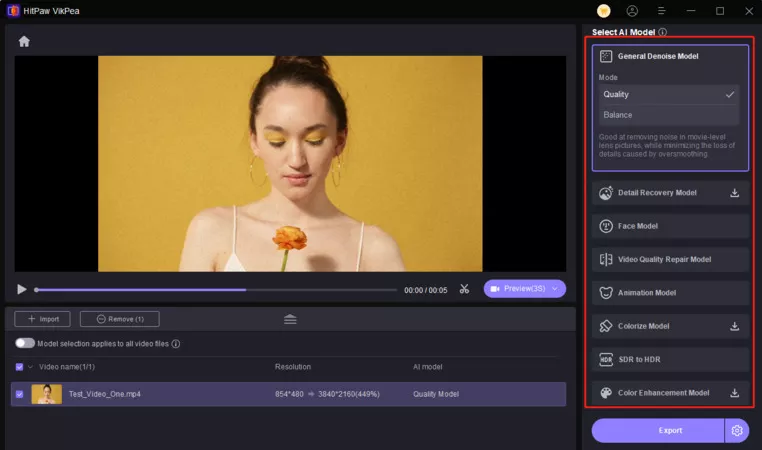
Step 2.Upload the video you want to enhance the software.
-
Step 3.Simply choose “Colorize Model”, it will help you upscale black and white video to color.
-
Step 4.Click on Preview to process the video and wait for a few seconds. Once satisfied, click the Export button to save the video file to your computer.
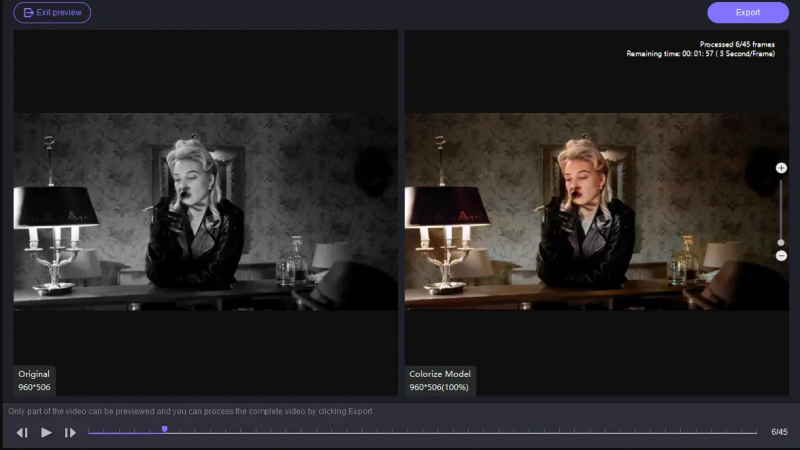


You give a modern and alluring touch to your favorite old videos with just a few clicks.
The Bottom Line
In this guide, we have tried to cover everything from understanding the basics of color theory to utilizing the powerful features to utilize the process of color grading in DaVinci Resolve.
In any case you are unsatisfied with the color balancing you have achieved so far or simply want to further take DaVinci Resolve color grading to the next level, there is a solution available in the form of HitPaw VikPea, which is powerful but user-friendly.

 HitPaw Edimakor
 HitPaw Univd (Video Converter)
  HitPaw VikPea (Video Enhancer)
![[Multiple Platforms] 10 Tools to Recolor Image](https://images.hitpaw.com/topics/covers/recolor-image-cover.jpg?w=674&h=450)

Share this article:
Select the product rating:
Daniel Walker
Editor-in-Chief
This post was written by Editor Daniel Walker whose passion lies in bridging the gap between cutting-edge technology and everyday creativity. The content he created inspires audience to embrace digital tools confidently.
View all ArticlesLeave a Comment
Create your review for HitPaw articles