USA Night Sky Photography Mastery: The Ultimate Guide
Where else can you click the Milky Way or snapshot meteor showers across vast desert skies? The fascination with capturing the night sky in the USA runs deep. The United States is a top destination for astrophotography with its large landscapes and areas untouched by light pollution. Hence, to know more about it, this guide covers everything from USA night sky photography locations and gear to camera settings and editing tips.
Part 1. Best Locations for USA Night Sky Photography
To snapshot truly breathtaking USA night sky images, let’s discover some of the best spots across the country:
1. Big Bend National Park, Texas:
The remote location offers some of the darkest skies in the continental USA, which makes it suitable to capture vivid Milky Way images.
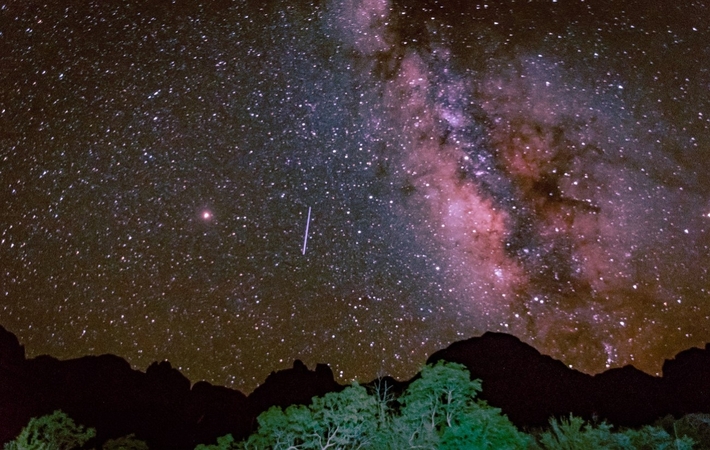
2. Death Valley National Park, California/Nevada:
As an official International Dark Sky Park, its vast, unobstructed desert plains are excellent for dramatic night atmosphere compositions.
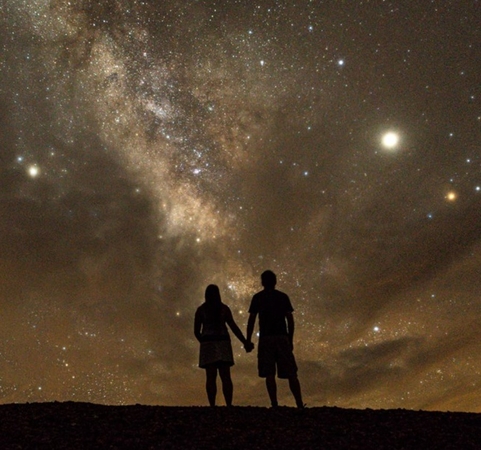
3. Bryce Canyon National Park, Utah:
Its high elevation and low humidity create consistently clear skies, and one can snap star trails and Milky Way arcs.
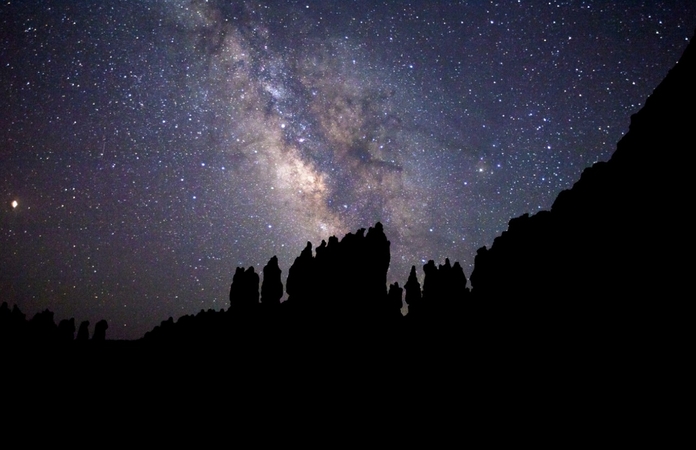
4. Cherry Springs State Park, Pennsylvania:
Known for its dark East Coast skies, this place lets you capture meteor showers and wide-field shots filled with detail.
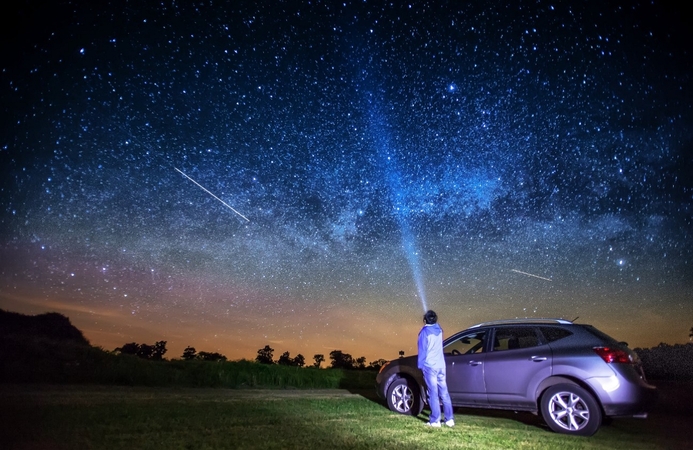
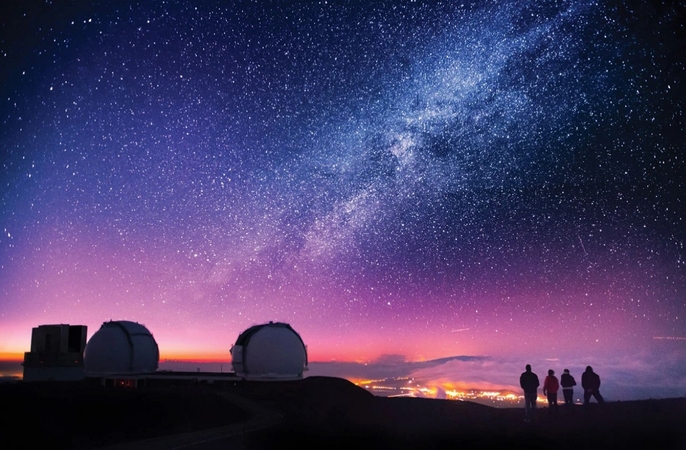
5. Mauna Kea, Hawaii:
From this high-altitude volcanic summit above the clouds, you can take crystal-clear deep space and long-exposure images under stable sky conditions.
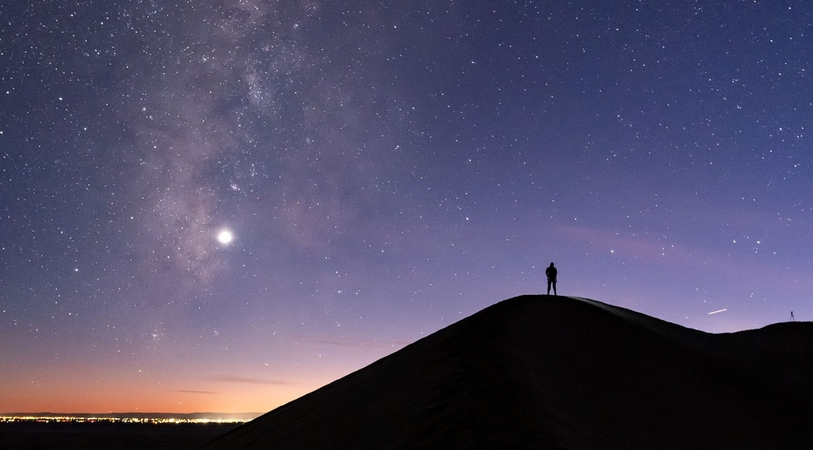
6. Great Sand Dunes National Park, Colorado:
The contrast of towering dunes against open skies provides striking foregrounds for creative and surreal night sky photography.
Part 2. Essential Gear for Landscape Photography at Night
To snap the night sky pictures is not just about the right location; certain things matter too. The following section will break down the essential equipment for successful landscape photography at night:
1.Camera and Lenses
Let's get to know what you need in the given table for sharp and stunning results, as your journey begins with the right camera and lenses:
| Category | Recommended Gear | Description |
|---|---|---|
| Camera Body | Nikon Z8 Mirrorless Camera | High-resolution full-frame sensor with excellent low-light performance. |
| Canon EOS R6 Mark II Mirrorless Camera | Full-frame mirrorless camera with advanced autofocus and image stabilization. | |
| Sony Alpha a7 IV Mirrorless Camera | Versatile full-frame mirrorless camera | |
| Wide-Angle Lens | Canon RF 15-35mm f/2.8L IS USM Lens | Wide-angle zoom lens with image stabilization. |
| Sigma 20mm f/1.4 Art Lens | Prime lens with a large aperture | |
| Sony FE 16-35mm f/2.8 GM II Lens | High-quality wide-angle zoom lens with a fast aperture |
2. Accessories
Before you start USA night sky photos, know that these few accessories can guarantee your shots come out perfectly:
- Ought to use a solid tripod to maintain your camera's stability.
- Use a remote shutter release or a camera timer to avoid vibrations.
- Keep extra batteries in case of emergency, because cold nights’ drain power faster.
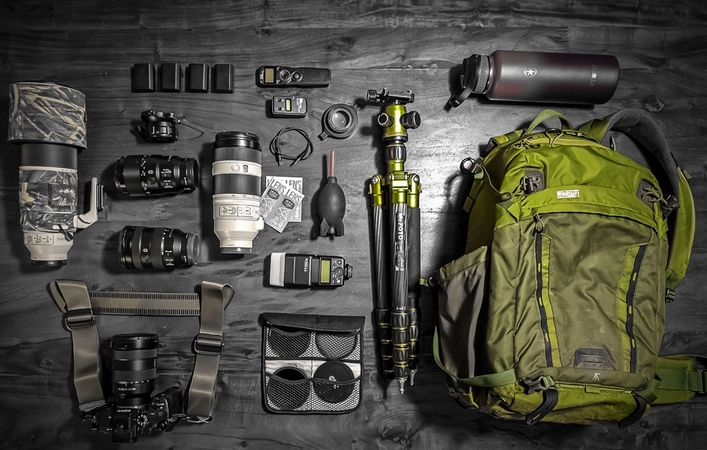
- Utilize a headlamp with red light mode to preserve your night vision.
- Carry a lens cleaning kit to keep your glass spotless from dew and dust.
Part 3. Night Time Sky Photography Settings: Take The Perfect USA Night Sky Photo
To take star night picture, you should try the following camera settings to get crisp photos:
1. Camera Mode: Utilize Manual (M) mode for complete command over exposure and shutter speed.
2. Aperture & Adjustment: Set your lens to f/2.8 or larger to maximize light entry in dimly lit situations.
3. ISO: Begin with settings between 1600 and 3200, modifying according to your camera’s noise capabilities.
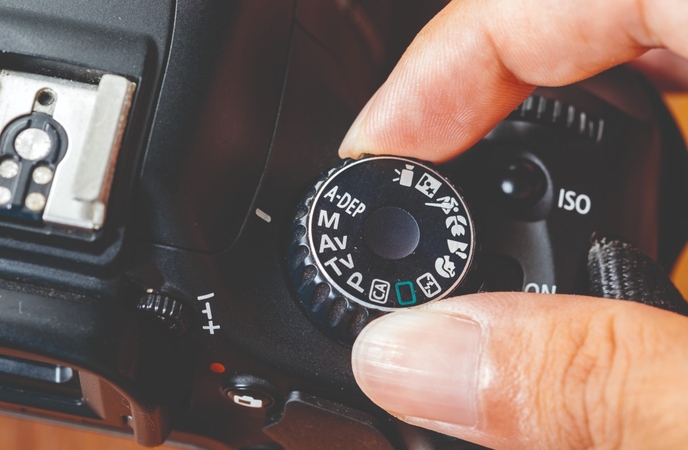
4. Shutter Speed: Apply the 500 Rule (500 ÷ focal length) to avoid star trails and get sharp star points.
5. Focus: Switch to manual focus, set the lens to infinity, and fine-tune using live view.
6. White Balance: Opt for Daylight mode or shoot in RAW so you can adjust the white balance freely during post-processing.
Part 4. Top 5 Pro Tips for Night Sky Photography
Even with the right gear and settings, mastering USA sky pictures night takes practice and technique. In this section, we’ll share 5 pro tips that can elevate your shots:
1. Scout Locations in Advance:
Go to the area during daylight to plan your shots and recognize compelling foreground elements like mountains.
2. Use Foreground Elements:
Incorporate natural structures to add depth and visual interest to your night sky photos.
3. Apply the Rule of Thirds:
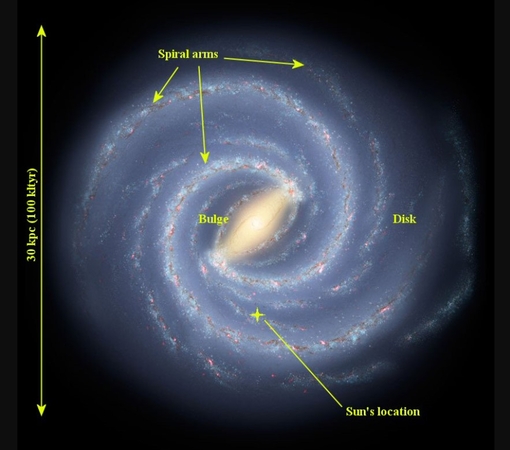
Place the Milky Way or important stars away from the center for a more balanced and captivating composition.
4. Utilize Mobile Applications:
Resources such as PhotoPills, Stellarium, or Sky Guide assist you in determining the optimal placement for astronomical occurrences.
5. Timing is Crucial:
Plan your shoots for the best Milky Way captures between March and September in the Northern Hemisphere.
Part 5. Perfecting USA Night Sky Images with HitPaw FotorPea
You’ve captured stunning landscape photography at night from places like Mauna Kea or Cherry Springs, but later, your stars look faint, and noise dulls the scene. In this case, HitPaw FotorPea is a perfect tool. It enhances your USA night sky images by boosting celestial colors, sharpening details, and reducing noise, so your final photo looks just as magical as the view you experienced.
Key Features on Enhancing Night Sky Pictures
- The Upscale Model enlarges your USA night sky photos without losing clarity, preserving every star and Milky Way’s detail.
- You can remove grain from your night sky images with the Denoise Model, offering both realistic and creative denoise options for different editing needs.
- One can bring out the brilliance of your night sky photography USA by choosing High, Medium, and Low-quality photos using the Enhance Model.
- With the Sharpen Model, it sharpens blurry night sky pictures to make stars pop and reveal the hidden texture of the galaxy above.
- The tool saves time by enhancing multiple USA night sky shots at once with consistent quality across your entire shoot.
A Detailed Guide to Upscale Images with HitPaw FotorPea
Now that you know all the tips and settings for star gazing photography, you might want to learn how to use this tool. That's why the upcoming section will provide you with comprehensive steps to understand the improvement process of HitPaw FotorPea:
Step 1. Access The Tool and Choose AI Enhancer from the Home TabAfter you open HitPaw FotorPea on your device, navigate to the “Home” tab on the left side of the screen. Next, select the AI Enhancer tool by clicking the “Enhanced Photos Now” button.

Step 2. Import the Captured USA Night Photo
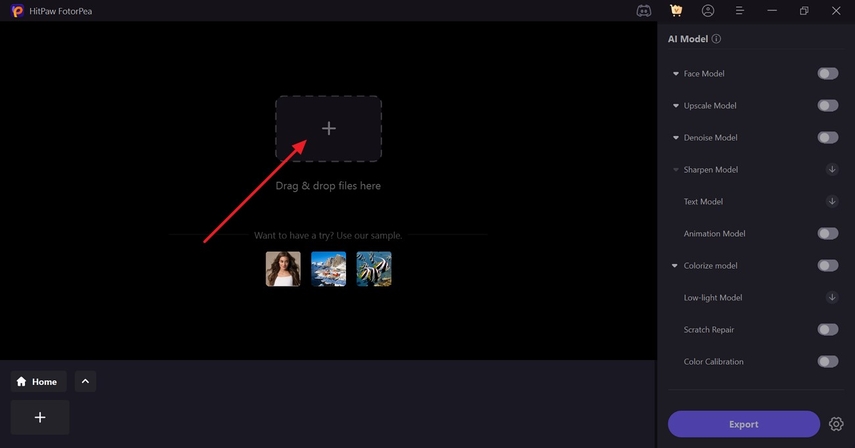
Now, press the “Drag & Drop Files Here” button to add the night sky USA photo from your device.
Step 3. Choose AI Models and Preview It
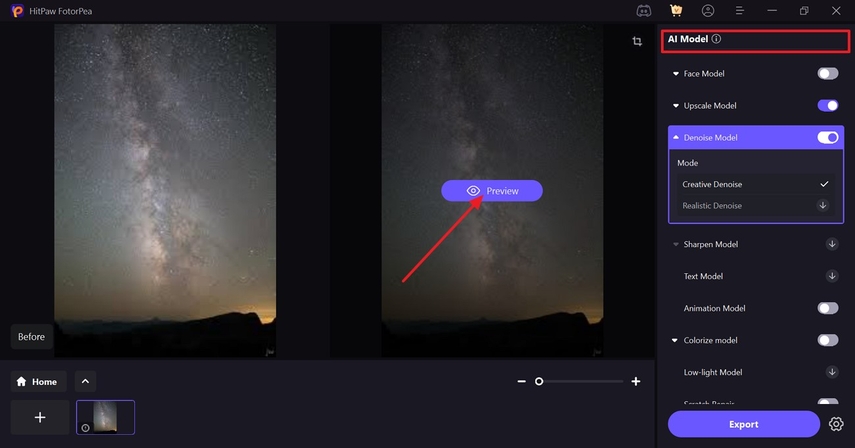
Afterward, choose the desired model under the “AI Model” section, such as “Upscale and Denoise,” one then press the “Preview” button on the photo.
Step 4. Check Results and Preview Enhanced Photo
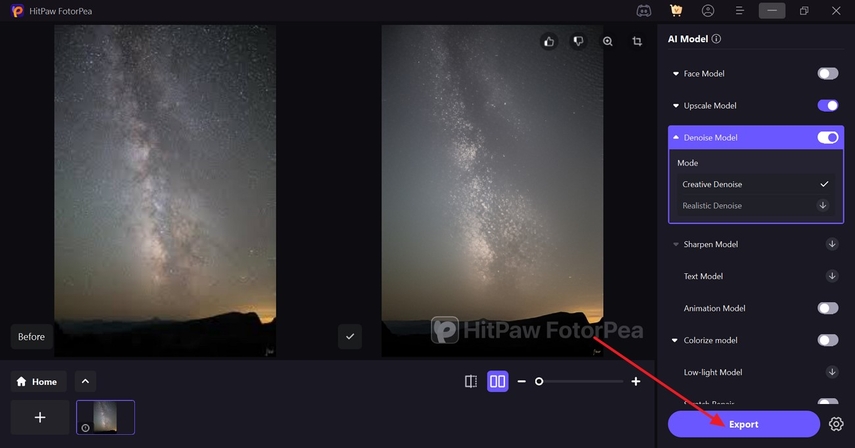
Once the improvement process is finished, review the image's results before and after. Next, click the “Export” button and save the image for future use.
Part 6. FAQs on USA Night Sky Photography
Q1. What is the right direction for beginner’s astrophotography in the USA?
A1. Begin your journey in dark-sky spots like Cherry Springs using a wide-angle lens, tripod, and manual settings. Focus on simple USA night sky photography like the Milky Way during new moon nights before advancing to deep-sky imaging.
Q2. How to perfect long exposure photography of stars?
A2. Use stable equipment, manual settings, and a wide aperture to allow more light. Fine-tune exposure time, focus carefully, and shoot in a format that preserves detail for better results.
Q3. What is the 500 rule in night sky photography?
A3. This rule helps avoid star trails: divide 500 by your lens’s focal length to get the max shutter speed (in seconds). For example, with a 20mm lens, 500 ÷ 20 = 25 seconds. It's essential for sharp USA night sky photos.
Q4. What are some essential settings to perfect landscape photography at night?
A4. Use manual mode with a wide aperture (f/2.8 or lower) and high ISO (1600–3200). Focus manually to infinity, shoot in RAW, and set white balance to daylight or auto for flexible editing later.
Conclusion
Mastering nighttime sky photography in the USA is all about combining the correct location, gear, and techniques. However, even the best shots can get a grainy effect and need a finishing touch. Therefore, in such situations, HitPaw FotorPea is perfect for enhancing clarity and turning your night sky captures into an ideal shot.


 HitPaw Edimakor
 HitPaw VikPea (Video Enhancer)
 HitPaw Univd (Video Converter)


Share this article:
Select the product rating:
Daniel Walker
Editor-in-Chief
This post was written by Editor Daniel Walker whose passion lies in bridging the gap between cutting-edge technology and everyday creativity. The content he created inspires the audience to embrace digital tools confidently.
View all ArticlesLeave a Comment
Create your review for HitPaw articles