How to Set Up a Proper Home Video Studio: 2026 Guide
Imagine you are starting a YouTube channel or recording a Zoom lecture, but your room lights are dull, and the background is distracting. Does it sound familiar to you? Whether you are a creator or a professional, transforming the quality of your content in a home video studio setup is your aim to stand out. Hence, this article will guide you to set up an affordable and modern video studio at home.
Part 1. What a Home Video Studio Is & The Key Benefits?
A home video studio is a personalized space for video production designed to create professional-quality film content within your home. The essentials of a home video studio include a high-resolution camera, suitable lighting, good-quality microphones, and a perfectly styled background.
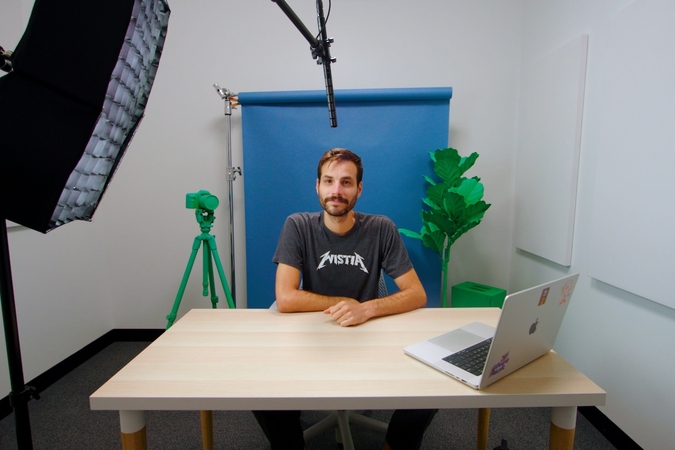
Key Benefits of Home Video Studio
1. A video studio at home offers you a cost-effective setup for long-term video creation.
2. You can gain complete control over flattering lighting, audio quality, and framing according to your choice.
3. Home editing studio is ideal for tutorials, interviews, product videos, and more.
4. This setup enhances branding for businesses and personal visual consistency across various social media platforms.
Part 2. Setting Up a Video Studio At Home: A Comprehensive Guide
Creation of a professional video at home with a low budget is a dream. Here is a comprehensive guide that will help you walk through every step to set up a home video studio:
1. Choose a Quiet and Controllable Room in Your Home
Your basic requirement is a quiet place with controllable lighting and less background noise. Don’t prefer rooms near noisy appliances, busy streets, and excessive sunlight. The addition of soft surfaces to your video studio, such as furniture and curtains, will help you reduce echo back audio in the room.
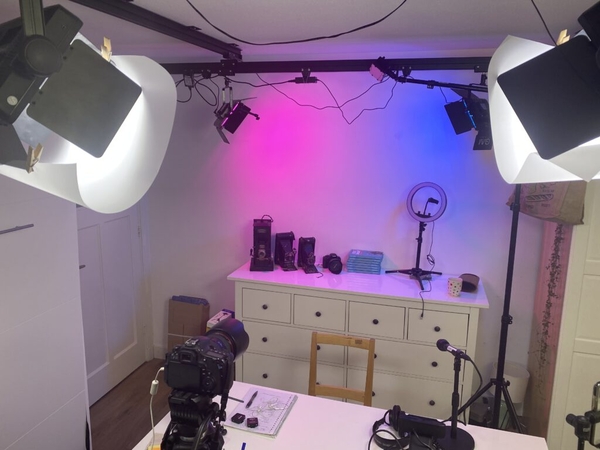
2. Select a Reliable Camera and Matching Lens for Indoor Filming
According to the style of your home filming studio, select the resolution of your camera, such as mirrorless, DSLR, or high-quality webcam. Pair your camera with a lens that can function properly in a dark indoor setting. The quality of the lens and camera resolution will help you capture soft backgrounds and warm lighting tone for indoor filming.
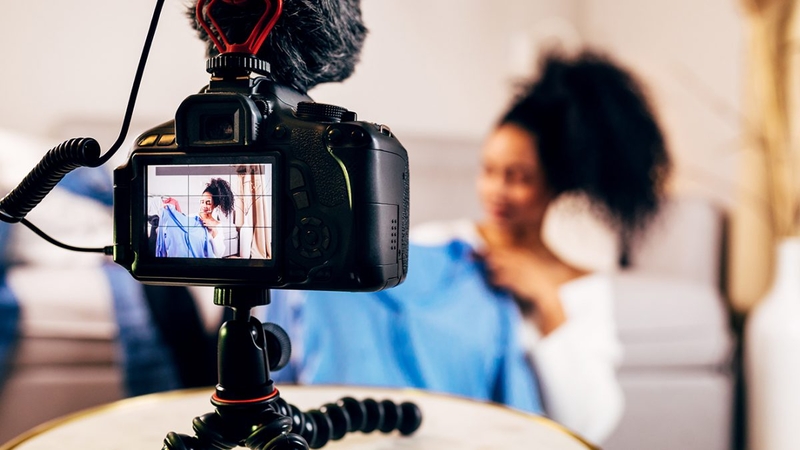
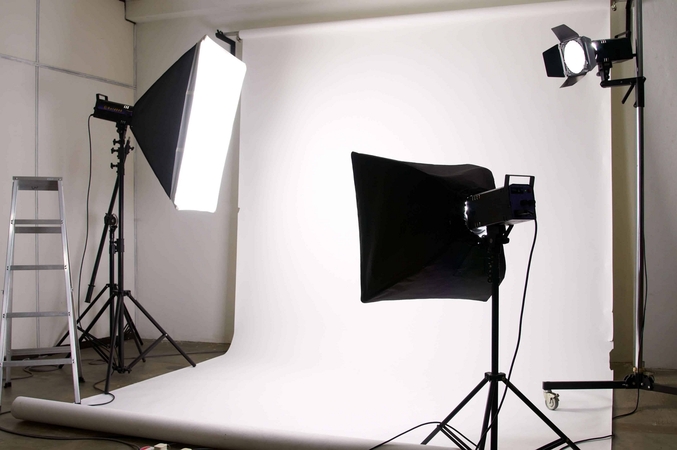
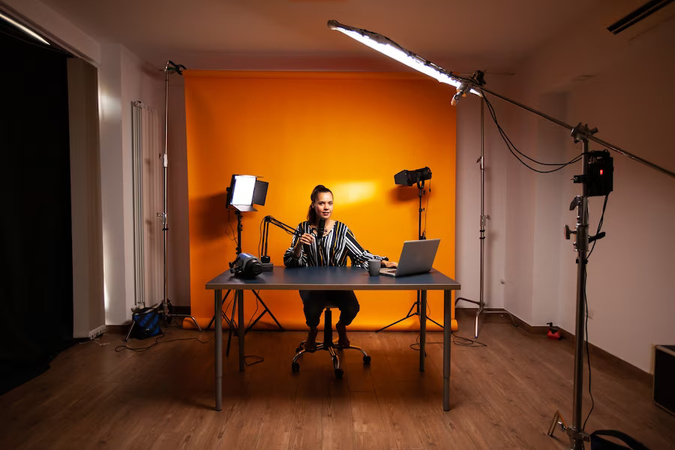
3. Build a Professional Lighting Setup for Even Exposure
In the video production of your small video studio, lighting is very crucial; it can either enhance or reduce the video quality. You are supposed to maintain excessive and appropriate lighting, such as a 3-point lighting setup. This setup includes a key light, a fill light to soften shadows, and a backlight that separates you from your background.
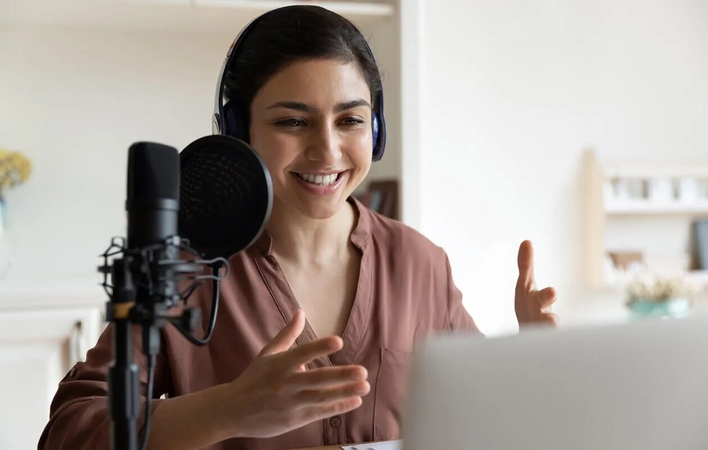
4. Set Up Quality Audio Equipment for Clear Voice Recording
Audio quality is also critical, so try to maintain the quality of the external microphone. It can be used as a shotgun mic and a USB condenser mic which offers high-profile audio quality. Besides the quality of the microphone, its position is also essential. Therefore, keep the mic close to the mouth accurately.
5. Organize Your Background and Studio Layout for Visual Consistency
A consistent and clean background of video recording studio setup is required to maintain the focus, as the emphasis point is on you. Add your personality by using neutral colors, branded elements, and subtle decor. You can improve the quality standards by eliminating clutter and installing brighter windows.
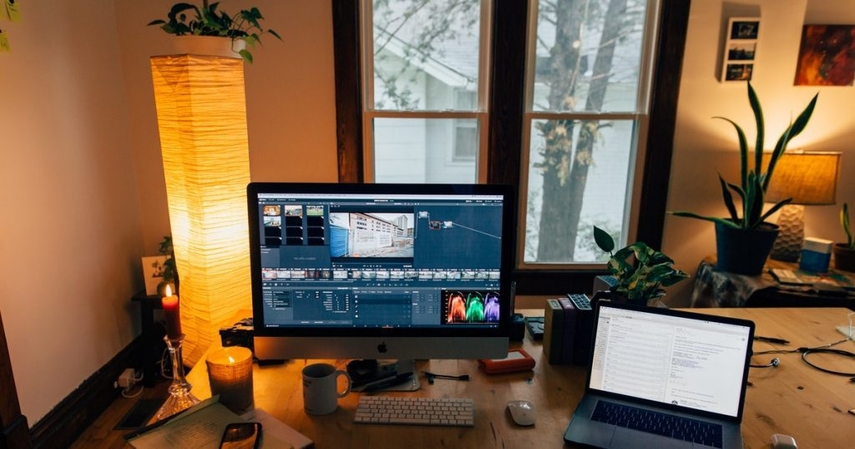
6. Install Editing Software and Configure Storage Solutions
Select one of the best video editor software programs that has a user-friendly interface that suits your project goals, according to your home video editing studio. Install the editing software to ensure automated upscaling of low-resolution videos. After completing the installation process, the computer will connect to the hard disk to eliminate the problem of insufficient memory.
7. Test Your Setup and Calibrate Settings for Best Results
Check your audio levels, camera focus, and lighting before recording your project. To save editing time, calibrate Exposure, color setting, and white balance. Before hitting the complete, original recording, run short tests to check the smoothness of your workflow.
Part 3. Key Tools to Enhance the Efficiency of Your Home Video Studio
While setting up a small video studio and capturing a multitude of footage, you may come across blurry videos and dull colors. These issues can minimize the fine quality of your videos, restricting your creative expression and audience engagement. To cope with these challenges, professional video processing tools are used.
Therefore, HitPaw VikPea (formerly HitPaw Video Enhancer) stands out as a powerful solution that can address quality issues and enhance the appeal of your work. It is an AI video enhancement tool used to improve the video quality instantly by 4K upscaling, stabilization, and low-light enhancement models. All these models can convert your raw videos to a filmic video.
Key Features
1. Easily make your home editing studio footages noise-free with the General Denoise Model.
2. Improves clarity and fixes anime-style content on animated videos using the Animation Model.
3. Efficiently enhances the looks of the video by retouching face details on home-shot videos.
4. Supports vivid colors to dulled indoor recordings and improves resolution using the Colorize Model.
5. Converts videos to high frame rates to achieve smoother and cinematic motion.
Guide to Home Video Studio Enhancement With VikPea
Now, as you set up a small video studio at your home, it’s time to improve the quality of your content using HitPaw VikPea. There is a guide to home video studio enhancement described below:
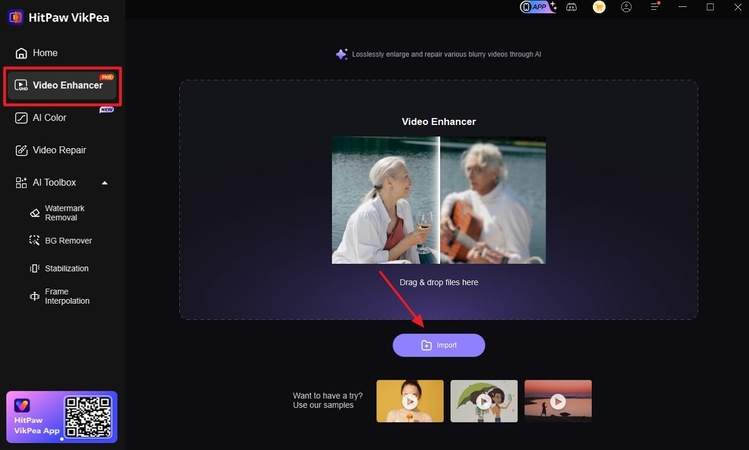
Step 1. Press Video Enhancer and ImportAfter accessing VikPea’s homepage, click the “Video Enhancer,” and import your desired video by pressing the designated “Import” button.
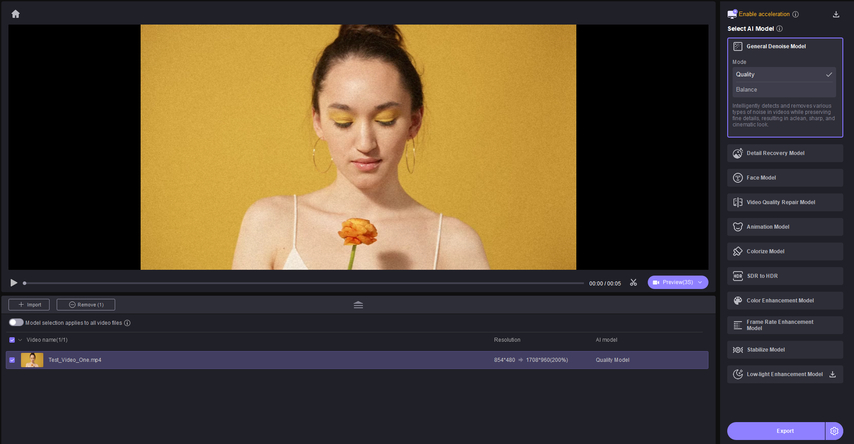
Step 2. Select the Desired AI Model
Access “Select AI Model” section and choose the desired model from the options given below. Hit the “Preview” button to initiate the video enhancement process.
Step 3. Export the Enhanced Studio Video
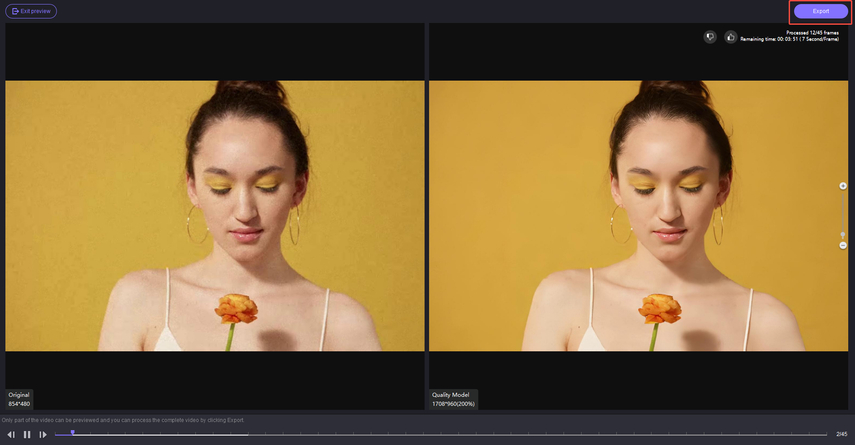
Finally, push the “Export” button and download the video to the gallery of your device.
Part 4. FAQs on Home Filming Studio
Q1. What is a home video editing studio used for?
A1. A home video editing studio is utilized to create, edit, and enhance video in a personal setting, particularly when making content and when developing professional video. However, if you are looking for a post-production video enhancement tool, you can use HitPaw VikPea, which offers AI-assisted functions to achieve studio-like effects at home.
Q2. How to make a small video studio?
A2. A small video studio can be set up by choosing a quiet and controllable place, using a high-resolution camera, optimizing lighting, and a clear background.
Q3. Can I build a video studio with just a smartphone?
A3. No, a smartphone alone isn’t enough to build a complete video studio. You’ll also need essential accessories like lighting, a tripod, a quality microphone, and editing software such as HitPaw VikPea to achieve professional, studio-like results.
Q4. What’s the ideal lighting setup for beginners?
A4. 3-point Lighting system is the ideal lighting system for creating professional-level videos, as this system is composed of Key Light, Fill Light, and Back Light.
Conclusion
To wrap it up, building a home video studio is essential to maintain the quality of videos. With an accurate setup, your creativity flows, conveying the essence of the message. A small space can be converted to a professional zone by using video editing tools, such as HitPaw VikPea. This tool has introduced crisp audio with a clutter-free background, providing you with cinematic output.


 HitPaw Edimakor
 HitPaw FotorPea
 HitPaw Univd (Video Converter)


Share this article:
Select the product rating:
Daniel Walker
Editor-in-Chief
This post was written by Editor Daniel Walker whose passion lies in bridging the gap between cutting-edge technology and everyday creativity. The content he created inspires the audience to embrace digital tools confidently.
View all ArticlesLeave a Comment
Create your review for HitPaw articles