-
AI Tools
Video AIFeaured ProductsDesktop
-
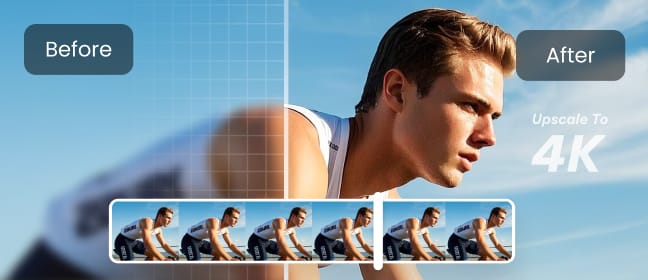
HitPaw VikPea (Video Enhancer)

Enhance Videos with AI on Windows
-
HitPaw VikPea for Mac

Enhance Videos Up to 8K on Mac
-
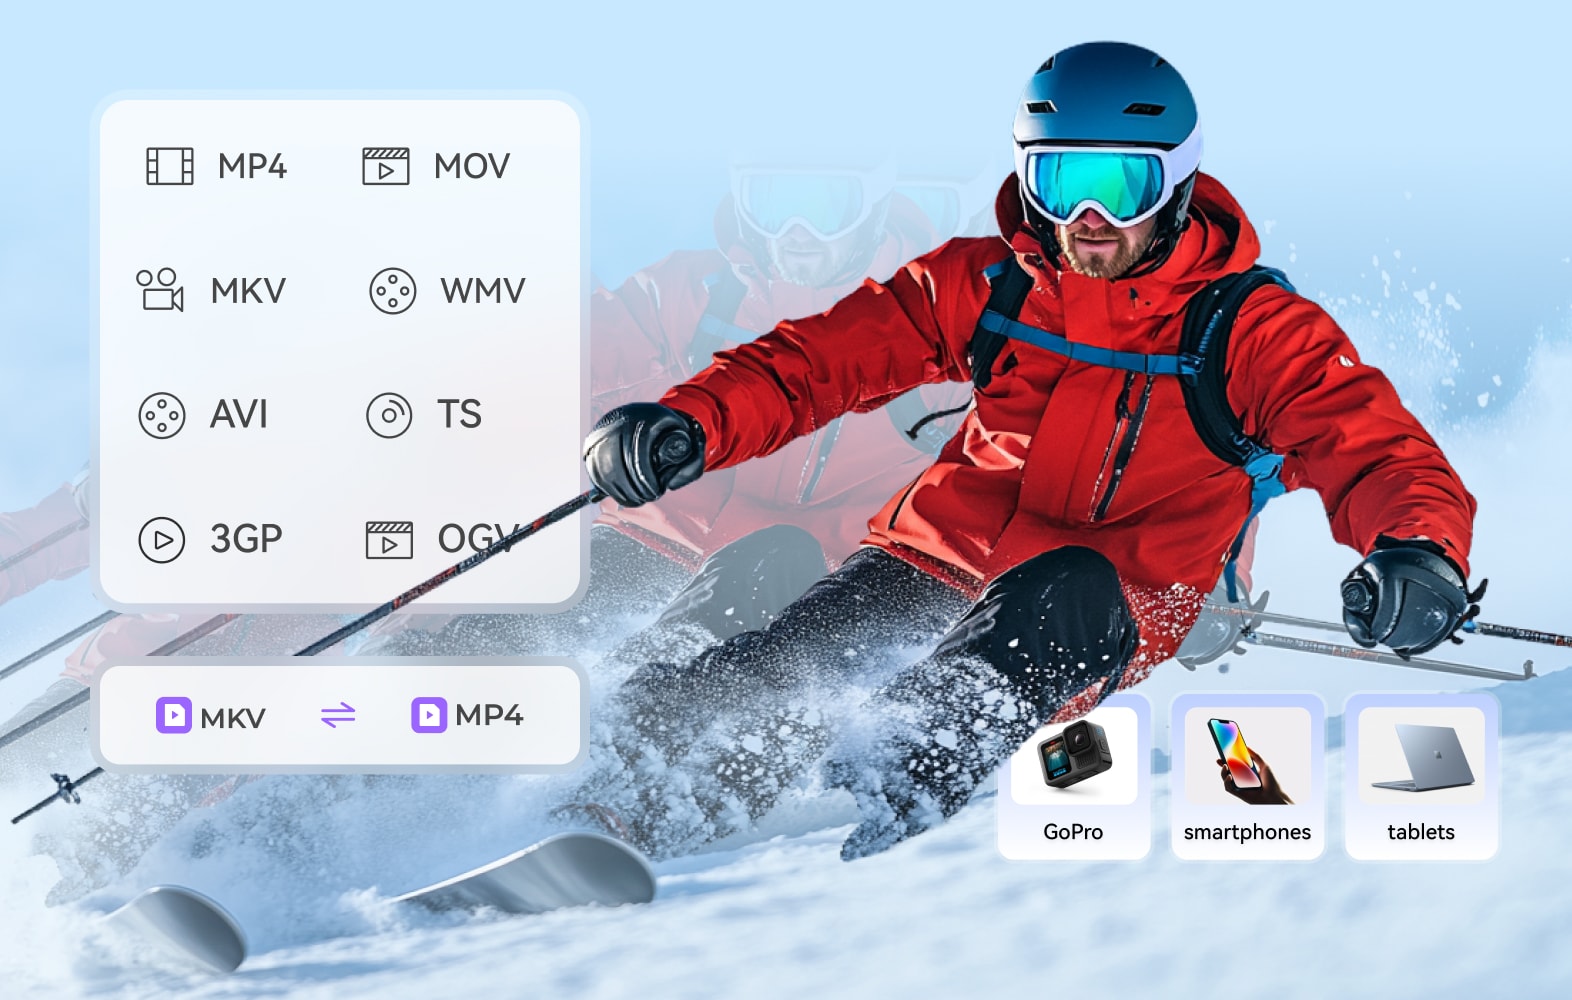
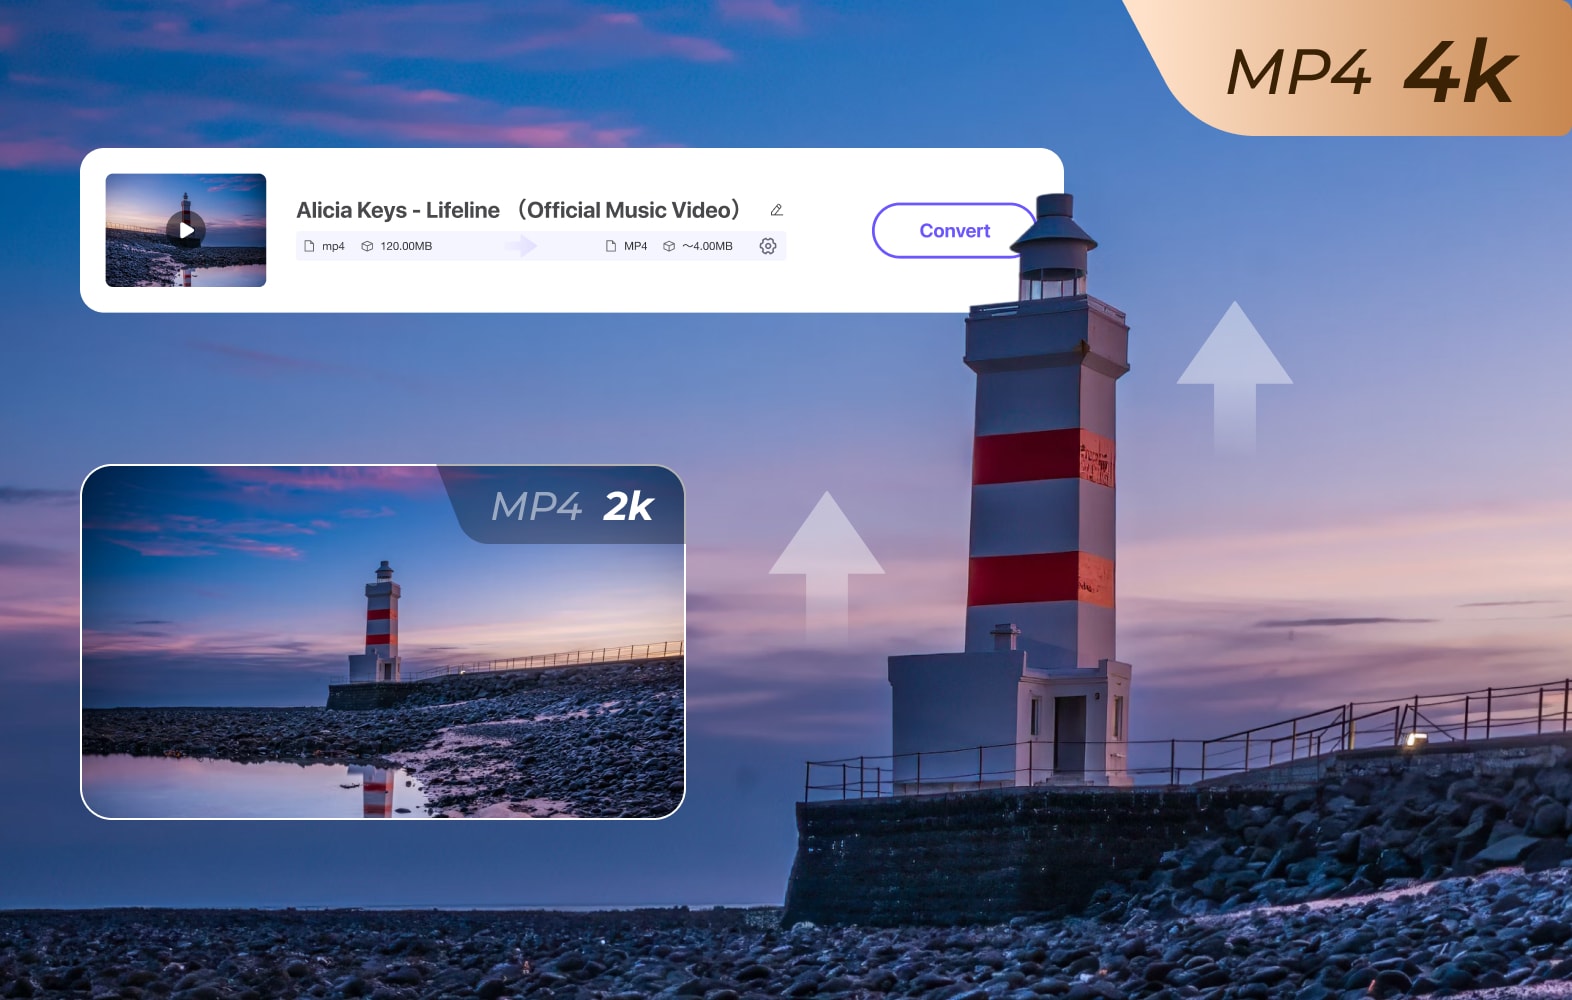
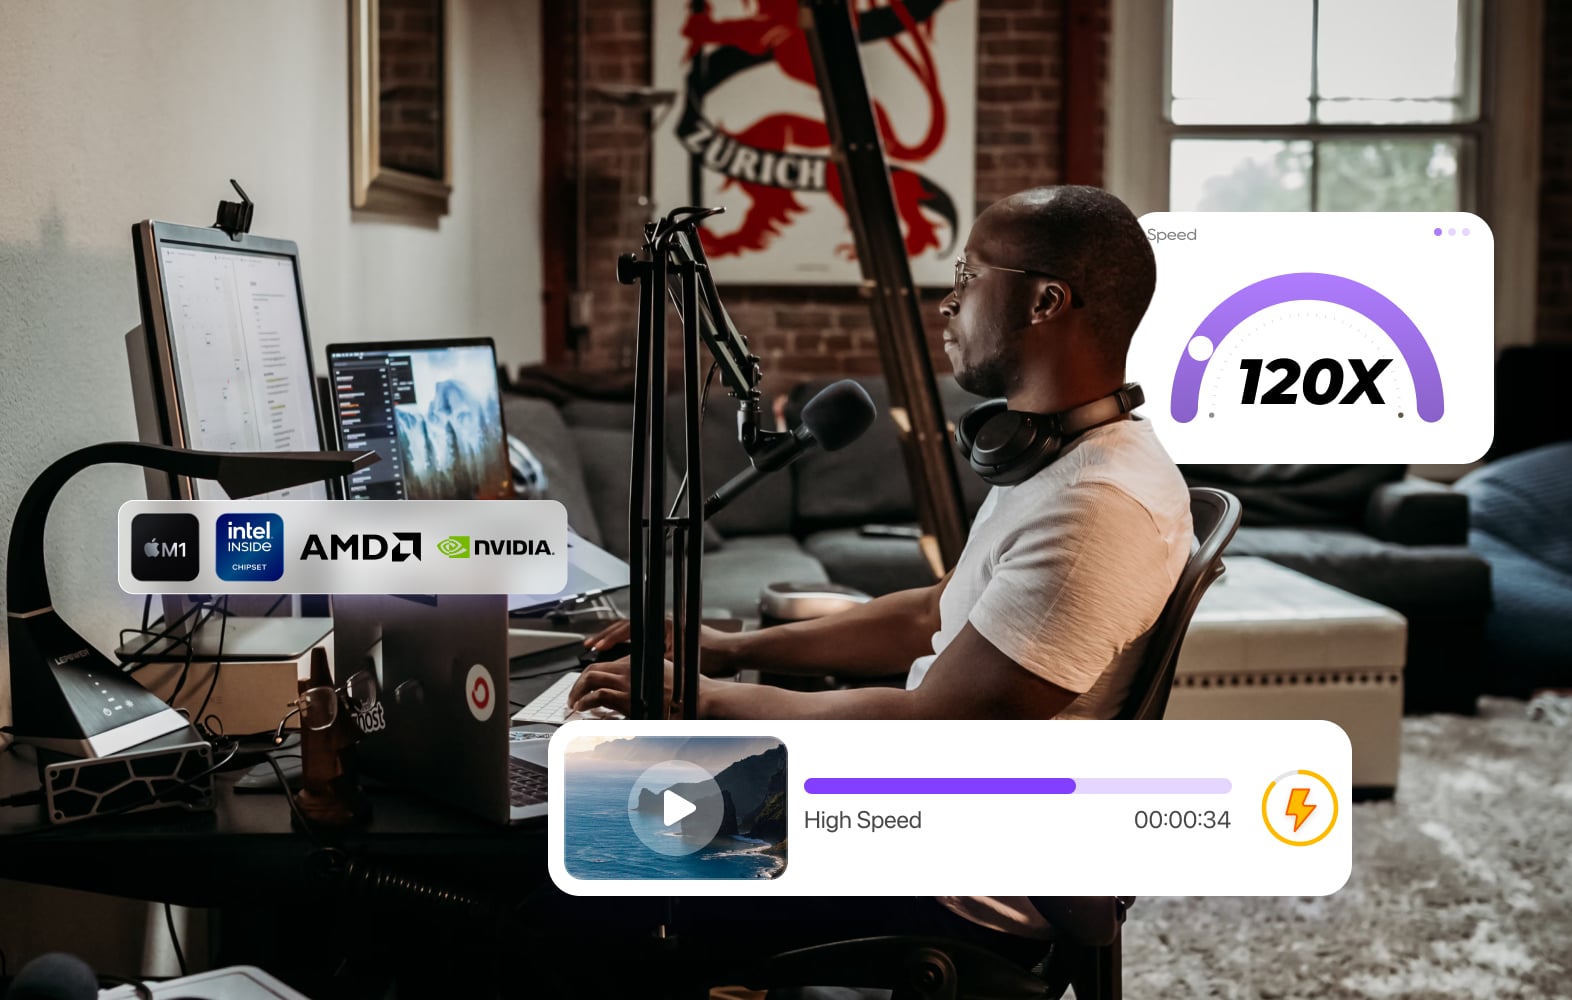
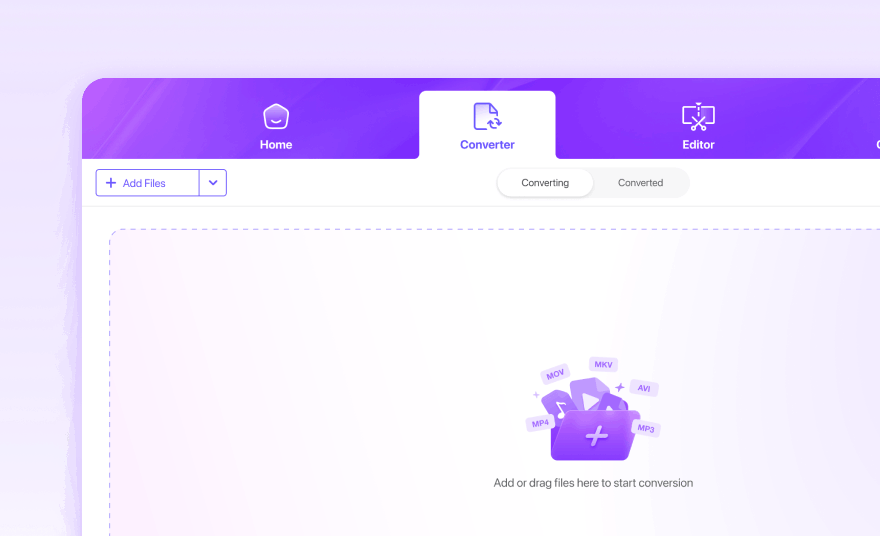
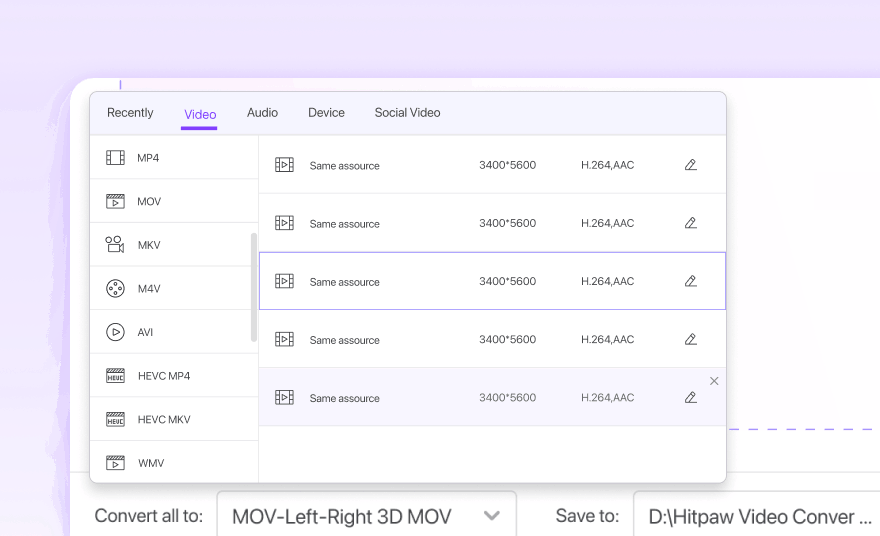
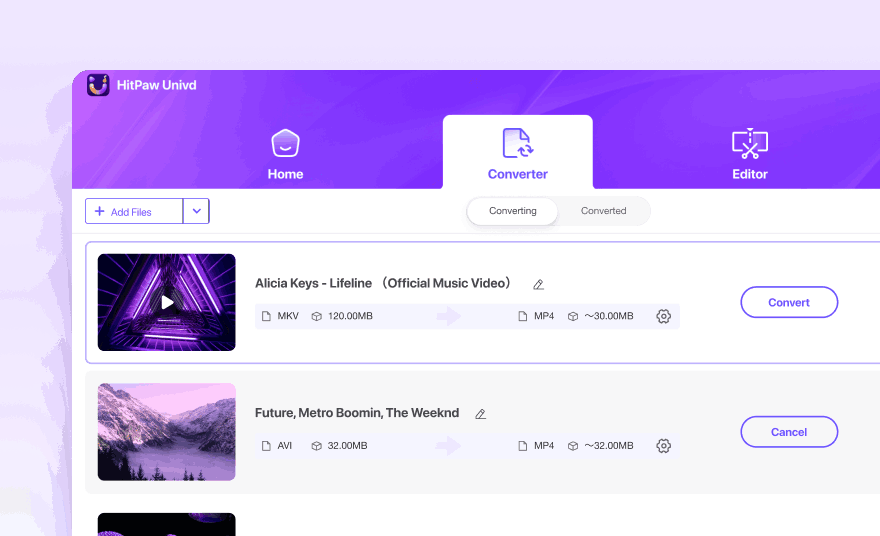
HitPaw Univd (Video Converter)
Convert, Edit and Compress Videos on Windows
-
HitPaw Univd for Mac
Convert, Edit and Compress Videos on Mac
-
HitPaw Edimakor
All-in-one Video Editing Suite on Windows & Mac
-
HitPaw Video Object Remover
Remove Unwanted Object from Videos on Windows & Mac
-
HitPaw AI Avatar
Generate AI Avatar Videos on Windows & Mac
Photo AIFeaured ProductsDesktopMobile-
HitPaw AI Marvels for iOS

AI Enhance and Edit Photos on iPhone
-
HitPaw AI Marvels for Android
AI Enhance and Edit Photos on Android
-
HitPaw AI Rizz for iOS

Reshape Your Photos with AI on iOS
-
HitPaw AI Rizz for Android
Reshape Your Photos with AI on Android
-
HitPaw AI Art Generator for iOS
Create Artworks with AI on iPhone
-
HitPaw AI Art Generator for Android
Create Artworks with AI on Android
Explore More FeaturesAudio AIFeaured Products
-