[2024] How to Take Mac Screenshot to Clipboard (Tips Included)
A screenshot is about capturing an image of your active Window or the desktop screen. This operating system offers the easiest possible ways to take a Mac screenshot to the clipboard. It grants you the flexibility of either capturing the entire screen, a small screen portion, or an active Window. So you are able to either perform this function manually or via hotkeys.
Since taking a screenshot to Clipboard Mac is a usual thing to do so, you must be aware of the relevant hotkeys, settings, and the exact way to fulfill this task. Plus, you will get software that is super efficient to perform this task in a quick and fantastic way!
Part 1: Keyboard Shortcuts: Quickest Way to Take Mac Screenshot to Clipboard
The wise and quick solution for copying a screenshot to the clipboard on Mac is to use the shortcuts/hotkeys. However, you must acknowledge the different keys used in various situations based on your requirements.
Shortcuts to Copy Screenshot to Clipboard Mac
Here is how to take a Mac screenshot of the full screen, a portion of the screen, or the Window to the clipboard.
1. Capture The Full Screen
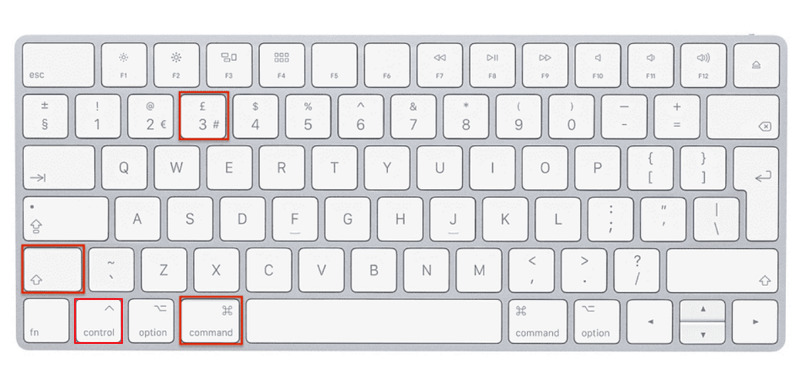
You can use the built-in snipping tool if you are a macOS user. Keeping this in view, you need to go for the Command+Ctrl+Shift+3 for a quick screenshot of the entire screen to the clipboard.
2. Capture a Screen Portion
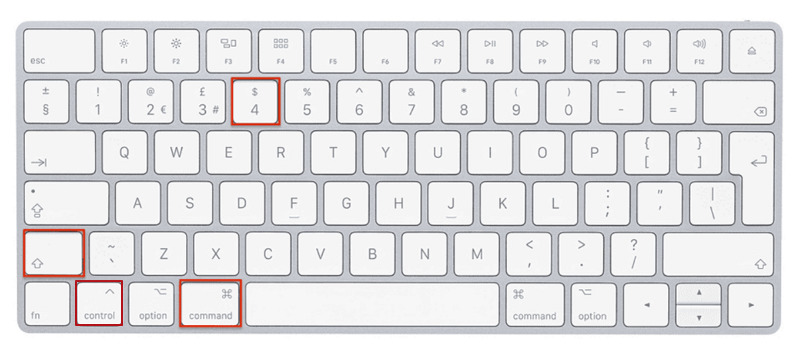
Capturing a portion of the screen to the clipboard on Mac requires you to press Command+Ctrl+Shift+4. You will see the cursor that can be dragged to select the screen portion you need to capture. Once chosen, release the mouse to copy it to the clipboard. Now, you can paste this screenshot to any application.
3. Copy a Screenshot of an Application Window
Do you want to take a screenshot of an active application Window to clipboard on Mac? If yes, press the Command+Ctrl+Shift+4 and tap on the “Spacebar.” This makes your cursor turn into a camera which can be moved to the Window screen. Once you open a Window, it will get highlighted to be visible enough to capture. Now, drag the cursor over the screen area and capture it as desired, whether full or a portion. After completion, it is possible to paste the screenshot to any app on Mac.

4. Where to Find Screenshots
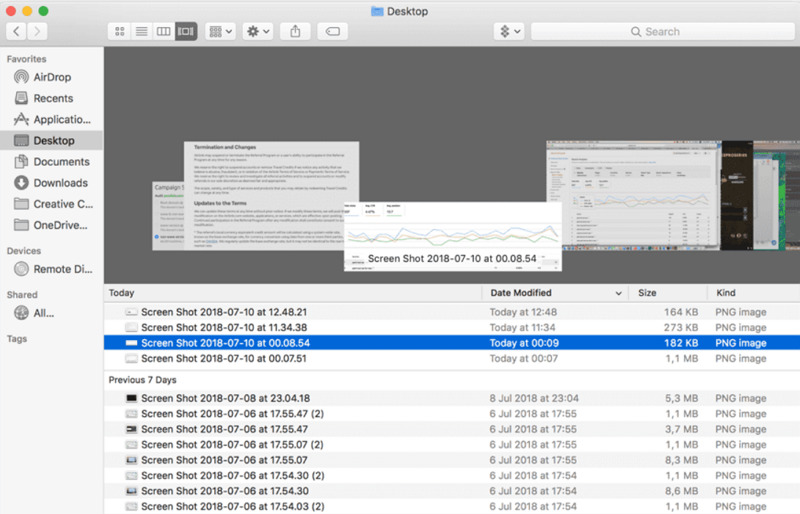
Though the screenshots will be copied to the clipboard using the above procedure, thus enabling you to paste them anywhere. Plus, you can open the clipboard and save it to the desired place. But in case you don’t press the “Command” button, these screenshots will be saved to the Screenshot folder of macOS.
Part 2: Tips on Taking Mac Screenshots to Clipboard
Let’s begin exploring what you need to know about where to find the clipboard on Mac and where to find the screenshot history. The purpose is to search for the screenshots you copy to the clipboard!
1. Find the Clipboard and Screenshot History on Mac
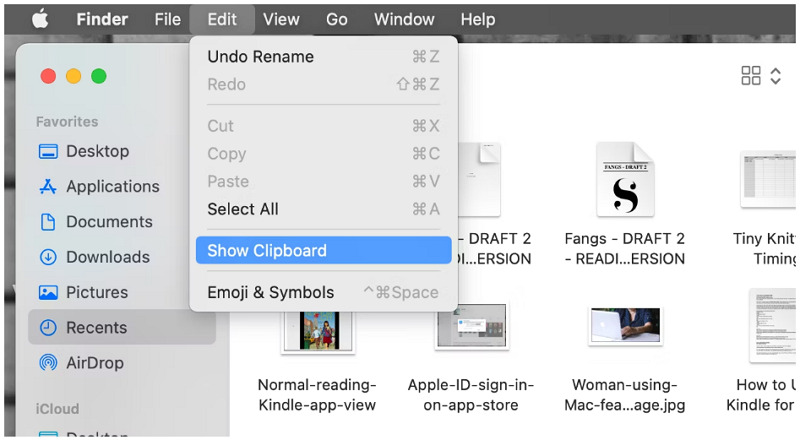
To see the clipboard on macOS, you need to open Finder and click “Edit” in the Menu. From here, select the option of “Choose Clipboard,” which will open up the clipboard where it displays the last copied screenshot.
2. History of Copied Screenshots to Clipboard
After you copy the screenshot to the clipboard on Mac, how to paste it to other apps for either saving or sharing purposes? In this situation, you have to open the app where you wish to enter and press Command+V to paste the screenshot easily.
3. Edit the Clipboard Screenshot
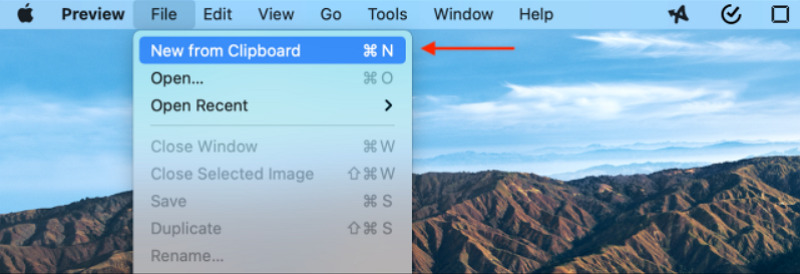
Sometimes you need to edit the screenshot after you have copied it to the clipboard. That’s why Mac offers you the option to edit the clipboard screenshot in the built-in app Preview. For this purpose, open the Preview app, and click File > New from Clipboard. However, Command+V in Preview also works in the same way. Now, the screenshot opens in this app, where you are allowed to edit, annotate, or crop it according to your choice.
Part 3: Extra Tips - Create Something New with Mac Screenshot to Clipboard
Are you are exploring one software to another in search of a stable and coherent one to get the assistance in capturing an HD screenshot to clipboard on Mac? If yes, the wait is over now!
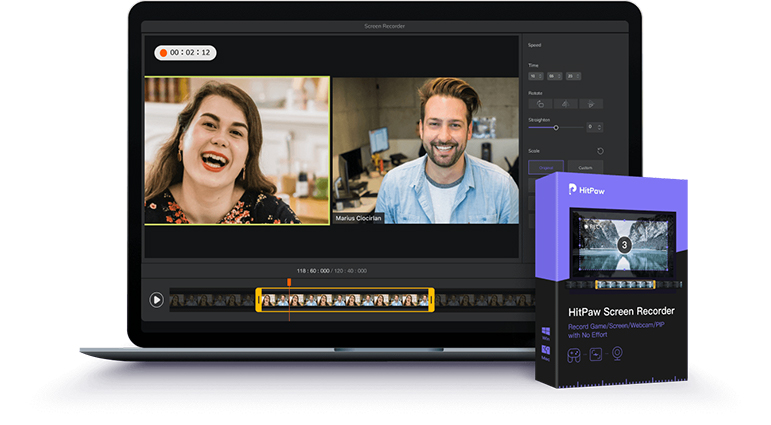
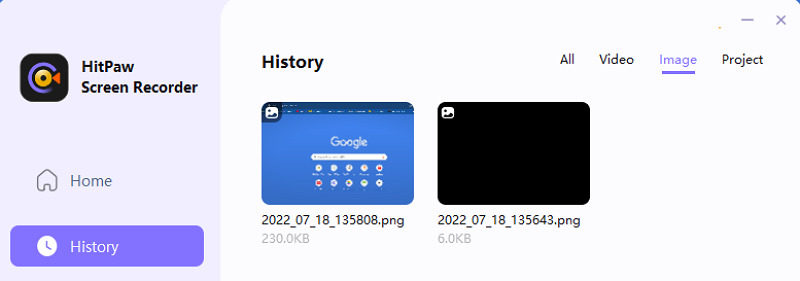
HitPaw Screen Recorder is an ideal software to record the desktop screen easily, games, lectures, and devices, i.e., Webcam, iPhone, iPad. You can record the videos any time with amazing effects and templates. Even it is possible to add text and attractive stickers to a video while screen streaming and then taking keystrokes along with simple screenshots. Plus, you can change the background before copying a macOS screenshot to the clipboard. It enables you to keep the history of your captured screenshots in the Image folder for accessing anywhere. Most importantly, changing the hotkey for either taking screenshots or performing other functions is easier than ever.
Here are some more essential features to consider:
- Offer the Virtual Camera for easy streaming
- Add multiple sources to stream at a time
- Support the schedule and segment recording function
- Allow disabling speaker and microphone if required
- Adjust the output resolution, format, and frame rate
- Let you switch the Graphics Card in case of a black screen issue
Let’s move forward to the step-by-step guide to saving a macOS screenshot to the clipboard via HitPaw Screen Recorder:
Step 01 After going through the process of downloading and installation of this software on macOS, the next step is to click Live > Livestreaming to connect to the desktop properly.

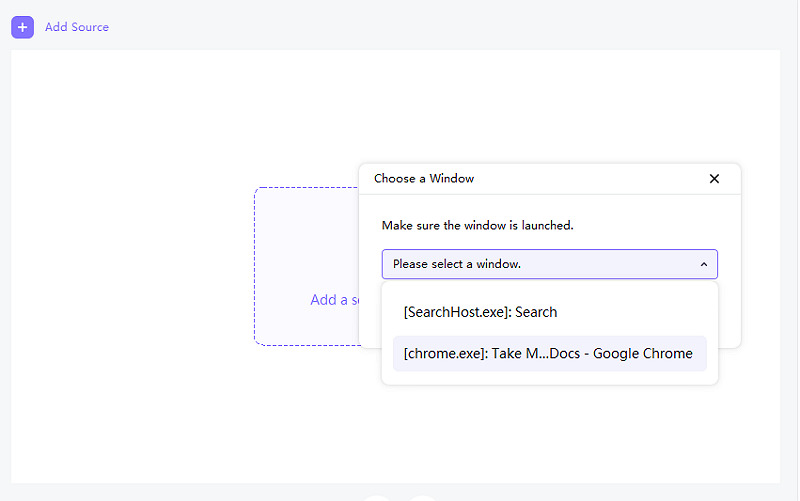
Step 02 Next, click “Add a source to get started” for the available options and select Screen or Window per your requirement. In the “Screen” option, you can either record the entire screen, and in the option of “Window,” you are allowed to choose any active Window on the browser. Let’s choose “Window,” a particular Window, and click “Continue” to start streaming.
Step 03 Finally, you can press the hotkey (F6) or the small “Screenshot” icon under the streaming screen to take a screenshot at any point. It will be saved in the Screenshots folder of this software. That’s all!
FAQs about Mac Screenshot to Clipboard
1. Does Mac have a built-in snipping tool?
Yes, the macOS comes up with the built-in snipping tool that is user-friendly and versatile in its functioning. It lets you easily and quickly capture a screenshot to a clipboard or screen record on Mac. The Command+Ctrl+Shift is crucial if you need to use the Mac snipping tool, but 3, 4, or 5 is used after that, depending upon your needs.
2. How do I copy a screenshot to my clipboard on Mac?
In case you want to save a screenshot to the clipboard on Mac, you need to use the shortcut keys as per your demands. Pressing Command-Ctrl-Shift-5 opens up the screenshot menu on Mac and offers you the option to task screenshots and record videos easily. Plus, you can either choose a particular area or the full screen. Once done with copying, you can paste the screenshot anywhere.
3. How do you take a screenshot snippet on a Mac?
The most efficient and feasible way to take a screenshot snippet on Mac is by using the hotkeys or the shortcuts. When the Command-Ctrl-Shift-5 provides you with the Mac screenshot menu, the Command-Ctrl-Shift-4 allows you to capture a quick screenshot of the Mac clipboard. But if you need to save a particular area of desktop screen/Windows to clipboard, you should use the Command-Ctrl-Shift-3. Drag the cursor to capture and leave the mouse once done!
4. Where do the Mac screenshots go?
The screenshots are saved in the “Screenshots” folder of Mac by default. Plus, these will be saved with the name of Screen Shot (date) at (time).png. However, you can change the location and other settings from the Screenshot Options in the Menu or the screenshot app. Even you can move the image from one location to another if required.
5. Why is the screenshot on Mac not working?
If the screenshot on Mac is not working, it might be due to a settings issue. For that purpose, you need to open the Apple Menu and expand the System Preferences. Now, click Keyboard > Shortcuts, and choose the Screenshots option from the left side. Here you need to ensure that all the settings are active/on. This will surely solve the problem at the moment.


 HitPaw Univd (Video Converter)
  HitPaw Watermark Remover


Share this article:
Select the product rating:
Daniel Walker
Editor-in-Chief
This post was written by Editor Daniel Walker whose passion lies in bridging the gap between cutting-edge technology and everyday creativity. The content he created inspires audience to embrace digital tools confidently.
View all ArticlesLeave a Comment
Create your review for HitPaw articles